
1. Introduction
Thank you for choosing the RetroAudio CD Player with Speakers. This device combines classic CD playback with modern connectivity options, including Bluetooth 5.4, USB, and AUX input, all within a portable design. This manual will guide you through the features and functions of your new CD player.
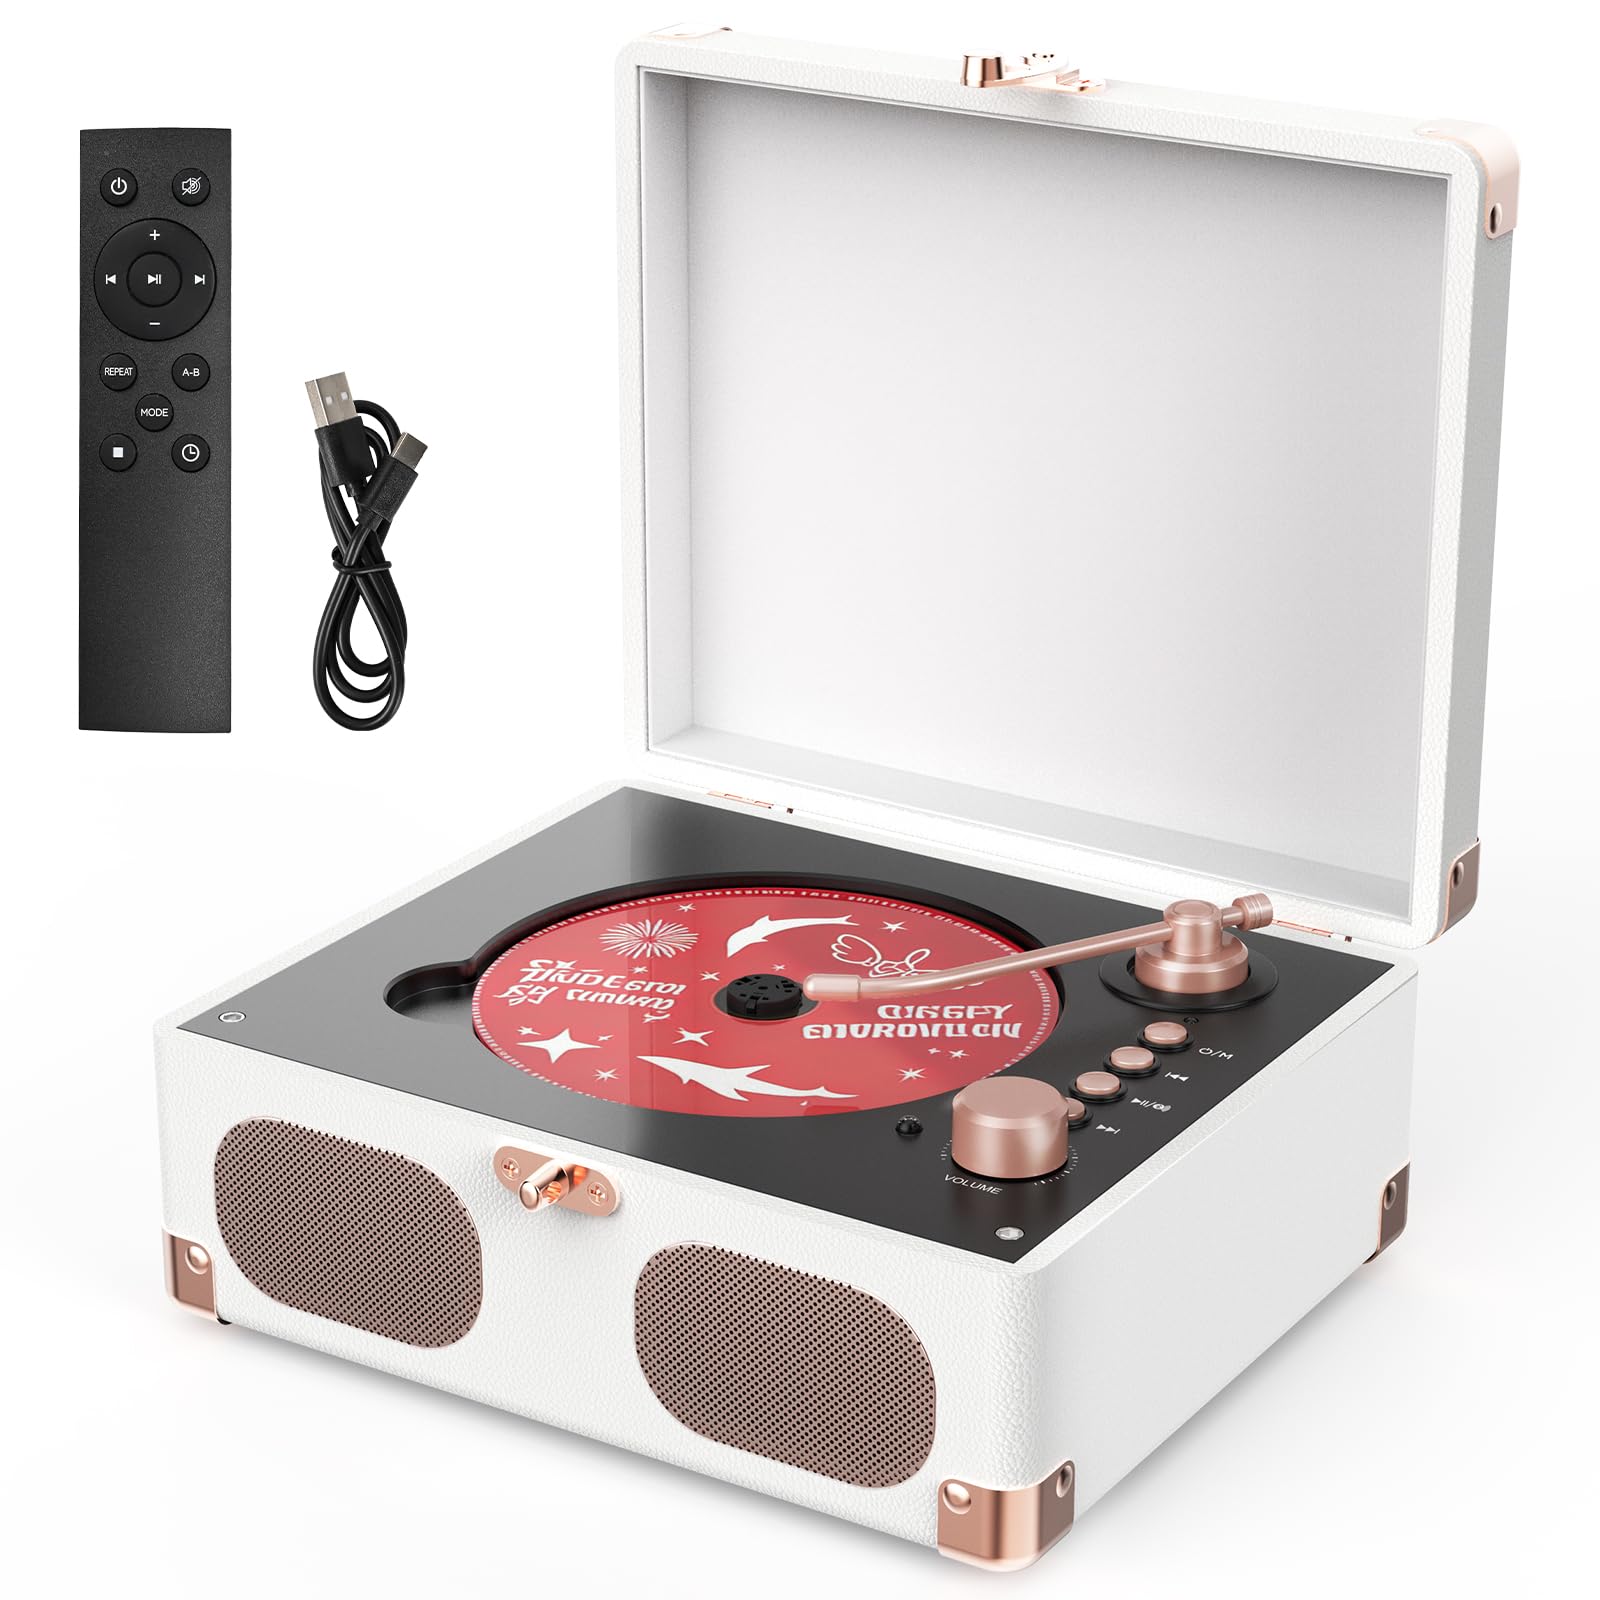
Image 1.1: The RetroAudio C7-White Portable CD Player with Speakers.
Key Features:
- Multifunctional Playback: Supports CD, CD-R, CD-RW, MP3, WMA, and WAV formats.
- Bluetooth 5.4: Low-latency Bluetooth for both input (receiving music from external devices) and output (transmitting CD audio to Bluetooth speakers/headphones).
- Integrated Speakers: Built-in stereo speakers for direct audio playback.
- Versatile Connectivity: Includes USB playback, AUX input for external audio sources, and a headphone jack.
- Remote Control: For convenient operation from a distance.
- Portable Design: Compact suitcase-style form factor for easy placement in various home settings.
2. Product Components and Controls
Familiarize yourself with the parts and controls of your RetroAudio CD Player.

Image 2.1: Front and Rear Panel Controls and Ports.
Front Panel Controls:
- CD On/Off Control Arm: Push to the left to start CD play; return to original position to turn off CD play.
- Power On/Off / Mode Control Button: Long press to power on/off the unit. Short press to change playback mode.
- Previous Sound Skip Button: Skips to the previous track.
- Play/Pause / BT Out Control Button: Short press to play/pause. Long press to activate Bluetooth output (available during CD, AUX in, USB modes).
- Next Sound Skip Button: Skips to the next track.
- Volume Control Dial: Adjusts the audio volume.
Rear Panel Ports:
- Speaker: Integrated stereo speakers.
- DC 5V Input Port: For power connection.
- Charging Indicator: Light indicates charging status.
- Headphone Jack: For private listening.
- AUX In Port: Connect external audio devices.
- USB Input Port: For USB drive playback.
What's in the Box:
- CD Player x 1
- Remote Control x 1 (Battery not included)
- Charging Cable x 1
- Instruction Manual x 1
3. Setup Instructions
3.1 Power Connection
- Connect the provided charging cable to the DC 5V Input Port (8) on the rear of the CD player.
- Plug the other end of the charging cable into a compatible USB power adapter (not included) or a USB port.
- The Charging Indicator (9) will illuminate to show the unit is receiving power or charging.
3.2 Initial Charging
For optimal battery life, it is recommended to fully charge the CD player for 0.5 to 1 hour before the first use.
3.3 Remote Control Battery Installation
Insert 2 AAA batteries (not included) into the remote control, ensuring correct polarity.
4. Operating Instructions
4.1 Power On/Off
- To power on, long press the Power On/Off / Mode Control Button (2).
- To power off, long press the Power On/Off / Mode Control Button (2) again.
4.2 Mode Selection
Short press the Power On/Off / Mode Control Button (2) to cycle through available modes: CD, Bluetooth Input, USB, AUX Input.

Image 4.1: The CD player supports multiple playback modes.
4.3 CD Playback
- Open the CD compartment lid.
- Place a CD (CD, CD-R, CD-RW) onto the spindle, label side up.
- Close the CD compartment lid.
- Push the CD On/Off Control Arm (1) to the left to start CD playback.
- Use the Previous Sound Skip Button (3) and Next Sound Skip Button (5) to navigate tracks.
- Press the Play/Pause Button (4) to pause or resume playback.
- Adjust volume using the Volume Control Dial (6).
- To stop CD playback, return the CD On/Off Control Arm (1) to its original position.
4.4 Bluetooth Functionality (V5.4)
The device supports both Bluetooth input (receiving audio) and Bluetooth output (transmitting audio).

Image 4.2: Bluetooth 5.4 for both receiving and transmitting audio.
Bluetooth Input (Receiving Audio):
- Short press the Mode Control Button (2) until the unit is in Bluetooth Input mode. The Bluetooth indicator will flash.
- On your external Bluetooth device (e.g., smartphone), search for "RetroAudio" in the Bluetooth settings.
- Select "RetroAudio" to pair. Once connected, the Bluetooth indicator will stop flashing.
- You can now play audio from your external device through the CD player's speakers.
Bluetooth Output (Transmitting Audio):
- Ensure your external Bluetooth speaker or headphones are in pairing mode.
- While in CD, AUX in, or USB mode, long press the Play/Pause / BT Out Control Button (4). The Bluetooth indicator will flash.
- The CD player will search for and connect to nearby Bluetooth audio devices. Once connected, the Bluetooth indicator will stop flashing.
- Audio from the CD player will now be transmitted to your connected Bluetooth speaker or headphones.
Video 4.1: Demonstration of the RetroAudio CD Player's features, including Bluetooth connectivity and various playback modes.
4.5 USB Playback
- Insert a USB flash drive containing MP3, WMA, or WAV audio files into the USB Input Port (12).
- Short press the Mode Control Button (2) until the unit is in USB mode.
- Playback will begin automatically. Use the skip and play/pause buttons for control.
4.6 AUX Input
- Connect an external audio device (e.g., smartphone, laptop) to the AUX In Port (11) using a 3.5mm audio cable (not included).
- Short press the Mode Control Button (2) until the unit is in AUX Input mode.
- Play audio from your external device. The sound will be output through the CD player's speakers.
4.7 Headphone Jack
Plug 3.5mm headphones into the Headphone Jack (10) for private listening. The internal speakers will automatically mute when headphones are connected.
4.8 Remote Control Operation
The remote control allows for convenient operation of all playback functions (power, mode, play/pause, skip tracks, volume) within a range of 0 to 5 meters.
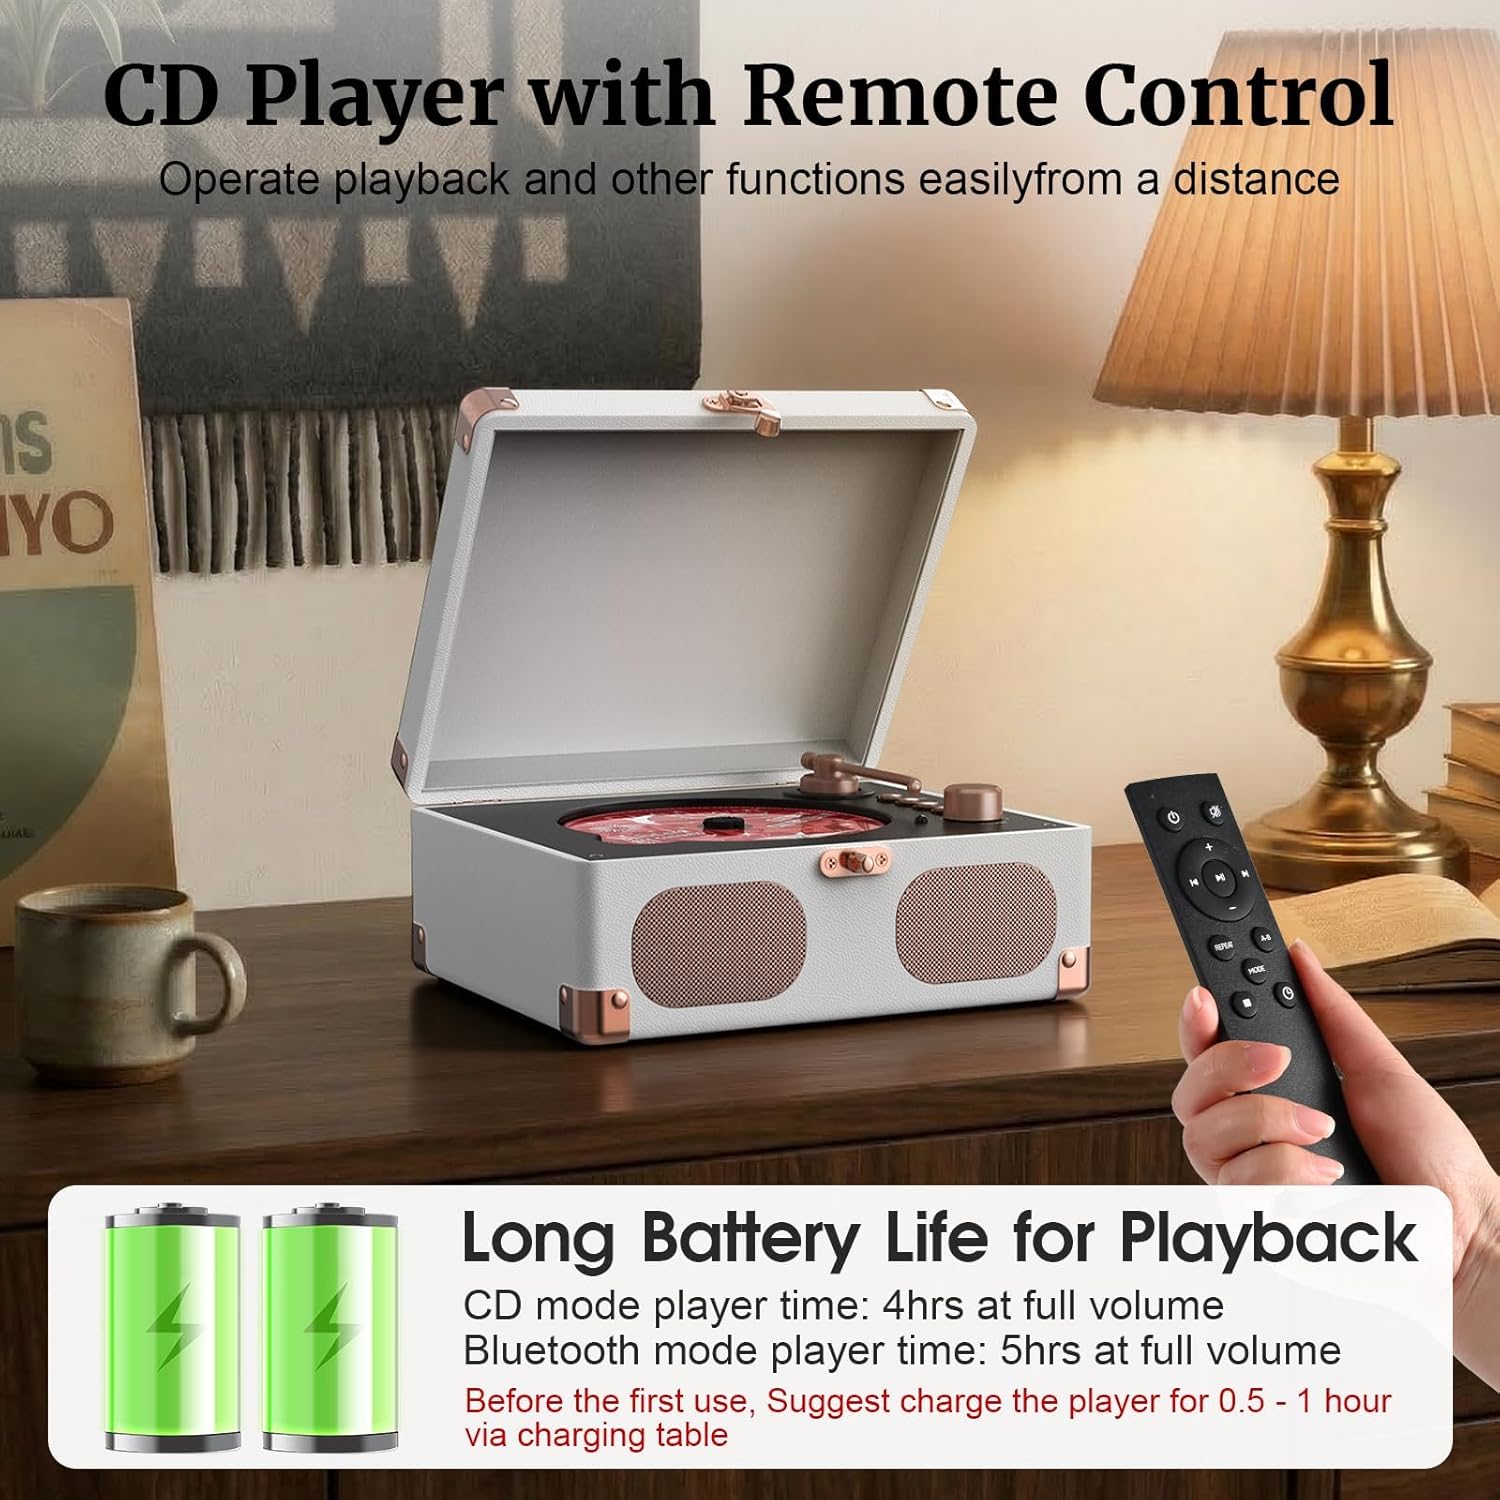
Image 4.3: Operate your CD player with the included remote control.
5. Maintenance
5.1 Cleaning the Unit
- Wipe the exterior of the unit with a soft, dry cloth.
- Do not use abrasive cleaners, waxes, or solvents as they may damage the finish.
- Keep the CD compartment clean and free of dust.
5.2 CD Care
- Handle CDs by their edges to avoid fingerprints.
- Store CDs in their cases when not in use to prevent scratches.
- Clean dirty CDs with a soft, lint-free cloth, wiping from the center outwards.
5.3 Battery Care
- If the unit will not be used for an extended period, ensure it is fully charged before storage.
- For the remote control, remove batteries if not used for a long time to prevent leakage.
6. Troubleshooting
If you encounter issues with your CD player, refer to the following common problems and solutions.
| Problem | Possible Cause | Solution |
|---|---|---|
| Unit does not power on. | No power connection or low battery. | Ensure the charging cable is securely connected and the unit is charged. |
| CD does not play. | CD inserted incorrectly, dirty/scratched CD, or control arm not engaged. | Ensure CD is clean and correctly placed. Push the CD control arm to the left. Verify CD format is supported. |
| No sound from speakers. | Volume too low, headphones connected, or incorrect mode. | Increase volume. Disconnect headphones. Ensure correct playback mode is selected. |
| Bluetooth pairing fails. | Device not in pairing mode, too far, or interference. | Ensure both devices are in pairing mode and within range. Try restarting both devices. |
| Remote control not working. | Dead batteries or obstruction. | Replace batteries. Ensure no obstacles between remote and player. |
7. Specifications
Detailed technical specifications for the RetroAudio C7-White CD Player.
| Feature | Detail |
|---|---|
| Brand | RetroAudio |
| Model Number | C7-White |
| Color | White |
| Connectivity Technology | Bluetooth |
| Bluetooth Version | 5.4 |
| Special Features | Wireless, Portable |
| Included Components | Remote Control |
| Number Of Discs | 1 |
| Supported Audio Formats | CD, CD-R, CD-RW, MP3, WMA, WAV |
| Connector Type | 3.5mm Jack (AUX In, Headphone Out) |
| Number of Channels | 2 (Stereo) |
| Media Format Type | Audio CD |
| Compatible Devices | Speakers, Headphones, Smartphones, Laptops |
| Manufacturer | RetroAudio |
8. Warranty and Support
8.1 Warranty Information
This RetroAudio CD Player comes with a 1 Year Manufacturer Warranty. Please retain your proof of purchase for warranty claims.
8.2 Customer Support
For further assistance, technical support, or warranty inquiries, please visit the official RetroAudio website or contact their customer service department. Contact details can typically be found on the product packaging or the brand's official online presence.