1. Product Overview
The Reboot RBM2000 is a versatile 5-in-1 multi-process welding machine designed for various welding applications. It supports MIG (Gas), Flux Core (Gasless), Stick (MMA), Lift TIG, and aluminum welding with a spool gun. This welder operates on both 120V and 240V input power, making it suitable for a range of environments.
The complete kit includes a factory-matched spool gun, ensuring compatibility and reliable performance for aluminum welding. Beyond aluminum, the spool gun can also be used for applying brushed finishes on steel and stainless steel, aiding in metal repair, maintenance, and texture blending.
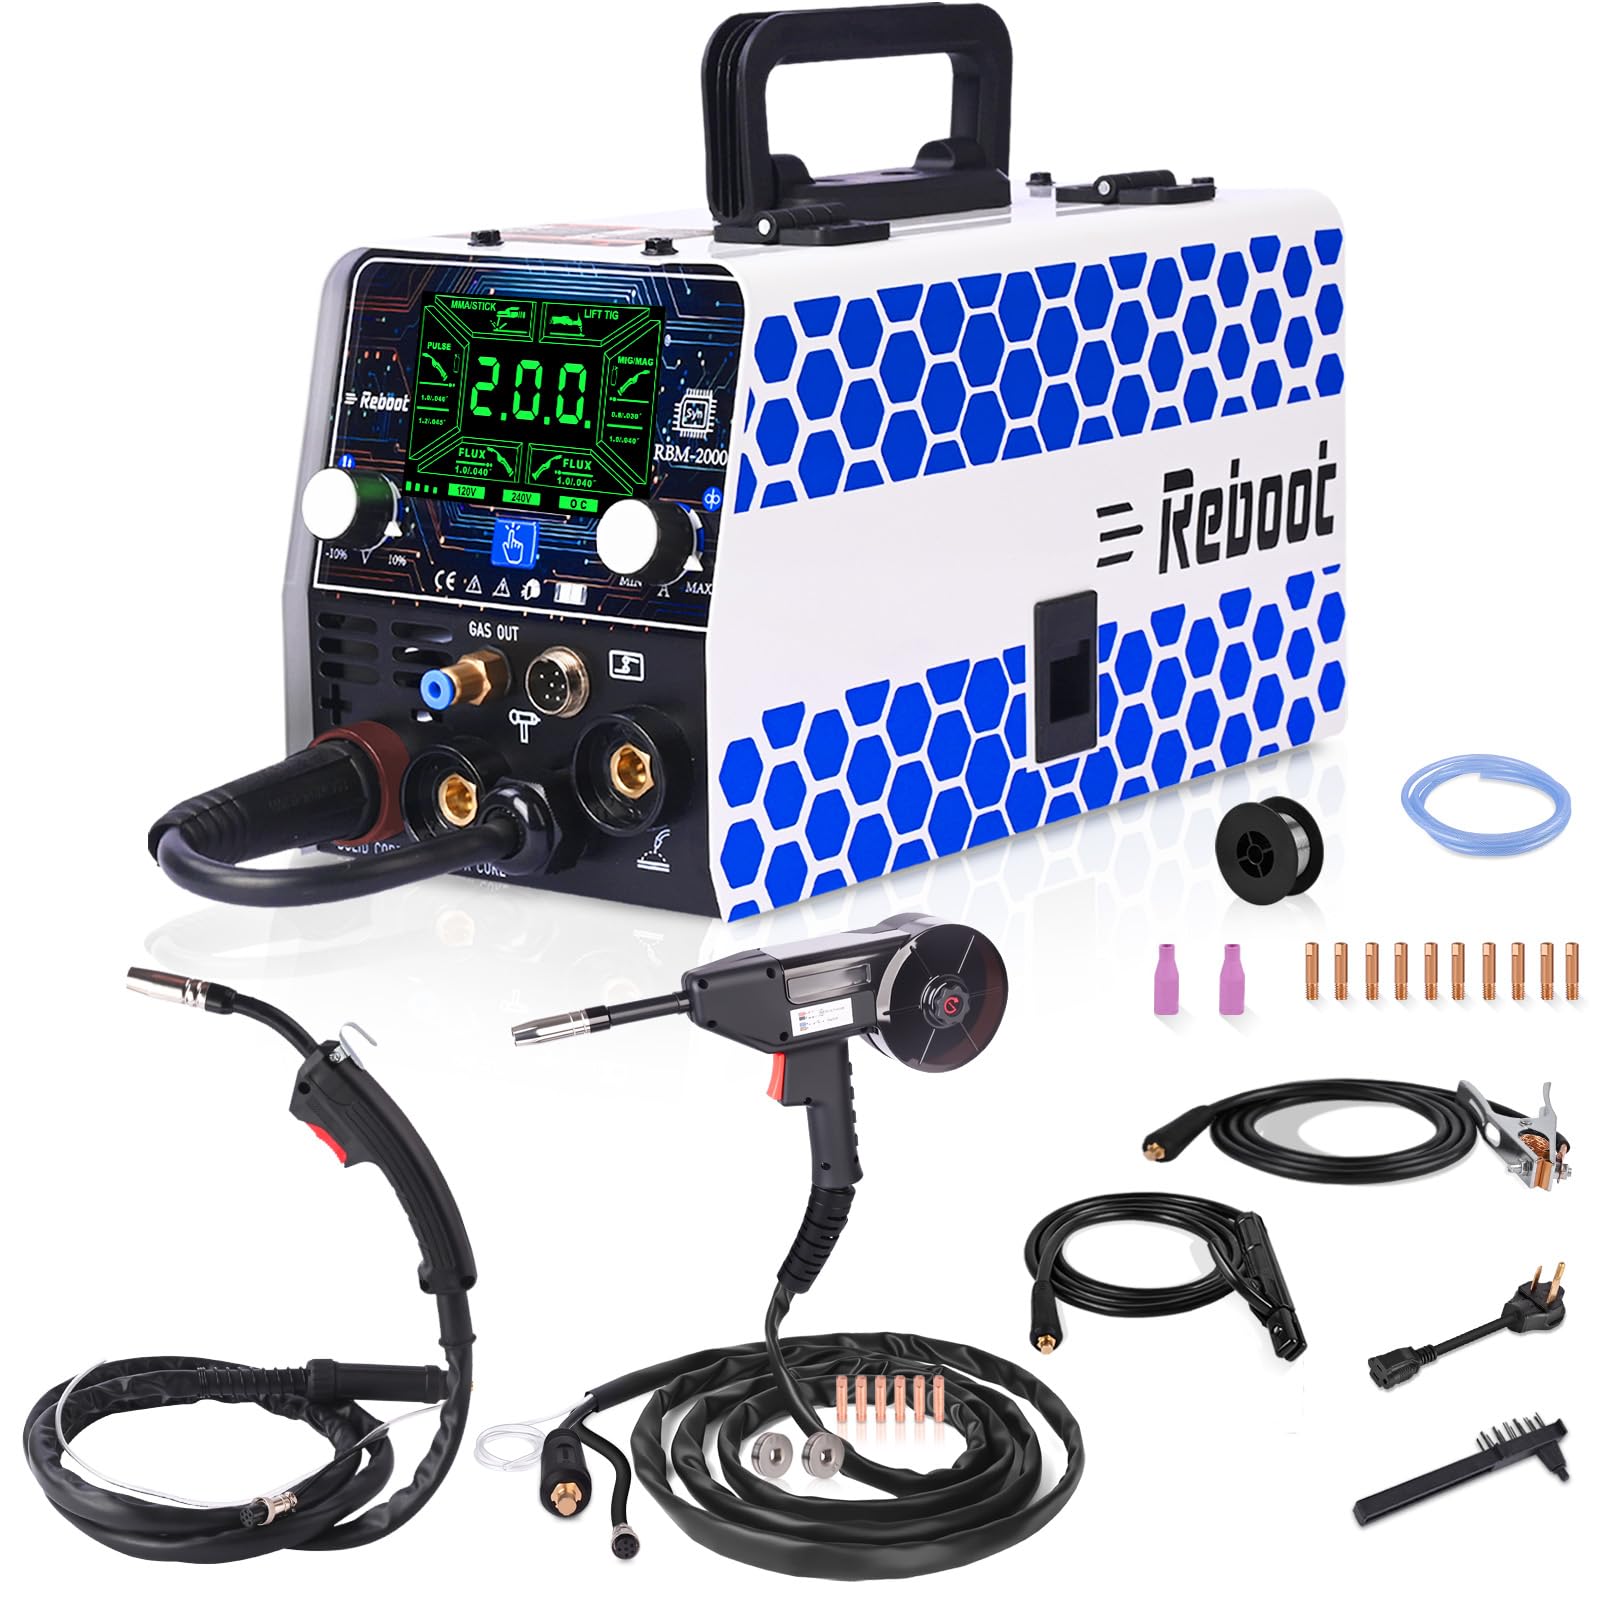
Figure 1: Reboot RBM2000 5-in-1 Welder with included accessories and dimensions.
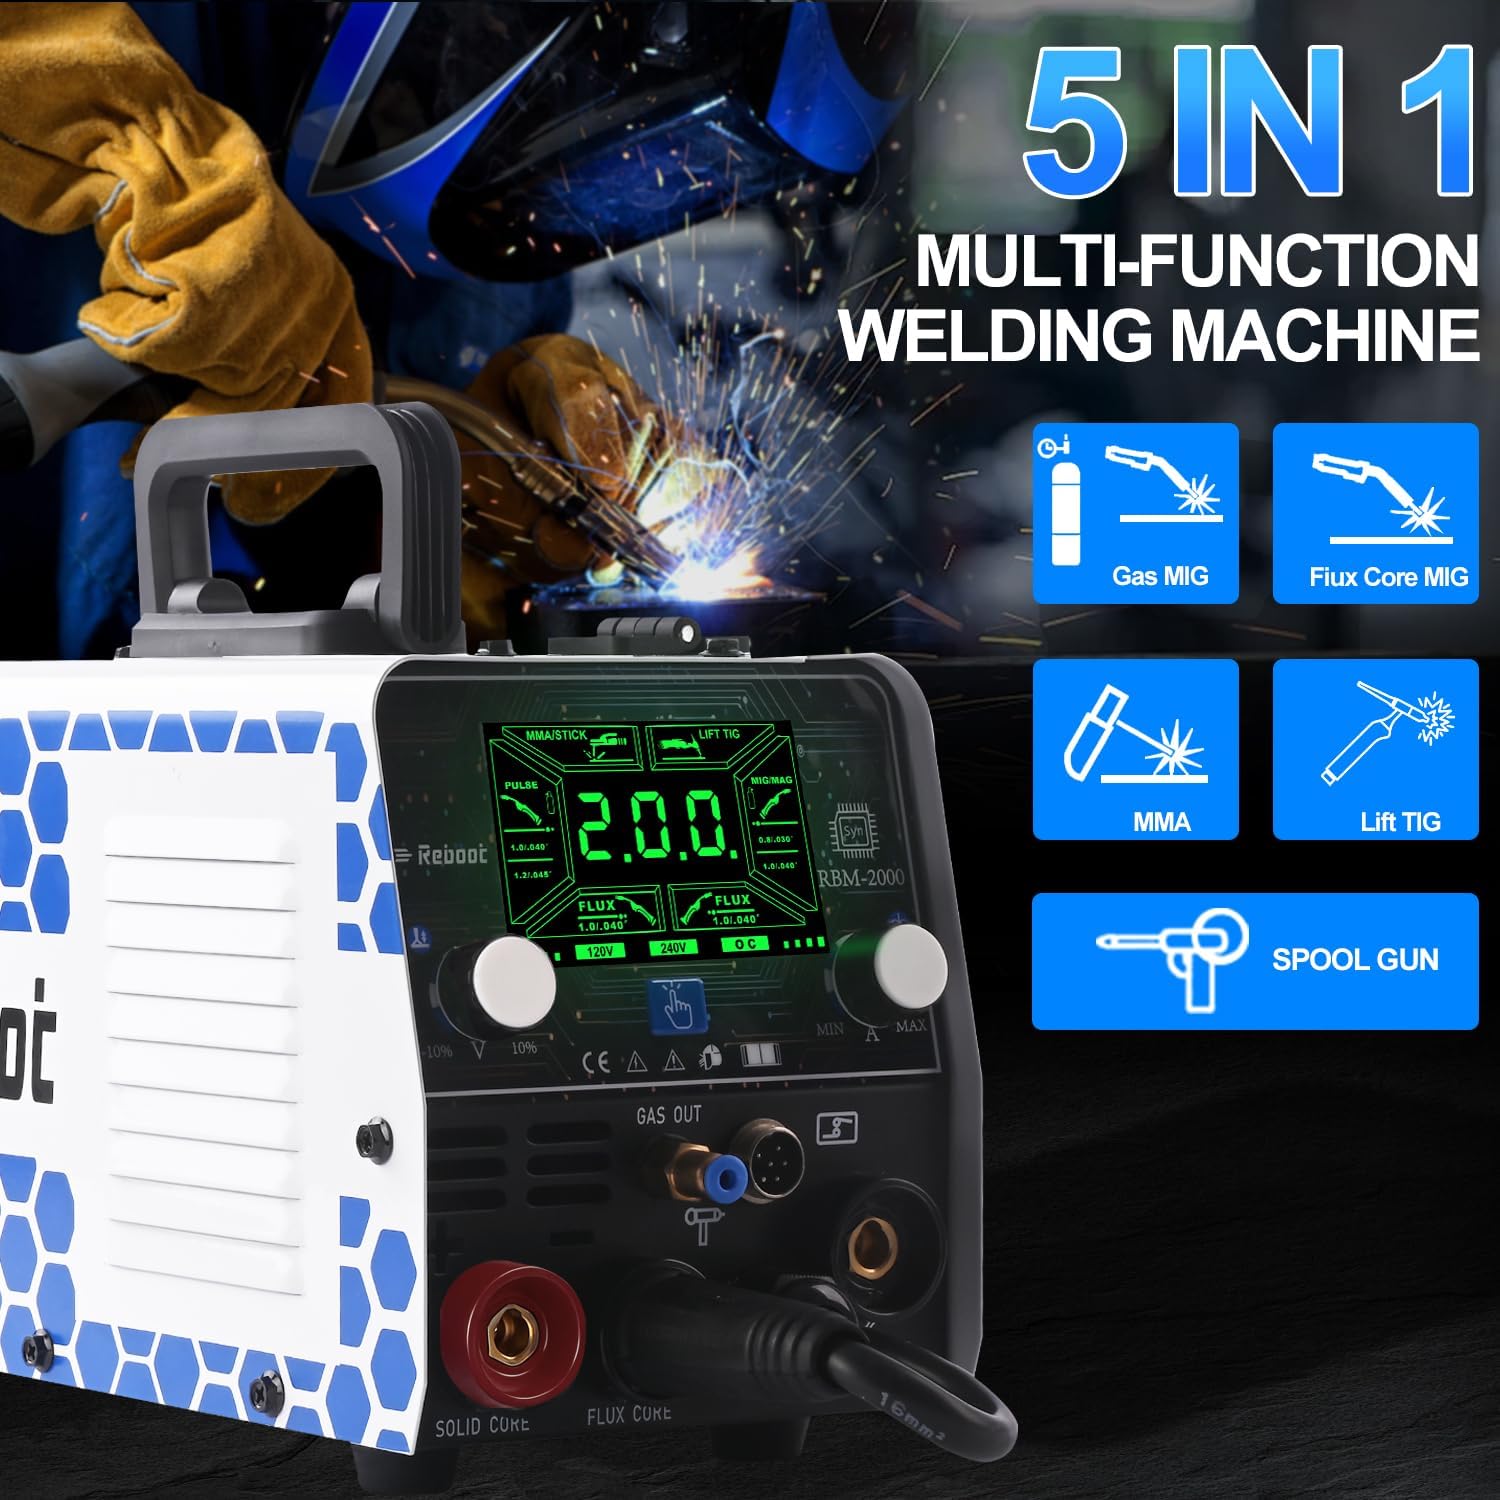
Figure 2: The RBM2000 welder supports five welding processes: Gas MIG, Flux Core MIG, MMA, Lift TIG, and Spool Gun welding.
2. Setup Instructions
2.1 Unpacking and Initial Inspection
Carefully unpack the welder and all accessories. Inspect for any signs of damage during transit. Ensure all components listed in the packing list are present.
2.2 Connecting the Spool Gun
The spool gun is essential for aluminum welding. Follow these steps to install the wire and connect the spool gun to the RBM2000 welder.
Video 1: This video provides a step-by-step guide on setting up the Reboot RBM2000 welder with the spool gun. It covers installing the wire spool, connecting the spool gun to the welder, and attaching the gas hose.
2.2.1 Spool Gun Wire Installation
- Unscrew the knob clockwise to open the lid of the spool gun.
- Install the spool spacer to prevent wire slippage.
- Install the welding wire onto the spool gun.
- Close the lid and tighten the knob counter-clockwise.

Figure 3: Detailed steps for wire installation in the spool gun.
2.2.2 Spool Gun Connection to Welder
Connect the spool gun cable to the designated port on the front panel of the RBM2000 welder. Ensure a secure connection.
2.3 Main Unit Wire Feeding Construction (for MIG/Flux Core)
For MIG and Flux Core welding using the main unit, follow these steps for wire installation:
- Open the lid of the wire feeder compartment.
- Install the wire feed drive roller appropriate for your wire size.
- Feed the welding wire from the wire spool into the wire feeder port.
- Close the lid and tighten the nut to secure the wire spool.

Figure 4: Steps for wire feeding construction in the main welder unit.
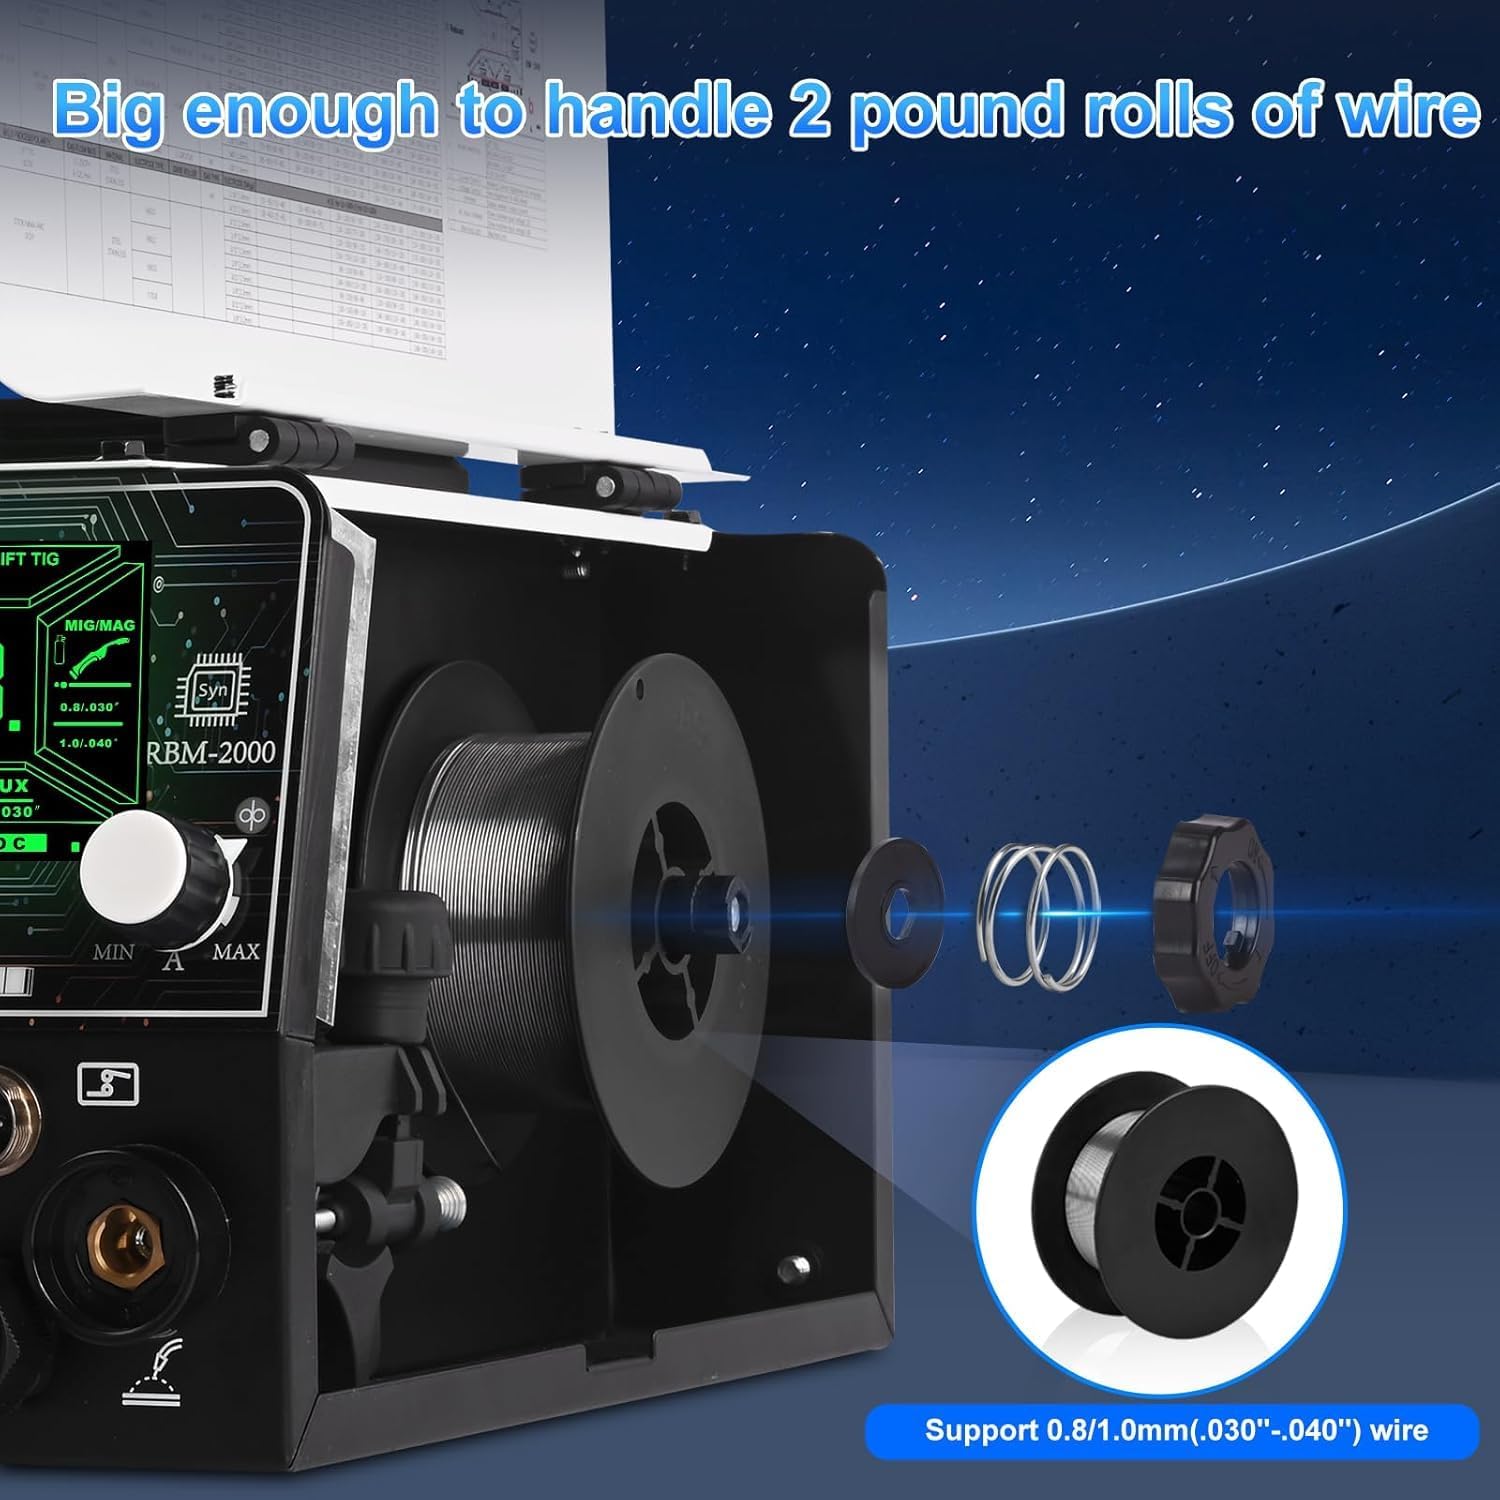
Figure 5: The RBM2000 supports 2-pound rolls of 0.8/1.0mm (.030"-.040") wire.
2.4 Gas Connection (for MIG and Lift TIG)
For Gas MIG and Lift TIG welding, connect the gas hose to the 'GAS OUT' port on the welder and to your gas cylinder regulator. Ensure all connections are tight to prevent gas leaks.

Figure 6: Close-up of the welder's connections, including the gas out port.
2.5 Power Connection
Connect the welder to a suitable 120V or 240V power outlet. The machine will automatically detect the input voltage.
3. Operating Instructions
3.1 Control Panel Overview
The RBM2000 features a synergic control panel with a green screen display for improved outdoor visibility. Use the control knobs and buttons to select welding modes and adjust parameters.
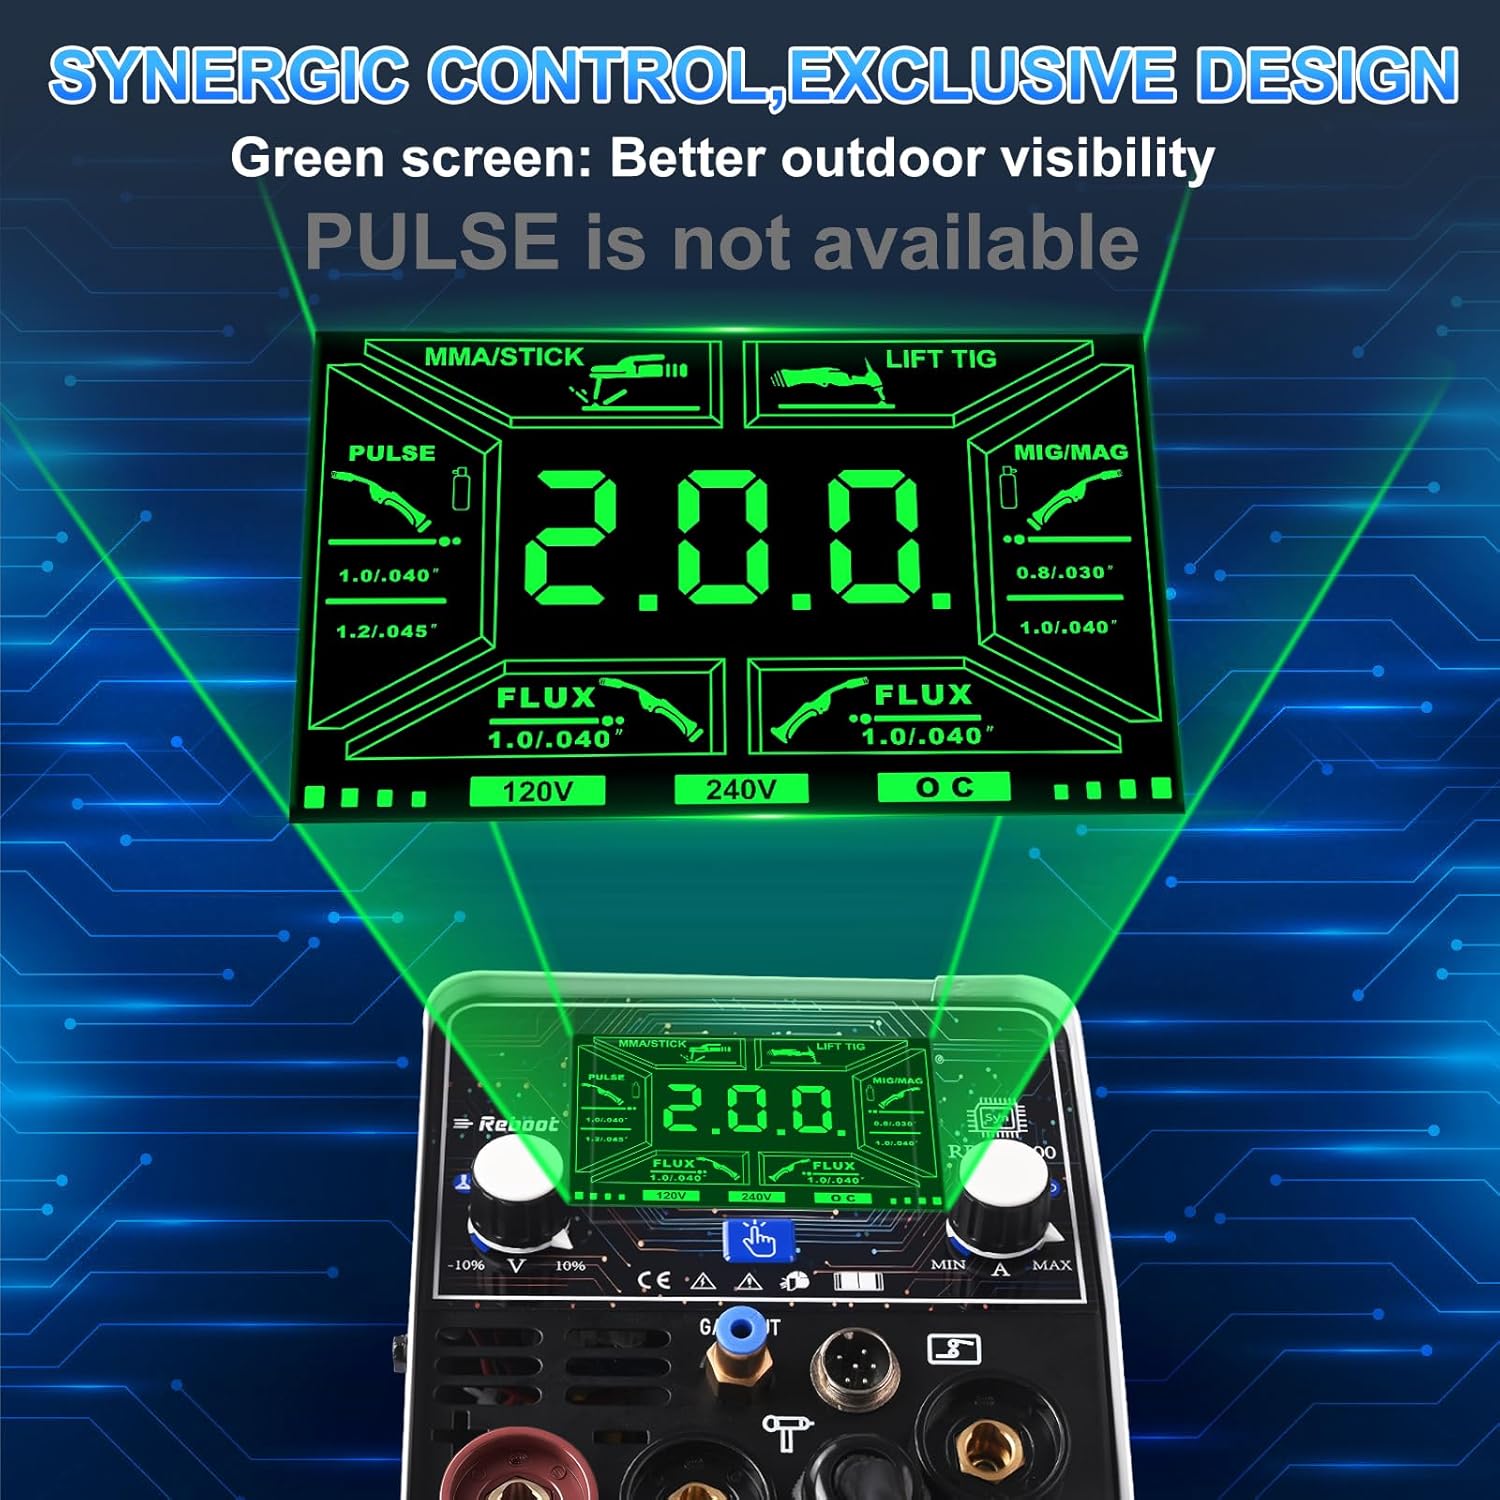
Figure 7: Synergic control panel of the RBM2000 welder.
3.2 Selecting Welding Modes
The RBM2000 supports multiple welding processes. Select the desired mode using the control panel:
- MIG (Gas): For welding with shielding gas.
- Flux Core (Gasless): For welding without external shielding gas.
- Stick (MMA): For manual metal arc welding with coated electrodes.
- Lift TIG: For TIG welding with a lift arc start.
- Spool Gun: Specifically for aluminum welding with the dedicated spool gun.

Figure 8: Setup configurations for various welding modes.
3.3 Recommended Settings for Aluminum Welding
For optimal results when welding 2-4mm aluminum, use the CO2/0.8mm mode with voltage set at -3. Adjust amperage to 150A for 120V input or 200A for 240V input to achieve a stable arc and quality weld.

Figure 9: Recommended settings for aluminum welding with the spool gun.
Video 2: This video demonstrates aluminum welding using the Reboot RBM2000 welder with the spool gun. It shows the welding process and the resulting weld beads on different thicknesses of aluminum plate, along with recommended settings.
3.4 Lift TIG Welding
The Lift TIG function provides a clean arc start for precise welding, particularly on materials like stainless steel.

Figure 10: Lift TIG welding on stainless steel.
3.5 Stick (MMA) Welding
The Stick welding mode is suitable for various applications, including outdoor metal maintenance.

Figure 11: Stick (MMA) welding for outdoor maintenance.
4. Maintenance
Regular maintenance ensures the longevity and optimal performance of your Reboot RBM2000 welder.
4.1 Cleaning
- Periodically clean the exterior of the welder with a dry cloth.
- Ensure ventilation openings are free from dust and debris to prevent overheating.
- Clean the welding gun nozzle and contact tip regularly to remove spatter.
4.2 Consumable Replacement
Inspect and replace consumables such as contact tips, nozzles, and electrodes as needed. Worn consumables can affect weld quality and machine performance.
4.3 Storage
When not in use, store the welder in a clean, dry environment, away from excessive dust and moisture.
5. Troubleshooting
This section addresses common issues you might encounter with your RBM2000 welder.
5.1 No Power
- Check the power cord connection to both the welder and the power outlet.
- Verify that the power outlet is functional and receiving power.
- Ensure the welder's power switch is in the 'ON' position.
5.2 Poor Weld Quality
- Inconsistent Arc: Check for proper wire feed speed and voltage settings. Ensure the contact tip is clean and correctly sized for the wire.
- Porosity (MIG/TIG): Verify gas flow and ensure there are no leaks in the gas line. Check for proper shielding gas type.
- Excessive Spatter (MIG/Flux Core): Adjust voltage and wire feed speed. Ensure proper stick-out.
- Lack of Penetration: Increase amperage or decrease travel speed. Ensure proper joint preparation.
5.3 Wire Feeding Issues
- Check for tangled wire on the spool.
- Ensure the drive roller tension is correctly set (not too loose or too tight).
- Inspect the liner for blockages or damage.
- Verify the contact tip is not clogged or worn.
6. Specifications
| Feature | Specification |
|---|---|
| Manufacturer | Reboot |
| Item Weight | 21.1 pounds |
| Package Dimensions | 15 x 13 x 11 inches |
| Item Model Number | RBM2000 & SPOOL GUN |
| Power Source | AC |
| Included Components | RBM2000 MIG Welder Machine |
| Batteries Required? | No |
| Date First Available | January 30, 2026 |
7. Warranty and Support
The Reboot RBM2000 welder comes with a comprehensive warranty on the complete system for long-term peace of mind. For specific warranty details, please refer to the warranty card included with your product or contact Reboot customer support.
Expert support is available from Reboot welding specialists for your specific projects. For assistance, please visit the official Reboot website or contact their customer service department.