
1. Product Overview
The Godox V1 Mid C is a 55Ws 2.4G TTL round head speedlite designed for Canon cameras. It features a touchscreen interface for intuitive control, HSS up to 1/8000s, and is powered by a 2200mAh Li-ion battery providing approximately 650 full-power shots with a 1.7s recycle time. The flash also includes a 10-level LED modeling lamp for versatile lighting control.
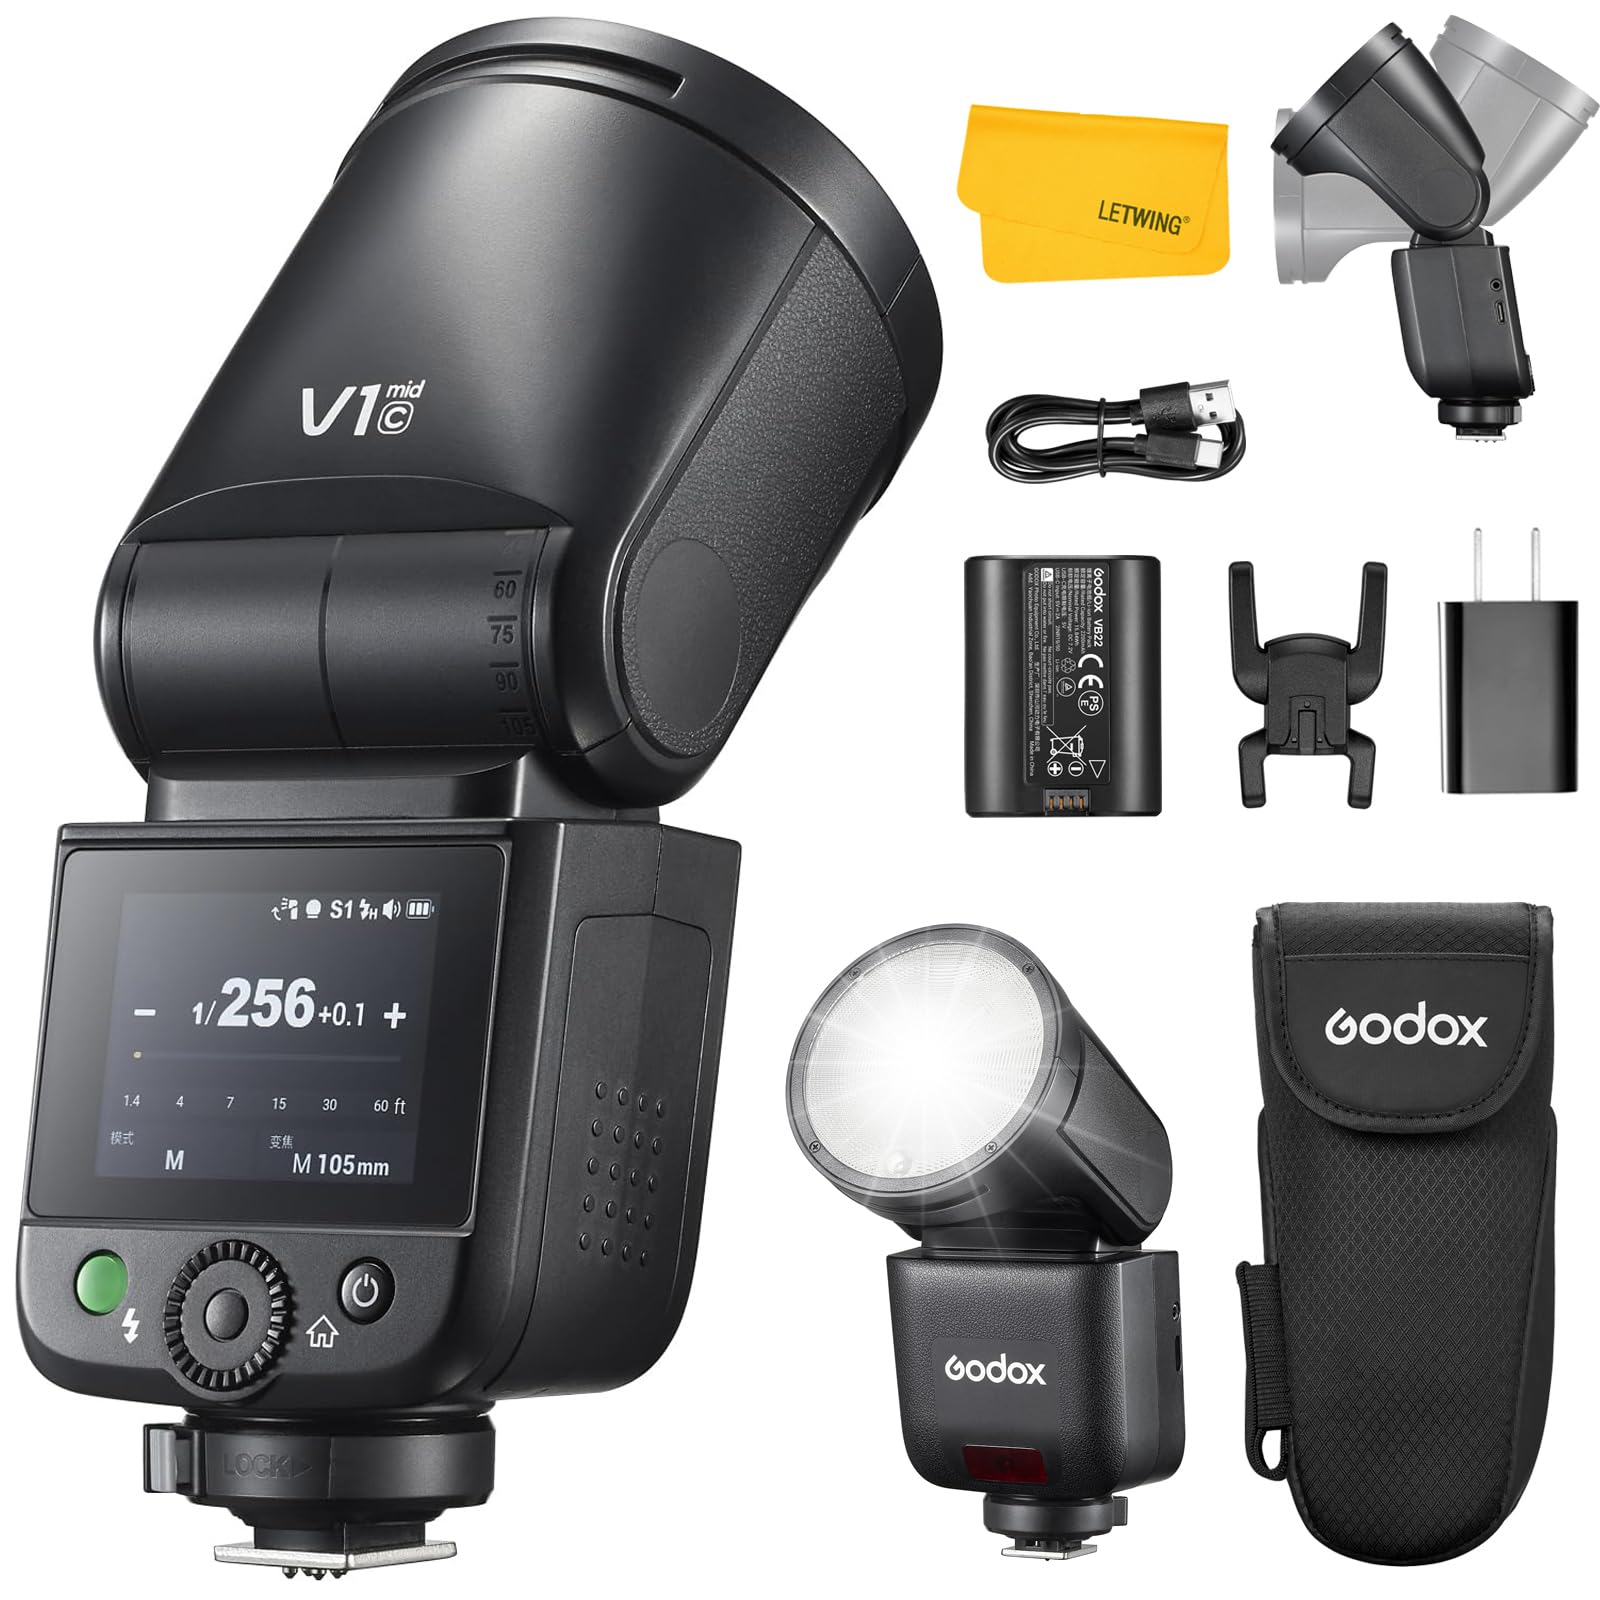
Image: The Godox V1 Mid C flash unit, showcasing its round head design and compact form factor.
2. What's in the Box
Upon opening the package, ensure all items are present and in good condition:
- 1x GODOX V1Mid C Canon Flash
- 1x Storage Bag
- 1x Lithium Battery (VB22)
- 1x Adapter
- 1x Mini Stand
- 1x USB-C Charging Cable
- 1x Cleaning Cloth

Image: Visual representation of the Godox V1 Mid C flash unit and its included accessories.
3. Setup
3.1. Installing the Flash on Camera
- Hold the hot-shoe lock button and rotate it left to unlock the mounting foot.
- Slide the flash unit into your camera's hot shoe.
- Rotate the lock ring right to securely tighten the flash onto the camera.
Video: This video demonstrates the installation of the Godox V1 Mid C flash onto a camera's hot shoe and battery insertion. (Source: Godox V1mid Round Head Camera Flash Operation Tutorial)
3.2. Battery Installation
- Open the battery compartment cover on the side of the flash unit.
- Insert the VB22 Lithium Battery according to the direction indicated inside the compartment.
- Push the battery firmly into place and close the battery cover until it clicks securely.

Image: The VB22 Lithium Battery being inserted into the Godox V1 Mid C flash unit, highlighting its USB-C charging capability.
4. Operating Instructions
4.1. Power On/Off
To power on the flash, press and hold the power button until the screen illuminates. To power off, press and hold the power button again. The touchscreen will display a "SET" icon; rotate the dial clockwise or tap the screen to unlock and access functions.
4.2. Touchscreen Interface
The V1 Mid C features a responsive color touchscreen for quick adjustments. Swipe down to open the function menu, and swipe up to return to the main screen. Swipe left to enter mode selection and swipe right to return to the mode screen.

Image: A hand interacting with the intuitive touchscreen interface of the Godox V1 Mid C flash, showing various settings.
4.3. Dial and Buttons
In addition to the touchscreen, the flash has a dial and buttons for control. Double-press the power button to enter menu options. Single-press the flash button to test a flash. Press the SET button to select an option, then turn the dial to adjust values.
4.4. Flash Modes (TTL, Manual, Multi)
- TTL Mode: Swipe down to switch to TTL mode. Tap +/- or drag the yellow slider to adjust exposure compensation.
- Manual Mode (M Mode): Tap the "+" or "-" icons or slide the bar for power changes. Press SET to select, then turn the dial to adjust power.
- Multi Mode (Stroboscopic Flash): Swipe down to open stroboscopic flash settings. Tap +/- or drag the yellow slider to adjust flash power, flash count, frequency (Hz), and zoom.

Image: Examples of creative photography using the Godox V1 Mid C's professional flash modes and sync capabilities.
4.5. Zoom Setting
The flash coverage can be set automatically (Auto Zoom Mode) or manually adjusted from 24mm to 105mm (Manual Zoom Mode) via the touchscreen.
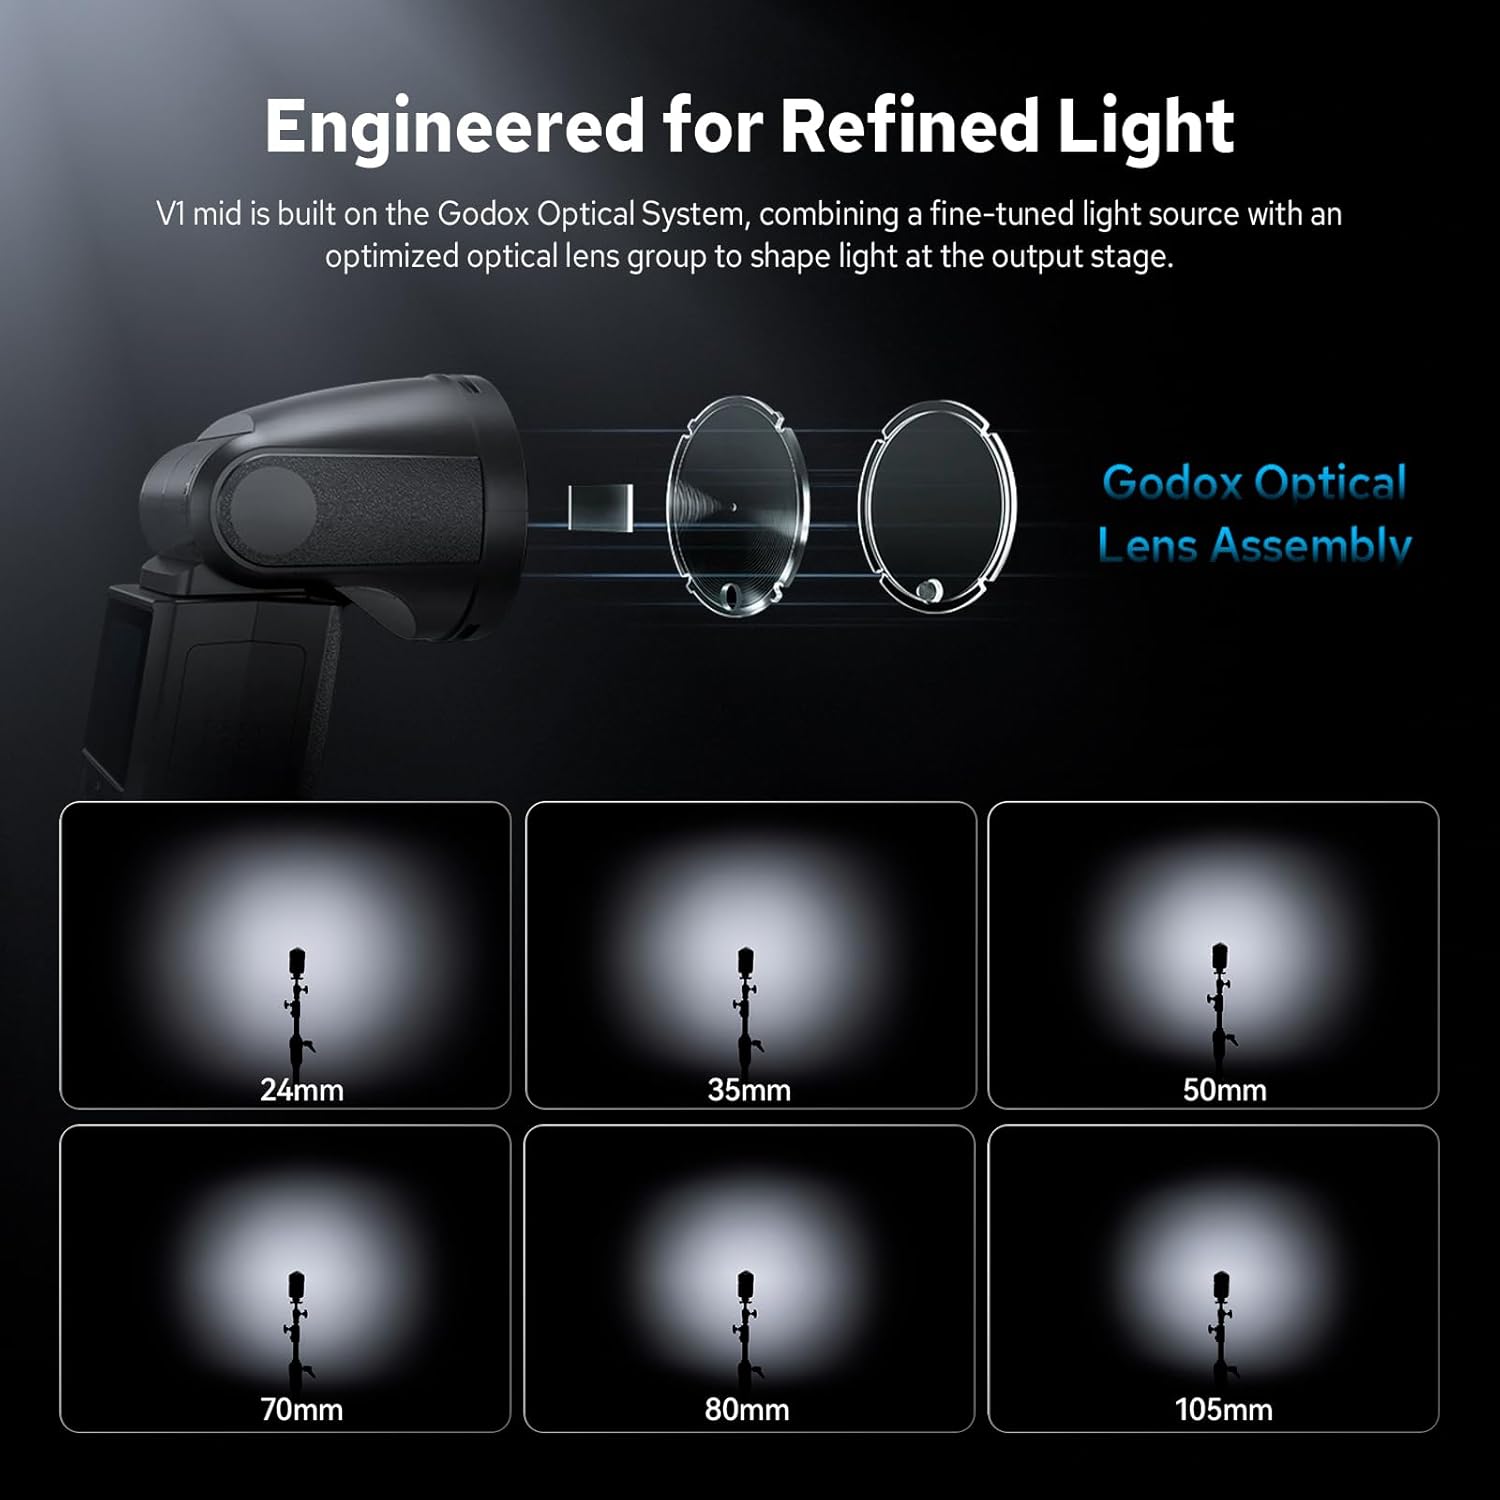
Image: Illustration of the Godox Optical Lens Assembly and the resulting even illumination at various zoom settings (24mm, 35mm, 50mm, 70mm, 80mm, 105mm).
4.6. Wireless Modes (Wi-Off, Sender, Receiver)
The V1 Mid C integrates with the Godox 2.4G Wireless X System. You can select Wi-Off, Sender, or Receiver mode from the menu. In Sender mode, it can pair with other Godox 2.4GHz wireless flashes. In Receiver mode, it syncs wirelessly with an X3/X3Pro trigger. Adjust single-group settings by pressing and holding the group box to switch between M/TTL/OFF, then tap +/- to adjust flash power or exposure compensation. Drag the slider for quick adjustments. Tap "+" or "-" outside any group box to adjust all groups at once.

Image: Diagram illustrating the Godox 2.4G Wireless X System with multiple flash units and a photographer, showing groups, channels, and transmission distance.
Video: This video provides an introduction to the Godox V1mid Round Head Flash, demonstrating its features and use in various shooting scenarios. (Source: Godox V1mid Round Head Flash Introduction)
4.7. Sync Modes
The flash supports Front-curtain sync, High-speed sync (HSS up to 1/8000s), and Rear-curtain sync. These can be selected from the function menu. You can also manually set the channel and ID, or use wireless sync.
4.8. Optical Trigger
- S1 Mode: Fires in sync with the master flash's first flash.
- S2 Mode: Fires in sync with the master flash's second flash, ignoring the pre-flash.
4.9. Modeling Light
The built-in LED modeling light offers 10 adjustable brightness levels. This allows for previewing lighting effects and shadows in real-time, or can serve as a fill light.
4.10. Screen Lock
To prevent accidental changes, the screen can be locked. Press and hold the screen or the SET button for 2 seconds to unlock.
5. Maintenance
5.1. Battery Charging
The VB22 Lithium Battery features a direct USB-C charging port. Connect the provided USB-C charging cable to the battery and a suitable power source (adapter included) to charge. The battery supports 650 full-power flashes and has a 1.7s recycle time.
5.2. Cleaning
Use the provided cleaning cloth to gently wipe the flash unit and screen. Avoid using harsh chemicals or abrasive materials that could damage the surface.
6. Troubleshooting
- Flash not firing: Ensure the battery is charged and correctly installed. Check camera hot shoe connection. Verify flash mode and wireless settings are correct.
- Inconsistent flash output: Check battery level. Ensure flash head is properly aimed. Verify camera and flash settings (TTL, Manual power).
- Wireless sync issues: Confirm both flash and trigger are set to the same channel and ID. Ensure they are within the transmission range (approx. 70m).
- Screen unresponsive: Try locking and unlocking the screen (press and hold screen or SET button for 2 seconds). If issue persists, power cycle the unit.
- Overheating: Excessive continuous firing may cause the flash to overheat. Allow the unit to cool down before resuming use.
7. Specifications
| Brand | GODOX |
| Model Number | V1 Mid C |
| Compatible Mountings | Canon cameras |
| Camera Flash Type | Hotshoe |
| Flash Sync Speed | 1/8000s (HSS) |
| Connectivity Technology | 2.4G Wireless |
| Battery Type | 7.2V/2200mAh Lithium (VB22) |
| Full Power Flashes | Approx. 650 |
| Recycle Time | 1.7s |
| LED Modeling Lamp | 2W, 10 adjustable brightness levels |
| Exposure Control Type | TTL, Manual |
| Hardware Interface | USB Type C (for battery charging) |
| Dimensions (WxHxD) | 6.61" x 2.83" x 2.83" (approx.) |
| Net Weight (with battery) | Approx. 413g |

Image: A detailed table outlining the technical specifications of the Godox V1 Mid C flash unit.
8. Warranty and Support
The Godox V1 Mid C Flash comes with a 1-Year Warranty from the date of purchase. This warranty covers manufacturing defects and malfunctions under normal use. Please retain your proof of purchase for warranty claims.
For technical support, service, or warranty inquiries, please contact GODOX customer service through their official website or the retailer where the product was purchased. Provide your product model number (V1 Mid C) and serial number (if applicable) for faster assistance.


