
Introduction
Thank you for choosing the Clicgear Model 4.5 Golf Push Cart. This manual provides essential information for the proper setup, operation, maintenance, and care of your new golf push cart. Please read these instructions carefully before use to ensure optimal performance and longevity of your product.
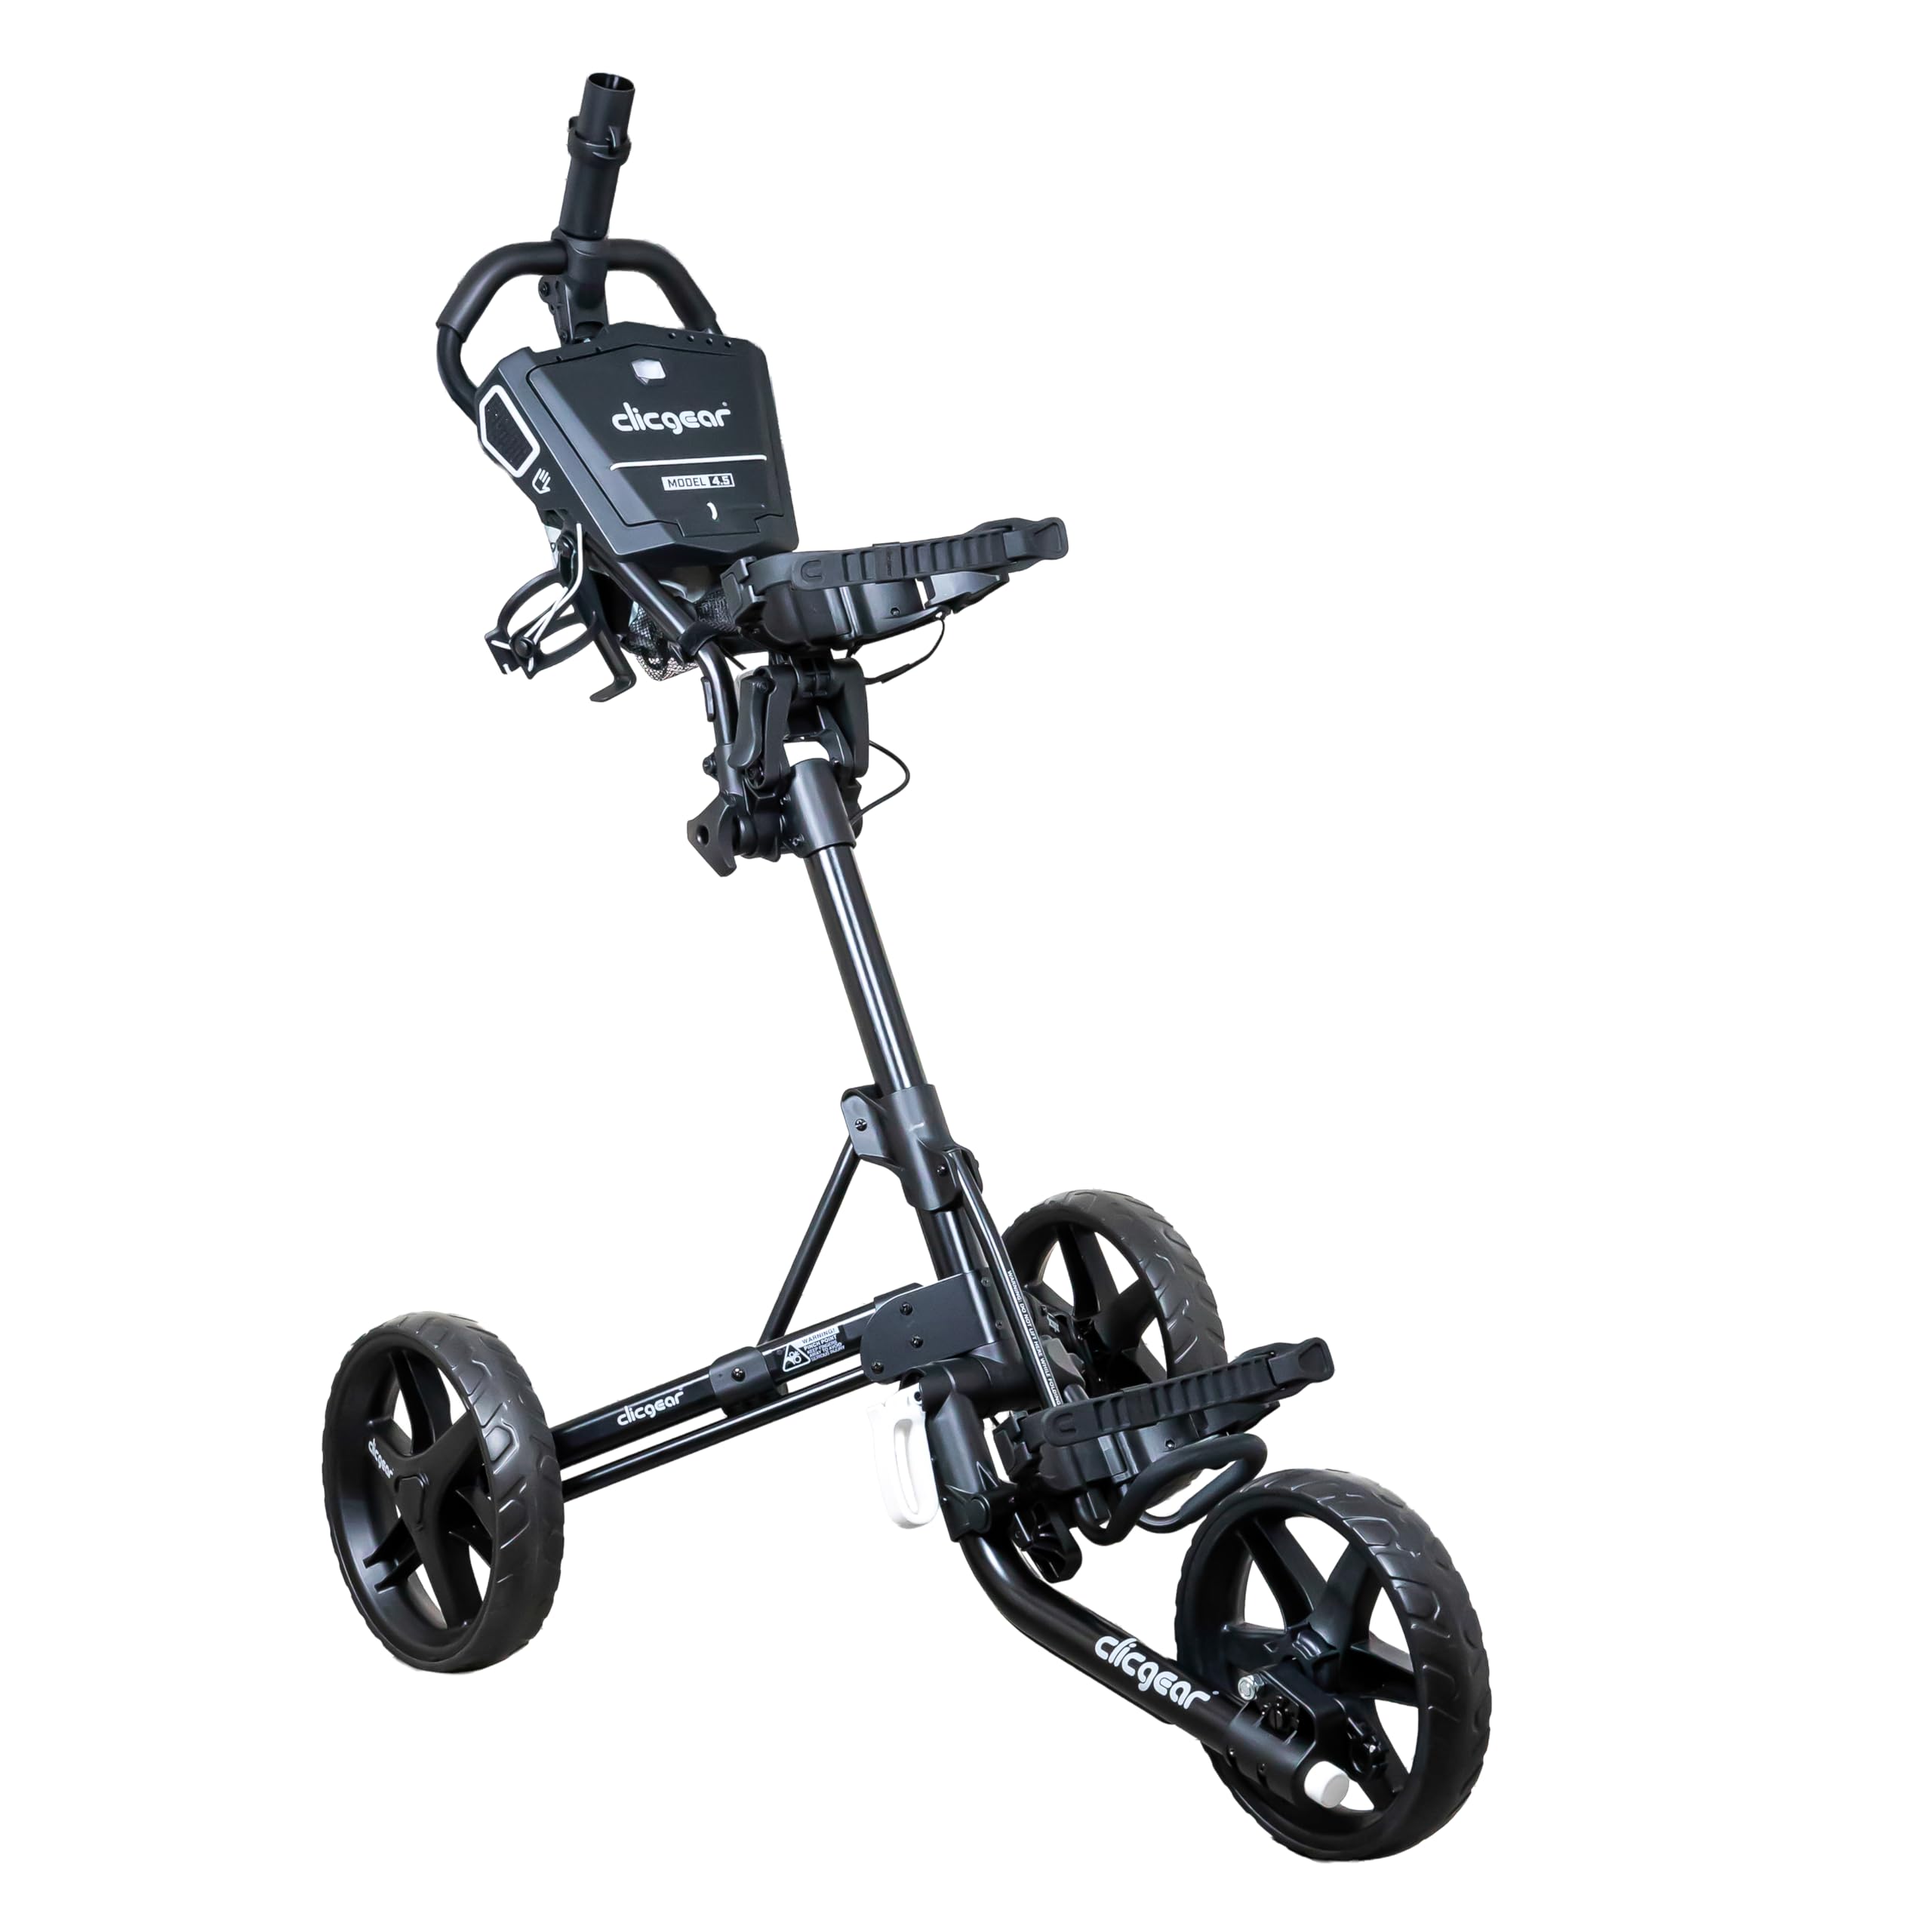
Image: The Clicgear Model 4.5 Golf Push Cart in black, ready for use.
Setup and Assembly
The Clicgear Model 4.5 is designed for quick and easy setup. Follow these steps to unfold and prepare your cart for the golf course.
Unfolding the Cart
- Release the Folding Mechanism: Locate the main folding levers on the cart frame. Release them to allow the cart to extend.
- Extend the Frame: Gently pull the handle upwards and the front wheel assembly forwards until the frame locks into its open position. Ensure all locking mechanisms are securely engaged.
- Adjust the Handle: Adjust the handle height to your preference by loosening and tightening the adjustment clamps.

Image: The Clicgear Model 4.5 Golf Push Cart in its compact, folded state.
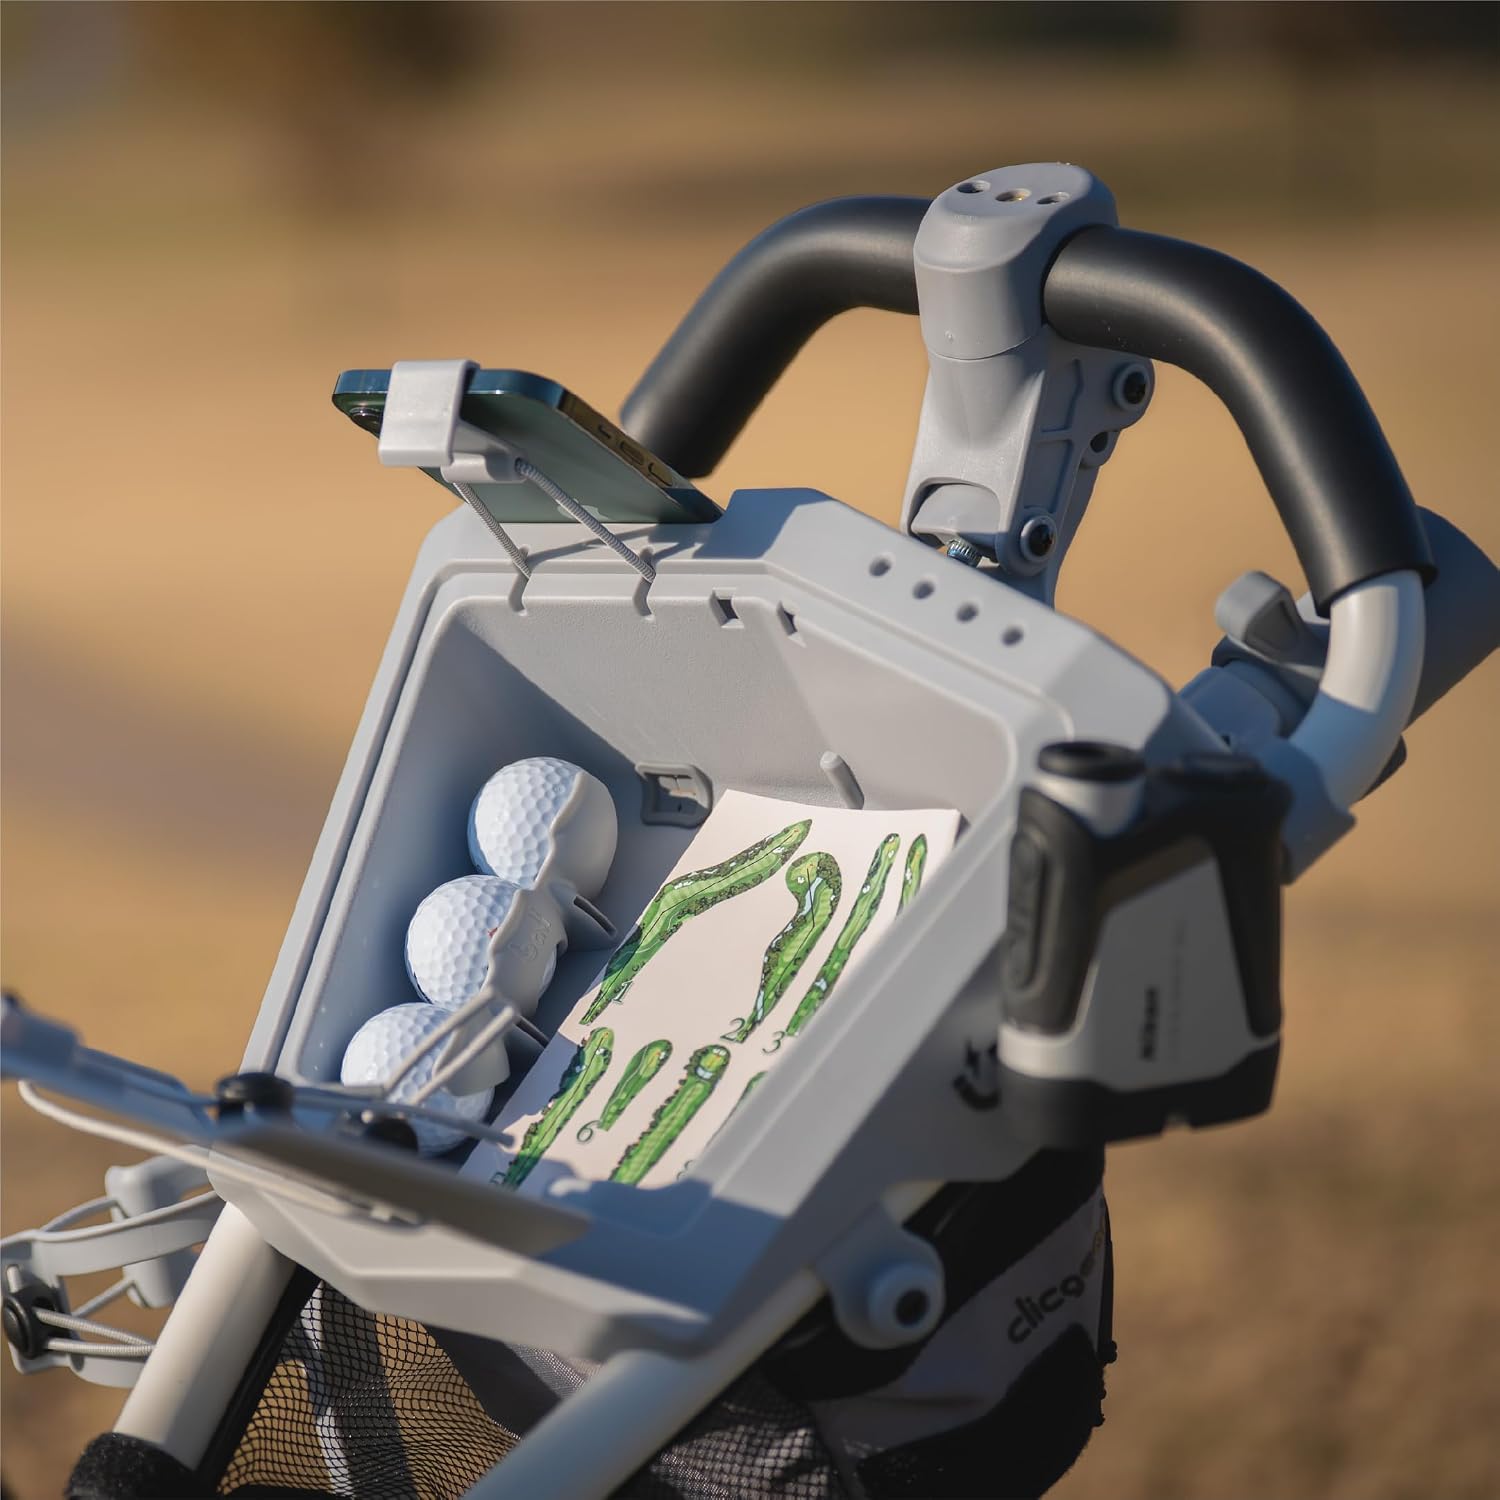
Image: The Clicgear Model 4.5 Golf Push Cart fully unfolded and ready for use.
Attaching Your Golf Bag
The cart features adjustable upper and lower bag saddles and a silicone bag strap system to secure your golf bag.
- Place the Bag: Position your golf bag onto the lower saddle.
- Secure Straps: Use the silicone straps to firmly secure the top and bottom of your golf bag to the cart. Ensure the bag is snug to prevent movement during transport.
Accessory Installation
Your Clicgear Model 4.5 comes with an umbrella holder and a universal drink holder.
- Umbrella Holder: Insert the umbrella holder into the designated port on the handle console.
- Drink Holder: Attach the universal drink holder to one of the accessory mounting points on the cart frame.

Image: A hand placing a beverage into the redesigned drink holder on the cart.
Setup Video Guide
Video: An unboxing and initial look at the Clicgear Model 4.5+ Golf Push Cart, demonstrating setup procedures.
Operating Instructions
The Clicgear Model 4.5 is designed for ease of use on the golf course.
Brake System
The cart features an internally routed brake cable for reliable stopping power. To engage the brake, push the brake lever down. To release, lift the lever up. Always engage the brake when the cart is stationary, especially on inclines.
Console Features
The upgraded command center console provides convenient access to your essentials.
- Phone Holder: Place your smartphone in the dedicated holder. It includes charging cord access and is designed to amplify sound.
- Storage Pads: Utilize the magnetic and hook-and-loop pads for securing small items like a golf glove.
- Accessory Holders: Scorecard, golf ball, pencil, and tee holders are integrated for easy organization.
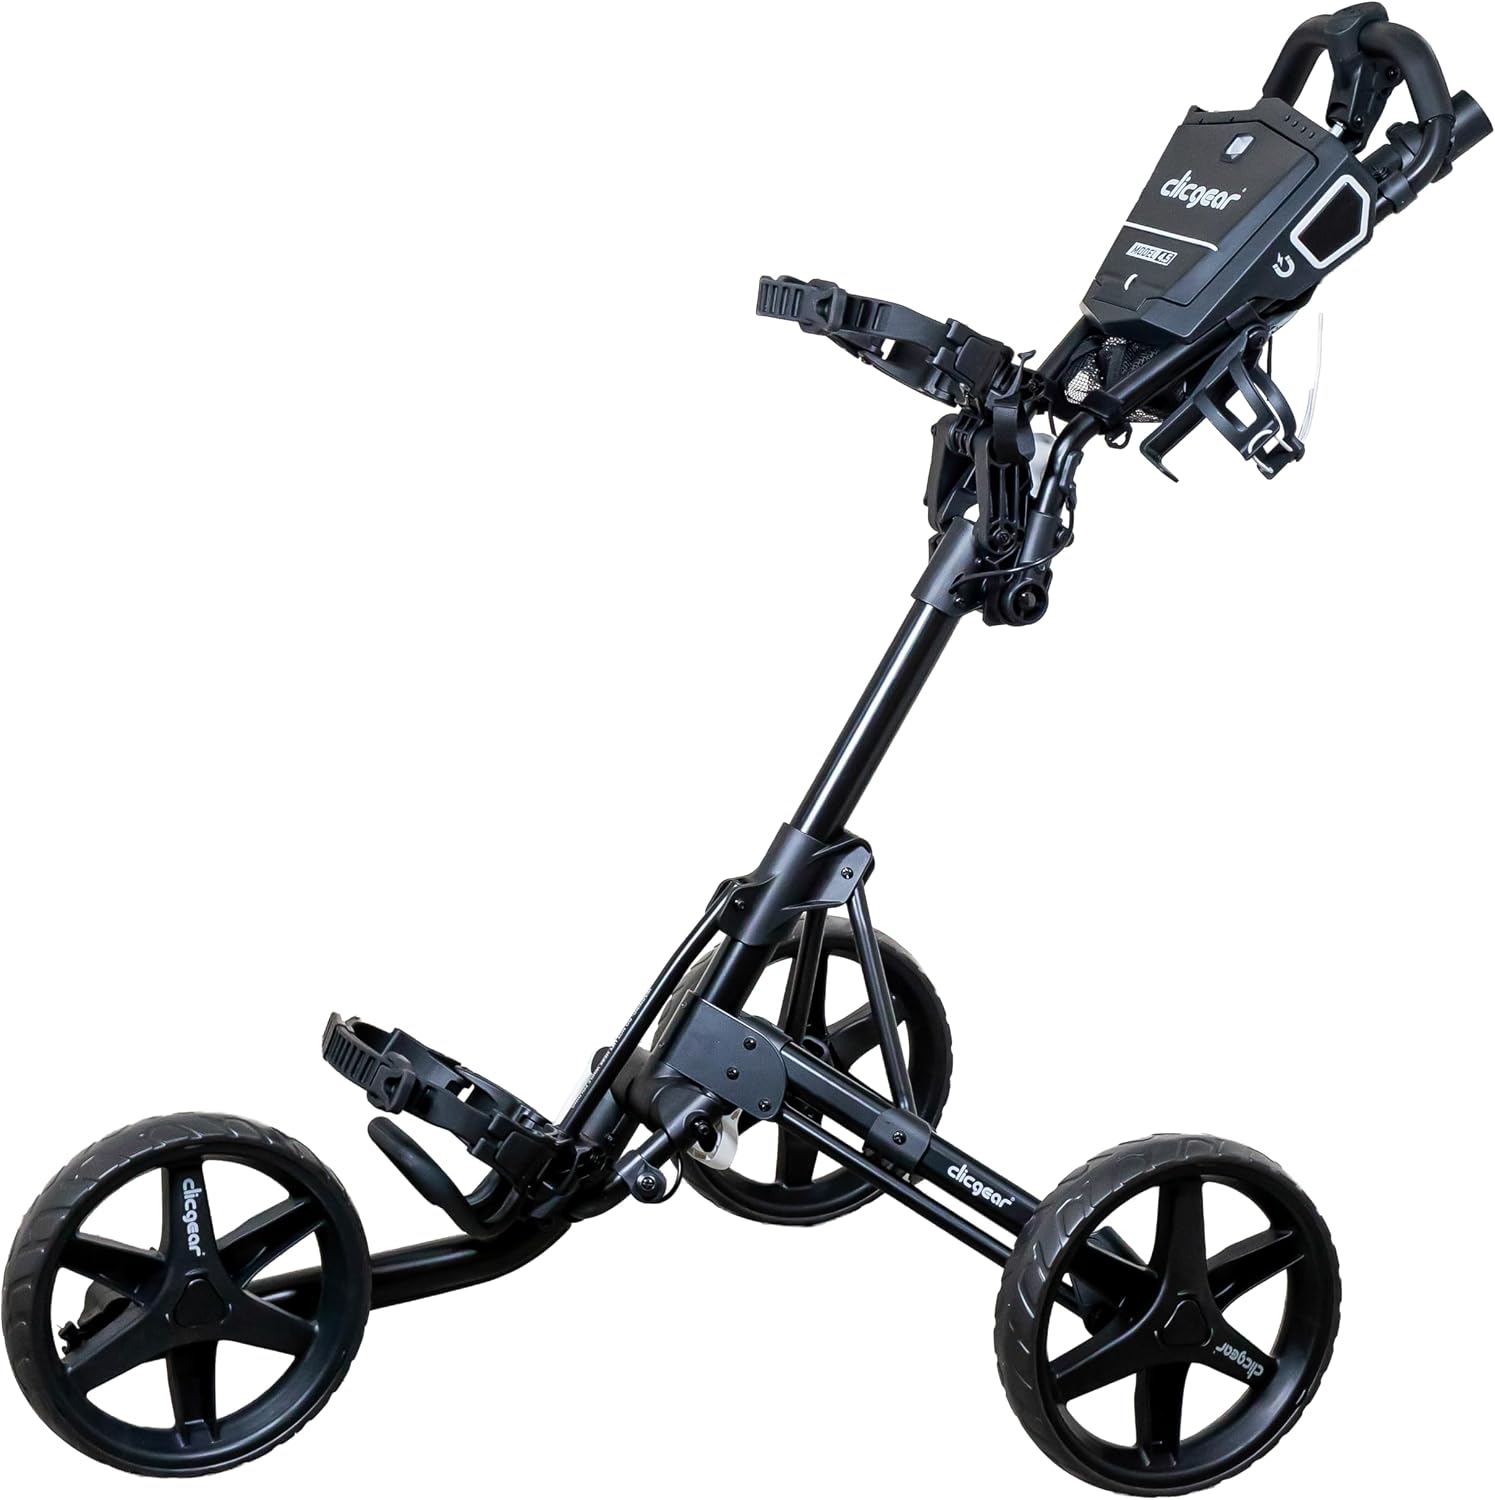
Image: A close-up view of the Clicgear Model 4.5 console, showing the phone holder and other compartments.

Image: A hand attaching a golf glove to the magnetic pad on the cart's console.

Image: The console of the Clicgear Model 4.5, displaying golf balls and a scorecard in their respective holders.
Storage
The cart includes a new storage bag under the console and a mesh basket for additional items.

Image: The storage bag and mesh basket located beneath the console of the Clicgear Model 4.5.
Maintenance
Regular maintenance will ensure your Clicgear Model 4.5 remains in excellent condition.
- Cleaning: After each use, wipe down the cart frame and wheels with a damp cloth to remove dirt and debris. Avoid harsh chemicals.
- Lubrication: Periodically check moving parts and apply a silicone-based lubricant if necessary to ensure smooth folding and wheel rotation.
- Brake Cable: Inspect the brake cable for wear and tear. If the brake tension needs adjustment, consult a qualified technician or refer to detailed instructions on the manufacturer's website.
- Storage: Store the cart in a dry, cool place when not in use.
Troubleshooting
Here are solutions to common issues you might encounter with your Clicgear Model 4.5.
| Problem | Possible Cause | Solution |
|---|---|---|
| Cart pulls to one side | Front wheel misalignment. | Adjust the front wheel alignment mechanism. Refer to the manufacturer's website for specific instructions. |
| Difficulty folding/unfolding | Mechanisms are stiff or dirty. | Clean and lubricate all pivot points and folding mechanisms with a silicone spray. Ensure no debris is obstructing movement. |
| Brake not engaging/disengaging properly | Brake cable tension is incorrect or cable is worn. | Check the brake cable for damage. Adjust cable tension if needed. If worn, contact customer support for replacement. |
| Golf bag not secure | Straps not tightened sufficiently or improperly positioned. | Ensure the silicone straps are pulled tight and correctly positioned over your golf bag. Adjust upper and lower bag saddles for a better fit. |
Additional Information Video
Video: A detailed overview of the Clicgear Model 4.5, providing insights and tips for potential buyers and users.
Specifications
| Feature | Detail |
|---|---|
| Model Name | Model 4.5 |
| Brand Name | Clicgear |
| Material | Aluminum |
| Item Weight | 16 pounds (7.26 kg) |
| Folded Dimensions (L x W x H) | 13" x 15" x 24" (approx. 33cm x 38cm x 61cm) |
| Included Components | Clicgear Model 4.5 golf push cart, umbrella holder, universal drink holder |
| Brake System | Internally routed brake cable |
| Console Features | Phone holder with charging access, magnetic/hook-and-loop pads, scorecard, golf ball, pencil & tee holders |
| Storage | Storage bag under console, mesh basket |
Warranty Information
The Clicgear Model 4.5 Golf Push Cart comes with a 1 Year Manufacturer Warranty. This warranty covers defects in materials and workmanship under normal use. Please retain your proof of purchase for any warranty claims. For full details and terms, refer to the official Clicgear website or contact customer support.
Customer Support
If you have any questions, require assistance with assembly, operation, or maintenance, or need to make a warranty claim, please contact Clicgear customer support. Visit the official Clicgear website for contact information and additional resources.
Website: www.clicgear.com (Example link, please verify official website)


