
1. Product Overview
The TJOY Smart LED Strip Lights with Motion Sensor provide versatile and intelligent lighting solutions for various indoor spaces. This 10-piece kit features a motion sensor for automatic operation, adjustable white light color temperature (warm to cool), and dimmable brightness. Control is available via a smartphone app and an RF remote, making it suitable for kitchens, shelves, closets, and more.
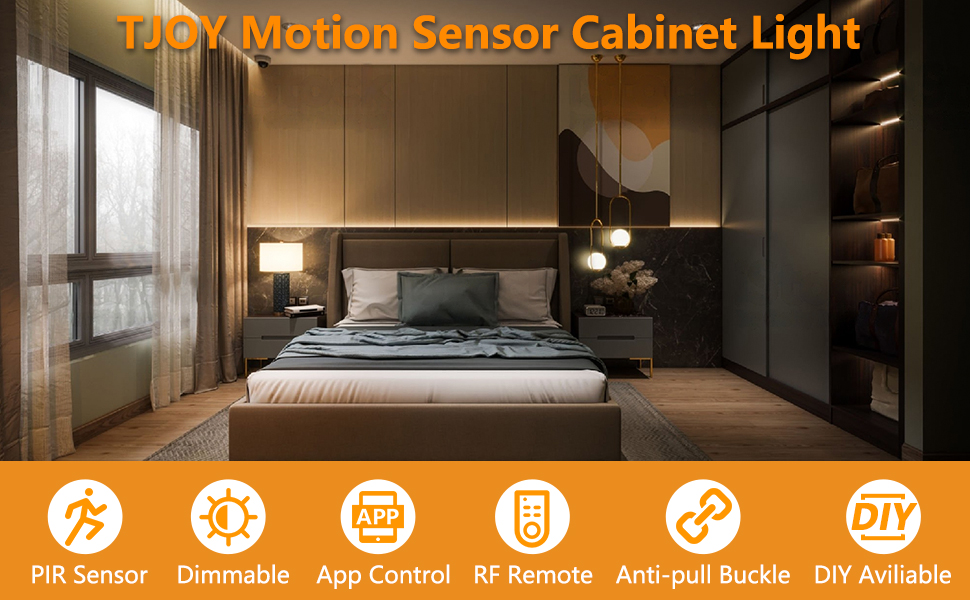
Image: Overview of the TJOY Smart LED Strip Light kit, highlighting key features like PIR sensor, dimmable, app control, RF remote, anti-pull buckle, and DIY availability.
2. Package Contents
Verify that all components are present in your package:
- LED Light Strips (10 pieces, 16.4ft total)
- Motion Sensor Controller
- RF Remote Control
- Power Supply
- Adhesive Tape (pre-applied or separate)
- Connection Cables/Extenders
3. Product Specifications
| Brand | TJOY |
| Model Number | PD01 (TCA0615020A-PD01-AUS-L1) |
| Light Source | LED |
| Number of Light Sources | 10 |
| Light Color | Warm White (2700K) to Cool White (6500K) |
| Brightness | Up to 800 Lumens |
| Control Method | App, RF Remote |
| Switch Type | Motion Sensor |
| Power Source | Corded Electric |
| Indoor/Outdoor Usage | Indoor |
| Material | Plastic |
| Mounting Type | Under Cabinet Mount |
| Item Dimensions (L x W x H) | 5.51"L x 4.33"W x 2.56"H (Package) |
4. Setup & Installation
The TJOY LED strip lights are designed for easy DIY installation without the need for an electrician or complex wiring. Follow these steps for proper setup:
4.1 Preparation
- Clean Surface: Ensure the installation surface (under cabinets, shelves, etc.) is clean, dry, and smooth. Dust, grease, or moisture can affect adhesive performance.
- Plan Layout: Before peeling the adhesive, plan the desired layout for your LED strips. The strips can be cut to length at designated marks if needed.
- Power Access: Confirm you have access to a power outlet for the power supply.
4.2 Installation Steps
- Connect Light Strip: Connect the arrow on the light strip connector to the +12V output of the controller. Ensure a secure connection.
- Connect Motion Sensor Controller: Connect the motion sensor controller to the DC wire from the power supply.
- Position Controller: Fix the controller in the desired direction, ensuring the motion sensor has a clear line of sight for optimal detection.
- Apply Light Strip: Carefully peel the release layer from the adhesive backing of the light strip. Press the light strip firmly onto the clean, flat surface. Apply even pressure along the entire length to ensure good adhesion.
Note: If using extender strips to bypass obstacles, these may not have adhesive backing and might require additional tape for secure placement.

Image: Examples of flexible installation, showing linear and random patterns for the LED strips in a closet setting.
5. Operating Instructions
The TJOY Smart LED Strip Lights offer multiple operating modes and control options for customized lighting.
5.1 Motion Sensor Mode (PIR Mode)
In Motion Sensor Mode, the built-in PIR sensor detects human movement and automatically turns the lights on. After a preset delay (configurable via the app, e.g., 20s/60s) without further motion, the lights will gently fade out. This mode is ideal for areas like closets, hallways, and cabinets to conserve energy.

Image: A kitchen scene demonstrating motion-activated lighting, with a visual representation of the sensor detecting movement.

Image: Diagram illustrating the PIR motion sensor's 120-degree sensing range and 30ft distance, showing when lights turn on and off based on motion detection.
5.2 Intelligent Night Light Mode (Dual Sensor)
Enable Night Mode for automated lighting in low-light conditions. The ambient light sensor detects surrounding brightness. The lights will only activate when it is dark AND motion is detected, preventing unnecessary illumination during daylight hours. This functions as a smart night light for bedrooms, stairs, or kitchens.

Image: Illustration of Smart Night Light Mode, showing lights off at dawn and automatically turning on at dusk.
5.3 Dual Color Temperature & Dimmable Brightness
The LED strips feature high-quality dual-color LEDs, allowing you to switch between Warm White (2700K) and Cool White (6500K). Brightness is steplessly dimmable, providing infinite adjustability to create the desired ambiance for any situation, from bright task lighting to a soft glow.

Image: Visual representation of 6 brightness levels (10% to 100%) and three color temperatures: Yellow (3000K), Natural (4000K), and White (6000K).

Image: A bedroom setting demonstrating the ability to adjust brightness from 100% to 10% and color temperature from Warm 2700K to Cool 6500K.
6. App Control
The TJOY Smart LED Strip Lights can be fully controlled using a dedicated smartphone application. This provides comprehensive access to all settings and modes.
6.1 Downloading the App
Search for "Marvellight" in the Google Play Store (for Android devices) or the Apple App Store (for iOS devices) and download the application.
6.2 App Features
- 4 Working Modes: Manual Mode, PIR Mode, Night Light Mode, Dual-Sensor Mode.
- Color Temperature Adjustment: Precisely select your desired white light temperature.
- Brightness Control: Stepless dimming from 1% to 100%.
- Motion Sensor Settings: Adjust sensitivity and time delay for PIR mode.
- Night Light Thresholds: Set ambient light levels for activation in Night Light Mode.
- Scheduling: Set active times for specific modes.

Image: Screenshots of the Marvellight app interface, showing options for Manual Mode, PIR Mode, Night Light Mode, and Dual-Sensor Mode settings.
7. RF Remote Control
The included 20-key RF remote control provides convenient operation from anywhere in the room without needing line-of-sight to the controller.
7.1 Remote Functions
- Power On/Off: Turn the lights on or off.
- Brightness Adjustment: Increase or decrease light intensity.
- Color Temperature Selection: Switch between warm and cool white tones.
- Mode Selection: Activate different lighting modes (e.g., motion sensor, manual).
- Timed Off: Set a timer for the lights to turn off automatically.
- Dynamic Lighting: Access pre-programmed lighting effects (if available).
- Sensing Distance: Adjust motion sensor range (if supported by remote).
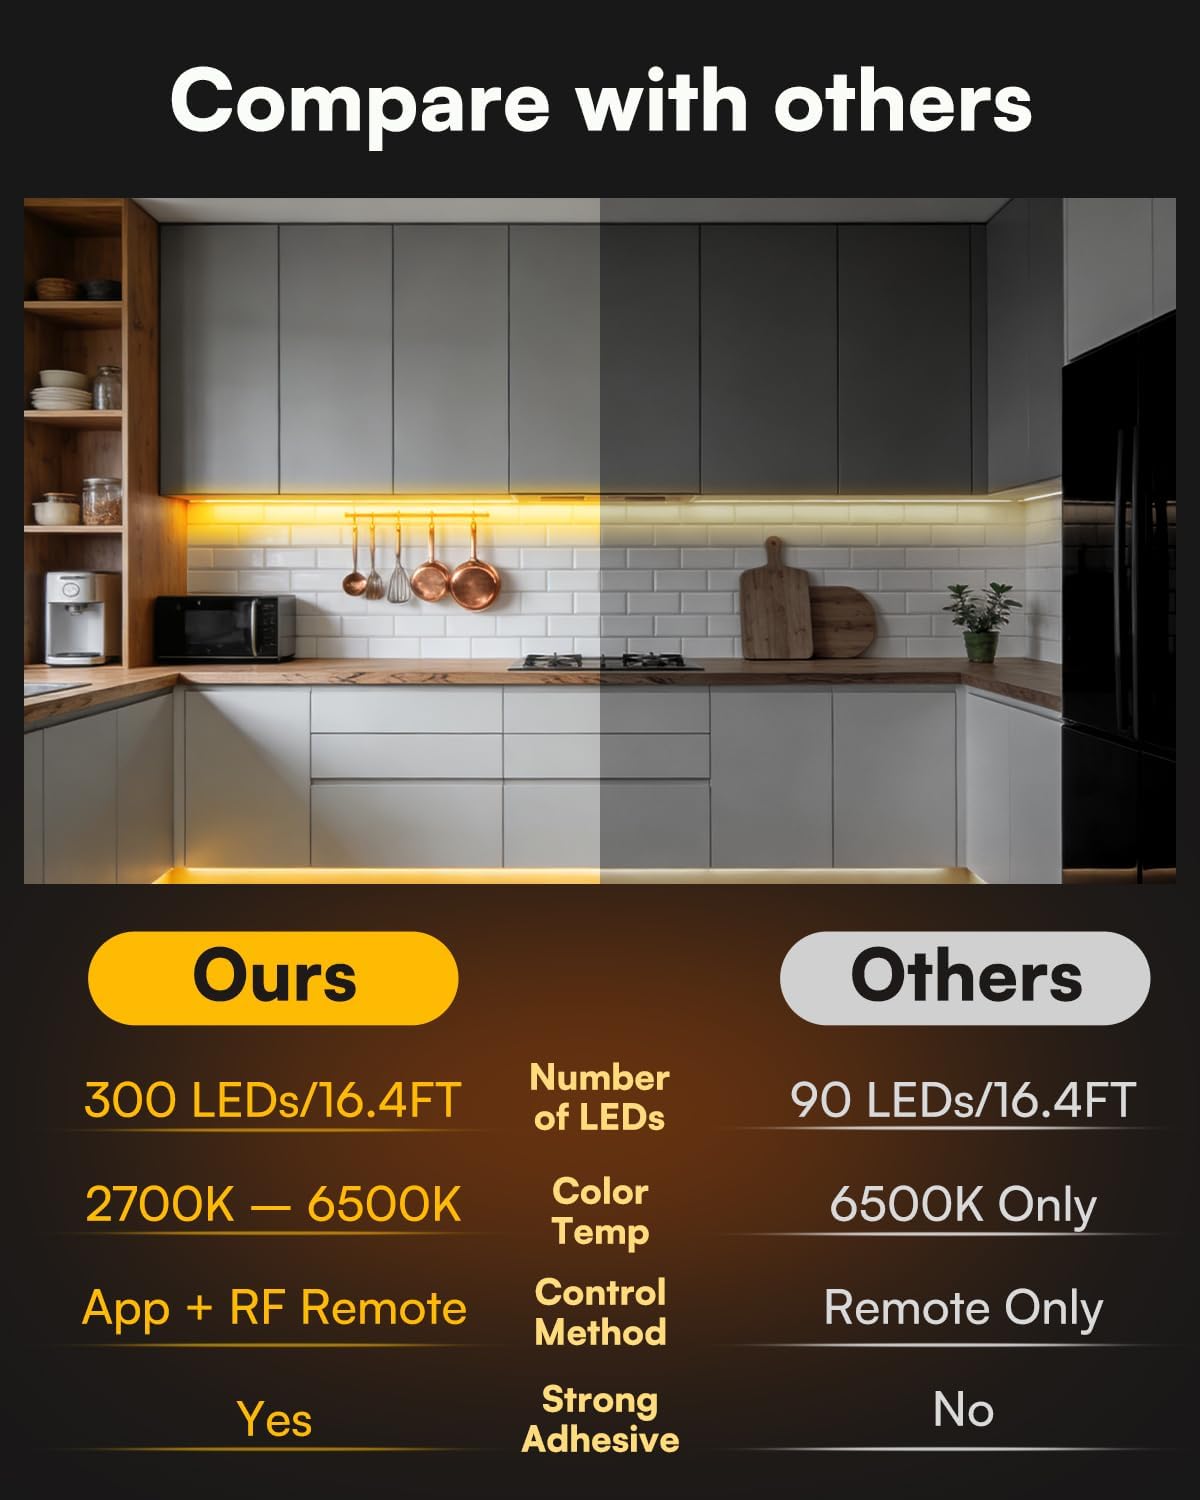
Image: The 20-key RF remote control shown alongside a smartphone displaying the app interface, illustrating dual control options.
8. Maintenance
Proper maintenance ensures the longevity and optimal performance of your TJOY LED Strip Lights.
- Cleaning: Gently wipe the LED strips and sensor with a soft, dry cloth. Avoid using abrasive cleaners or excessive moisture, which can damage the electronics.
- Connection Check: Periodically inspect all connections to ensure they are secure and free from corrosion.
- Adhesive Integrity: If the adhesive begins to lose its grip, reinforce it with additional double-sided tape suitable for electronics.
- Sensor Obstruction: Ensure the motion sensor is not obstructed by objects, which could impair its detection capabilities.
9. Troubleshooting
If you encounter issues with your TJOY LED Strip Lights, refer to the following common problems and solutions:
| Problem | Solution |
|---|---|
| Lights do not turn on. |
|
| Remote control is not working. |
|
| Motion sensor is not detecting movement or is too sensitive. |
|
| Lights flicker or change color unexpectedly. |
|
| Adhesive is not holding the strips. |
|
10. Warranty Information
The TJOY Smart LED Strip Lights (Model PD01) come with a 1-year manufacturer's warranty from the date of purchase. This warranty covers defects in materials and workmanship under normal use. It does not cover damage caused by misuse, accidents, unauthorized modifications, or improper installation.
Please retain your proof of purchase for warranty claims.
11. Customer Support
For further assistance, technical support, or warranty inquiries, please contact TJOY customer service through the following channels:
- Online Support: Visit the official TJOY store on Amazon: TJOY Store
- Email: Refer to your product packaging or the TJOY store page for specific customer service email addresses.
When contacting support, please have your product model number (PD01) and proof of purchase ready.