
1. Introduction
This manual provides essential instructions for the safe operation, maintenance, and troubleshooting of your LWbrazl G101X0 Robot Vacuum and Mop Combo. Please read this manual thoroughly before using the product and retain it for future reference.
2. Safety Instructions
Always follow basic safety precautions when using electrical appliances to reduce the risk of fire, electric shock, or injury.
- Do not operate the robot vacuum near open flames or heat sources.
- Keep hair, loose clothing, fingers, and all parts of the body away from openings and moving parts.
- Use only the original charging adapter and battery provided by the manufacturer.
- Do not use the robot vacuum on wet surfaces or in areas with standing water.
- Ensure the charging base is placed against a wall on a level surface, away from obstacles.
- Supervise children and pets when the robot vacuum is operating.
- Turn off the power switch and unplug the robot vacuum before cleaning or performing maintenance.
3. Package Contents
Verify that all components are present in the package:
- LWbrazl G101X0 Robot Vacuum and Mop Combo
- Charging Base
- Power Adapter
- Remote Control
- Side Brushes (2 pairs)
- Cleaning Brush
- Water Tank
- Mop Cloths (2)
- User Manual
4. Product Overview
Familiarize yourself with the main components of your robot vacuum.

Figure 4.1: Top view of the robot vacuum, showing the power button and dustbin access.

Figure 4.2: Underside view of the robot vacuum, highlighting the water tank and mop attachment for 2-in-1 cleaning.

Figure 4.3: Robot vacuum on a wooden floor, illustrating easy control via remote and various cleaning modes.
5. Setup
5.1 Charging Base Placement
Place the charging base against a wall in an open area, ensuring there are no obstacles within 1 meter (3 feet) to the front and 0.5 meters (1.5 feet) to the sides. Connect the power adapter to the charging base and plug it into a wall outlet.

Figure 5.1: The robot vacuum automatically returning to its charging base for intelligent self-charging.
5.2 Initial Charging
Place the robot vacuum onto the charging base. Ensure the charging contacts on the robot align with those on the base. The indicator light on the robot will show charging status. Fully charge the robot before its first use (approximately 4-5 hours).
5.3 Installing Side Brushes
Press the side brushes onto the posts at the bottom of the robot until they click into place.
5.4 Water Tank and Mop Cloth Installation
To use the mopping function, fill the 300ML water tank with clean water. Attach a clean mop cloth to the water tank module. Slide the filled water tank module into the designated slot at the rear of the robot until it clicks securely.
6. Operating Instructions
6.1 Power On/Off
Press and hold the power button on the robot for 3 seconds to turn it on or off. A voice prompt will confirm the action.
6.2 Cleaning Modes
The LWbrazl G101X0 offers multiple cleaning modes:
- Auto Cleaning: The robot intelligently navigates and cleans the entire area. Press the power button once or select "Auto" on the remote/app.
- Spot Cleaning: The robot cleans a specific area in a spiral pattern. Useful for concentrated dirt. Select "Spot" on the remote/app.
- Edge Cleaning: The robot cleans along walls and furniture edges. Select "Edge" on the remote/app.
- Random Cleaning: The robot cleans in a random pattern.

Figure 6.1: Intelligent automation allows the robot to seamlessly navigate and avoid obstacles.
6.3 Suction Power and Water Flow Adjustment
Adjust suction power (3 levels) and water flow (3 levels) via the Smartlife app or remote control to suit different floor types and cleaning needs. The 4200Pa powerful suction is effective for deep cleaning.
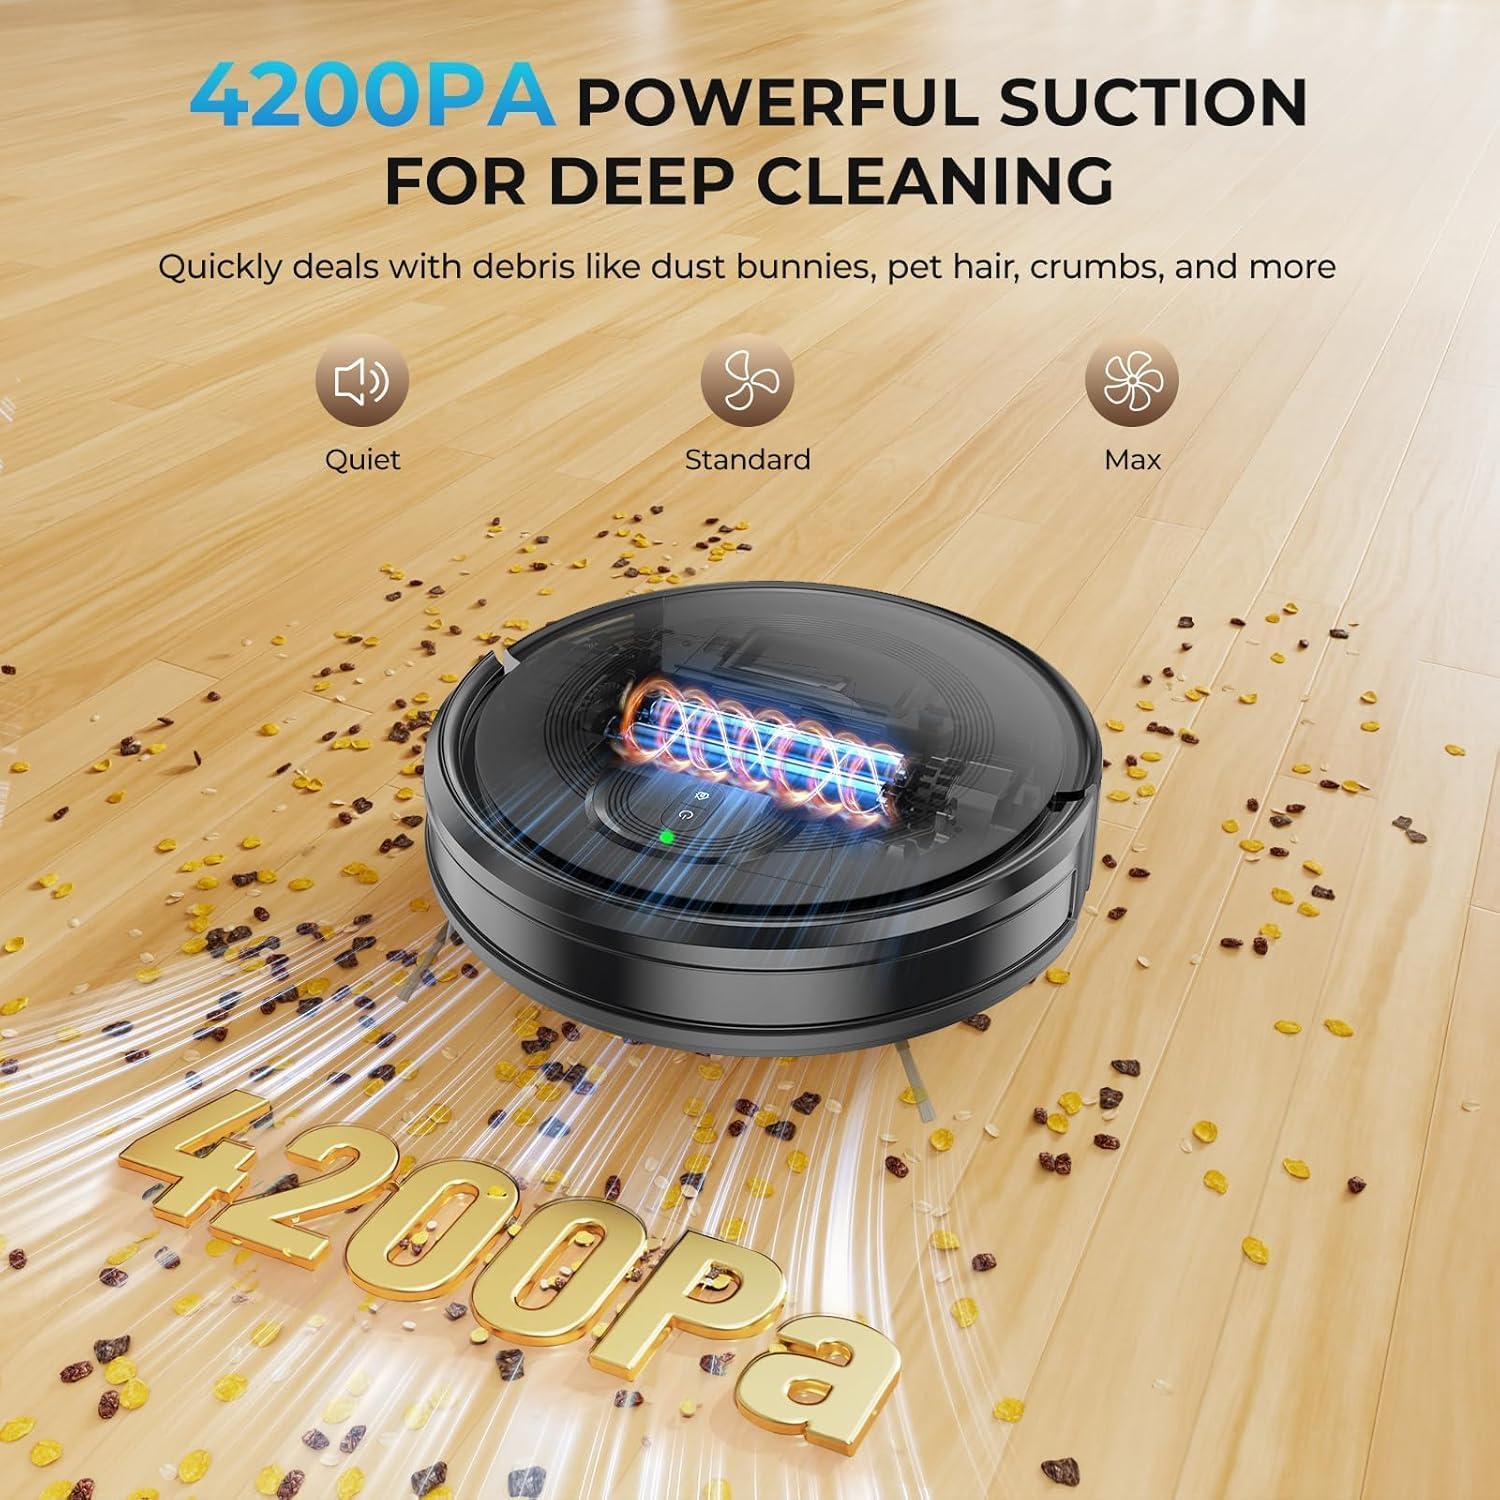
Figure 6.2: The robot vacuum utilizing 4200Pa powerful suction for deep cleaning, effectively removing debris.
6.4 App & Voice Control
Download the "Smartlife" app from your app store. Follow the in-app instructions to connect your robot vacuum. The app allows for scheduling, mode selection, and real-time control. The robot is also compatible with Alexa for voice commands.
6.5 Obstacle Avoidance and Tight Spaces
The robot is equipped with multi-precision sensors for obstacle avoidance. Its ultra-slim 2.87'' profile allows it to clean under furniture like sofas and beds. The unique inlet design prevents pet hair from clogging.

Figure 6.3: The robot vacuum's anti-tangle suction port effectively handles pet hair, preventing entanglement.
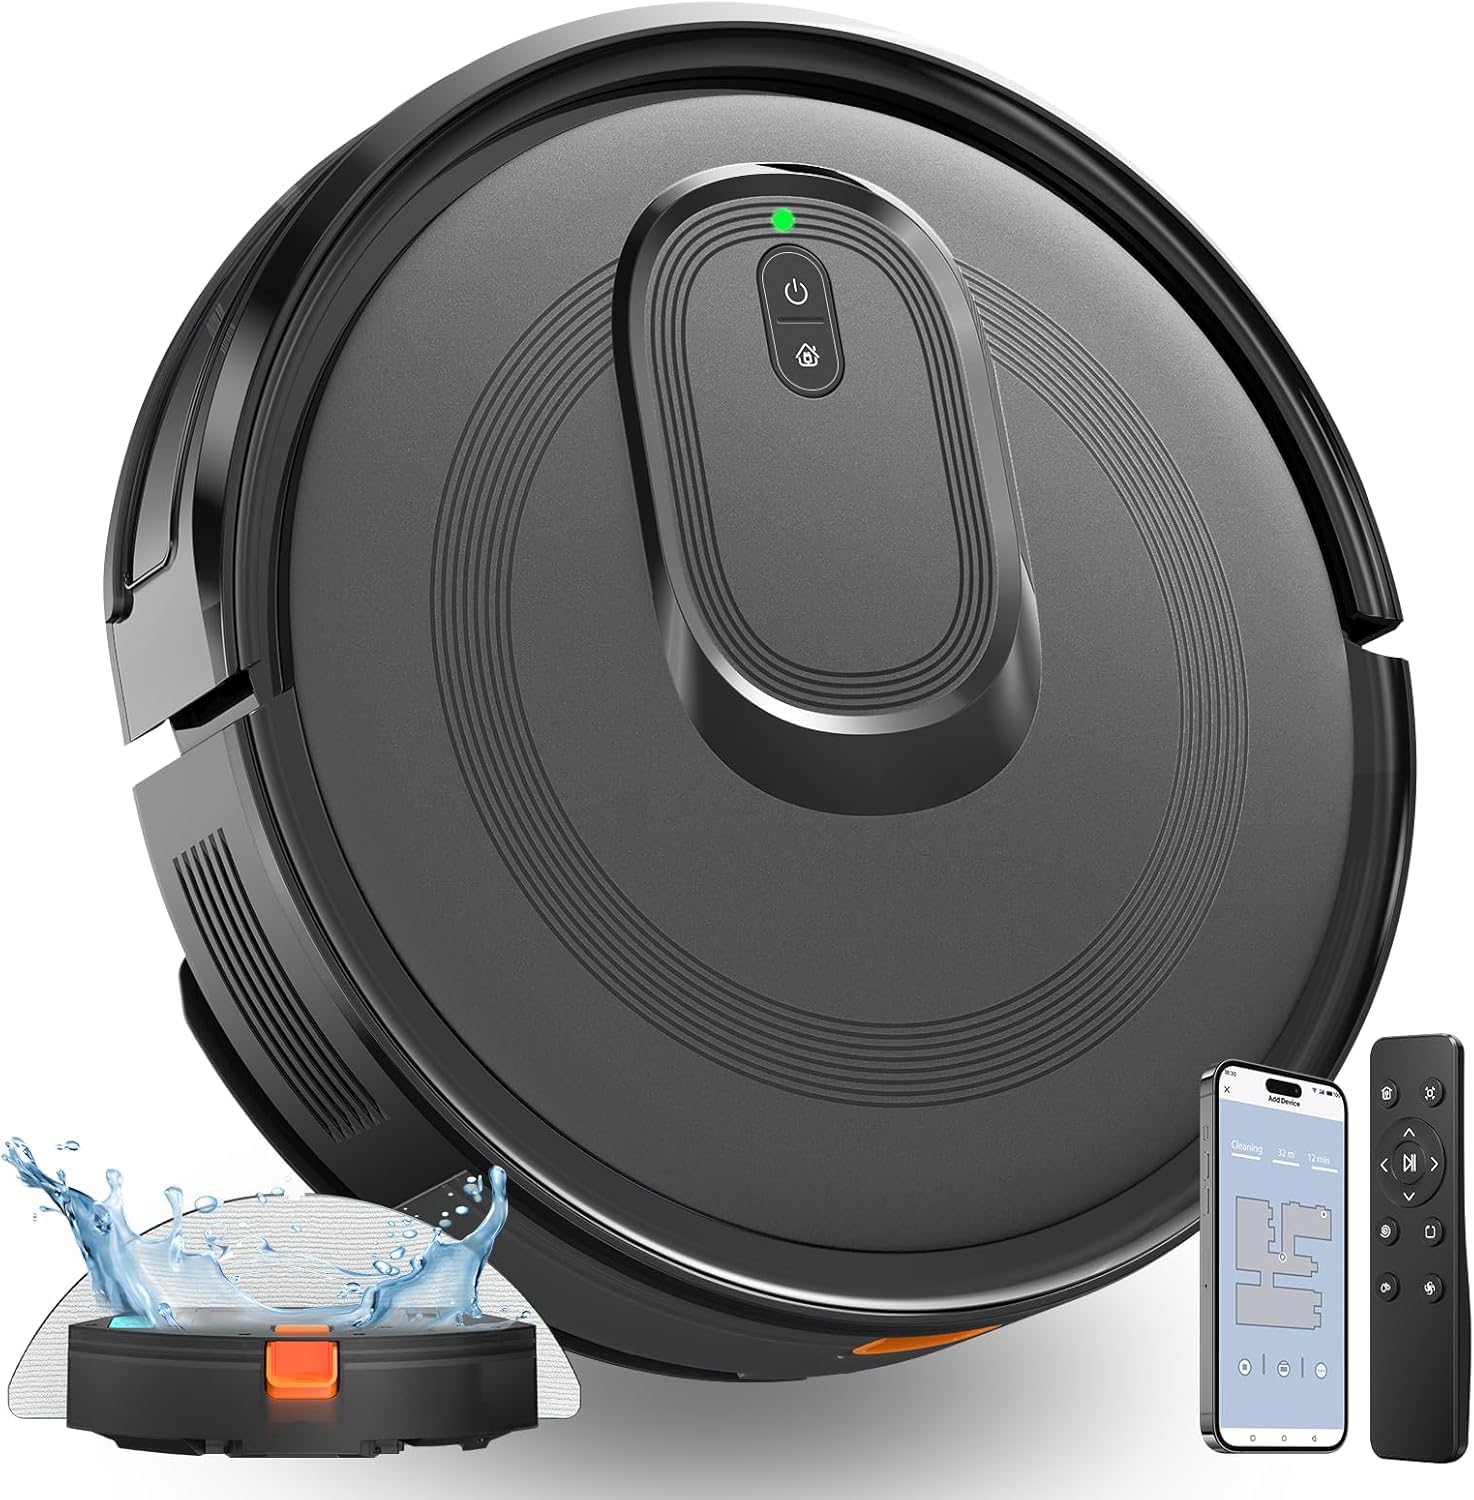
Figure 6.4: The robot vacuum's low profile allows it to clean effectively in tight spaces, such as under furniture.
7. Maintenance
Regular maintenance ensures optimal performance and extends the lifespan of your robot vacuum.
7.1 Emptying the Dustbin (350ML)
Press the dustbin release button and remove the dustbin. Open the dustbin cover and empty its contents into a trash bin. Clean the filter with the provided cleaning brush. It is recommended to empty the dustbin after each cleaning cycle.
7.2 Cleaning the Water Tank (300ML) and Mop Cloth
After mopping, remove the water tank. Empty any remaining water and rinse the tank. Remove the mop cloth, wash it by hand or machine, and allow it to air dry completely before reattaching.
7.3 Cleaning Brushes
Regularly check and clean the main brush and side brushes. Use the cleaning tool to remove hair and debris tangled around the brushes. Replace side brushes if they become worn or damaged.
7.4 Cleaning Sensors and Charging Contacts
Wipe the cliff sensors, wall sensors, and charging contacts on both the robot and the charging base with a clean, dry cloth. This prevents dust accumulation from affecting performance.
8. Troubleshooting
| Problem | Possible Cause | Solution |
|---|---|---|
| Robot does not turn on. | Low battery; power switch off. | Charge the robot; ensure power switch is on. |
| Robot cannot return to charging base. | Charging base obstructed; robot too far. | Clear obstacles around the base; manually place robot closer to the base. |
| Poor cleaning performance. | Dustbin full; brushes tangled; filter clogged. | Empty dustbin; clean brushes; clean/replace filter. |
| Mopping function not working. | Water tank empty; mop cloth dirty; water outlet clogged. | Fill water tank; clean mop cloth; check water outlet. |
| App connection issues. | Incorrect Wi-Fi password; robot out of range; app not updated. | Verify Wi-Fi details; move robot closer to router; update app. |
9. Specifications
| Brand | LWbrazl |
| Model Name | G101X0 |
| Special Feature | Edge Cleaning, Obstacle Avoidance, Self-Charging, App & Voice Control |
| Color | Black |
| Product Dimensions | 13.78"L x 4.56"W x 16.3"H (Robot height: 2.87'') |
| Included Components | Water Tank, Charging Base, Power Adapter, Remote Control, Side Brushes, Cleaning Brush, Mop Cloths |
| Filter Type | Cartridge |
| Battery Life | Up to 130 minutes |
| Item Weight | 7.61 pounds |
| Dustbin Capacity | 350ML |
| Water Tank Capacity | 300ML |
| Suction Power | 4200Pa |
| Surface Recommendation | Hard floors, low-pile carpets |
10. Warranty and Support
Your LWbrazl G101X0 Robot Vacuum and Mop Combo comes with a standard manufacturer's warranty. For detailed warranty information, please refer to the warranty card included in your package or contact LWbrazl customer support.
For technical assistance, troubleshooting not covered in this manual, or to purchase replacement parts, please visit the official LWbrazl website or contact their customer service department. Contact information can typically be found on the product packaging or the brand's official website.