
Introduction
This manual provides detailed instructions for the installation, operation, and maintenance of your MOES Water Timer CR04 4 Zone. Please read this manual thoroughly before using the device to ensure proper function and longevity. This water timer is designed to automate your garden watering, offering independent control over four separate zones.
Safety Information
- Do not immerse the timer in water.
- Use only with clear, fresh water. Do not use with chemicals or other liquids.
- Protect the timer from freezing temperatures. Remove batteries and store indoors during winter months.
- Ensure all connections are tight to prevent leaks.
- Keep out of reach of children.
- Replace batteries when the low battery indicator appears on the display.
Package Contents
- MOES Water Timer CR04 4 Zone (1)
- Hose Connectors/Adapters (various, as pictured)
- Washers (various, as pictured)
- User Manual (this document)
Note: 2 x AA batteries are required and are not included in the package.

Image: The MOES Water Timer CR04 4 Zone with all included accessories, including various hose connectors and washers. The image also indicates that 2 AA batteries are required but not included.
Product Overview
The MOES Water Timer CR04 features a robust design with enhanced heavy-duty brass inlet and outlets for durability and leak prevention. It includes a clear LCD display for programming and monitoring, a rotary dial for mode selection, and control buttons for adjustments.
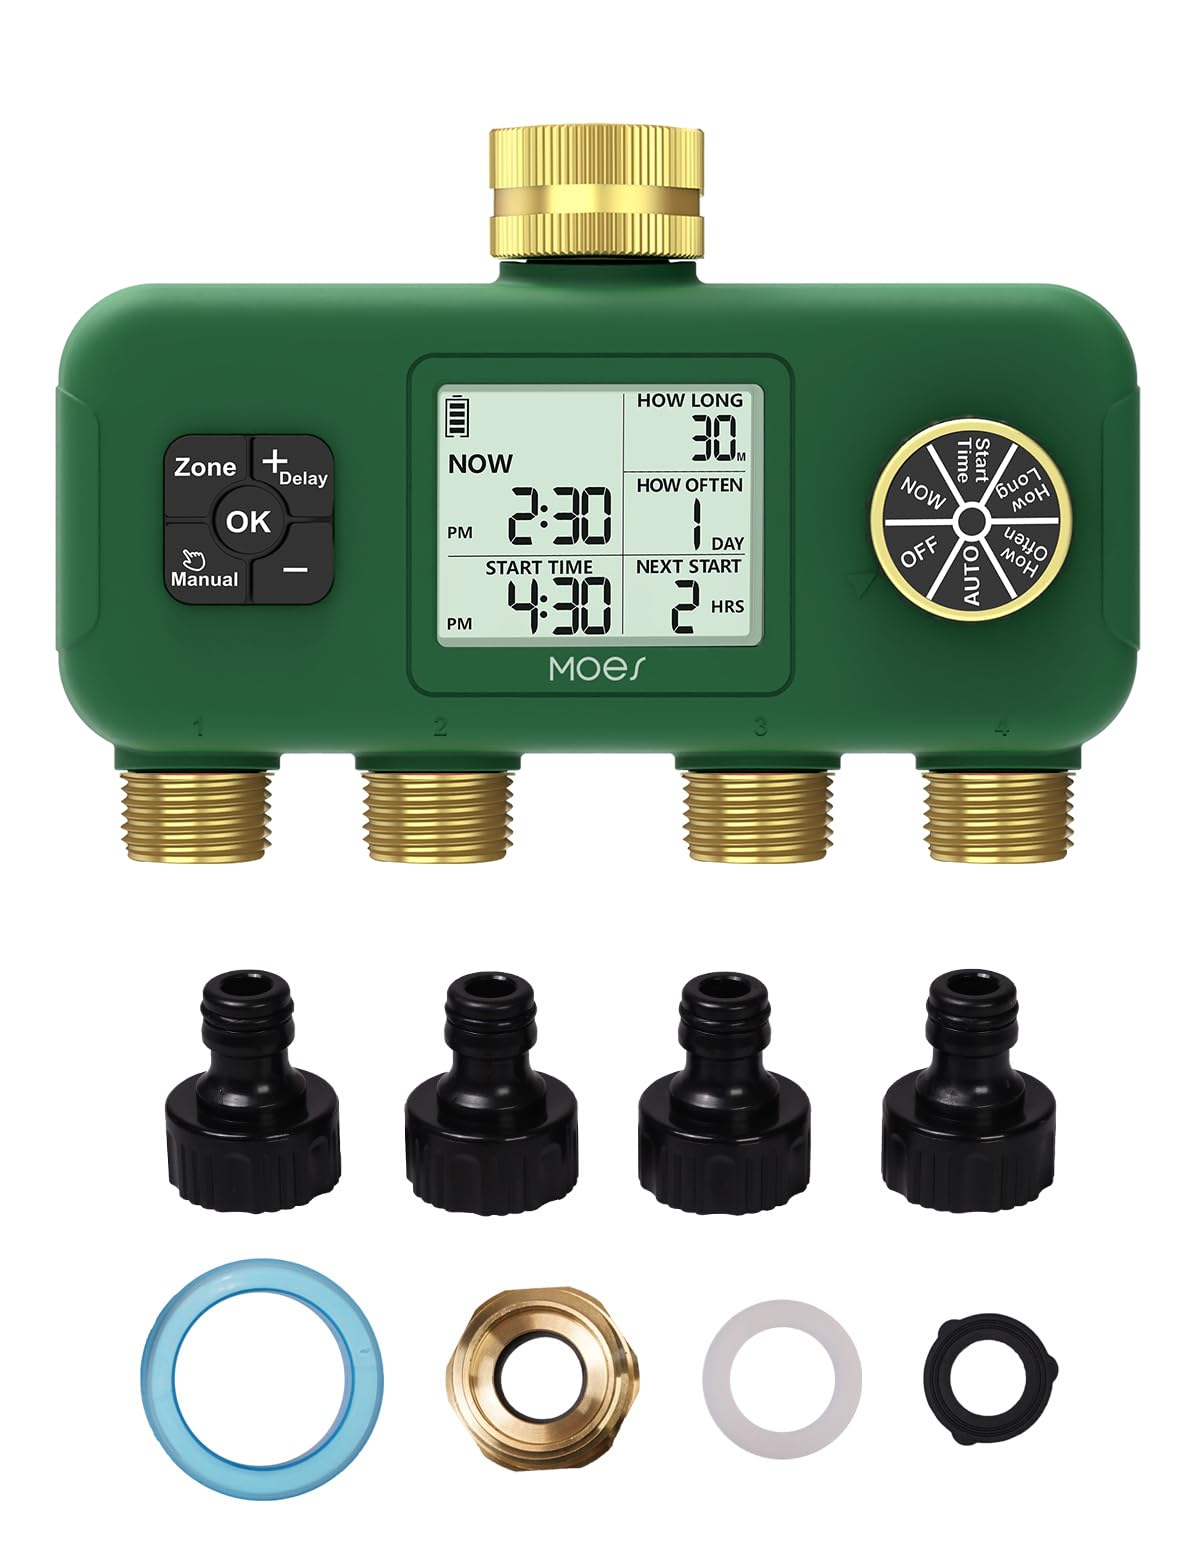
Image: The MOES Water Timer CR04 4 Zone connected to a garden faucet, highlighting its digital display, control buttons, and the reinforced brass inlet and four brass outlets. The display shows current time, watering duration, and frequency settings.

Image: A detailed view of the MOES Water Timer CR04, emphasizing the heavy-duty brass construction of the inlet and outlets, designed for enhanced durability and a secure connection.
Setup
- Install Batteries: Open the battery compartment on the back of the timer. Insert two (2) AA alkaline batteries, ensuring correct polarity. Close the compartment securely.
- Connect to Faucet: Screw the brass inlet of the water timer onto your outdoor faucet. Ensure the connection is hand-tight and secure to prevent leaks. Use a washer if necessary.
- Connect Hoses: Attach your garden hoses or irrigation lines to the four independent outlets at the bottom of the timer. Each outlet can be controlled separately.
- Turn on Water: Slowly turn on your faucet to full pressure. The timer is now ready for programming.
Operating Instructions
The MOES Water Timer CR04 features a rotary dial and control buttons for easy programming.
1. Setting Current Time
- Turn the dial to NOW.
- Use the +/- buttons to adjust the current hour and minute.
- Press OK to confirm each setting.
2. Programming Watering Schedules (AUTO Mode)
The timer allows for independent programming of each of the four zones.

Image: The MOES Water Timer CR04 display illustrating independent zone control. Each of the four outlets is shown connected to different plant types, with varying watering schedules (e.g., every 1 day for 20 mins, every 3 days for 10 mins).
- Select Zone: Press the Zone +/- buttons to select the desired watering zone (1-4) you wish to program.
- Set Start Time: Turn the dial to START TIME. Use the +/- buttons to set the time you want watering to begin for the selected zone. Press OK to confirm.
- Set How Long: Turn the dial to HOW LONG. Use the +/- buttons to set the duration of watering (e.g., 1 minute to 240 minutes). Press OK to confirm.
- Set How Often: Turn the dial to HOW OFTEN. Use the +/- buttons to set the frequency of watering (e.g., every 1 hour to every 15 days). Press OK to confirm.
- Activate AUTO Mode: Once all zones are programmed, turn the dial to AUTO. The timer will now operate according to your set schedules.
3. Manual Watering
- Turn the dial to MANUAL.
- Use the Zone +/- buttons to select the zone you wish to water manually.
- Use the +/- buttons to set the desired manual watering duration.
- Press OK to start manual watering. The selected zone will water for the set duration and then return to its programmed schedule.
- To stop manual watering prematurely, press OK again or turn the dial to OFF.
4. Rain Delay Function
The rain delay function allows you to pause your watering schedule for a set period, conserving water during rainy weather.
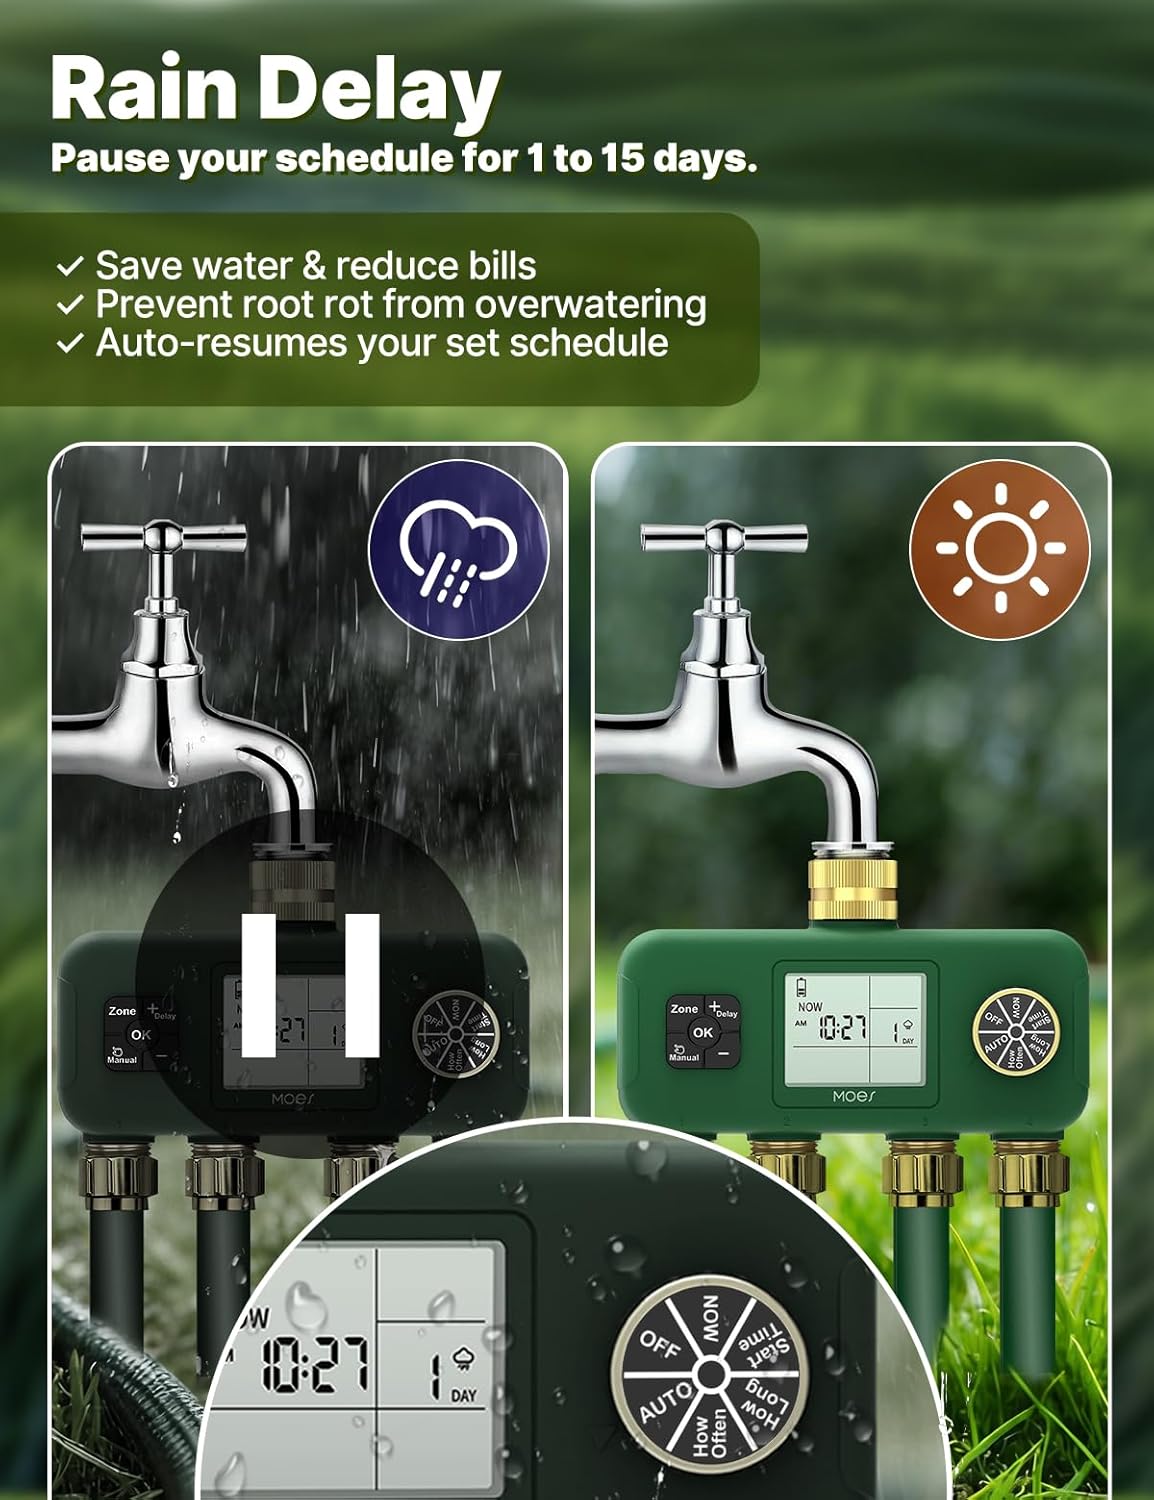
Image: The MOES Water Timer CR04 display demonstrating the Rain Delay function. One side shows a rain cloud icon with the timer paused, while the other shows a sun icon with the timer operating normally. This feature allows pausing schedules for 1 to 15 days.
- Turn the dial to AUTO.
- Press the Delay button.
- Use the +/- buttons to select the number of days (1-15) you wish to delay watering.
- Press OK to activate the rain delay. The timer will pause for the selected duration and then automatically resume its programmed schedule.
5. Smart Sequential Watering
The MOES CR04 timer is designed for sequential watering, meaning it waters one zone at a time. This ensures consistent water pressure for each zone, preventing pressure drops that can occur with simultaneous watering from standard splitters.

Image: A comparison illustrating the benefit of Smart Sequential Watering (left) where the MOES timer maintains full pressure for one zone at a time, versus Simultaneous Watering (right) with a standard splitter, which can lead to severe pressure drops and weak spray distance.
Maintenance
- Clean Filters: Periodically check and clean the filter screen located in the timer's inlet to prevent debris from clogging the system.
- Winter Storage: Before the first frost, disconnect the timer from the faucet, remove the batteries, and store the unit indoors in a dry, protected area.
- Battery Replacement: Replace batteries promptly when the low battery indicator appears on the display to ensure continuous operation and prevent data loss. The timer features an auto-shutoff protection and power failure memory to safeguard against issues from low battery or power interruptions.

Image: A close-up of the MOES Water Timer CR04 display, highlighting its 100% Reliable Failsafe System. Features shown include Auto-Shutoff Protection (for low battery), no requirement for an App/WiFi, and Power Failure Memory to retain settings.
Troubleshooting
| Problem | Possible Cause | Solution |
|---|---|---|
| Timer not turning on/display blank | Dead or incorrectly installed batteries. | Replace with new AA alkaline batteries, ensuring correct polarity. |
| Water not flowing | Faucet is off; low battery; incorrect programming; clogged filter. | Ensure faucet is fully open. Check battery level. Verify watering schedule in AUTO mode. Clean the inlet filter. |
| Leaks from connections | Loose connections; missing or worn washers. | Tighten all connections by hand. Ensure washers are properly seated and in good condition. Replace worn washers. |
| Timer not watering at scheduled time | Incorrect current time setting; timer in OFF or MANUAL mode; rain delay active. | Verify current time is set correctly. Ensure dial is set to AUTO. Check if rain delay is active and wait for it to expire or cancel it. |
Specifications
- Brand: MOES
- Model: CR04
- Material: Polycarbonate, Brass (inlet/outlets)
- Zones: 4 independent zones
- Power Source: 2 x AA Alkaline Batteries (not included)
- Product Dimensions: 25D x 25W x 25H millimeters
- Item Weight: 0.4 Pounds
- Color: Green
Warranty Information
MOES products are designed for reliability and performance. This product typically comes with a standard manufacturer's warranty against defects in materials and workmanship. For specific warranty terms and conditions, please refer to the warranty card included with your purchase or visit the official MOES website.
Support
If you encounter any issues or have questions regarding your MOES Water Timer CR04 4 Zone that are not covered in this manual, please contact MOES customer support. You can usually find contact information on the product packaging, the official MOES website, or through your retailer.


