
1. Introduction
This manual provides detailed instructions for the operation and maintenance of your TIDRADIO TD-H9 Multi-Band Ham Radio. The TD-H9 is a versatile handheld radio featuring GPS, APRS, Bluetooth connectivity, SMS messaging, spectrum analysis, and NOAA weather reception. Please read this manual thoroughly to ensure proper use and to maximize the radio's capabilities.
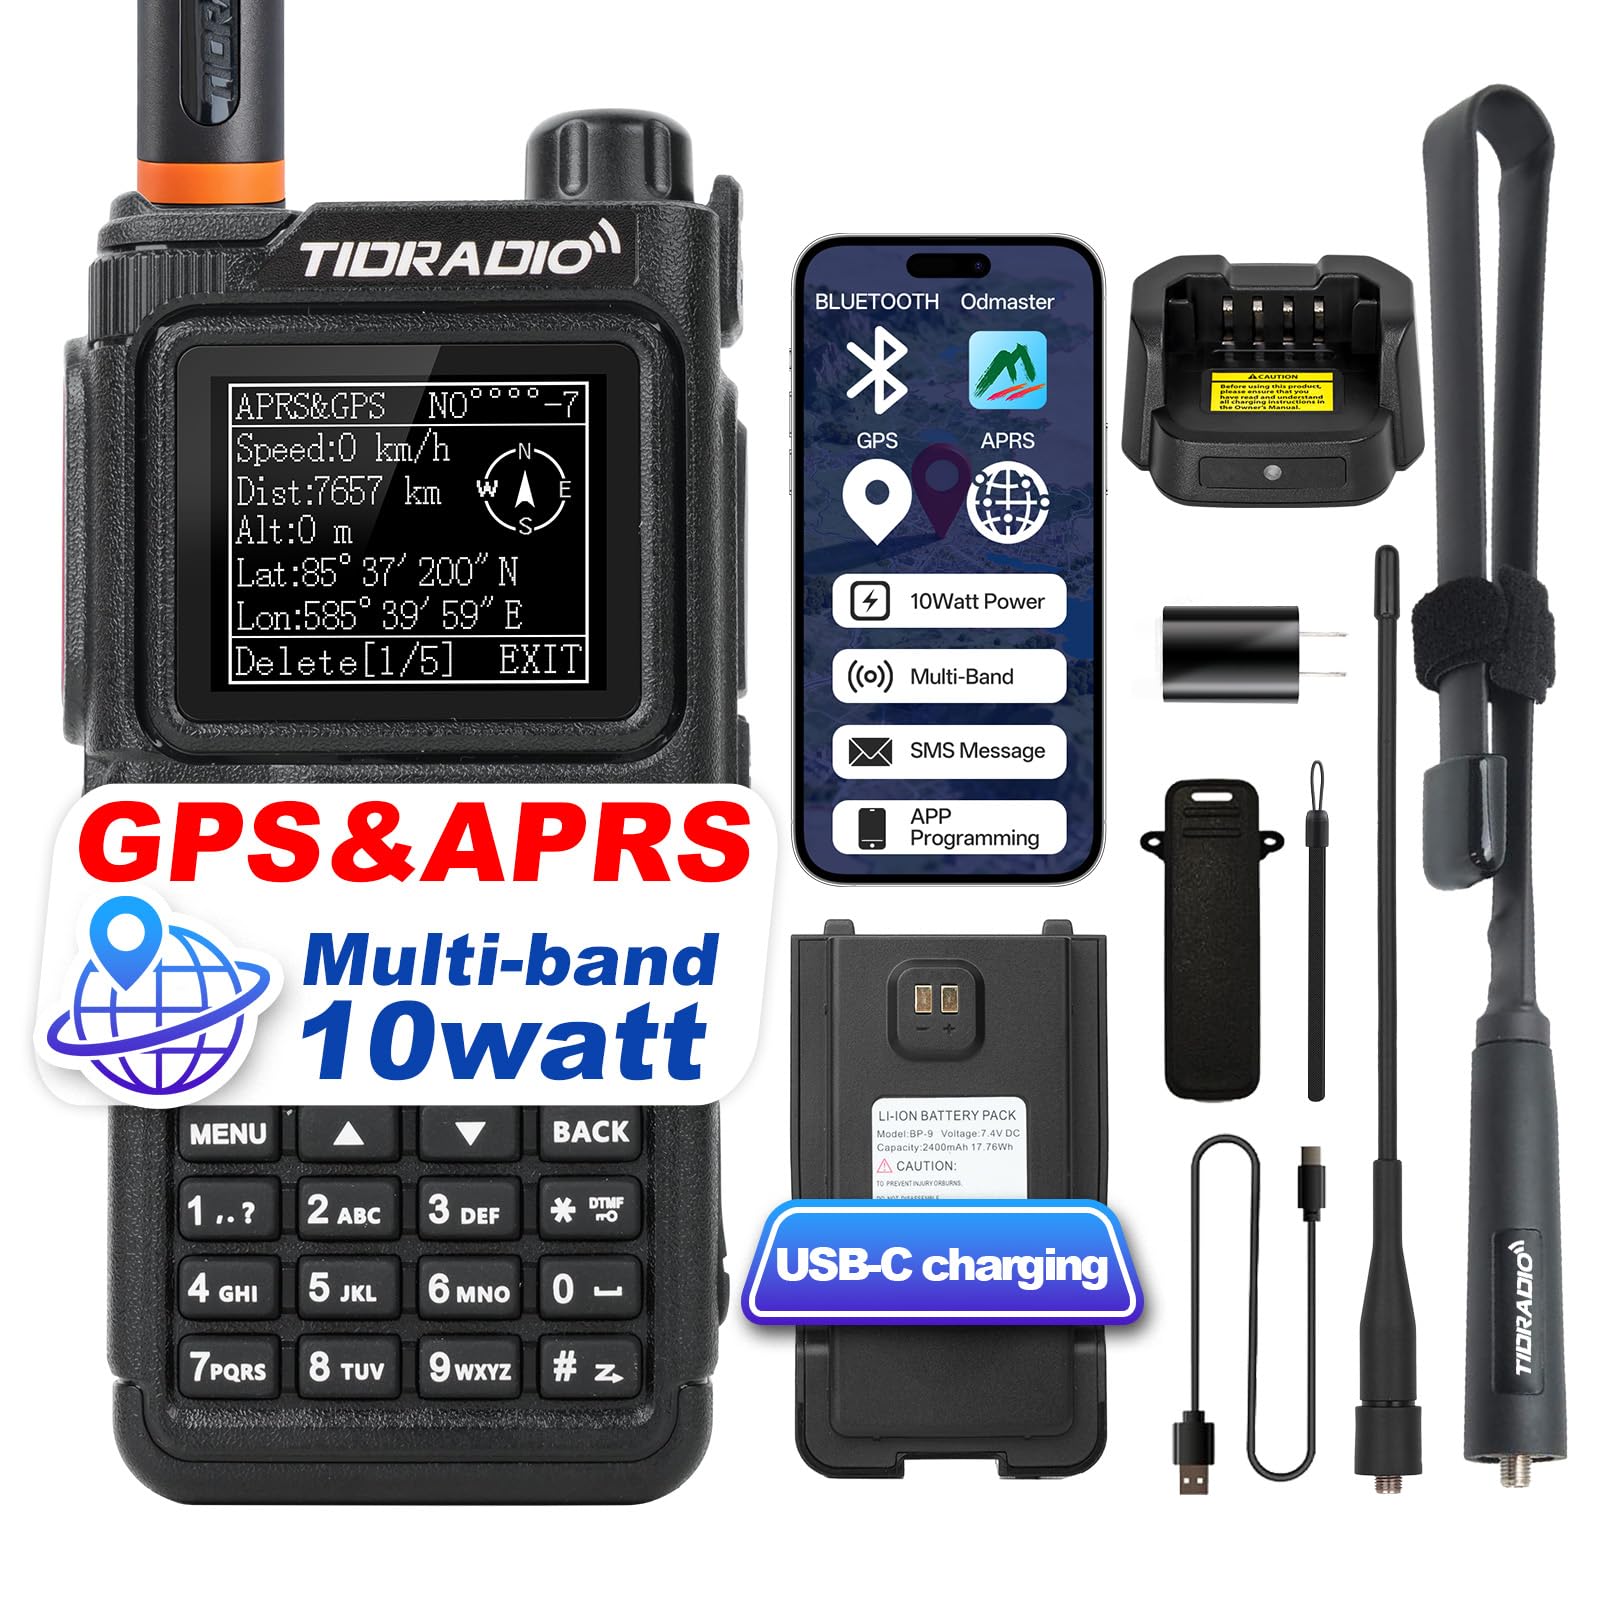
Image 1.1: TIDRADIO TD-H9 Ham Radio with included accessories.
2. What's in the Box
Verify that all items are present in the package:
- 1 x TIDRADIO TD-H9 Ham radio
- 1 x 18.8-inch Foldable Tactical Antenna
- 1 x Standard Antenna
- 1 x USB-C Charging Battery
- 1 x Desktop Charger
- 1 x USB-C Charging Cable
- 1 x Adapter
- 1 x Belt Clip
- 1 x Strap
- 1 x User Manual (this document)
3. Setup
3.1. Battery Installation and Charging
Before initial use, fully charge the battery. Connect the USB-C charging cable to the USB-C port on the battery or use the desktop charger. The battery has a 2400mAh capacity.

Image 3.1: The TD-H9 supports USB-C charging directly to the battery.
3.2. Antenna Attachment
Screw the desired antenna (standard or tactical) onto the antenna connector at the top of the radio. Ensure it is securely fastened.

Image 3.2: Choose between the standard or 18.8-inch tactical antenna based on your communication needs.
3.3. Belt Clip and Strap Attachment
Attach the belt clip to the back of the radio for convenient carrying. The strap can be attached to the radio for added security.
4. Operating Instructions
4.1. Power On/Off and Volume
To power on or off, rotate the top knob clockwise or counter-clockwise. This knob also controls the volume.
4.2. Mode Switching (Ham/GMRS/Normal)
The TD-H9 supports three operating modes: Ham, GMRS, and Normal. To switch modes:
- Ensure the radio is powered off.
- Press and hold the PTT button and the * key simultaneously.
- While holding, power on the radio.
- Follow the on-screen menu to select your desired mode.
4.3. GPS and APRS Functionality
The built-in GPS chip provides precise location data. APRS allows for position reporting, beaconing, and text messaging to other radio users on a live map.
To enable GPS:
- Navigate to Menu → GNSS → GPS.
- Select ON.
- Long press the BACK button to enter the GPS display.

Image 4.1: The radio displaying real-time GPS location data.
Video 4.1: This video demonstrates how to access and use the GPS feature on the TD-H9 radio.
4.4. Bluetooth Connectivity
The TD-H9 supports Bluetooth for connecting to speakers, earpieces, and PTT microphones, enabling hands-free operation.
Quick Setup:
- Turn on Bluetooth on the radio.
- Select the appropriate mode (Emitter for wireless earphones/speakers, Receiver for Bluetooth PTT mics).
- Pair with your Bluetooth device.
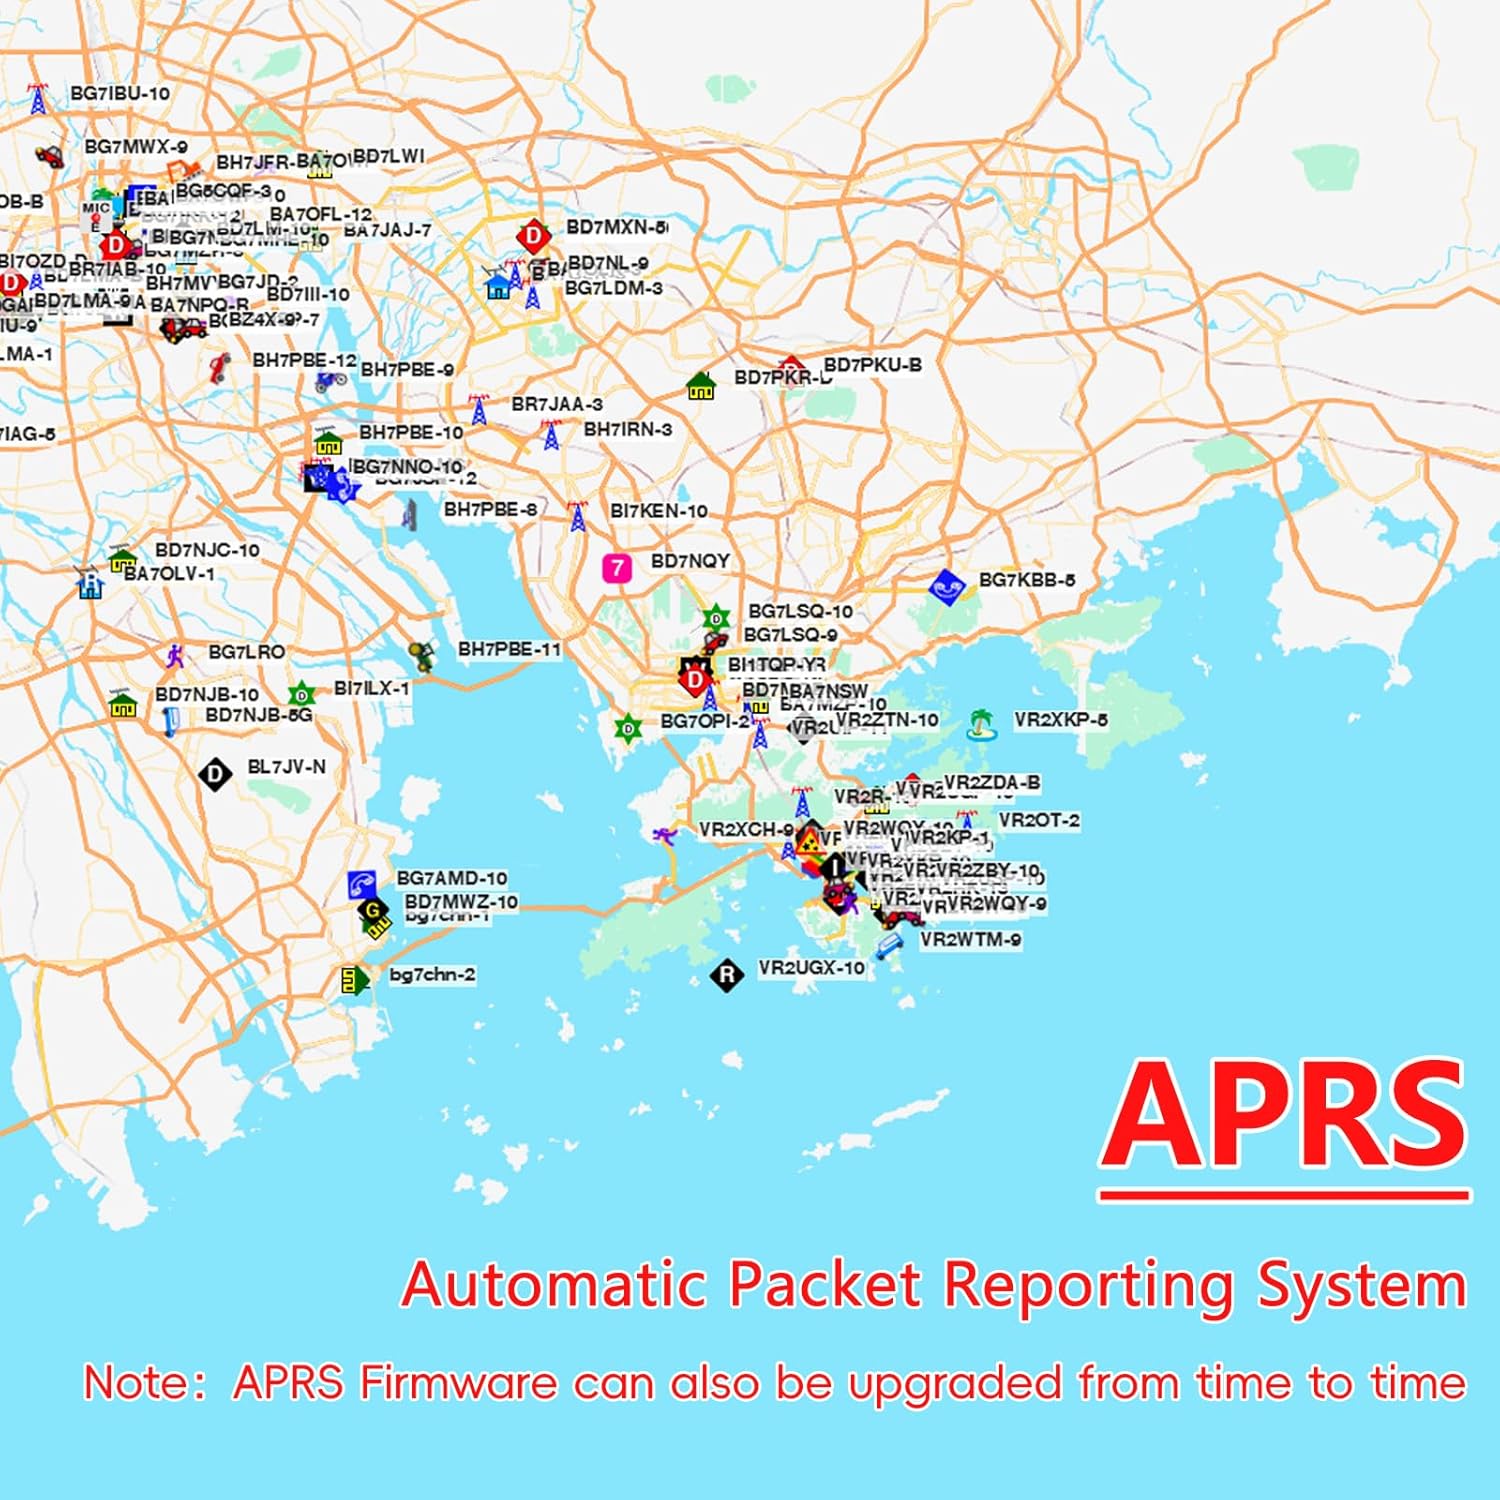
Image 4.2: The Bluetooth menu on the TD-H9, showing options for pairing with external devices.
4.5. Odmaster App Integration
The Odmaster App allows for phone-based radio customization, programming, and communication features.
- Programming: Configure your TD-H9 directly from your phone without a PC.
- Repeater Search: Find and import nearby repeaters.
- Group Talk: Communicate with other app users in the same group, even without the radio.
- Configuration Management: Backup and share custom radio configurations.
Access the app and programming features via web.odmaster.net.

Image 4.3: The TD-H9 connected to the Odmaster app for advanced control and programming.
Video 4.2: This video provides an overview of the features available on the TIDRADIO TD-H9 Ham Radio, including its GPS and APRS capabilities.
4.6. SMS Text Messaging
Send secure text messages between TD-H9 radios. Messages are visible only to the sender and recipient.
Morse code messaging is also supported: a short press for a dot (·) and a long press for a dash (—).

Image 4.4: The SMS function on the TD-H9, showing message input and transmission.
Video 4.3: This video demonstrates how to send SMS messages between two TD-H9 radios.
4.7. NOAA Weather Receiver
The TD-H9 automatically monitors for emergency weather warnings (severe storms, tornadoes, hurricanes, floods) and provides alerts.

Image 4.5: The NOAA weather reception feature provides critical alerts.
4.8. Spectrum Analysis
The spectrum analysis feature helps detect radio activity in real-time, showing busy versus clear channels.
User Guide:
- Long press Button 7 to enter the Spectrum interface.
- If there is radio transmission on the current frequency, a bar graph will rise and fall, indicating channel activity.

Image 4.6: The spectrum analysis screen on the TD-H9, showing real-time frequency activity.
Video 4.4: This video demonstrates how to use the Spectrum Feature on the TD-H9 radio.
4.9. AM/FM Aviation Band Reception
The TD-H9 can receive AM/FM aviation band frequencies.
To turn on AM/FM features:
- Navigate to Menu → Program Chann → [16] Modulation.
- Select [AM] or [FM].

Image 4.7: The TD-H9 displaying AM/FM aviation band reception settings.
4.10. Firmware Upgrades
The TD-H9 features a 240MHz CPU and 120MB of storage, allowing for firmware upgrades to enhance performance and APRS functionality. Firmware updates can be performed via web.odmaster.net.

Image 4.8: The TD-H9 is designed for continuous improvement through firmware upgrades.
4.11. Display Customization
The 1.77-inch LCD color screen offers 18 menu colors and 3 display modes for personalized viewing preferences, including options for colorblind users.

Image 4.9: Various display modes and 18 menu color options for the TD-H9.
5. Maintenance
5.1. Cleaning
Wipe the radio with a soft, damp cloth. Do not use harsh chemicals or solvents. Ensure the USB-C port cover is closed when not in use to maintain water resistance.
5.2. Battery Care
To prolong battery life, avoid fully discharging the battery frequently. Store the radio and battery in a cool, dry place when not in use for extended periods.
5.3. Antenna Care
Inspect antennas regularly for damage. Ensure they are securely attached before operation.
6. Troubleshooting
If you encounter issues with your TD-H9, refer to the following common solutions:
- Radio not powering on: Ensure the battery is fully charged and correctly installed.
- No signal reception: Check antenna connection. Verify frequency settings and ensure you are within range of an active signal.
- Poor audio quality: Adjust squelch level. Ensure microphone and speaker are clear of obstructions.
- Bluetooth pairing issues: Ensure Bluetooth is enabled on both the radio and the external device. Check that the correct Bluetooth mode (Emitter/Receiver) is selected on the radio.
- GPS not locking: Ensure GPS is enabled in the menu. Operate in an open area with a clear view of the sky.
For further assistance, please contact TIDRADIO customer support.
7. Specifications
| Feature | Specification |
|---|---|
| Brand | TIDRADIO |
| Model Number | TD-H9 |
| Number of Channels | 199 |
| Frequency Range | AM/FM/VHF/1.25M/UHF |
| Talking Range Maximum | 20 miles (with folding antenna) |
| Power Output | 10 Watts |
| Voltage | 7.4 volts |
| Water Resistance Level | IP54 (Water Resistant) |
| Product Dimensions | 1"D x 2"W x 5"H |
| Battery Type | 1 Nonstandard Battery (included) |
| Battery Average Life | 30 hours |
| Impedance | 50 ohm |
| Connectivity Protocol | Bluetooth |
| Temperature Range | -10℃ to 50℃ |
| CPU | 240MHz |
| Storage | 120MB |
8. Warranty and Support
8.1. Warranty Information
The TIDRADIO TD-H9 comes with a 1-year warranty. Please retain your proof of purchase for warranty claims.
8.2. Customer Support
For technical support, troubleshooting, or warranty inquiries, please visit the official TIDRADIO website or contact their customer service department. You can also find additional resources and community support through the Odmaster App.


