
1. Introduction
This manual provides essential information for the safe and efficient operation of your THKFMSRC GD3024EMH High Frequency Off-Grid MPPT Solar Inverter. Please read this manual thoroughly before installation and use, and retain it for future reference.
The GD3024EMH is a high-frequency off-grid solar inverter designed to convert DC power from solar panels into AC power for household appliances. It features Maximum Power Point Tracking (MPPT) technology for optimized solar energy harvesting and operates as a hybrid system.
2. Safety Information
WARNING: Failure to follow these safety instructions may result in electric shock, fire, serious injury, or death.
- Installation must be performed by qualified personnel.
- Ensure all wiring is correctly polarized and securely connected.
- Do not operate the inverter if it is damaged or appears to be malfunctioning.
- Keep the inverter away from flammable materials, moisture, and direct sunlight.
- Ensure adequate ventilation around the inverter to prevent overheating.
- Disconnect all power sources (solar, battery, utility) before performing any maintenance or wiring.
3. Package Contents
Verify that all items listed below are included in your package. If any items are missing or damaged, please contact your supplier.
- THKFMSRC GD3024EMH Solar Inverter Unit
- User Manual (this document)
- Mounting Hardware (screws, anchors)
- Communication Cable (if applicable)
4. Product Overview
The THKFMSRC GD3024EMH inverter integrates a solar charge controller, inverter, and battery charger into one unit. It is designed to provide uninterrupted power support.
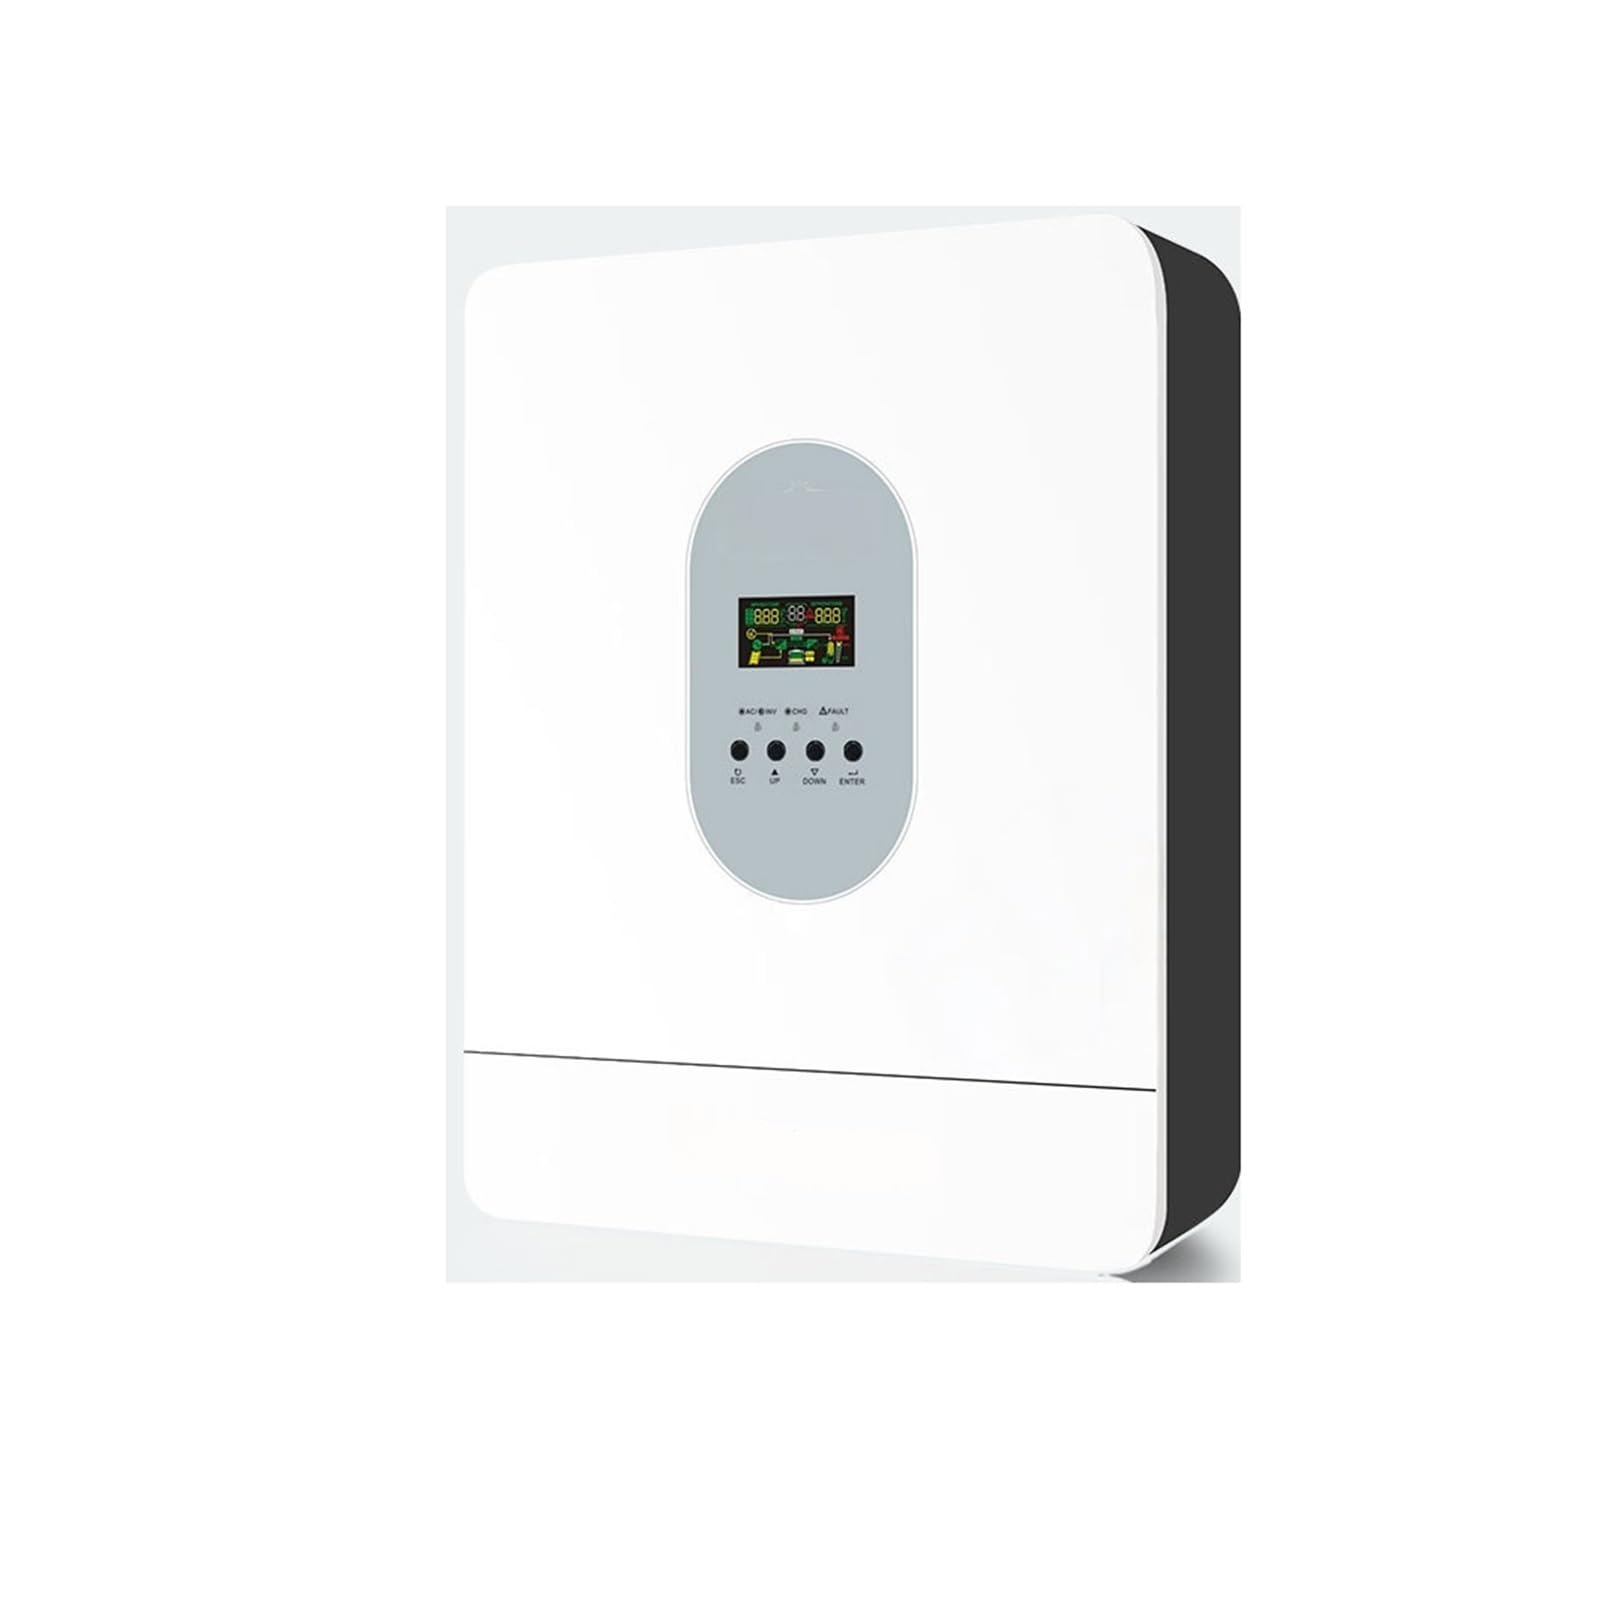
Figure 4.1: Front view of the THKFMSRC GD3024EMH solar inverter. This image displays the main unit with its control panel and various connection points for solar input, battery, and AC output.
4.1. Features
- Pure sine wave inverter
- Built-in MPPT solar charge controller
- Configurable input voltage range for home appliances and personal computers via LCD setting
- Configurable battery charging current based on applications via LCD setting
- Configurable AC/Solar Charger priority via LCD setting
- Compatible with mains voltage or generator power
- Auto restart while AC is recovering
- Overload/Over temperature/short circuit protection
- Smart battery charger design for optimized battery performance
- Cold start function
5. Setup
5.1. Mounting the Inverter
- Choose a suitable mounting location:
- Indoors, protected from direct sunlight, rain, and dust.
- Vertical wall mounting is recommended.
- Ensure sufficient clearance (at least 20 cm) around the unit for proper heat dissipation.
- The ambient temperature should be between 0°C and 55°C.
- Mark the positions for the mounting screws on the wall using the inverter as a template.
- Drill holes and insert wall anchors (if necessary).
- Securely mount the inverter to the wall using the provided screws.
5.2. Wiring Connections
CAUTION: Before making any connections, ensure all power sources (solar panels, batteries, AC input) are disconnected and turned off.
- Battery Connection: Connect the battery cables to the inverter's battery terminals. Ensure correct polarity (+ to + and - to -). The GD3024EMH requires a 24V battery bank.
- Solar Panel Connection: Connect the solar panel cables to the inverter's PV input terminals. Observe correct polarity. Ensure the open-circuit voltage of your solar array does not exceed the inverter's maximum PV input voltage.
- AC Input Connection: If connecting to a utility grid or generator, connect the AC input cable to the designated AC input terminal.
- AC Output Connection: Connect your loads (appliances) to the AC output terminals.
- Grounding: Connect the inverter to an earth ground using a suitable grounding wire.
Refer to the wiring diagram provided in the full product manual for detailed connection points.
6. Operating Instructions
6.1. Initial Power-Up
- Ensure all wiring connections are secure and correct.
- Turn on the battery breaker/switch.
- Turn on the solar panel breaker/switch.
- If using AC input, turn on the AC input breaker.
- Press and hold the ON/OFF button on the inverter for a few seconds to power it on. The LCD display will illuminate.
6.2. LCD Display and Buttons
The inverter features an LCD display and several buttons for monitoring and configuration.
- LCD Display: Shows real-time system status, input/output voltages, battery charge, and error codes.
- Function Buttons: Typically include UP, DOWN, ENTER, and ESCAPE for navigating menus and adjusting settings.
6.3. Basic Settings
Access the settings menu via the function buttons to configure parameters such as:
- Output Voltage/Frequency: (e.g., 110V/60Hz for this model)
- Charging Current: Adjust based on battery capacity.
- AC Input Voltage Range: For appliance or UPS mode.
- Charger Priority: Solar first, AC first, or Solar and AC.
- Output Source Priority: Solar first, Utility first, or SBU (Solar-Battery-Utility).
Consult the detailed settings section in the complete manual for specific parameter adjustments.
7. Maintenance
Regular maintenance ensures optimal performance and longevity of your inverter.
- Cleaning: Periodically clean the inverter's exterior with a dry cloth. Ensure ventilation openings are free from dust and debris.
- Connections: Annually check all electrical connections for tightness and corrosion. Re-tighten if necessary.
- Battery Inspection: Regularly inspect battery terminals for corrosion and ensure battery fluid levels (if applicable) are correct.
- Environment: Ensure the operating environment remains within specified temperature and humidity ranges.
WARNING: Disconnect all power sources before performing any cleaning or inspection.
8. Troubleshooting
This section provides solutions to common issues. For problems not listed here, contact technical support.
| Problem | Possible Cause | Solution |
|---|---|---|
| Inverter does not turn on | No battery connection; Battery voltage too low; ON/OFF button not pressed correctly. | Check battery connections; Charge battery; Press and hold ON/OFF button. |
| No AC output | Overload; Short circuit; Inverter in fault mode. | Reduce load; Check for short circuits in wiring; Restart inverter. |
| Solar panels not charging battery | Incorrect PV connection; Insufficient sunlight; PV voltage too low/high. | Check PV wiring polarity; Ensure panels are in direct sunlight; Verify PV array voltage is within specifications. |
| Error code displayed | Specific system fault. | Refer to the full manual's error code section for detailed explanations and solutions. |
9. Specifications
Key technical specifications for the THKFMSRC GD3024EMH (24V-110V) model:
- Model: GD3024EMH
- System Voltage: 24V DC
- AC Output Voltage: 110V AC
- Inverter Efficiency: 98% (as per product description)
- Power Source: Battery Powered (Hybrid with Solar/AC)
- Wattage: 1 kWh (as per product specifications, likely refers to energy capacity or rated power)
- Type: High Frequency Off-Grid MPPT Solar Inverter
- ASIN: B0GHF554WP
Note: Detailed specifications, including maximum PV input, charge current, and surge power, are available in the complete product datasheet.
10. Warranty and Support
For warranty information, please refer to the warranty card included with your product or contact your point of purchase. THKFMSRC products are designed for reliability and performance.
For technical support, troubleshooting assistance, or spare parts, please contact THKFMSRC customer service through the retailer where the product was purchased or visit the official THKFMSRC website for contact details.
When contacting support, please have your model number (GD3024EMH) and ASIN (B0GHF554WP) ready.