
CRAFTSMAN CMXECXA0200243A
CRAFTSMAN 2 Gallon Portable Air Compressor
Model: CMXECXA0200243A - User Manual
Introduction
This manual provides essential information for the safe operation, maintenance, and troubleshooting of your CRAFTSMAN 2 Gallon Portable Air Compressor, Model CMXECXA0200243A. Please read and understand all instructions before using the product.
Important Safety Information
WARNING: Read and understand all instructions before using this air compressor. Failure to follow all instructions listed below may result in electric shock, fire, and/or serious personal injury.
- Always wear safety glasses or goggles when operating the compressor or using air tools.
- Do not operate the compressor in wet or damp conditions.
- Ensure the compressor is placed on a stable, level surface.
- Never direct compressed air at people or animals.
- Disconnect the power supply before performing any maintenance or adjustments.
- Do not modify the compressor or its accessories.
- Keep children and bystanders away from the operating area.
- Always drain the air tank after each use to prevent corrosion.
- Do not use the compressor for breathing air applications.
Package Contents
Verify that all items listed below are included in your package:
- CRAFTSMAN 2 Gallon Portable Air Compressor
- Sealing Tape
- 25 ft. Recoil Hose
- Tire Chuck
- Quick Coupler
- Quick Connector
- Blow Gun
- High Pressure Nozzle
- Adapter Fitting
- 2 x Inflation Needles
- Male Quick Connector

The accessory kit includes a 25 ft. recoil hose, tire chuck, quick coupler, quick connector, blow gun, high pressure nozzle, adapter fitting, two inflation needles, and a male quick connector, along with sealing tape.
Product Overview
Familiarize yourself with the main components of your air compressor:

- 1. Outlet Pressure Gauge: Displays the regulated air pressure being delivered to the tool.
- 2. Tank Pressure Gauge: Displays the current air pressure inside the tank.
- 3. Safety Valve: Automatically releases excess pressure if the tank pressure exceeds its maximum limit. Do not tamper with this valve.
- 4. Regulator Knob: Adjusts the output air pressure to suit the requirements of your air tool.
- 5. On/Off Switch: Controls the power to the compressor motor.
- 6. Quick Connect: Provides a fast and secure connection point for air hoses and tools.
- 7. Drain Valve: Located at the bottom of the tank, used to drain condensation.

The two gauges allow for easy monitoring of both the internal tank pressure and the regulated output pressure.

The regulator knob enables precise adjustment of the air compressor's output pressure.
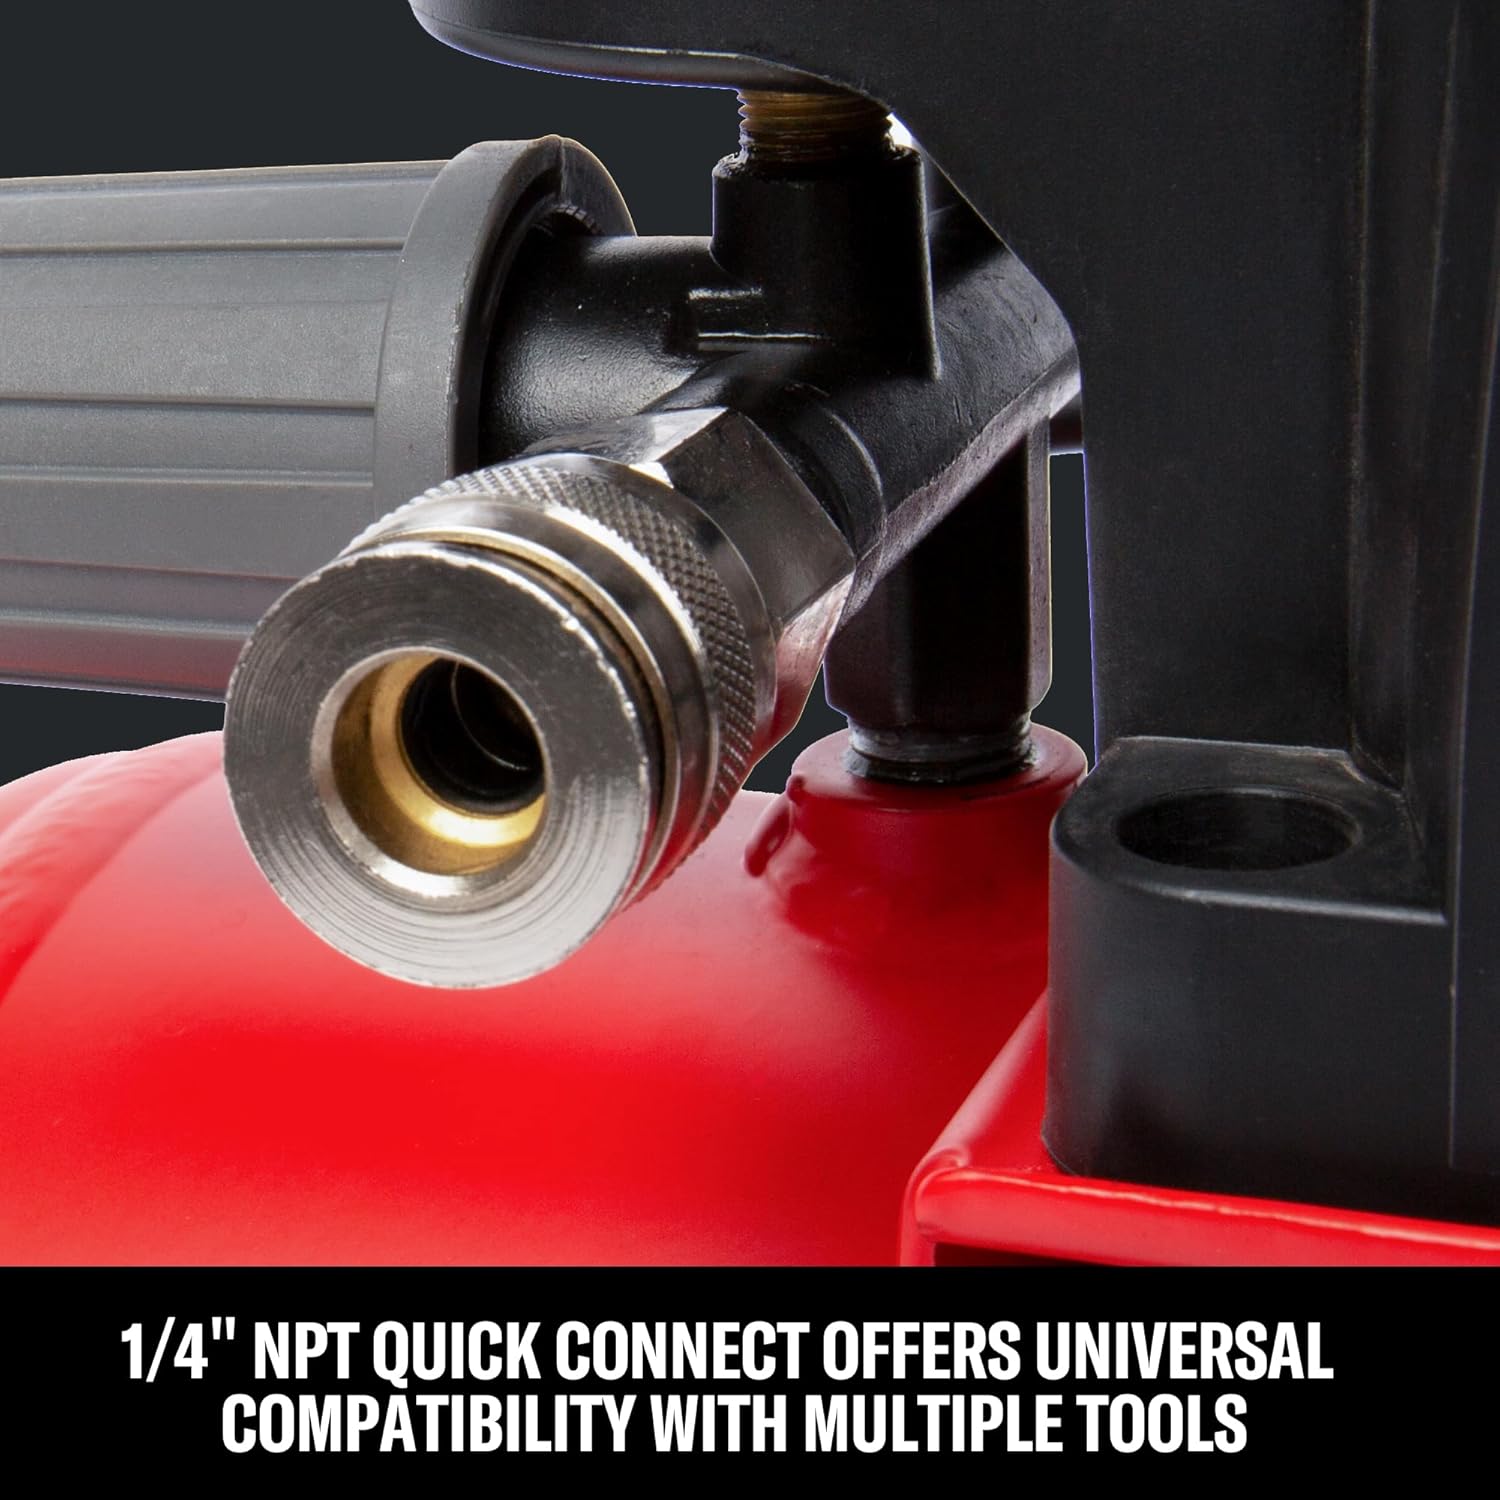
The 1/4" NPT quick connect offers universal compatibility with various pneumatic tools.
Setup
- Unpacking: Carefully remove the compressor and all accessories from the packaging. Inspect for any shipping damage.
- Placement: Position the compressor on a firm, level surface in a well-ventilated area. Ensure adequate space around the unit for air circulation.
- Accessory Connection:
- Apply sealing tape to the threads of any male quick connectors or fittings before attaching them to the air hose or compressor.
- Connect the 25 ft. recoil hose to the quick connect fitting on the compressor. Ensure a secure connection.
- Attach the desired air tool (e.g., tire chuck, blow gun) to the other end of the recoil hose.
- Power Connection: Plug the compressor's power cord into a grounded 120V AC outlet. Ensure the On/Off switch is in the "OFF" position before plugging in.
Operating Instructions
- Starting the Compressor: Flip the On/Off switch to the "ON" position. The compressor will begin to fill the air tank. It will automatically shut off once the maximum pressure (125 PSI) is reached.
- Adjusting Output Pressure:
- Turn the regulator knob clockwise to increase the output pressure.
- Turn the regulator knob counter-clockwise to decrease the output pressure.
- Monitor the Outlet Pressure Gauge to set the desired pressure for your tool.
- Using Air Tools: Once the desired pressure is set, operate your air tool according to its specific instructions. The compressor will cycle on and off automatically to maintain tank pressure as air is used.
- Stopping the Compressor: When finished, flip the On/Off switch to the "OFF" position.
- Depressurizing and Draining: Before disconnecting any hoses or tools, ensure the tank is depressurized. You can do this by using an air tool until the pressure drops, or by carefully pulling the ring on the safety valve to release air (wear hearing protection). After depressurizing, open the drain valve at the bottom of the tank to release any accumulated moisture. Close the drain valve when finished.

The compact and lightweight design with a sturdy handle makes this compressor easy to transport for various tasks.

This compressor is compatible with a wide range of pneumatic tools for tasks such as inflation, cleaning, brad nailing, and more.
Operational Videos
Video: Good Compressor Overview
This video provides a general overview of the compressor's features and operation, demonstrating its use in a practical setting.
Video: Portable Compressor in Use
This video highlights the portability of the compressor and shows it being used for various tasks, emphasizing its convenience.
Video: Excellent for Working on the Go
A short video demonstrating the compressor's suitability for mobile applications and quick tasks.
Maintenance
Regular maintenance ensures the longevity and optimal performance of your air compressor.
- Oil-Free Design: This compressor features an oil-free pump, eliminating the need for oil changes or lubrication. This reduces maintenance and prevents oil stains.
- Drain Tank Daily: After each use, or at least daily, open the drain valve at the bottom of the air tank to release any accumulated moisture. This prevents rust and corrosion inside the tank, which can lead to tank failure. Ensure the tank is depressurized before draining.
- Clean Air Filter: Periodically inspect and clean the air intake filter. A clogged filter can reduce compressor efficiency. Refer to the filter housing for cleaning instructions.
- General Cleaning: Keep the compressor clean and free of dust and debris. Use a dry cloth to wipe down exterior surfaces. Do not use solvents or harsh chemicals.
- Inspect Hoses and Fittings: Regularly check air hoses and fittings for wear, cracks, or leaks. Replace damaged components immediately.
Troubleshooting
This section addresses common issues you might encounter with your air compressor.
| Problem | Possible Cause | Solution |
|---|---|---|
| Compressor does not start or stops unexpectedly. |
|
|
| Compressor runs continuously or cycles too frequently. |
|
|
| Low air pressure at the tool. |
|
|
| Excessive noise or vibration. |
|
|
Specifications
| Feature | Detail |
|---|---|
| Brand | CRAFTSMAN |
| Model Number | CMXECXA0200243A |
| Voltage | 120 Volts |
| Maximum Horsepower | 0.33 HP |
| Tank Capacity | 2 Gallons (7.57 Liters) |
| Maximum Pressure | 125 PSI |
| Air Flow Capacity (CFM @ 40 PSI) | 0.7 CFM |
| Air Flow Capacity (CFM @ 90 PSI) | 0.5 CFM |
| Noise Level | 78 Decibels |
| Hose Length | 25 Feet (recoil hose) |
| Power Source | Corded Electric |
| Pump Type | Oil-Free |
| Material Type | Alloy Steel |
| Duty Cycle | 50% |
| Minimum Branch Circuit Requirement | 3 Amps |
| Approximate Cut-In Pressure | 95 PSIG |
| Approximate Cut-Out Pressure | 125 PSIG |
Warranty Information
CRAFTSMAN products are manufactured to high-quality standards. For specific warranty details, including coverage period and terms, please refer to the warranty card included with your product or visit the official CRAFTSMAN website. Keep your purchase receipt as proof of purchase for warranty claims.
Customer Support
If you have any questions, require technical assistance, or need to order replacement parts, please contact CRAFTSMAN customer support:
- Website: Visit the official CRAFTSMAN website for FAQs, product registration, and service center locations.
- Phone: Refer to your product packaging or the CRAFTSMAN website for the most current customer service contact number.
- Model Number: Please have your model number (CMXECXA0200243A) ready when contacting support.
Ask a question about this manual
Ask about setup, troubleshooting, compatibility, parts, safety, or missing instructions. Manuals+ will review the question and use this page’s manual context to help answer it.