
1. Introduction
Thank you for choosing the SenCre Nugget Ice Maker. This manual provides essential information for the safe and efficient operation, maintenance, and troubleshooting of your new ice maker. Please read it thoroughly before first use and keep it for future reference.
This countertop ice maker produces soft, chewable nugget ice quickly, with the first batch ready in approximately 5 minutes. It features a daily production capacity of up to 40 lbs, quiet operation, and an automatic cleaning function for convenience.
2. Safety Information
Please observe the following safety precautions to reduce the risk of fire, electric shock, or injury:
- Read all instructions before operating the appliance.
- Do not touch the evaporator or ice cubes when the ice maker is in operation to avoid frostbite.
- Do not immerse the appliance, power cord, or plug in water or other liquids.
- Ensure the ice maker is placed on a stable, level surface away from direct sunlight and heat sources.
- Allow 24 hours for the refrigerant to settle before plugging in the unit after transport.
- Use only potable water in the water reservoir.
- Unplug the appliance before cleaning or when not in use for extended periods.
- Keep children away from the ice maker.
3. Product Overview
The SenCre Nugget Ice Maker is designed for ease of use and portability, featuring a compact design and a sturdy handle. Key components include:
- Ice Maker Unit: The main appliance housing the ice-making mechanism.
- Ice Basket: Removable basket for collecting and storing produced ice.
- Ice Scoop: For hygienic retrieval of ice from the basket.
- Water Reservoir: Internal tank for holding water to be converted into ice.
- Control Panel: Features indicator lights and buttons for operation and cleaning.
- Drain Plug: Located at the bottom for draining water.
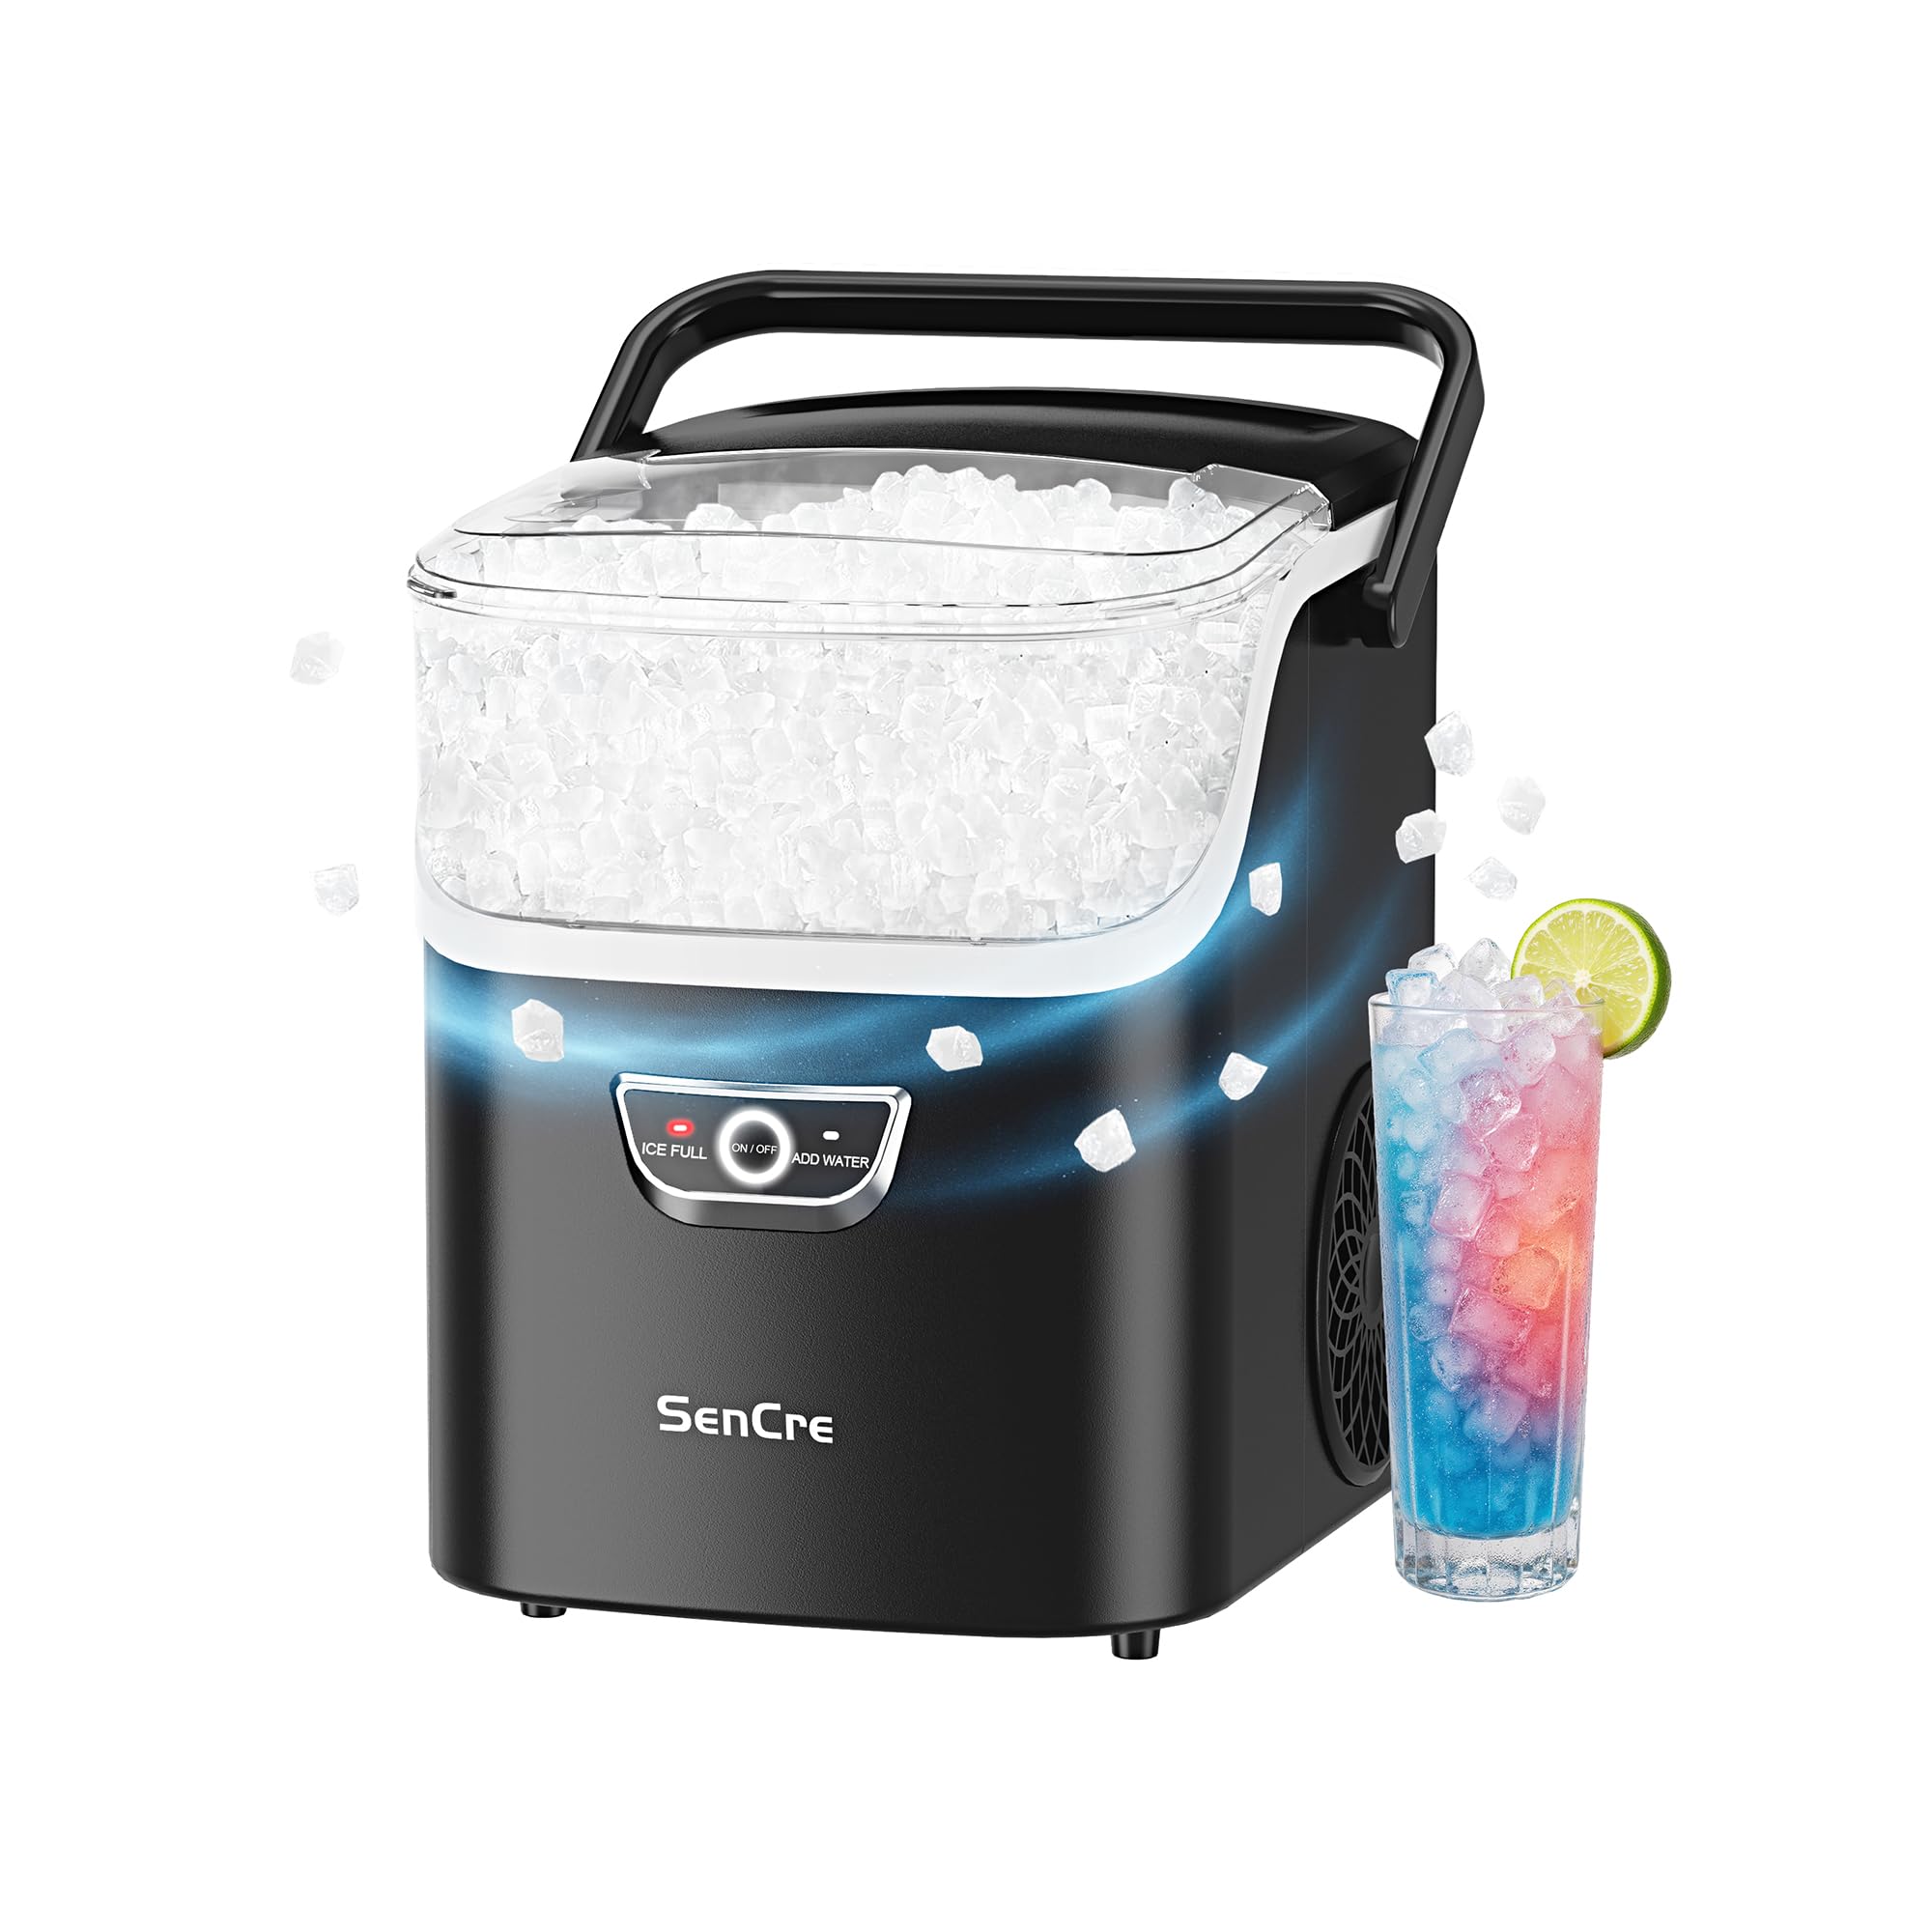
Image: The SenCre Nugget Ice Maker, showing its compact design and included ice scoop.

Image: SenCre Nugget Ice Maker with its dimensions labeled: 11.26 inches deep, 8.5 inches wide, and 12.8 inches high. It also indicates an ice storage capacity of 3.31 lbs and a water tank volume of 2.43 lbs.
4. Setup Instructions
- Unpacking: Carefully remove the ice maker from its packaging. Remove all packing materials, including any tape or protective films.
- Placement: Place the ice maker on a flat, stable, and level surface. Ensure there is adequate ventilation around the unit (at least 5 inches of space on all sides). Avoid placing it near heat sources or in direct sunlight.
- Initial Standby: After transport, allow the ice maker to stand upright for at least 24 hours before plugging it in. This allows the refrigerant to settle, ensuring optimal performance and longevity.
- First Cleaning: Before first use, it is recommended to clean the interior of the ice maker. Refer to the "Maintenance" section for detailed cleaning instructions.
- Power Connection: Plug the power cord into a grounded electrical outlet (110V).
5. Operating Instructions
5.1 Making Ice
- Add Water: Open the lid and pour potable water into the water reservoir up to the MAX fill line. Do not overfill.
- Start Ice Production: Press the "ON/OFF" button once to start the ice-making cycle. The "ICE MAKING" indicator light will illuminate.
- Monitor Ice Production: The first batch of nugget ice will be ready in approximately 5 minutes. The ice maker will continue to produce ice until the ice basket is full or the water reservoir is empty.
- Ice Full Indicator: When the ice basket is full, the "ICE FULL" indicator light will illuminate, and the ice maker will automatically pause production. Once ice is removed, production will resume.
- Add Water Indicator: If the water reservoir is empty, the "ADD WATER" indicator light will illuminate, and the ice maker will pause. Add more water to resume production.
- Stop Ice Production: To stop the ice maker at any time, press the "ON/OFF" button once.

Image: Visual guide for one-touch operation, showing adding water, pressing the ON/OFF button for 3 seconds to activate self-cleaning, and the internal water flow during cleaning.
5.2 Ice Production Timeline
- First Nugget Ice: Approximately 5 minutes.
- One Cup (200ML): Approximately 10 minutes.
- One Tray (800ML): Approximately 30 minutes.
- 24 Hours: Up to 40 lbs of ice.

Image: A timeline illustrating ice production: first nugget ice in 5 minutes, one cup in 10 minutes, one tray in 30 minutes, and over 200 cups (40 lbs) in 24 hours.
6. Maintenance
6.1 Auto-Cleaning Function
The ice maker features a built-in 10-minute auto-cleaning program:
- Ensure there is water in the reservoir.
- Press and hold the "ON/OFF" button for 3 seconds. The ice maker will begin a 10-minute internal rinse cycle.
- After the cycle, drain the water from the unit using the drain plug.
6.2 Regular Cleaning
- Exterior: Wipe the exterior with a soft, damp cloth.
- Ice Basket and Scoop: Wash the ice basket and scoop with mild soap and warm water. Rinse thoroughly and dry before returning to the unit.
- Interior: For a more thorough cleaning, unplug the unit, remove the ice basket, and drain all water. Clean the interior surfaces with a soft cloth dampened with a solution of water and a small amount of vinegar or a mild cleaning agent. Rinse thoroughly by running a few cycles with clean water and draining.
6.3 Descaling
Hard water can lead to mineral buildup, affecting ice quality and machine performance. Descaling frequency depends on your water hardness:
- Moderately Hard Water (61-120 mg/L): Descale monthly.
- Hard to Very Hard Water (121-250 mg/L): Descale every two or three weeks.
To descale, use a descaling solution suitable for ice makers or a mixture of water and vinegar. Follow the product instructions for the descaling solution, or run the auto-cleaning cycle with the vinegar solution, then rinse thoroughly with clean water multiple times.

Image: A map of the United States indicating regional water hardness levels, along with recommendations for descaling frequency based on water hardness (monthly for moderately hard, every 2-3 weeks for hard to very hard water).
7. Troubleshooting
If you encounter issues with your ice maker, refer to the following common problems and solutions:
| Problem | Possible Cause | Solution |
|---|---|---|
| Ice maker not producing ice. | No water in reservoir; Power not connected; Ambient temperature too high. | Add water; Check power connection; Ensure unit is in a cool environment. |
| "ADD WATER" indicator is on. | Water reservoir is empty. | Refill the water reservoir with potable water. |
| "ICE FULL" indicator is on. | Ice basket is full. | Remove ice from the basket. Ice production will resume automatically. |
| Ice tastes strange or has an odor. | Unit needs cleaning; Stale water; Mineral buildup. | Perform auto-cleaning and thorough manual cleaning; Use fresh water; Descale the unit. |
| Ice production is slow. | Poor ventilation; High ambient temperature; Mineral buildup. | Ensure proper ventilation; Place in a cooler area; Descale the unit. |
| Unit is noisy. | Normal operation sounds (compressor, water pump); Unit not level. | Ensure unit is on a level surface. If noise is excessive or unusual, contact customer support. |
8. Specifications
| Feature | Specification |
|---|---|
| Brand | SenCre |
| Model Name | Nugget |
| Product Dimensions (D x W x H) | 11.26" x 8.5" x 12.8" |
| Ice Production per Day | Up to 40 Pounds |
| Ice Storage Capacity | 3.31 Pounds |
| Water Tank Volume | 2.43 Pounds |
| Wattage | 130 watts |
| Voltage | 110 Volts |
| Refrigerant | R600a |
| Material | Metal |
| Item Weight | 17.42 pounds |
9. Warranty and Support
SenCre stands behind the quality of its products. Your SenCre Nugget Ice Maker comes with a 24-Month Worry-Free Warranty from the date of purchase.
For any questions, technical assistance, or warranty claims, please contact our 24/7 Multi-Language Support Team. Contact information can typically be found on the SenCre official website or through your purchase platform.

Image: An illustration depicting several customer support representatives with headsets, symbolizing the 24-month worry-free warranty and 24/7 multi-language support team.