
1. Overview
The GAOMON 8x12 Ft Polycarbonate Greenhouse is designed to provide a durable and optimal environment for plant growth. It features an upgraded aluminum frame for exceptional durability and heavy-duty UV-resistant polycarbonate panels that withstand various weather conditions, including strong winds, heavy rain, and snowstorms. The greenhouse includes sturdy metal handles, a lockable door, and an adjustable roof vent for efficient air circulation and temperature regulation. Its spacious interior offers ample room for plant arrangement, making it a versatile addition to any garden or backyard.
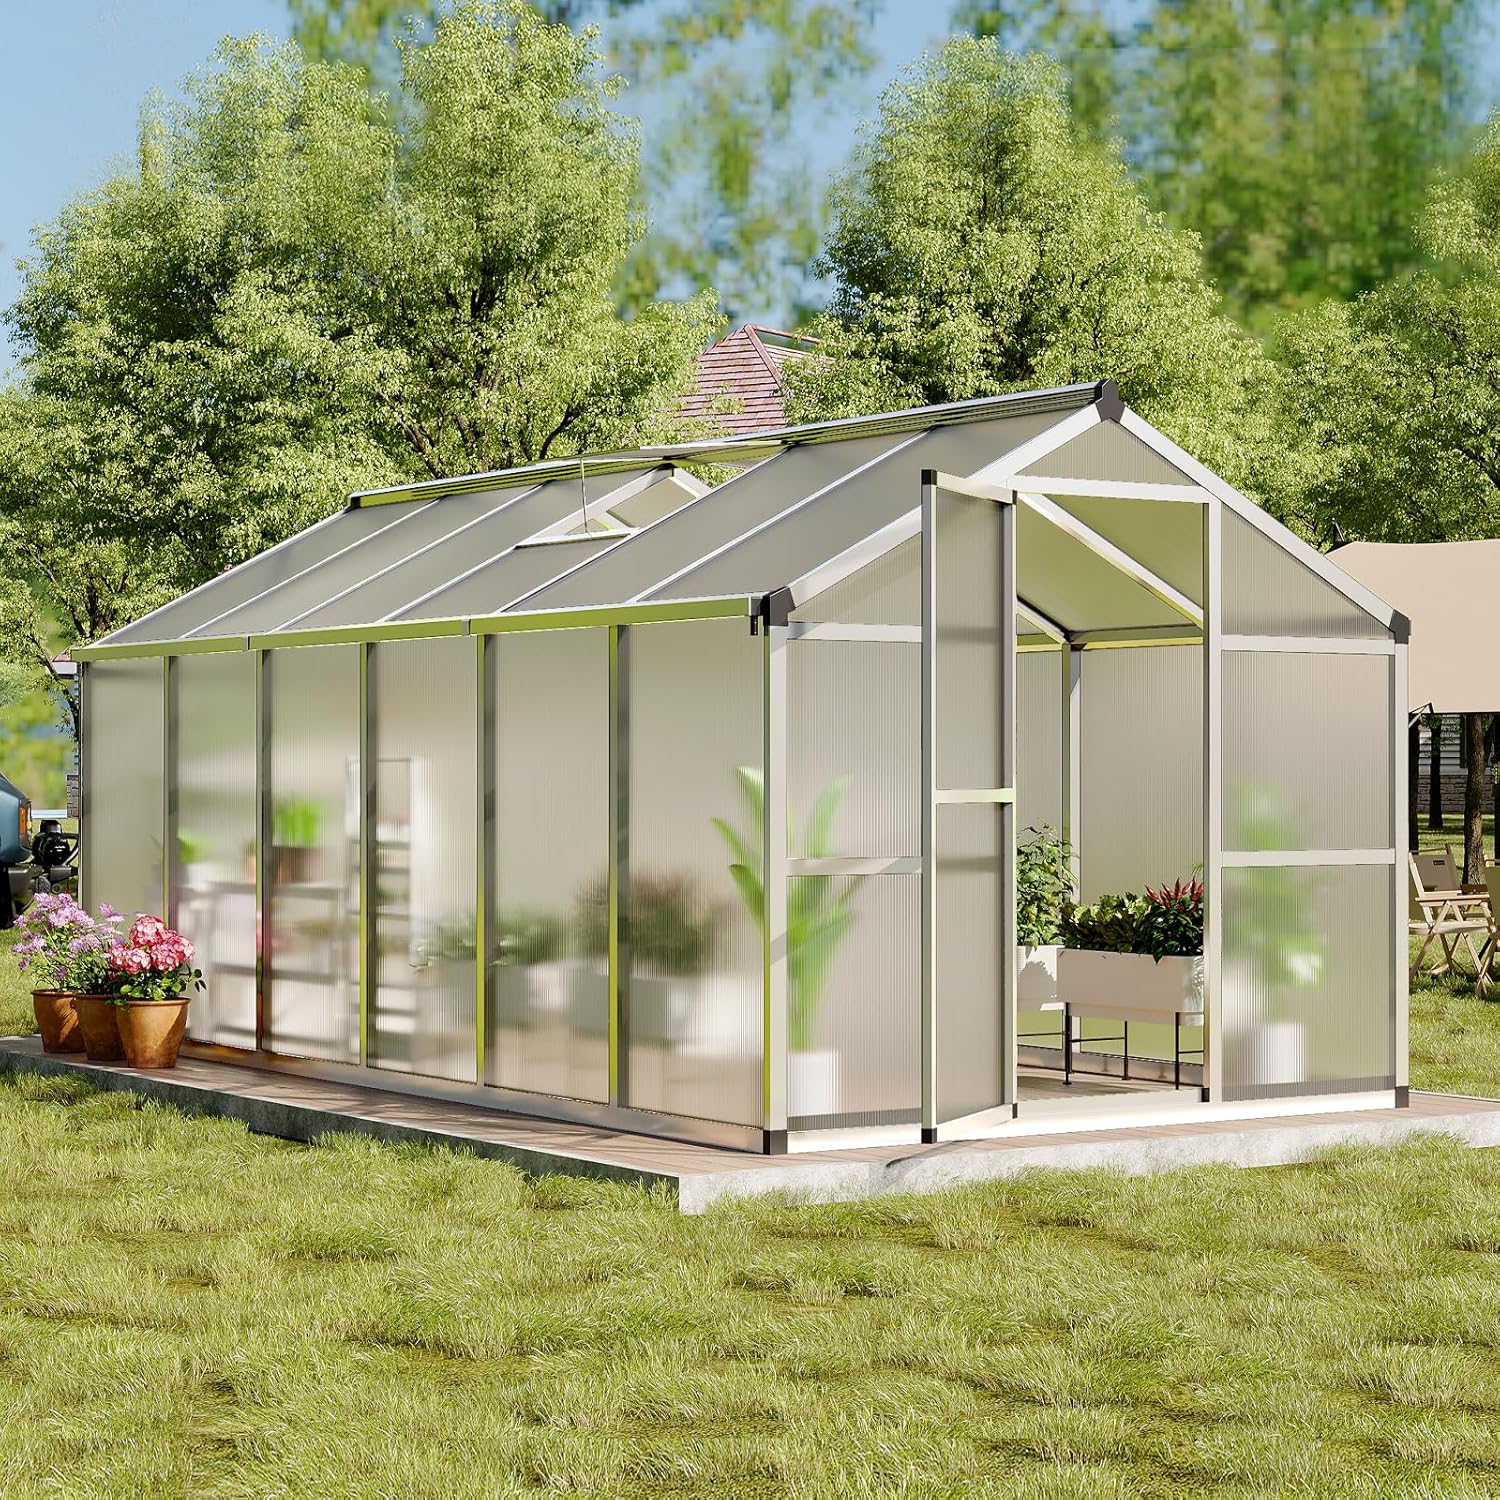
Image: GAOMON 8x12 Ft Polycarbonate Greenhouse installed in a garden.
2. Safety Information
Always wear appropriate safety gear when handling sharp tools and heavy components during assembly. Be cautious of UV exposure from polycarbonate panels and follow all manufacturer guidelines for safe installation, use, and maintenance.
3. Package Contents
Before beginning assembly, ensure all components are present and undamaged. The package typically includes:
- Aluminum frame components (various lengths and shapes, often numbered)
- Polycarbonate panels (various sizes for walls, roof, and vents)
- Fasteners: Screws, bolts, nuts, washers
- Anchoring hardware: Ground nails/stakes or brackets for concrete
- Door assembly components (frame, handles, lock)
- Roof vent assembly components
- Gutter system components
- Instruction manual

Image: Diagram illustrating the dimensions of the 8x12 Ft greenhouse.
4. Setup and Assembly
Assembly typically requires two people and may take approximately 4 hours. Follow these steps carefully:
- Organize Components: Lay out all frame parts and panels in numerical order as indicated in the manual. This simplifies identification during assembly.
- Assemble Back Upright Walls: Begin by assembling the back upright walls. Note that the two center uprights use screws for attachment, unlike other sections that may use bolts.
- Prepare Polycarbonate Panels: Before installing the polycarbonate panels, peel off both protective films. The white film faces outward, and a clear film is on the inner side. Ensure both are removed for proper light transmission and UV protection.
- Install Back Panels: When installing the back panels, keep the two screws that secure them loose initially. This allows for slight movement and proper alignment of all panels. Once all three long panels are in place, tighten these screws.
- Install Top Peak: As you attach the top peak section, ensure the screws connecting to rail #20 are kept loose. This flexibility is crucial for aligning all components. Once aligned, tighten all screws.
- Assemble Front Wall: The front wall assembly is similar to the back wall, but it includes an additional bar for the door frame. Ensure side pieces are oriented correctly to accommodate the side panel walls.
- Install Side Panels: For the side panels, keep all screws loose until all clear plastic panels are fully inserted and aligned. Then, proceed to tighten all screws.
- Install Roof Panels and Gutters: Start with the end roof panels, then install the center panels and their corresponding brackets. The roof vent window should be installed as per the manual. Finally, mount the gutter system, which includes a water spout for drainage.
- Anchoring: The greenhouse can be anchored using provided stakes for ground installation or tapcon screws for concrete surfaces. Ensure the greenhouse is securely fastened to prevent movement in strong winds.
Video: Detailed assembly guide for the GAOMON Outdoor Greenhouse Kit. This video demonstrates the step-by-step process of constructing the greenhouse, from organizing parts to installing panels and securing the structure.


5. Operating Instructions
- Ventilation: The greenhouse features an adjustable roof vent. Open the vent to allow hot air to escape and fresh air to circulate, helping to regulate internal temperature and humidity. Adjust the opening based on external weather conditions and plant needs.
- Door Operation: The greenhouse is equipped with a sliding, lockable door. Slide the door open for access and close it to maintain the internal environment. Use the lock for security when needed.

6. Maintenance
- Cleaning Panels: Regularly clean the polycarbonate panels with mild soap and water to ensure maximum light transmission. Avoid abrasive cleaners or tools that could scratch the surface.
- Check Fasteners: Periodically inspect all screws, bolts, and connections to ensure they remain tight. Re-tighten as necessary to maintain structural integrity.
- Gutter Maintenance: Keep the gutters clear of debris to ensure proper water drainage.
- Door and Vent: Ensure the sliding door and roof vent operate smoothly. Lubricate moving parts if they become stiff.
7. Troubleshooting
- Loose Panels: If panels feel loose, check and re-tighten the surrounding screws and frame connections.
- Water Leakage: Inspect panel edges and frame joints for gaps. Ensure all seals are properly seated and fasteners are tight.
- Door/Vent Sticking: Check for any obstructions in the tracks. Clean tracks and apply a silicone-based lubricant if needed.
8. Specifications
| Brand | GAOMON |
| Model Number | rM9_PREeOqMidb3Lx8zoeQY2M |
| Color | Push Door Style White |
| Product Dimensions (L x W x H) | 142.52" x 129.13" x 76.77" (Approx. 8x12 FT) |
| Item Weight | 119.38 Pounds |
| Cover Material | Polycarbonate (PC) |
| Frame Material | Aluminum |
| Number of Vents | 2 |
| UPC | 820559375011 |
9. Warranty and Support
For warranty information, technical support, or to order replacement parts, please contact GAOMON customer service. Refer to your purchase documentation for specific warranty terms and contact details.