
1. Introduction
This manual provides comprehensive instructions for the proper setup, operation, and maintenance of your Klanata DL-J09 1D Barcode Scanner. Please read this manual thoroughly before using the device to ensure optimal performance and longevity.
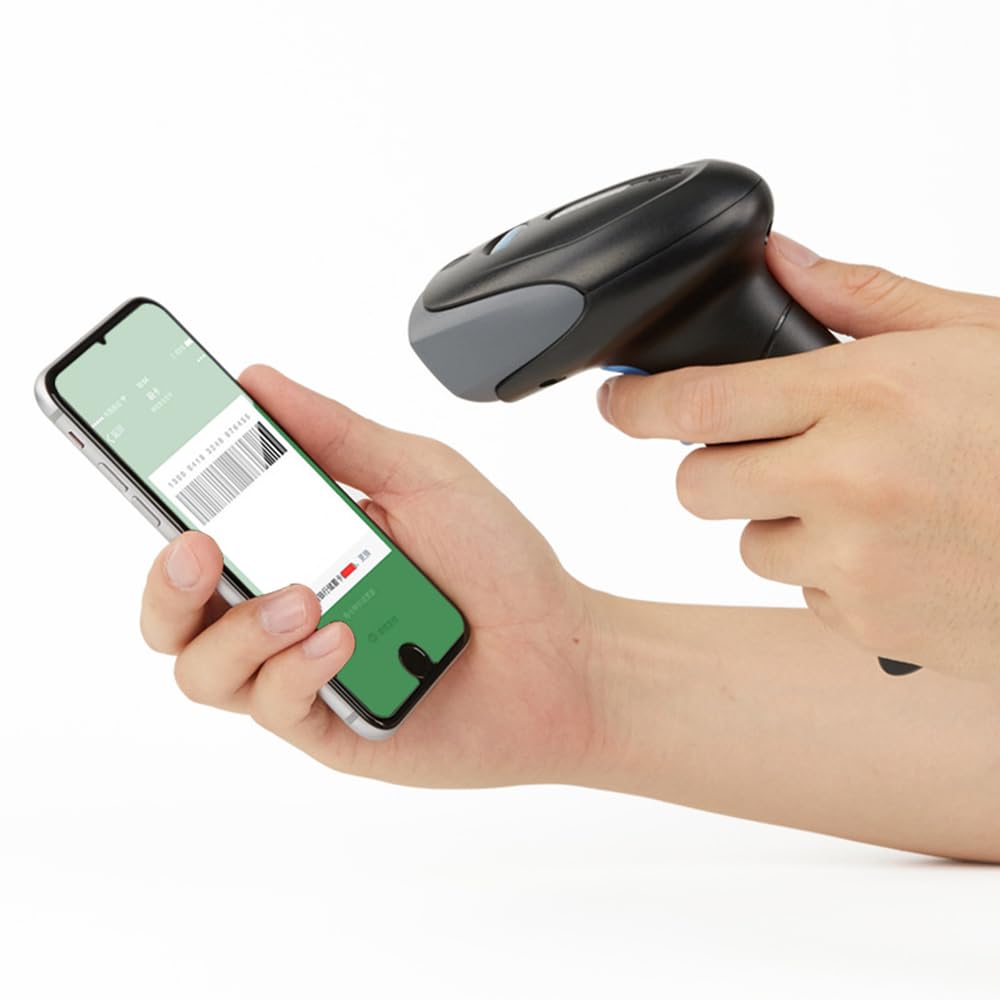
Image: The Klanata DL-J09 1D Barcode Scanner, showing its ergonomic design and active red scanning light.
2. Product Overview
The Klanata DL-J09 is a high-performance 1D barcode scanner designed for various applications. It features a visible light source and a 1500-pixel image sensor for accurate and rapid barcode decoding.
Key Features:
- High Resolution Scanning: Equipped with a 1500-pixel image sensor, providing a reading resolution of 3.5mil and a minimum contrast of 30% for paper codes.
- Broad Symbology Support: Decodes various 1D barcode formats including Code128, EAN-13, EAN-8, Code39, UPC-A, UPC-E, Codabar, Interleaved 2 of 5, ISBN, Code 93, and UCC/EAN-128.
- Fast Scanning Speed: Capable of up to 200 scans per second.
- User Feedback: Features an integrated buzzer and LED indicators for operational status alerts.
- Durable Design: IP52 protection rating against dust and water splashes, and can withstand drops from up to 1.5 meters.
- USB Connectivity: Connects via a USB port, offering plug-and-play compatibility with various computer systems.
3. Setup Instructions
The Klanata DL-J09 barcode scanner is designed for simple plug-and-play operation. No additional drivers or software are typically required for standard functionality.
- Connect the USB Cable: Locate the USB cable attached to the barcode scanner.
- Plug into Computer: Insert the USB connector into an available USB port on your computer or laptop.
- System Recognition: Your operating system (Windows, Mac, Linux) should automatically detect and install the necessary drivers. This process may take a few moments.
- Ready for Use: Once the system indicates the device is ready, the scanner is prepared for operation.

Image: The barcode scanner connected to a laptop via its USB cable, illustrating the plug-and-play setup.
4. Operating Instructions
The DL-J09 scanner offers both manual and automatic trigger modes for flexible operation.
4.1 Scanning a Barcode
- Position the Scanner: Hold the scanner so that the red scanning line is aimed directly at the barcode you wish to read.
- Activate Scan:
- Manual Trigger Mode: Press and hold the trigger button on the scanner. The red scanning line will appear.
- Automatic Trigger Mode: The scanner will continuously emit the red scanning line or activate it when a barcode is detected within its field of view (if configured for automatic mode).
- Confirm Scan: A successful scan will be indicated by a short beep from the buzzer and a flash of the LED indicator. The decoded data will be transmitted to your connected computer as if typed from a keyboard.

Image: A hand holding the barcode scanner, demonstrating precise scanning of a shipping label with the red scan line visible.
4.2 Trigger Modes
The scanner supports two primary trigger modes:
- Manual Trigger: Requires the user to press the trigger button for each scan.
- Automatic Trigger: The scanner automatically detects and scans barcodes without needing to press the trigger button. Refer to the programming guide (if provided separately) to switch between modes.

Image: The barcode scanner shown with a stand, highlighting the availability of manual and automatic trigger modes.
4.3 Feedback Indicators
- Buzzer: Emits an audible beep to confirm successful scans or indicate errors.
- LED Indicator: A light indicator provides visual feedback on the scanner's status (e.g., power on, successful scan).

Image: Close-up of the barcode scanner, illustrating the buzzer indicator with sound wave graphics.
5. Maintenance
Proper maintenance ensures the longevity and optimal performance of your barcode scanner.
- Cleaning: Use a soft, damp cloth to clean the exterior of the scanner. Avoid abrasive cleaners or solvents. Ensure the scanning window is free of dust and smudges for accurate reading.
- Storage: Store the scanner in a cool, dry place away from direct sunlight and extreme temperatures when not in use.
- Cable Care: Avoid bending or twisting the USB cable excessively to prevent internal damage.
- Durability: The scanner has an IP52 rating and can withstand drops from 1.5 meters, but avoid intentional drops or harsh impacts.

Image: The barcode scanner on a cracked surface, symbolizing its anti-shock and durable material construction with a 1.5-meter drop height rating.
6. Troubleshooting
If you encounter issues with your scanner, refer to the following common problems and solutions:
| Problem | Possible Cause | Solution |
|---|---|---|
| Scanner does not power on. | USB cable not properly connected or power issue. | Ensure the USB cable is securely plugged into both the scanner and the computer. Try a different USB port. |
| Scanner does not read barcodes. | Barcode damaged, scanning window dirty, incorrect symbology, or scanner not in correct mode. | Clean the scanning window. Ensure the barcode is not damaged. Check if the scanner supports the barcode type. Ensure the scanner is in the correct trigger mode (manual/auto). |
| No data transmitted to computer. | Scanner not recognized by computer or application issue. | Verify the scanner is recognized by the operating system (check Device Manager). Ensure the cursor is in the correct input field in your application. Restart the computer. |
| Scanner beeps but no data. | Successful scan but data not received by application. | Ensure the application is active and ready to receive input. Try scanning into a simple text editor (e.g., Notepad) to confirm data transmission. |
7. Specifications
| Feature | Detail |
|---|---|
| Model | DL-J09 |
| Light Source | Visible Light |
| Image Sensor Resolution | 1500 pixels |
| Reading Accuracy | 3.5mil |
| Minimum Contrast | 30% |
| Supported 1D Symbologies | Code128, EAN-13, EAN-8, Code39, UPC-A, UPC-E, Codabar, Interleaved 2 of 5, ISBN, Code 93, UCC/EAN-128, etc. |
| Scanning Speed | 200 scans/second |
| Barcode Sensitivity (Tilt/Rotation/Deflection) | Tilt: ±55°, Rotation: ±25°, Deflection: ±55° |
| Data Interface | USB |
| Prompt Method | Buzzer and LED indication |
| Maximum Power Consumption | 740mw |
| Working Voltage | 5V (not exceeding 6V) |
| Drop Height (Free Fall) | 1.5 meters |
| IP Protection Level | IP52 |
| Product Size | 9.3 x 7 x 15.5 cm (3.6 x 2.7 x 6.1 in) |
| Net Weight | 150g |

Image: The barcode scanner illustrating its 1D decoding capability, listing supported barcode types like Code128, EAN-13, and UPC-A. A sample barcode 9771234567003 is visible.
8. Warranty and Support
For warranty information and technical support, please refer to the documentation provided with your purchase or contact Klanata customer service through the retailer where the product was purchased. Keep your purchase receipt as proof of purchase for warranty claims.