
GDOR JE2003B2601
Contents
GDOR Centrifugal Juicer Machine User Manual
Model: JE2003B2601
1. Important Safety Instructions
Please read all instructions carefully before using the GDOR Centrifugal Juicer Machine. Retain this manual for future reference. Failure to follow these instructions may result in electric shock, fire, or serious injury.
- Always ensure the appliance is unplugged from the power outlet before assembling, disassembling, or cleaning.
- Do not immerse the motor base in water or any other liquid. Wipe with a damp cloth only.
- Keep hands and utensils out of the feed chute during operation to prevent injury and damage to the appliance. Use the food pusher provided.
- Ensure all parts are correctly assembled and the safety buckles are securely locked before operating the juicer. The juicer will not operate if the lid is not locked into place.
- This appliance is equipped with overload and overheat protection, which will automatically shut down the juicer if it overheats or is overloaded. Allow the unit to cool down before resuming operation.
- Do not operate the appliance with a damaged cord or plug, or after the appliance malfunctions or has been damaged in any manner.
- All materials in contact with food are culinary grade and BPA-Free.
- This appliance is ETL listed, indicating compliance with safety standards.

Image: Overheat protection icon, indicating the juicer's safety feature against overheating.

Image: Safety buckle icon, highlighting the secure locking mechanism for operation.
2. Product Components
The GDOR Centrifugal Juicer Machine consists of several key components designed for efficient juicing and easy maintenance. Familiarize yourself with these parts before assembly.
- Motor Base (with control knob)
- Filter Bowl
- Micro-Mesh Filter (with titanium enhanced cut disc)
- Juicer Cover (with feed chute and food pusher)
- Pulp Container
- Juice Jug (with foam separator)
- Anti-Drip Spout
- Cleaning Brush

Image: The GDOR Centrifugal Juicer Machine disassembled, showing its main components including the motor base, filter bowl, juicer cover, pulp container, and juice jug.
3. Assembly and Setup
Follow these steps to correctly assemble your juicer before first use.
- Step 1: Attach the anti-drip part to the motor base. Place the filter bowl on top of the motor base, ensuring it is seated correctly.

Image: A person attaching the anti-drip spout and placing the filter bowl onto the motor base.
- Step 2: Place the micro-mesh filter inside the filter bowl. Press down firmly until it "clicks" into place.

Image: A person inserting the micro-mesh filter into the filter bowl.
- Step 3: Place the juicer cover over the filter bowl. Ensure it aligns properly. Buckle the safety buckles on both sides to secure the cover to the motor base.

Image: A person placing the juicer cover and engaging the safety buckles.
- Step 4: Place the pulp container into position at the back of the motor base. It should fit snugly.

Image: A person placing the pulp container at the rear of the juicer.
- Step 5: Insert the foam separator part into the juice jug. Place the assembled juice jug under the juice spout.

Image: A person inserting the foam separator into the juice jug and positioning the jug under the juicer's spout.
4. Operating Instructions
4.1 Preparation of Fruits and Vegetables
- Wash all fruits and vegetables thoroughly.
- For fruits with large pits (e.g., peaches, plums), remove the pits before juicing.
- Cut larger fruits and vegetables into pieces that fit comfortably into the 2.5-inch wide feed chute. Smaller pieces are not always necessary due to the wide chute.
4.2 Juicing Process
- Ensure the juicer is properly assembled and the juice jug is placed under the spout.
- Plug the power cord into a suitable electrical outlet.
- Turn the control knob to the desired speed setting:
- "I" (Low Speed): Ideal for soft fruits and vegetables such as oranges, grapes, tomatoes, and berries.
- "II" (High Speed): Suitable for hard fruits and vegetables like apples, carrots, celery, and kale.
- "P" (Pulse Control): Use this setting for short bursts of power, often helpful for dislodging pulp from the filter during or after juicing.
- Gradually feed the prepared fruits and vegetables into the feed chute using the food pusher. Do not force food into the chute; apply gentle, even pressure.
- The juice will flow into the juice jug, and the pulp will collect in the pulp container.
- Once juicing is complete, turn the control knob to "0" (Off) and unplug the appliance.

Image: Close-up of the juicer's control knob, showing the '0', 'I', 'II', and 'P' settings for different speeds and pulse function.

Image: The GDOR juicer actively processing kale, demonstrating its cutting disc and feed chute in use.

Image: Juice being poured from the juice jug, highlighting the integrated foam separator for clearer juice.
5. Cleaning and Maintenance
Regular cleaning ensures optimal performance and extends the lifespan of your juicer. Clean the appliance immediately after each use.
- Unplug the juicer from the power outlet.
- Disassemble all removable parts: the juice jug, pulp container, juicer cover, micro-mesh filter, and filter bowl.
- Rinse all removable parts under running water to remove any large pulp residue.
- Use the provided cleaning brush to thoroughly clean the micro-mesh filter. Pay special attention to the small holes to ensure they are free of pulp.
- All removable parts are dishwasher safe (top shelf only).
- Wipe the motor base with a damp cloth. Never immerse the motor base in water or place it in a dishwasher.
- Dry all parts completely before reassembling or storing the juicer.
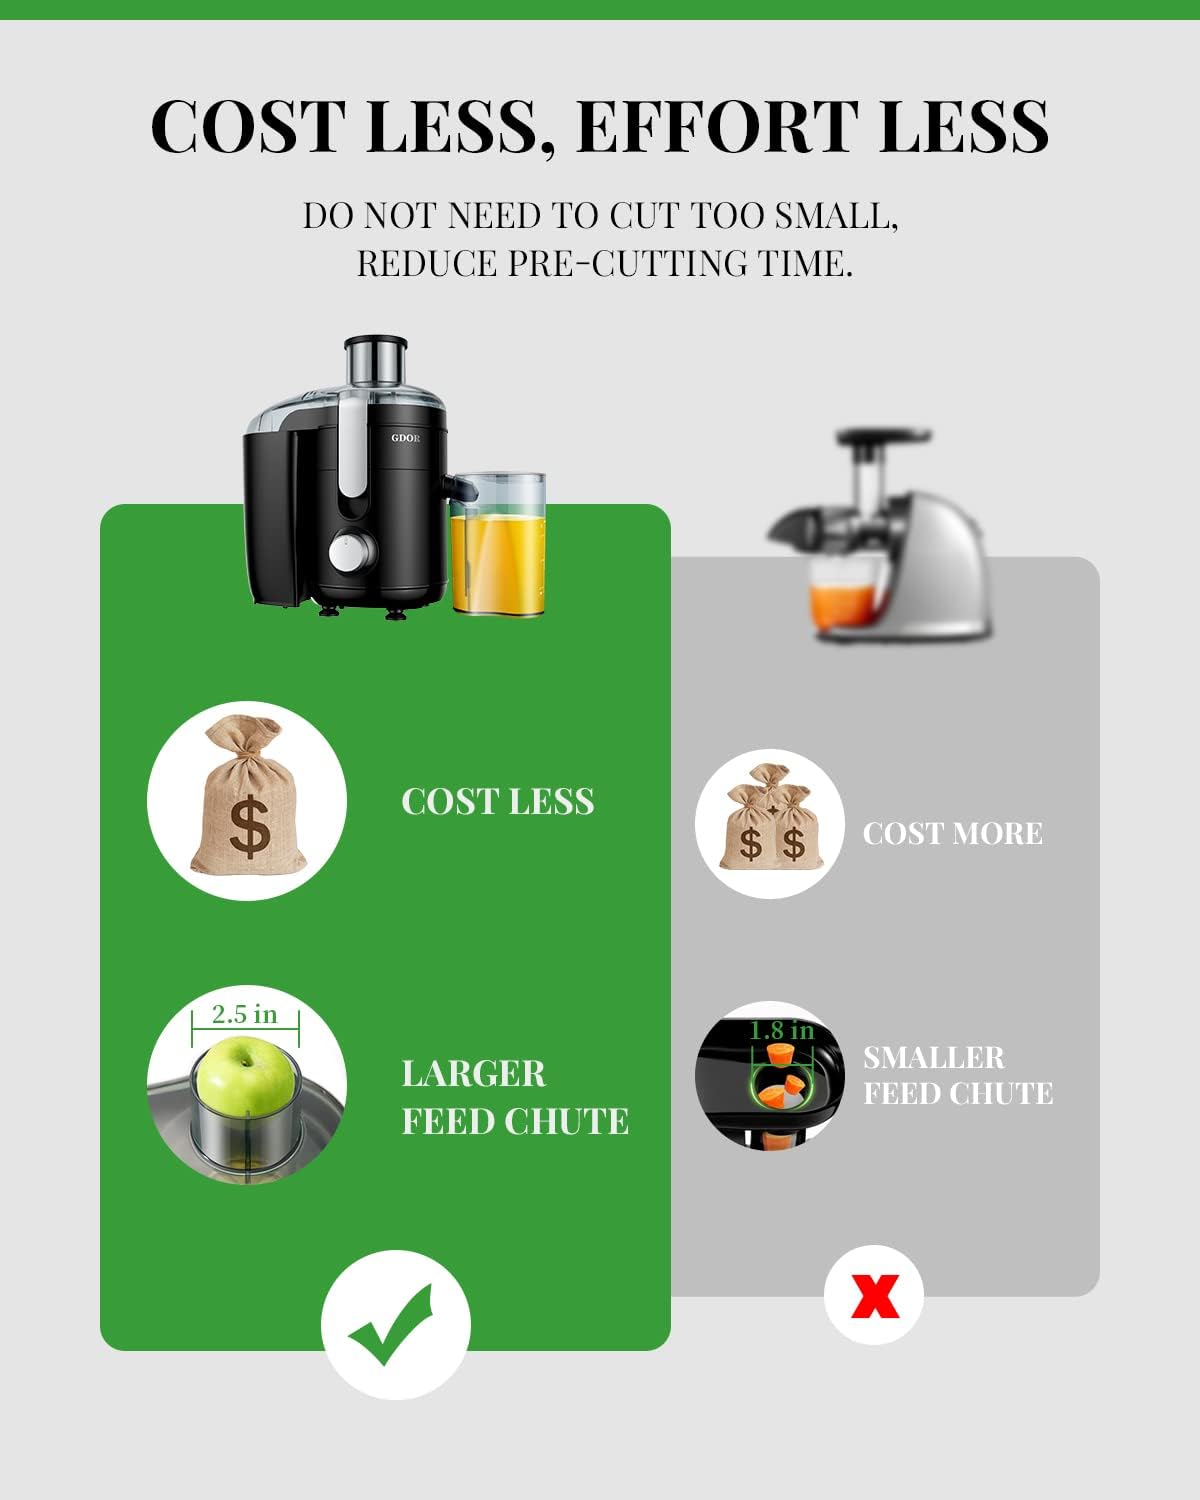
Image: Demonstrates cleaning the juicer's filter with a brush and placing removable parts into a dishwasher for cleaning.
6. Troubleshooting
If you encounter any issues with your GDOR Centrifugal Juicer Machine, please refer to the following general advice. For more complex problems, contact customer support.
- Juicer does not turn on: Ensure the power cord is securely plugged into a working outlet. Verify that all parts are correctly assembled and the safety buckles are locked. The juicer will not operate if the cover is not properly secured.
- Motor stops during operation: This may indicate the overheat protection has activated due to prolonged use or overloading. Unplug the unit and allow it to cool down for at least 30 minutes before attempting to use it again. Reduce the amount of produce fed at one time.
- Low juice yield or excessive pulp: Ensure the micro-mesh filter is clean and free of blockages. Use the appropriate speed setting for the type of fruit or vegetable being juiced. Harder produce requires the 'II' (High Speed) setting.
- Vibration or loud noise: Check that all components are correctly assembled and securely locked. Ensure the juicer is placed on a stable, flat surface.
7. Specifications
| Feature | Specification |
|---|---|
| Brand | GDOR |
| Model Name | JE2003B2601 |
| Colour | Black |
| Special Feature | Centrifugal |
| Product Dimensions (D x W x H) | 10D x 10W x 10H centimetres |
| Material | Metal (Titanium Blade) |
| Maximum Power | 600 watts |
| Wattage | 600 watts |
| Power Source Type | Corded Electric |
| Voltage | 120 volts |
| Number Of Speeds | 2 |
| Product Care Instructions | Dishwasher Safe (removable parts) |
| Included Components | Juice Container, Cleaning Brush |
| Country of Origin | China |
8. Warranty and Support
GDOR stands behind the quality of its products. Your GDOR Centrifugal Juicer Machine Model JE2003B2601 is covered by a 2-year warranty service from the date of purchase.
This warranty covers manufacturing defects and workmanship under normal use. It does not cover damage resulting from misuse, accident, alteration, neglect, or unauthorized repair.
For warranty claims, technical assistance, or any questions regarding your product, please contact the GDOR professional after-sales service team. Contact information can typically be found on the product packaging or the retailer's website where the product was purchased.
Ask a question about this manual
Ask about setup, troubleshooting, compatibility, parts, safety, or missing instructions. Manuals+ will review the question and use this page’s manual context to help answer it.