
1. Product Overview
The Nilight In-Channel Rain Guards are designed to enhance your driving experience by allowing fresh air circulation while preventing rain, snow, and wind from entering your vehicle. These deflectors are made from durable, shatter-resistant acrylic, ensuring long-lasting performance in various weather conditions.
Vehicle Fitment: This product is specifically designed for Honda CR-V models from 2023 to 2026. Please verify your vehicle's year, make, model, and body style to ensure correct fitment. Incorrect fitment may lead to installation difficulties, poor sealing, or issues with window operation.
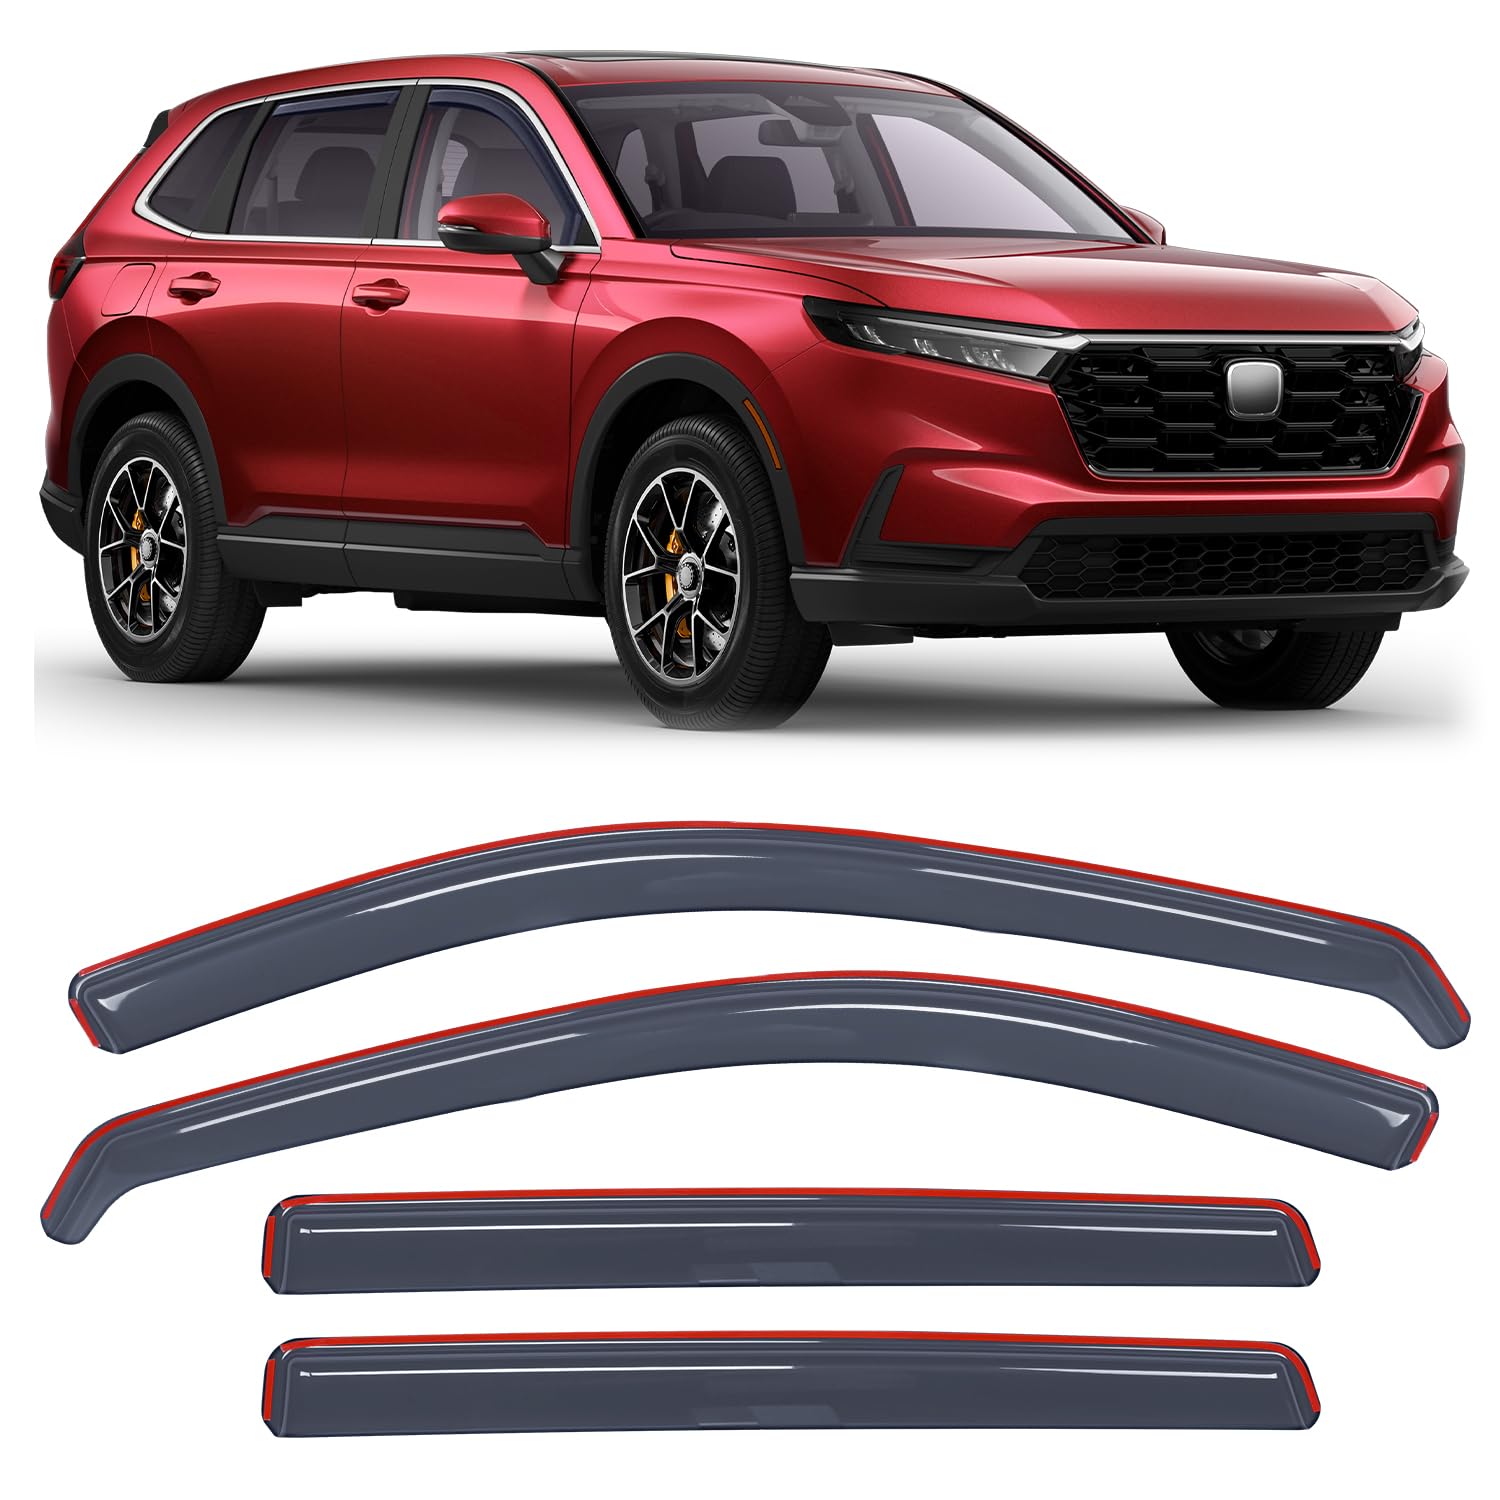
Image: Nilight In-Channel Rain Guards installed on a red Honda CR-V.

Image: Demonstrates the effectiveness of rain guards in various weather conditions: rain, sun, and snow.
2. Package Contents
Before beginning installation, please ensure all components are present in your package:
- 4 x In-Channel Rain Guards (2 Front, 2 Rear)
- 12 x Installation Clips
- 1 x 2M Double-sided Adhesive Film
- 1 x Installation Instruction Manual
- 1 x Crowbar Tool
- Protective Shipping Box

Image: Visual representation of all items included in the Nilight Rain Guard package.
Video: Unboxing the Nilight Honda CRV Rain Guards, showing all components.
3. Setup (Installation Instructions)
Installation is designed to be straightforward, typically taking 10-15 minutes per side. No drilling is required as these are in-channel deflectors.
Preparation:
- Clean the window channels thoroughly to remove any dust, dirt, or debris. Ensure the channels are completely dry before proceeding.
- Test fit each rain guard to its corresponding window channel to familiarize yourself with its placement.
Installation Steps:
- Carefully remove the protective film from the double-sided adhesive on the rain guard.
- Slide the rain guard into the window channel, starting from one end and gently working your way across. Ensure it is fully seated and aligned within the channel.
- Press firmly along the entire length of the rain guard within the channel to ensure the adhesive makes good contact.
- Insert the provided clips at the outermost pillar positions of the window channel. Avoid placing clips in the middle to prevent interference with window operation. Use the crowbar tool to assist in seating the clips securely.
- Once installed, slowly raise the window. If you encounter resistance or the window automatically lowers, re-adjust the rain guard and clips until the window operates smoothly.
Important Post-Installation Notes:
- Keep windows closed for 72 hours after installation to allow the adhesive to cure properly.
- Avoid washing your vehicle or driving at high speeds for 24 hours after installation.
- The double protection of clips and tape ensures a sturdy installation. It is recommended to use both for optimal security.

Image: Step-by-step visual guide for installing the window visors.

Image: Demonstrates proper fitment of the rain guard within the window channel.

Image: Close-up of a clip being installed to secure the rain guard.
Video: Detailed installation guide for rain guards, including clip placement.
4. Operating Instructions
Once installed, Nilight In-Channel Rain Guards allow you to slightly open your windows for fresh air, even during rain or snow, without letting precipitation into the cabin. This feature helps to:
- Reduce interior odors from pets, smoke, or spills.
- Improve overall cabin ventilation year-round.
- Minimize window fogging in humid conditions.

Image: Illustrates the secure installation method using both clips and double-sided tape.
5. Maintenance
Nilight Rain Guards are constructed from premium shatter-resistant acrylic, designed for durability and resistance to heat, UV rays, rain, wind, and road debris. To maintain their appearance and functionality:
- Clean the rain guards regularly with mild soap and water.
- Avoid using abrasive cleaners or harsh chemicals, as these can damage the acrylic finish.
- Inspect the installation periodically to ensure the clips and adhesive remain secure.

Image: Demonstrates the durable and sturdy construction of Nilight rain guards compared to easily breakable alternatives.
6. Troubleshooting
Window Not Closing Properly:
If your window encounters resistance or automatically rolls down after installation, this typically indicates interference with the rain guard or clips. This can be caused by:
- Improper Seating: The rain guard may not be fully inserted into the window channel.
- Clip Placement: Clips might be placed in a position that obstructs the window's path. Ensure clips are at the outermost pillar positions.
- Adhesive Curing: The adhesive may not have fully cured, causing slight movement. Ensure windows remain closed for the recommended 72 hours.
Solution: Gently re-adjust the rain guard and clips. Ensure the visor is fully seated and aligned. Raise the window slowly and observe for any points of contact. If resistance occurs, lower the window and make small adjustments until it closes smoothly.
Video: Demonstrates manually adjusting the rain guard position to ensure smooth window closure.
Rain Guard Not Sticking / Falling Off:
If the rain guard does not adhere properly or falls off, consider the following:
- Insufficient Cleaning: The window channel may not have been clean or dry enough during installation.
- Improper Curing: The adhesive requires time to bond. Ensure the 72-hour window-closed period is observed.
- Lack of Clips: While adhesive provides initial hold, the clips are essential for long-term security, especially for in-channel designs.
Solution: Re-clean and dry the window channel. If necessary, apply new double-sided automotive-grade adhesive tape. Reinstall the rain guard, ensuring clips are correctly positioned and the window remains closed for the full curing period.
7. Specifications
| Feature | Detail |
|---|---|
| Brand | Nilight |
| Model Number | Vent-616B |
| Compatible Vehicle Type | Honda CR-V 2023-2026 |
| Material | Acrylic |
| Exterior Finish | Light Smoky Blue |
| Style | In-Channel |
| Number of Pieces | 4 |
| Installation Type | In-Channel |
| UPC | 840323952323 |
8. Warranty and Support
Manufacturer Warranty: This product comes with a 1-Year Manufacturer Warranty. Please retain your proof of purchase for warranty claims.
For further assistance, technical support, or warranty inquiries, please visit the official Nilight Store or contact customer service through the platform where the product was purchased.