
1. Product Overview
The Ostwiki Rechargeable LED Light Bulbs are designed to function as standard A19 LED bulbs while also providing emergency lighting during power outages. These 9W bulbs feature a 3000K warm white light and fit E26/E27 threaded bases. They include a built-in battery backup for 2-8 hours of illumination.
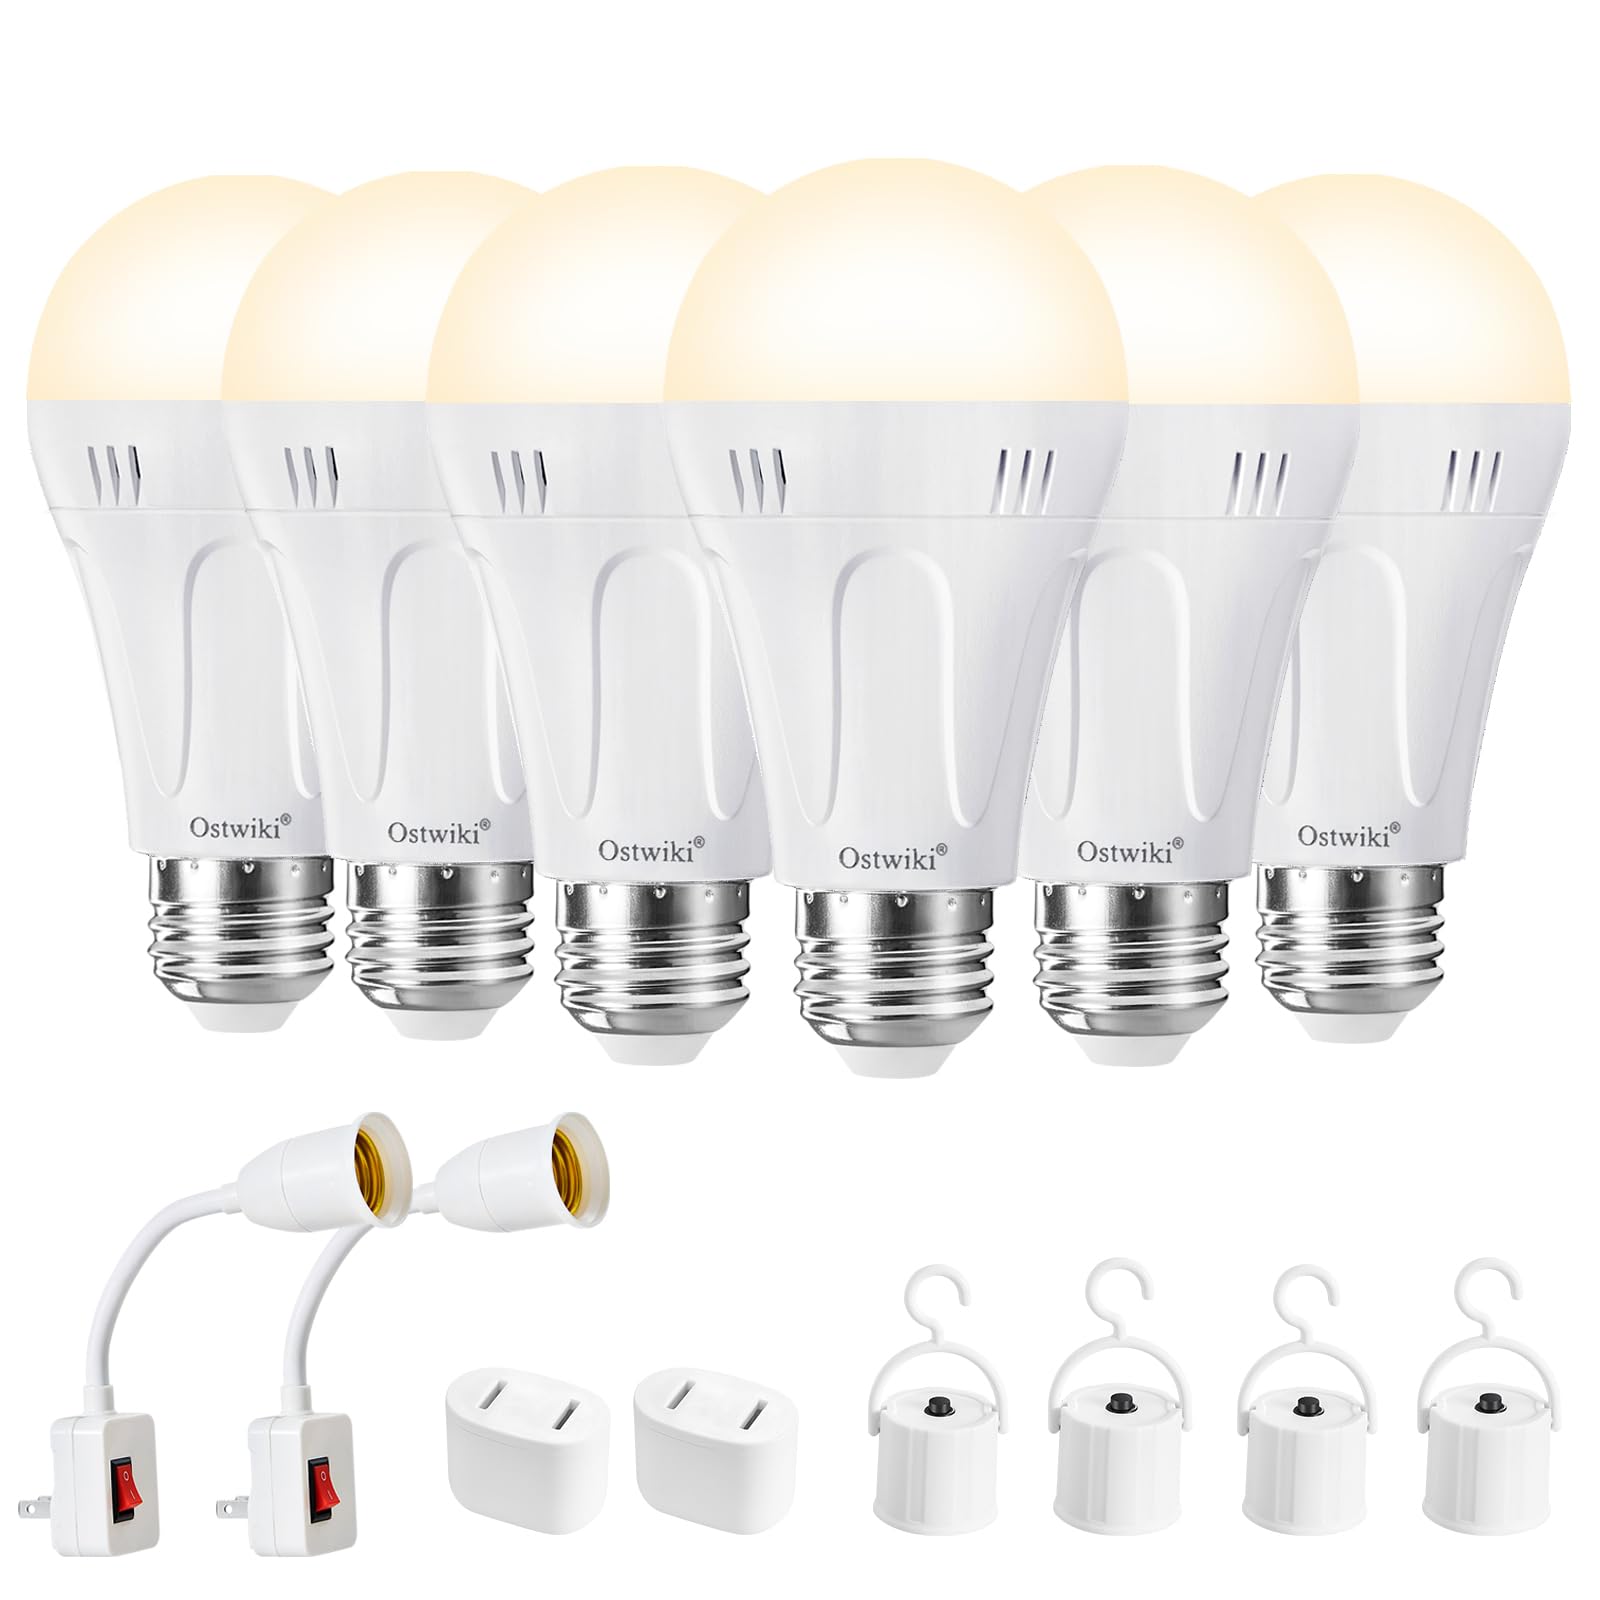
Figure 1: Main product image of the Ostwiki Rechargeable LED Light Bulb, highlighting its A19 shape and E26 base.
2. What's Included
The package includes the following items:
- 6 x Rechargeable LED Light Bulbs
- 4 x Portable Hooks
- 2 x Plug Caps
- 2 x Socket Adapters

Figure 2: Contents of the Ostwiki Rechargeable LED Light Bulb package, including bulbs, portable hooks, plug caps, and socket adapters, with dimensions.
3. Setup
3.1 Initial Charging
Before first use, ensure the bulbs are fully charged to maximize emergency runtime. Screw the bulb into a powered E26/E27 socket. The bulb will automatically charge during daily lighting use.
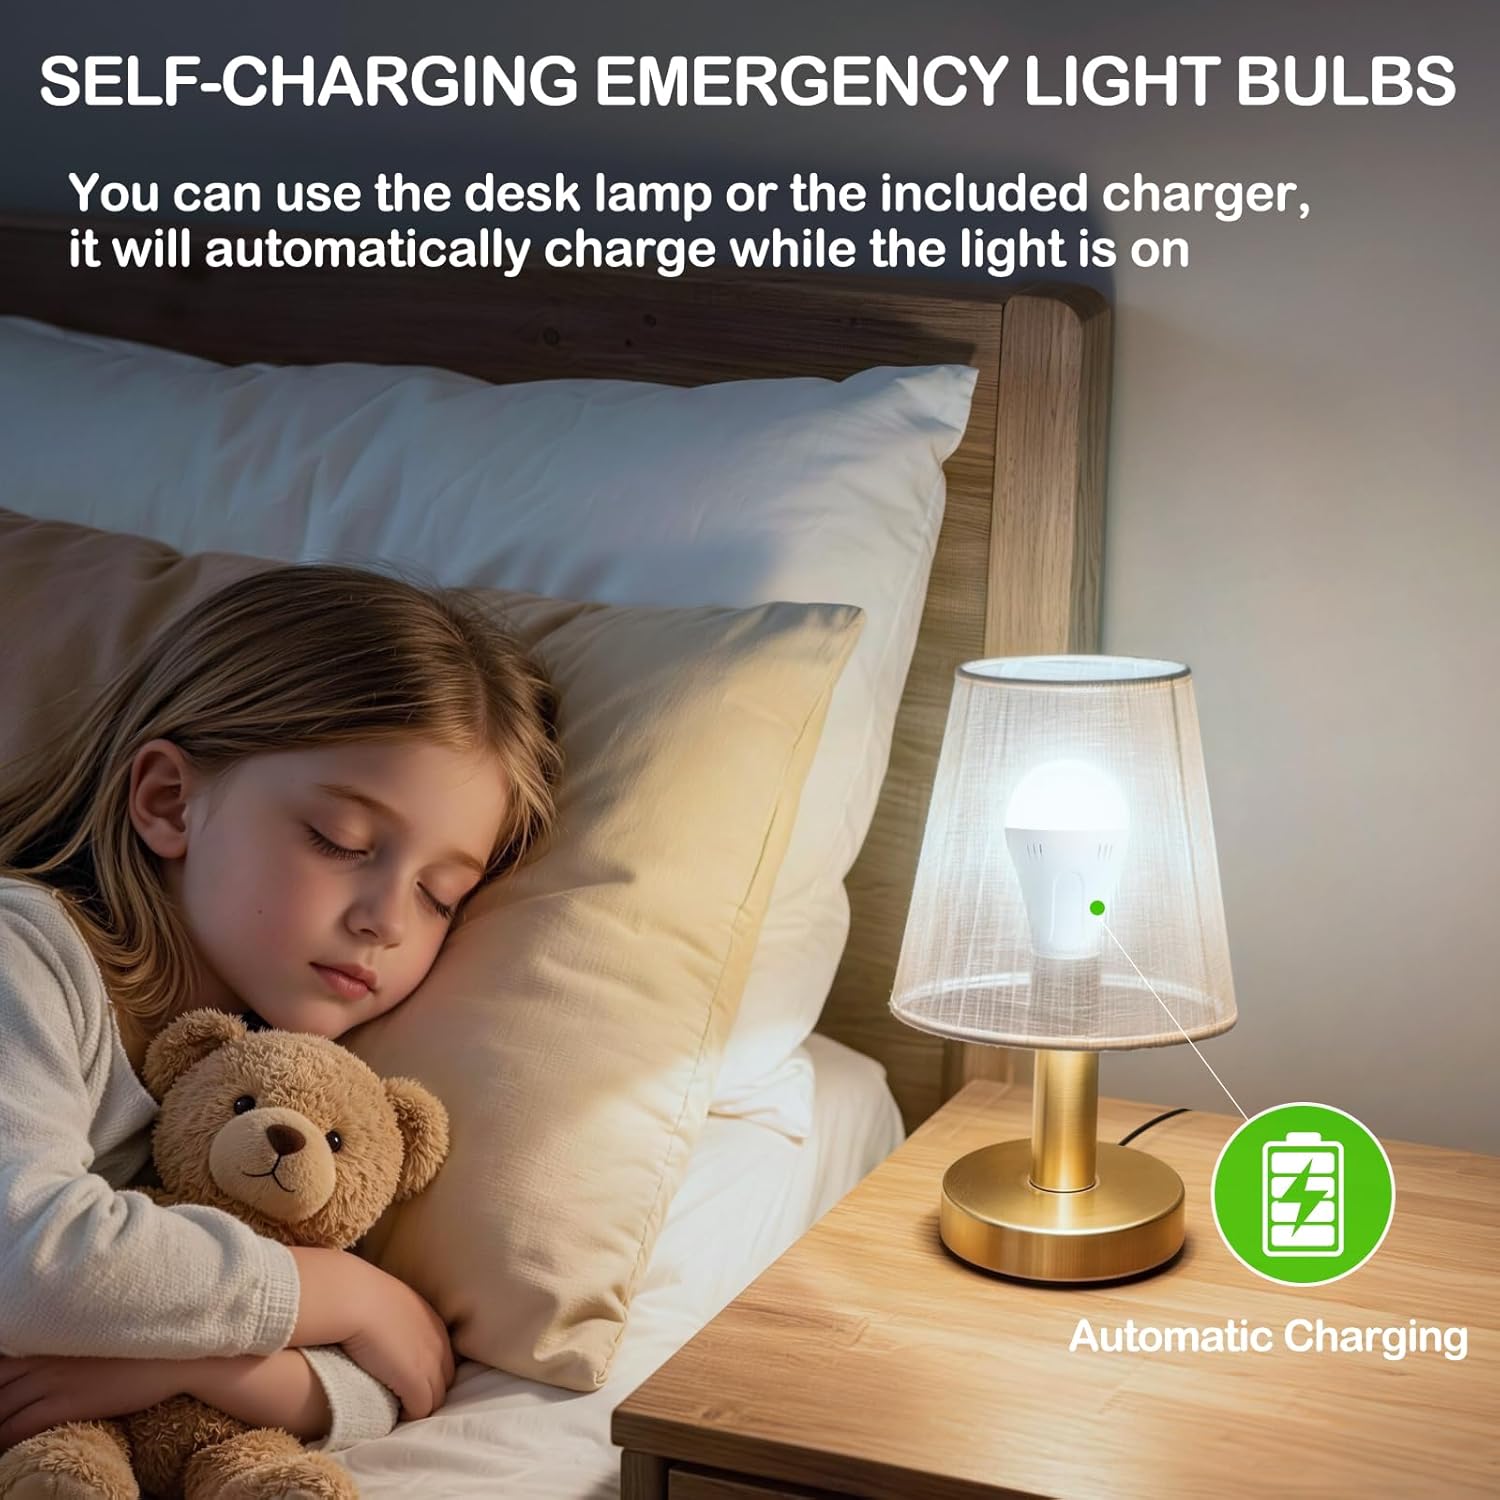
Figure 3: A rechargeable LED bulb installed in a desk lamp, illustrating automatic charging during normal use.
3.2 Regular Use
Install the bulb into any standard E26/E27 threaded light fixture. Use it as a normal LED light bulb.
4. Operating Instructions
4.1 Powering the Bulb
The emergency bulb requires a closed circuit to light. There are several ways to activate the bulb, especially during a power outage:
- Standard Socket: Screw the bulb into a powered E26/E27 socket.
- Portable Hook: Attach the portable hook to the bulb's base. Press the button on the hook to turn the light on/off.
- Plug Cap: Insert the bulb into the provided plug cap and then into a wall outlet. Use the switch on the plug cap to control the light.
- Finger Touch: To activate the bulb manually, touch both the metal screw base and the bottom contact point of the bulb simultaneously with your fingers or a wet cloth. This completes the circuit and turns the bulb on.

Figure 4: Diagram illustrating six different methods to illuminate the emergency light bulbs, including finger touch, charger, wet tissue, power hooks, plug cap, and fixtures.
4.2 Brightness Levels (Emergency Mode)
In emergency mode (when powered by the internal battery), the bulb offers three brightness levels. Cycle through these levels by quickly turning the bulb off and on using the switch on the portable hook or plug cap, or by repeatedly making and breaking the circuit with your fingers/wet cloth.
- 10% Brightness (110LM): Runtime 5-8 hours
- 50% Brightness (220LM): Runtime 4-5 hours
- 100% Brightness (450LM): Runtime 2-3 hours

Figure 5: Image displaying the three brightness levels (20%, 50%, 100%) available when the bulb is operating on battery power, along with estimated charging and emergency runtimes.
5. Maintenance
For extended storage periods, recharge the bulb every 60 days to maintain battery health and ensure readiness for emergencies.
6. Troubleshooting
6.1 Bulb Not Lighting Up in Emergency Mode
- Check Charge: Ensure the bulb has been sufficiently charged by being screwed into a powered socket for several hours.
- Closed Circuit: Verify that a closed circuit is established. If using the portable hook or plug cap, ensure the switch is in the "on" position. If manually activating, ensure both the metal screw base and the bottom contact point are touched simultaneously.
- Battery Condition: If stored for a long time without recharging, the battery might be depleted. Recharge the bulb for several hours.
7. Specifications
| Feature | Detail |
|---|---|
| Brand | Ostwiki |
| Model Number | OST-100-14 |
| Light Type | LED |
| Wattage | 9 watts |
| Bulb Shape Size | A19 |
| Bulb Base | E26/E27 |
| Light Color | Warm White |
| Color Temperature | 3000 Kelvin |
| Brightness (Emergency Mode) | 10% (110LM), 50% (220LM), 100% (450LM) |
| Voltage | 85-265 Volts |
| Power Source | Battery Powered |
| Battery Capacity | 1200mAh |
| Charging Mode | Automatic Charging |
| Indoor/Outdoor Usage | Indoor, Outdoor |
| Material Type | Acrylonitrile Butadiene Styrene (ABS) |
| Item Dimensions (W x H) | 2.3"W x 4.6"H |
8. Warranty and Support
For warranty information or product support, please refer to the manufacturer's official website or contact Ostwiki customer service directly. Keep your purchase receipt for any warranty claims.