1. Introduction
This manual provides essential information for the safe and effective use of your VEVOR Squat Machine, Model YZJ-523-1. Please read all instructions carefully before assembly and operation. Retain this manual for future reference.
2. Safety Information
Important Safety Precautions:
- Consult a physician before starting any new exercise program.
- Ensure all parts are securely assembled before each use.
- Place the machine on a flat, stable surface.
- Keep children and pets away from the equipment during use.
- Do not exceed the maximum weight capacity of 300 lbs (136 kg).
- Stop exercising immediately if you feel pain, dizziness, or shortness of breath.
- Wear appropriate athletic footwear and clothing.
- Inspect the machine for wear or damage before each use. Do not use if damaged.
- The machine features anti-slip rubber feet for stability.

3. Package Contents
Verify that all components are present before beginning assembly:
- 1 x Squat Machine
- 1 x Counter (without battery, without wire)
- 1 x User Manual
- 2 x Open-End Wrenches
- 3 x Pull Pins
- 1 x Buffer Pad
4. Assembly Instructions
Follow these steps to assemble your VEVOR Squat Machine. Tools required: Included Open-End Wrenches.
- Unpack all components and lay them out on a clean, flat surface.
- Attach the main frame components as per the included diagram in the separate user manual. Ensure all bolts and nuts are tightened securely using the provided wrenches.
- Install the seat cushion onto the adjustable rail.
- Connect the resistance bands to the designated attachment points.
- Mount the digital counter onto the handlebar.
- Perform a final check to ensure all connections are secure and the machine is stable.

5. Operating Instructions
5.1 Adjusting the Machine
The VEVOR Squat Machine offers several adjustments to customize your workout.
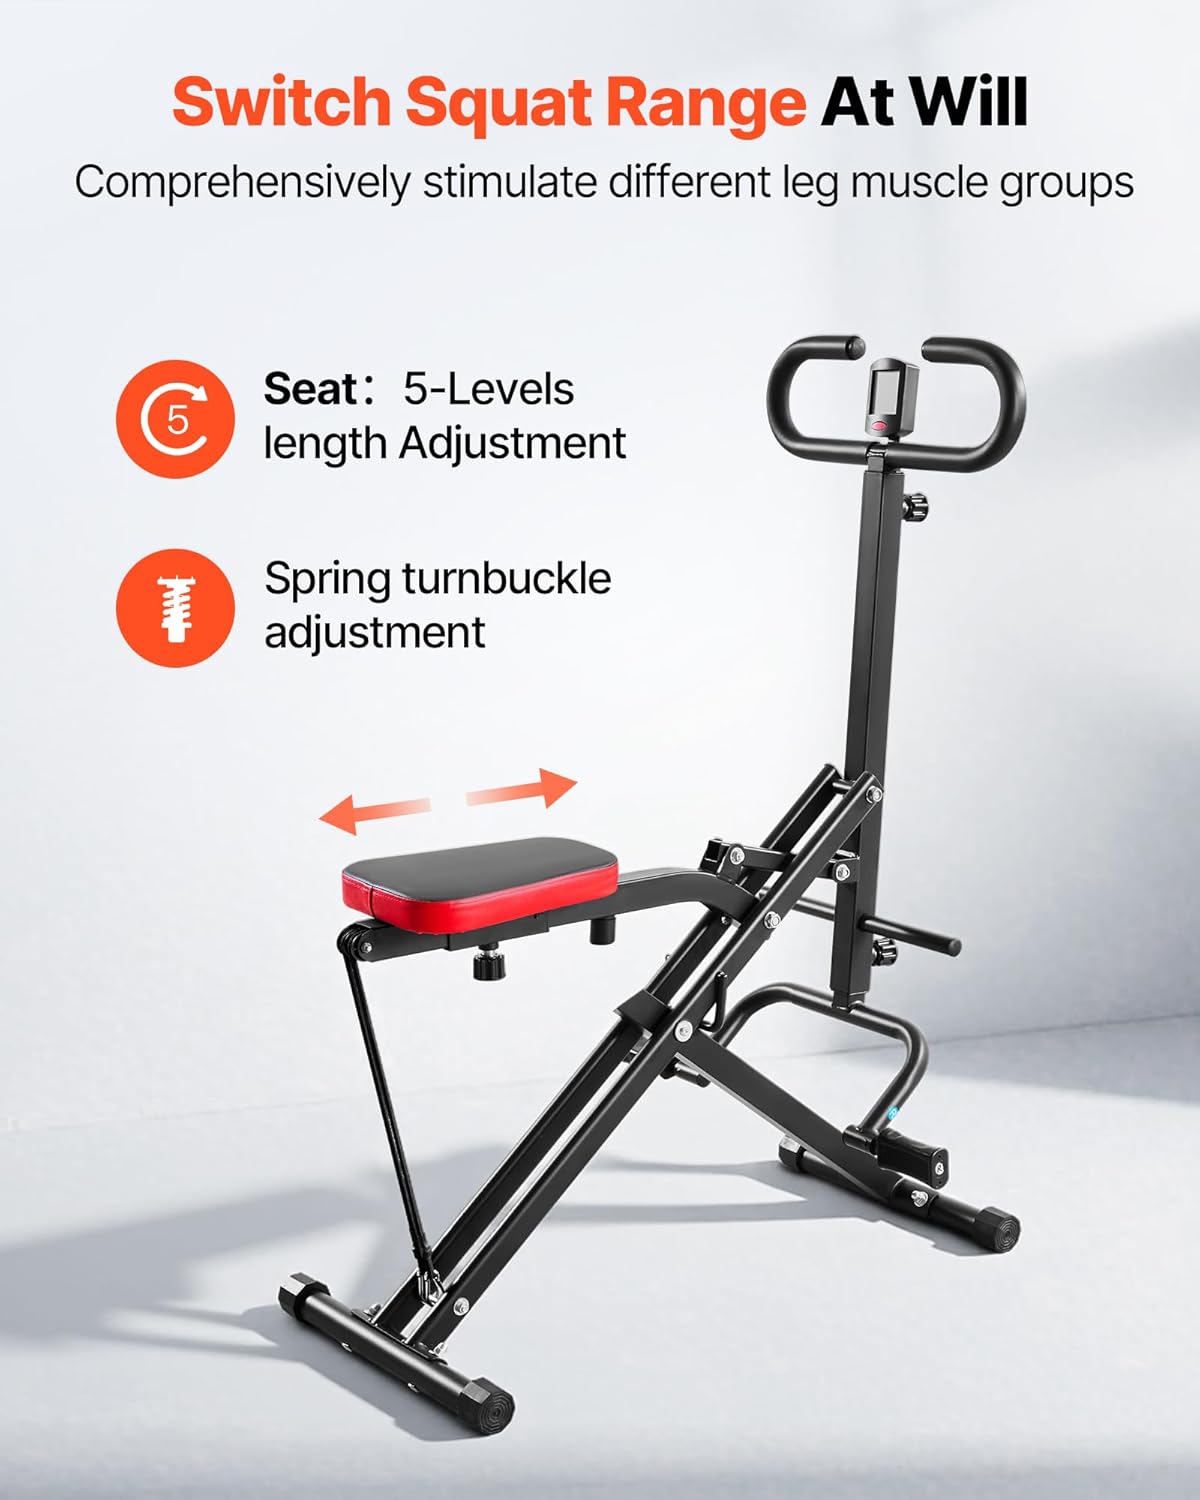
- Seat Adjustment: The seat length can be adjusted across 5 levels using the spring turnbuckle. This allows users of various heights to find a comfortable and effective squat range.
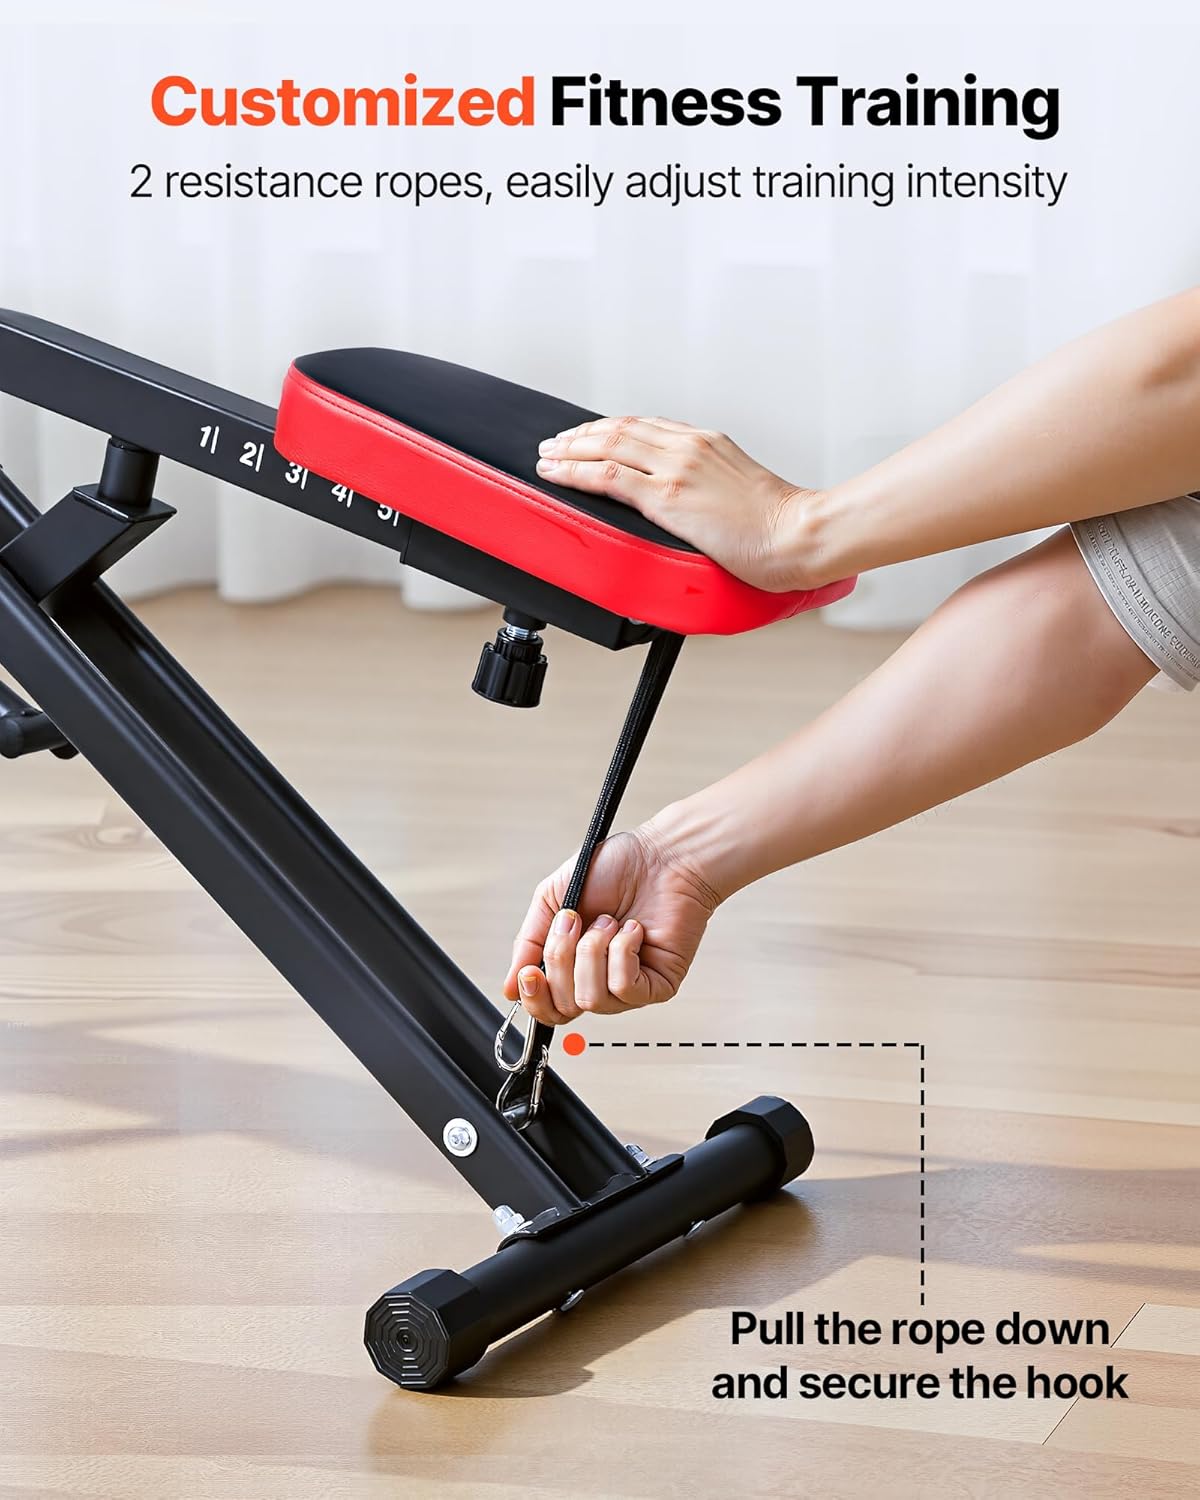
- Resistance Adjustment: The machine comes with 2 resistance ropes. These can be adjusted to provide varying levels of support or challenge during squats. Pull the rope down and secure the hook to increase resistance.
5.2 Performing Squats
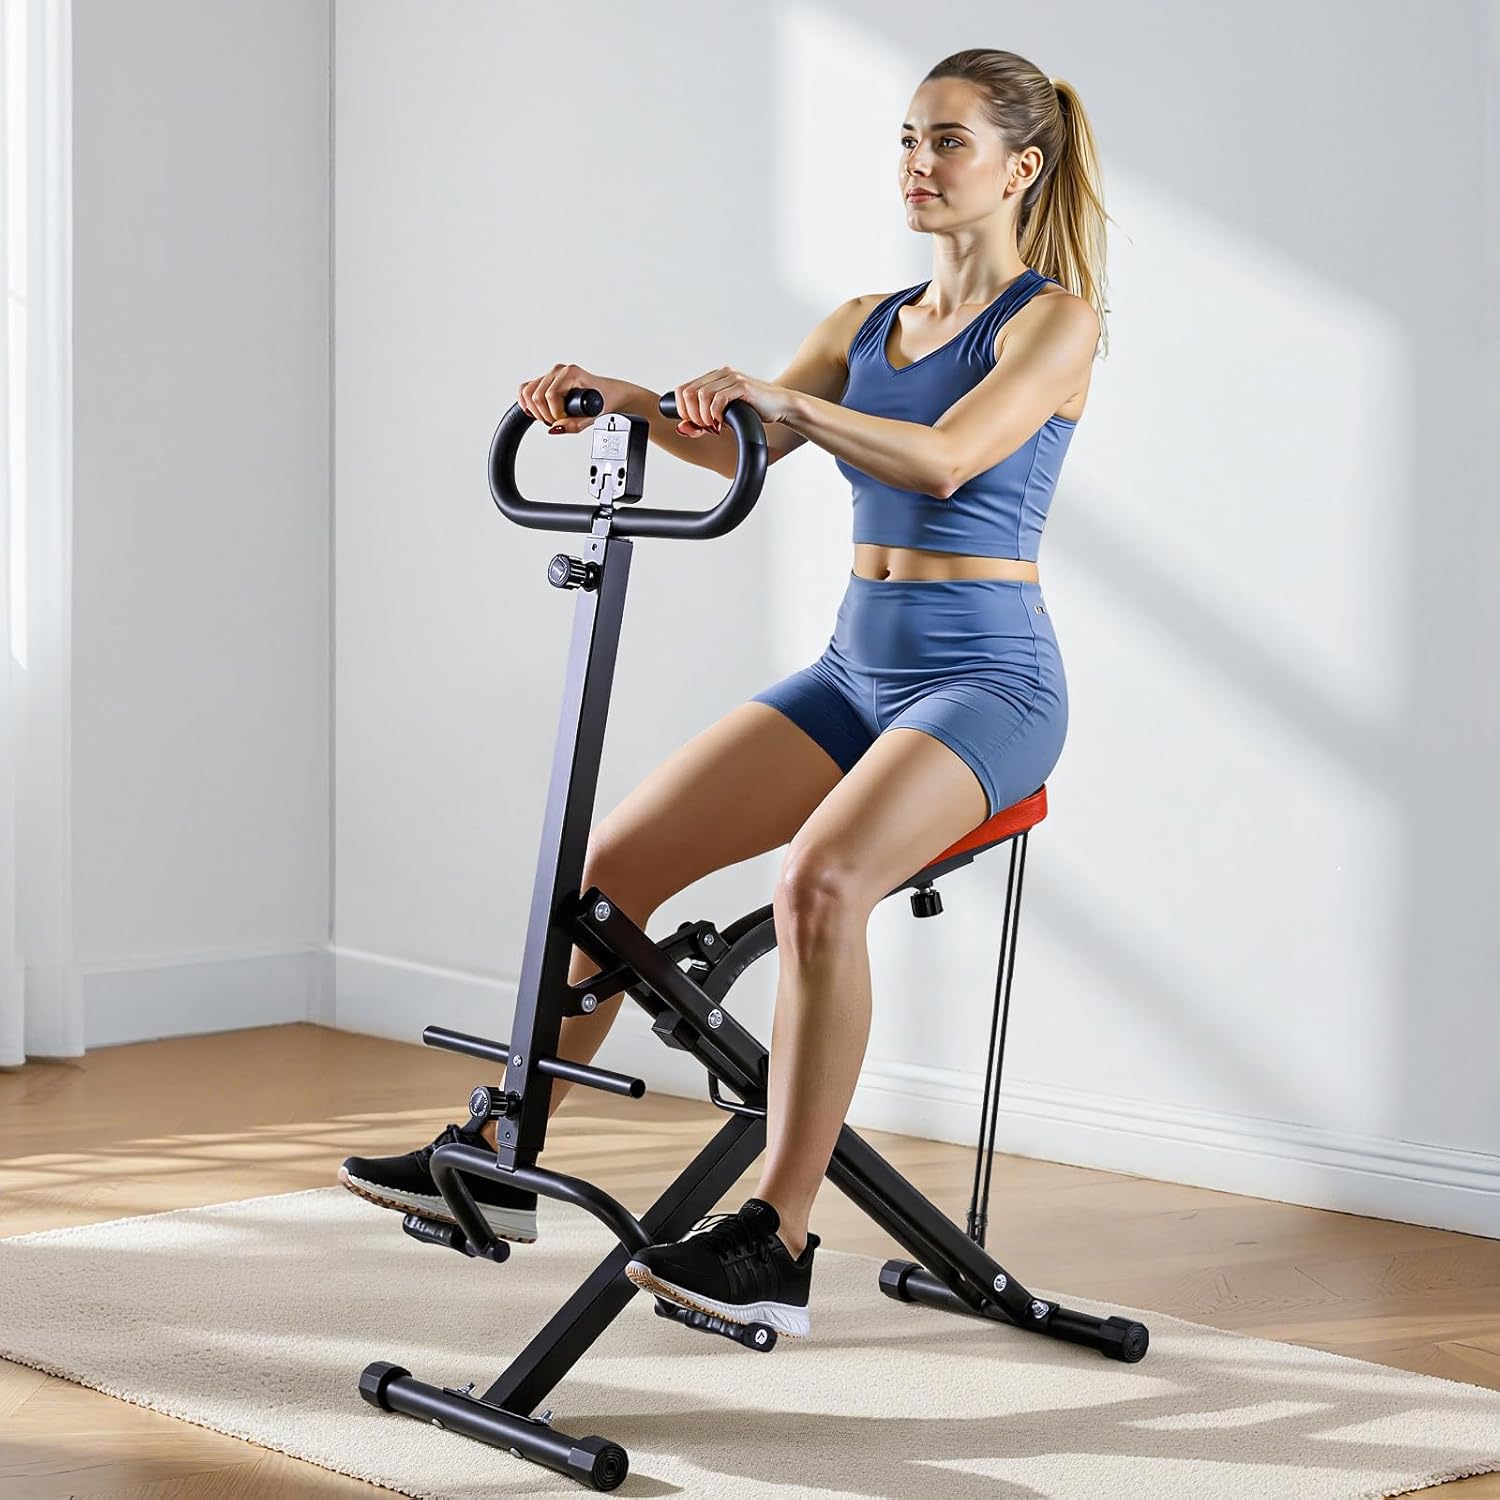
The machine guides your body into the correct squat posture, reducing strain on knees and back while targeting glutes, legs, and core muscles.
- Sit on the padded seat with your feet on the footrests.
- Grasp the handlebars firmly.
- Engage your core and slowly lower your body into a squat position, allowing the machine to guide your movement.
- Push back up to the starting position, focusing on glute and leg engagement.
- Maintain a controlled pace throughout the exercise.

5.3 Using the Digital Counter
The built-in LCD counter tracks your workout in real-time.
- The counter displays Time, Count (reps), and estimated Calories burned.
- Press the button on the counter to cycle through modes or reset.
- Note: The counter operates without a battery or wire, relying on mechanical movement.

5.4 Product Demonstration Videos
Watch these videos for a visual guide on using the VEVOR Squat Machine.
6. Maintenance & Storage
6.1 Cleaning
Regular cleaning helps maintain the machine's condition and extends its lifespan.
- Wipe down the frame and seat cushion with a damp cloth after each use to remove sweat and dust.
- Use a mild soap solution for deeper cleaning if necessary, then wipe dry.
- Avoid abrasive cleaners or solvents that could damage the finish or materials.
6.2 Storage
The VEVOR Squat Machine features a foldable design for convenient storage.
- To fold, lift the handle grip up.
- Rotate the machine to fold it flat.
- Once folded, it can be stored in closets, corners, or under a bed.

7. Troubleshooting
This section addresses common issues you might encounter.
| Problem | Possible Cause | Solution |
|---|---|---|
| Machine feels unstable or wobbly. | Loose assembly bolts or uneven surface. | Ensure all bolts are tightened. Move the machine to a flat, level surface. |
| Resistance bands feel too loose or too tight. | Incorrect resistance setting. | Adjust the resistance ropes to the desired level by securing the hooks. |
| Digital counter not displaying or inaccurate. | Sensor obstruction or counter malfunction. | Ensure no obstructions near the counter's sensor. Press the reset button. If issues persist, contact customer support. |
| Difficulty folding the machine. | Incorrect folding procedure. | Refer to the "Storage" section (6.2) for correct folding steps. |
8. Specifications
| Feature | Detail |
|---|---|
| Model Number | YZJ-523-1 |
| Brand | VEVOR |
| Cushion Color | Black with Red Edges |
| Cushion Dimensions | 11.3 x 8.1 x 1.8 in (288 x 207 x 45 mm) |
| Cushion Material | Leather, Sponge, Wood |
| Seat Adjustment Levels | 5 Levels |
| Resistance | 2 Resistance Ropes |
| Maximum Load Capacity | 300 lbs (136 kg) |
| Net Weight | 23.8 lbs (10.8 kg) |
| Product Dimensions (L x W x H) | 35.4 x 22.8 x 44.1 in (900 x 580 x 1120 mm) |
| Frame Material | Alloy Steel (Q235) |

9. Warranty Information
The VEVOR Squat Machine comes with a 2-Year Manufacturer Warranty. This warranty covers defects in materials and workmanship under normal use. Please retain your proof of purchase for warranty claims. For detailed terms and conditions, refer to the official VEVOR website or contact customer support.
10. Customer Support
For any questions, assistance, or to report issues, please contact VEVOR customer support. You can find contact information on the official VEVOR website or through your purchase platform.
Online Support: Visit the official VEVOR website for FAQs and support resources.
Manufacturer: VEVOR