
Introduction
This instruction manual provides detailed guidance for the installation, operation, and maintenance of your Nitemode Light Kit, designed specifically for the Lego Enterprise NCC-1701-D model 10356. Please read this manual thoroughly before beginning installation to ensure proper setup and optimal performance of your lighting system.
The Nitemode Light Kit enhances your Lego model by adding dynamic lighting effects, transforming it into an illuminated display piece. This kit includes all necessary lighting components and a remote control for various light effects.
What's Included
Before starting, please verify that all components listed below are present in your package. If any items are missing or damaged, please contact Nitemode customer support.
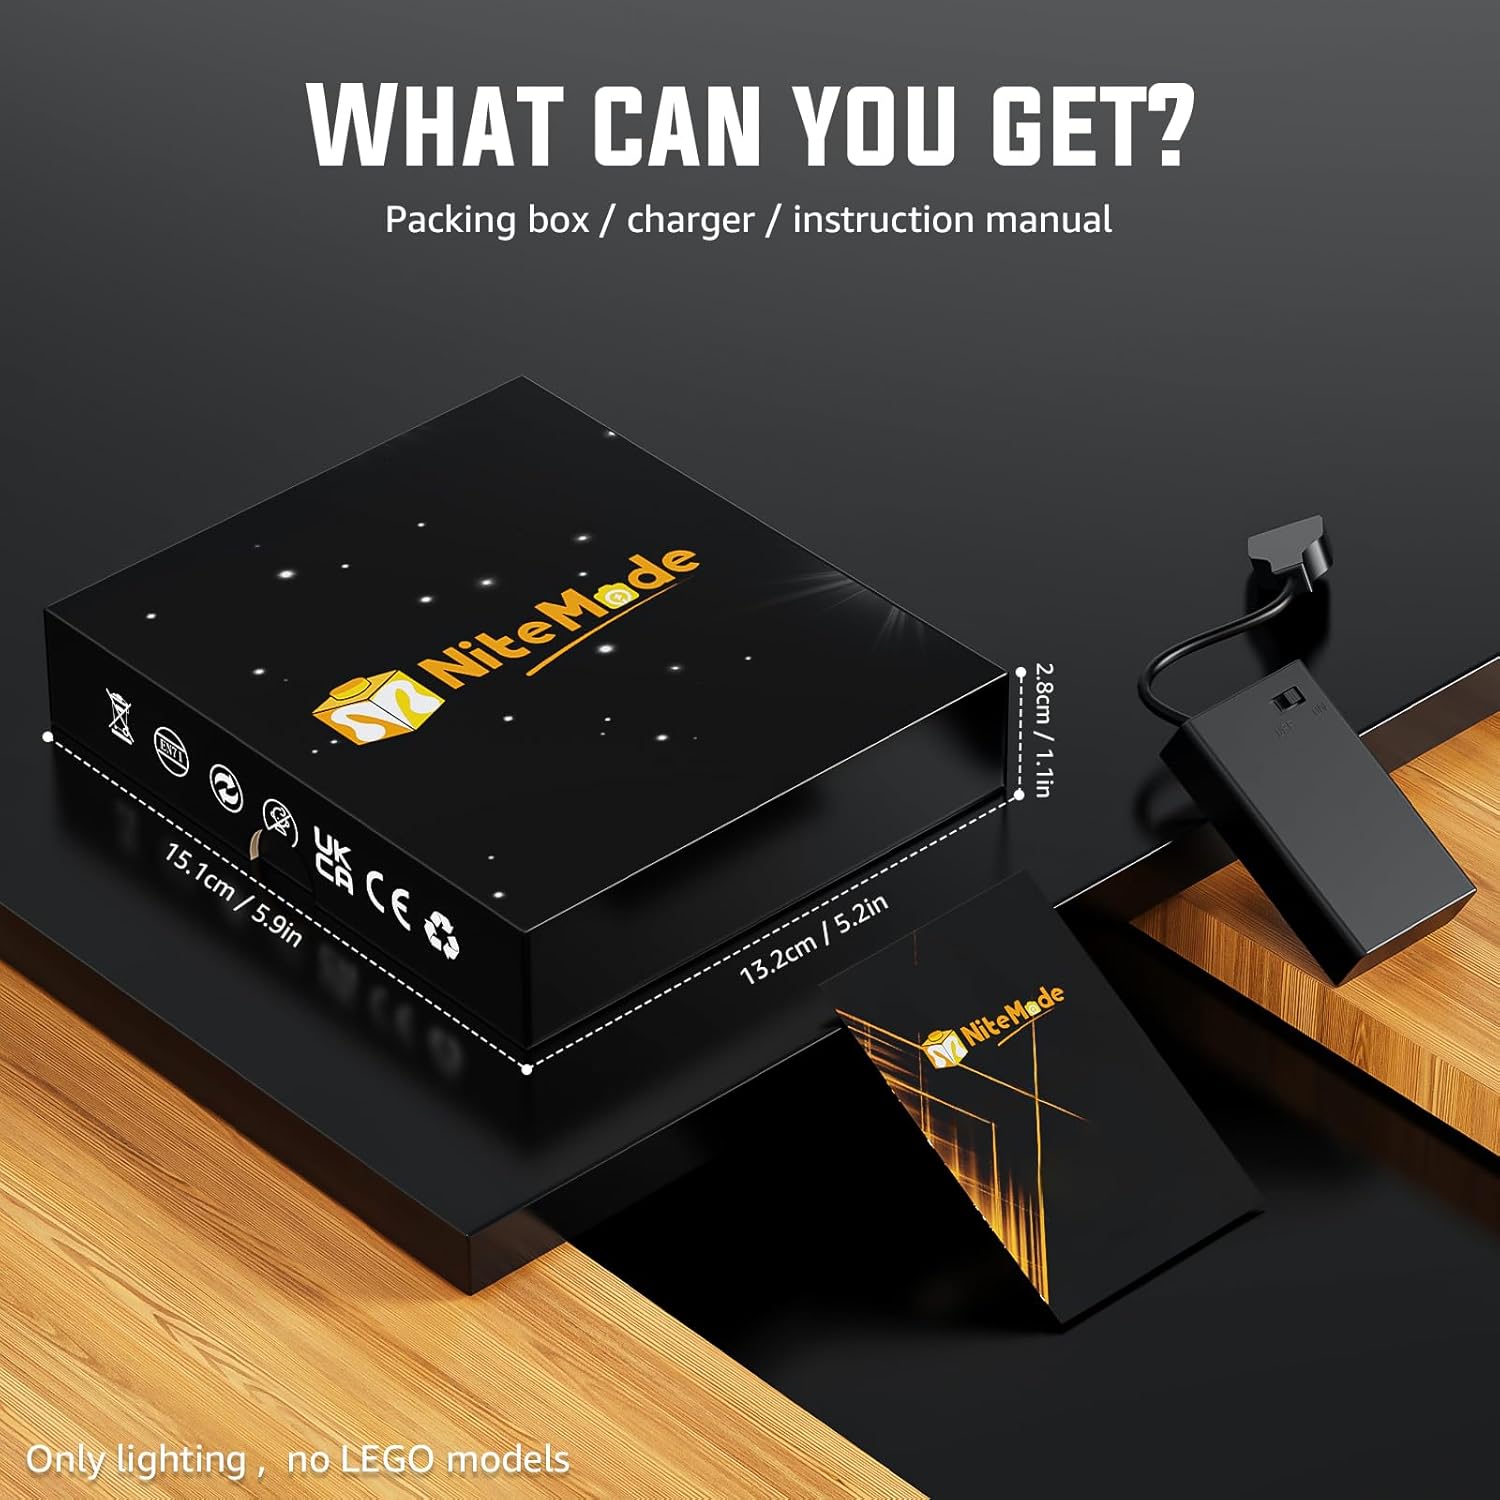
Image: The product packaging and its contents. The image displays a black box with Nitemode branding, a small battery box, and a compact instruction manual. Dimensions are indicated on the box: 15.1cm (5.9in) length, 13.2cm (5.2in) width, and 2.8cm (1.1in) height. The text "Only lighting, no LEGO models" is visible, clarifying that the Lego model itself is not included.
- Nitemode Light Kit components (LED strips, wires, connectors)
- Battery Box / Power Module
- Instruction Manual (this document)
- Remote Control (for multi-light effect sequence design)
Note: The Lego Enterprise NCC-1701-D model 10356 is not included with this light kit.
Setup and Installation
The Nitemode light kit is designed for easy integration with your Lego model. Follow the step-by-step online installation instructions provided by Nitemode for the best results. A general overview of the installation process is provided below.
Preparation
- Ensure your Lego Enterprise NCC-1701-D model 10356 is fully assembled.
- Gather any necessary tools (e.g., small tweezers for handling wires, if needed).
- Familiarize yourself with the light kit components and the online installation guide.
- Install batteries into the battery box/power module. The kit requires CR123A batteries (not included).
Installation Steps
- Carefully identify the specific areas on your Lego model where lights are to be installed, as indicated in the online instructions.
- Disassemble small sections of your Lego model as required to route wires and place LED components.
- Connect the LED components to the main power module/battery box, ensuring correct polarity if applicable.
- Route the wires neatly to avoid pinching or damage when reassembling the Lego model.
- Reassemble the Lego model sections, ensuring all wires are securely hidden and not under tension.
- Test the lighting system periodically during installation to confirm functionality.
For detailed visual instructions, please refer to the official Nitemode online installation guide for model 10356.
Operating Instructions
The Nitemode Light Kit features a touch dimmer switch and remote control for managing lighting effects.
Using the Touch Dimmer Switch
- Power On/Off: A simple tap on the touch switch will turn the lights on or off.
- Adjust Brightness/Mode: Press and hold the touch switch to cycle through different lighting modes or adjust brightness levels. Release the switch when the desired effect is achieved.
Using the Remote Control
The remote control allows for more advanced control over the multi-light effect sequences. Refer to the remote control's specific instructions for detailed button functions.

Image: A comparison showing the Lego Enterprise NCC-1701-D model. The top panel shows the model fully illuminated by the Nitemode light kit, with various sections glowing. The bottom panel shows the same model with the lights turned off, appearing dark. This illustrates the effect of the light kit.

Image: Four distinct views of the Lego Enterprise NCC-1701-D model, showcasing the Nitemode light kit from various angles. Each view highlights different illuminated sections of the model, demonstrating the comprehensive lighting coverage and aesthetic enhancement.

Image: Detailed close-up shots of the Lego Enterprise NCC-1701-D model, focusing on specific areas illuminated by the Nitemode light kit. The images show intricate lighting in the warp nacelles (blue and red) and other structural elements, emphasizing the detail and vibrancy of the lighting effects.
Maintenance
Proper maintenance ensures the longevity and optimal performance of your Nitemode Light Kit.
- Cleaning: Gently dust the LED components and wires with a soft, dry cloth. Avoid using liquid cleaners directly on the electrical components.
- Battery Replacement: When lights dim or cease to function, replace the CR123A batteries in the power module. Ensure correct battery orientation.
- Wire Management: Periodically check that all wires are securely routed and not pinched or exposed, which could lead to damage.
- Storage: If storing the model for an extended period, it is recommended to remove the batteries from the power module to prevent leakage.
Troubleshooting
If you encounter issues with your Nitemode Light Kit, refer to the following common problems and solutions:
- Lights Not Turning On:
- Check if batteries are correctly installed and not depleted. Replace if necessary.
- Ensure all wire connections are secure and properly seated.
- Verify the power module is correctly connected to the light kit.
- Some Lights Not Working:
- Inspect the specific LED component and its wiring for any disconnections or damage.
- Ensure the wire is not pinched by Lego bricks.
- Remote Control Not Responding:
- Check the remote control's battery and replace if needed.
- Ensure there are no obstructions between the remote and the light kit's receiver.
- Lights Dim or Flicker:
- This often indicates low battery power. Replace the batteries.
- Check for loose connections.
If these steps do not resolve the issue, please contact Nitemode customer support for further assistance.
Specifications
| Feature | Detail |
|---|---|
| Brand | Nitemode |
| Model Number | 10356 |
| Compatible Model | Lego Enterprise NCC-1701-D 10356 |
| Material | Plastic |
| Light Source Type | LED |
| Power Source | Battery Powered |
| Battery Type | CR123A (not included) |
| Control Method | Touch Dimmer Switch, Remote Control |
| Product Dimensions (Light Kit Components) | 11L x 13.6W x 3.4H centimetres (approx. 4.3L x 5.4W x 1.3H inches) |
| Included Components | Light kit, Instruction Manual |
Warranty and Customer Support
Nitemode is committed to providing high-quality products and excellent customer service. Every Nitemode set undergoes rigorous inspection.
Warranty Information
This product is backed by a manufacturer's warranty. Please retain your proof of purchase for any warranty claims. Specific warranty duration and terms may vary; refer to the product packaging or Nitemode's official website for complete details.
Customer Support
For any questions, concerns, or assistance with your Nitemode Light Kit, our 24/7 customer support team is available to help. Please contact us via email:
[Insert Nitemode Customer Support Email Here]
(Please check Nitemode's official website or product packaging for the most current contact information.)