
Introduction
This manual provides detailed instructions for the PANDAAR Restaurant Pager System, Model JT-911. This wireless paging system is designed to enhance communication and efficiency in various service environments such as restaurants, food trucks, cafes, churches, and clinics. The system includes a transmitter keypad and 30 guest pagers, offering a reliable solution for notifying customers when their service is ready.
The system features a wireless range of up to 1640 feet (500 meters) in open areas and offers three distinct alert modes: vibration, flash, and beep. Each pager is equipped with a long-lasting rechargeable battery, ensuring extended operation. The system is expandable, supporting up to 999 pagers.
Package Contents
Before proceeding with setup, please verify that all components are present:
- 1 x Transmitter Keypad
- 30 x Guest Pagers
- 1 x Charging Base (for 30 pagers)
- 1 x Power Adapter for Charging Base
- 1 x User Manual (this document)
Setup
The PANDAAR Restaurant Pager System is designed for ease of use and comes pre-paired from the factory, requiring no complex setup or programming. Simply follow these steps to get started:
1. Unpacking and Placement
Carefully remove all components from the packaging. Place the charging base and transmitter keypad on a stable, flat surface in a central location within your service area to maximize wireless range.

Image: The complete PANDAAR Restaurant Pager System, showing the charging base with 30 pagers and the separate transmitter keypad.
2. Power Connection
Connect the power adapter to the charging base and plug it into a standard electrical outlet. Ensure the base receives power; an indicator light may illuminate.

Image: A close-up view of the charging base with multiple pagers inserted, illustrating the power connection point.
3. Charging Pagers
Place all 30 guest pagers into the slots on the charging base. The pagers will begin charging automatically. For optimal performance, allow the pagers to fully charge before first use. A full charge typically provides up to 24 hours of standby time.

Image: A visual guide demonstrating the simple setup process: pagers on the charging base, power connection, and calling a pager.
Operating Instructions
1. Calling a Pager
- When a customer is ready to be called, identify the number on their assigned pager.
- On the transmitter keypad, enter the corresponding pager number using the numeric buttons.
- Press the "Call" or "Send" button (refer to keypad markings) to initiate the alert.
- The selected pager will activate its alert mode(s).

Image: A hand operating the transmitter keypad to call a specific pager, which then vibrates, flashes, or beeps.
2. Alert Modes
The pagers support three distinct alert modes to ensure customers are notified effectively:
- Vibration: The pager vibrates silently, suitable for quiet environments.
- Flash: LED lights on the pager flash, providing a visual alert.
- Beep: The pager emits an audible sound, ideal for noisy settings.
These modes can often be combined (e.g., vibrate and flash, or vibrate, flash, and beep) depending on the system's configuration. The factory default setting typically includes all three for maximum visibility and audibility.

Image: A detailed view of a single pager, highlighting the visual and auditory alert indicators.
3. Stopping the Alert
Each pager is equipped with a "Stop" button, usually located on the side. Customers can press this button to stop the alert once they have received their notification.

Image: A close-up of a pager, pointing out the "Stop Button for Customer" on the side and the area for a "Logo sticker is replaceable".
4. Customizing Pager Stickers
The pagers feature a slot for customizable logo stickers. You can design and print your own inserts to display your brand logo or specific instructions for customers.

Image: A pager demonstrating the customizable logo sticker feature, with examples of how businesses can personalize their pagers.
Maintenance
Proper maintenance ensures the longevity and optimal performance of your PANDAAR Pager System.
- Cleaning: Regularly wipe down the pagers and charging base with a soft, dry cloth. Avoid using abrasive cleaners or solvents.
- Battery Care: Ensure pagers are placed on the charging base when not in use to maintain battery health. Avoid fully discharging batteries frequently.
- Storage: If storing the system for an extended period, ensure pagers are fully charged before storage and recharge them every few months to prevent deep discharge.
- Environmental Conditions: Operate and store the system in a dry environment, away from extreme temperatures and direct sunlight.

Image: The back of a pager, illustrating the magnetic charging points and emphasizing the 200mAh battery for long standby time.
Troubleshooting
If you encounter issues with your pager system, refer to the following common problems and solutions:
| Problem | Possible Cause | Solution |
|---|---|---|
| Pager not responding to call |
|
|
| Short wireless range |
|
|
| Pagers not charging |
|
|
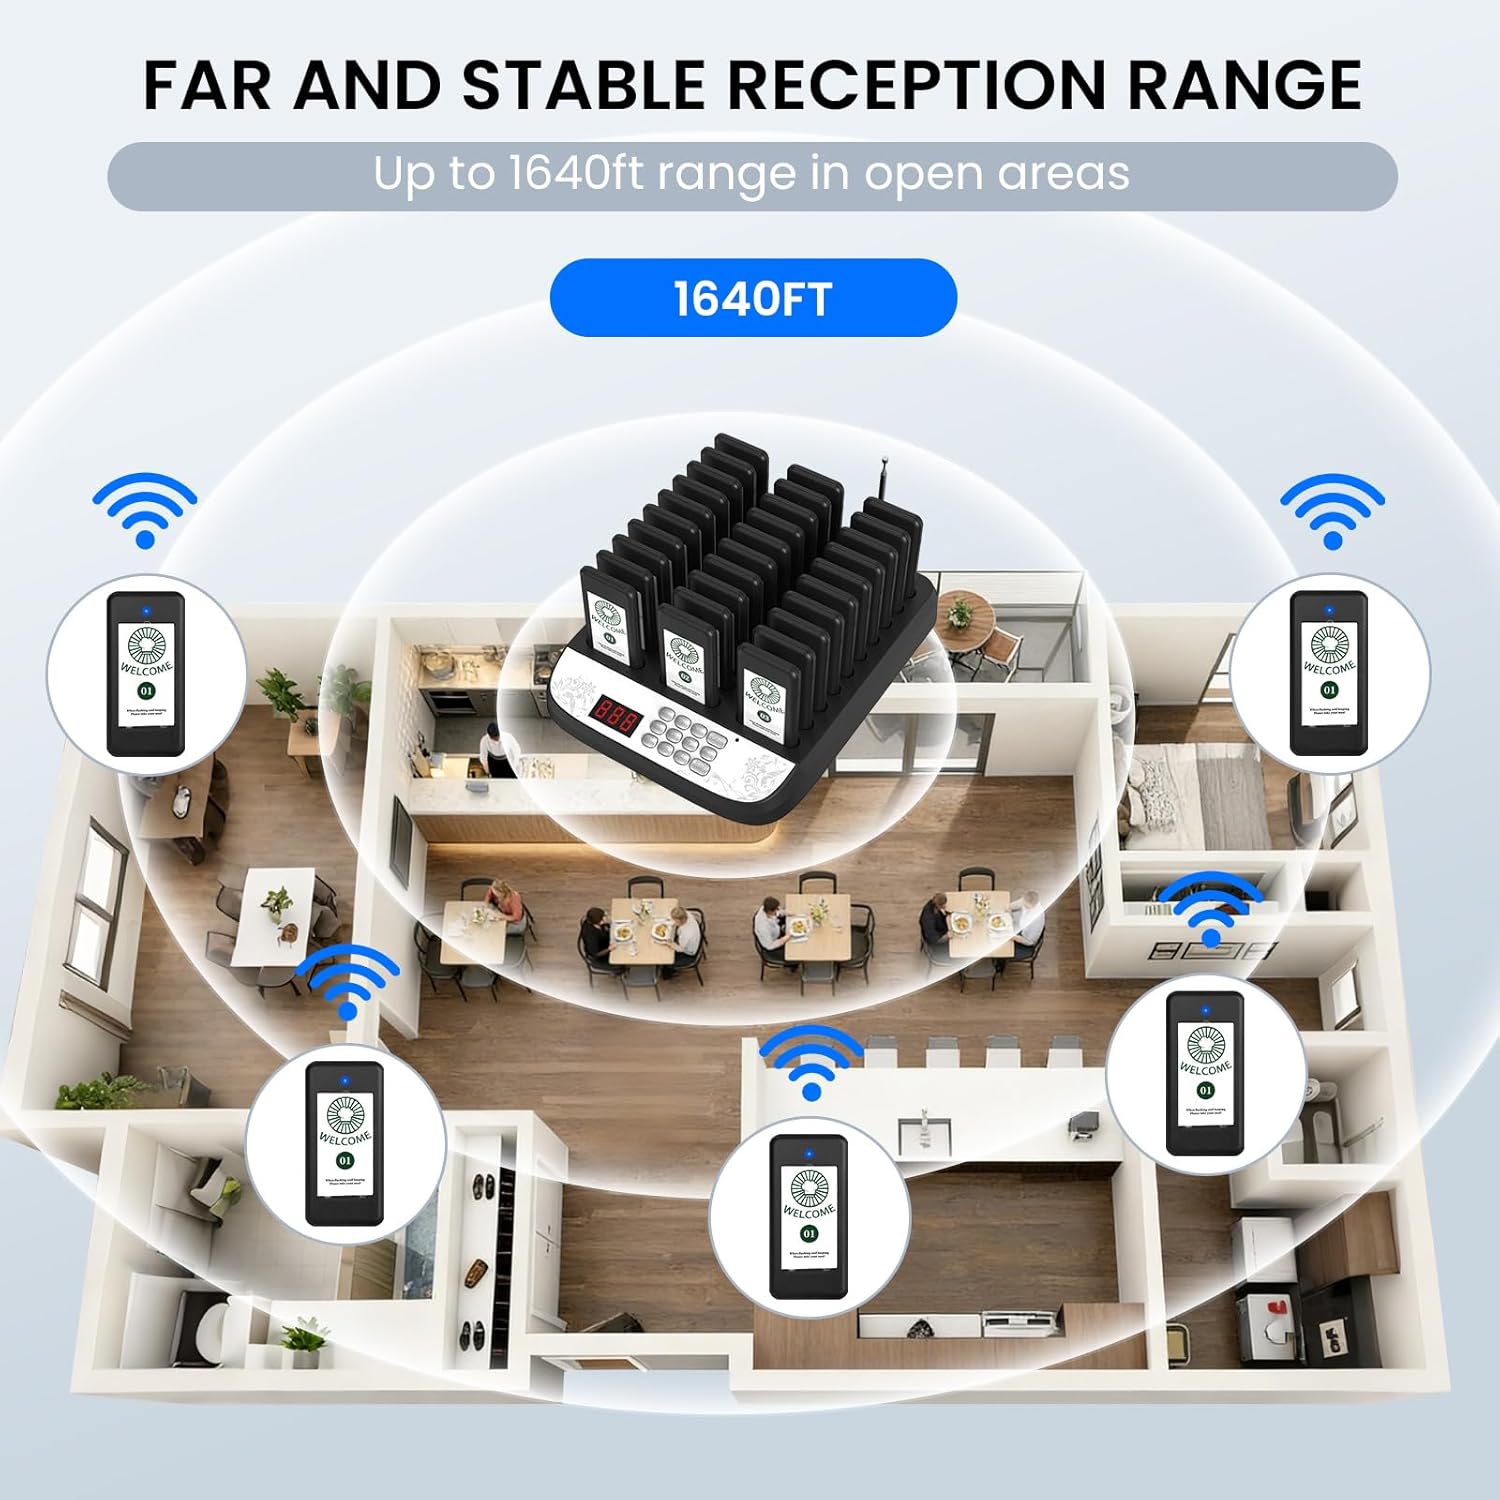
Image: A floor plan diagram showing the effective wireless range of the pager system, indicating signal strength and potential coverage areas.
Specifications
| Feature | Detail |
|---|---|
| Model Number | JT-911 |
| Wireless Range | Up to 1640ft (500m) in open areas |
| Pager Capacity | Supports up to 999 pagers |
| Alert Modes | Vibration, Flash, Beep |
| Pager Battery | 200mAh rechargeable Lithium Ion (included) |
| Standby Time | Up to 24 hours on a full charge |
| Package Dimensions | 15.35 x 10.08 x 4.41 inches |
| Item Weight | 5.83 pounds |
| Manufacturer | PANDAAR |
Official Product Video
Video: An official product video demonstrating the PANDAAR 30 Pagers for Restaurants system in operation, showcasing its features and ease of use.
Warranty and Support
For warranty information and technical support, please refer to the documentation included with your purchase or contact PANDAAR customer service directly. Details for contacting support are typically found on the product packaging or the manufacturer's official website.
Please retain your proof of purchase for any warranty claims.