
Important Safety Instructions
Please read and understand all instructions before beginning installation. Failure to follow these instructions could result in electric shock, fire, or personal injury.
- WARNING: To reduce the risk of electric shock, ensure the electricity has been turned off at the circuit breaker or fuse box before beginning.
- All wiring must be in accordance with national and local electrical codes. If you are unfamiliar with wiring, consult a qualified electrician.
- The fan must be mounted with a minimum of 7 feet (2.1 meters) clearance from the trailing edge of the blades to the floor.
- Ensure the installation site allows the fan blades to rotate without any obstructions.
- The outlet box and support structure must be securely mounted and capable of reliably supporting a minimum of 35 lbs (15.9 kg).
- Do not operate the fan with damaged wiring or if the motor housing is damaged.
- Do not insert objects into the path of the fan blades while the fan is operating.
Product Overview & Components
The LEDIARY PY52 is a 52-inch flush mount ceiling fan designed for rooms with low ceilings, featuring an integrated LED light, reversible motor, and dual control via remote and app.
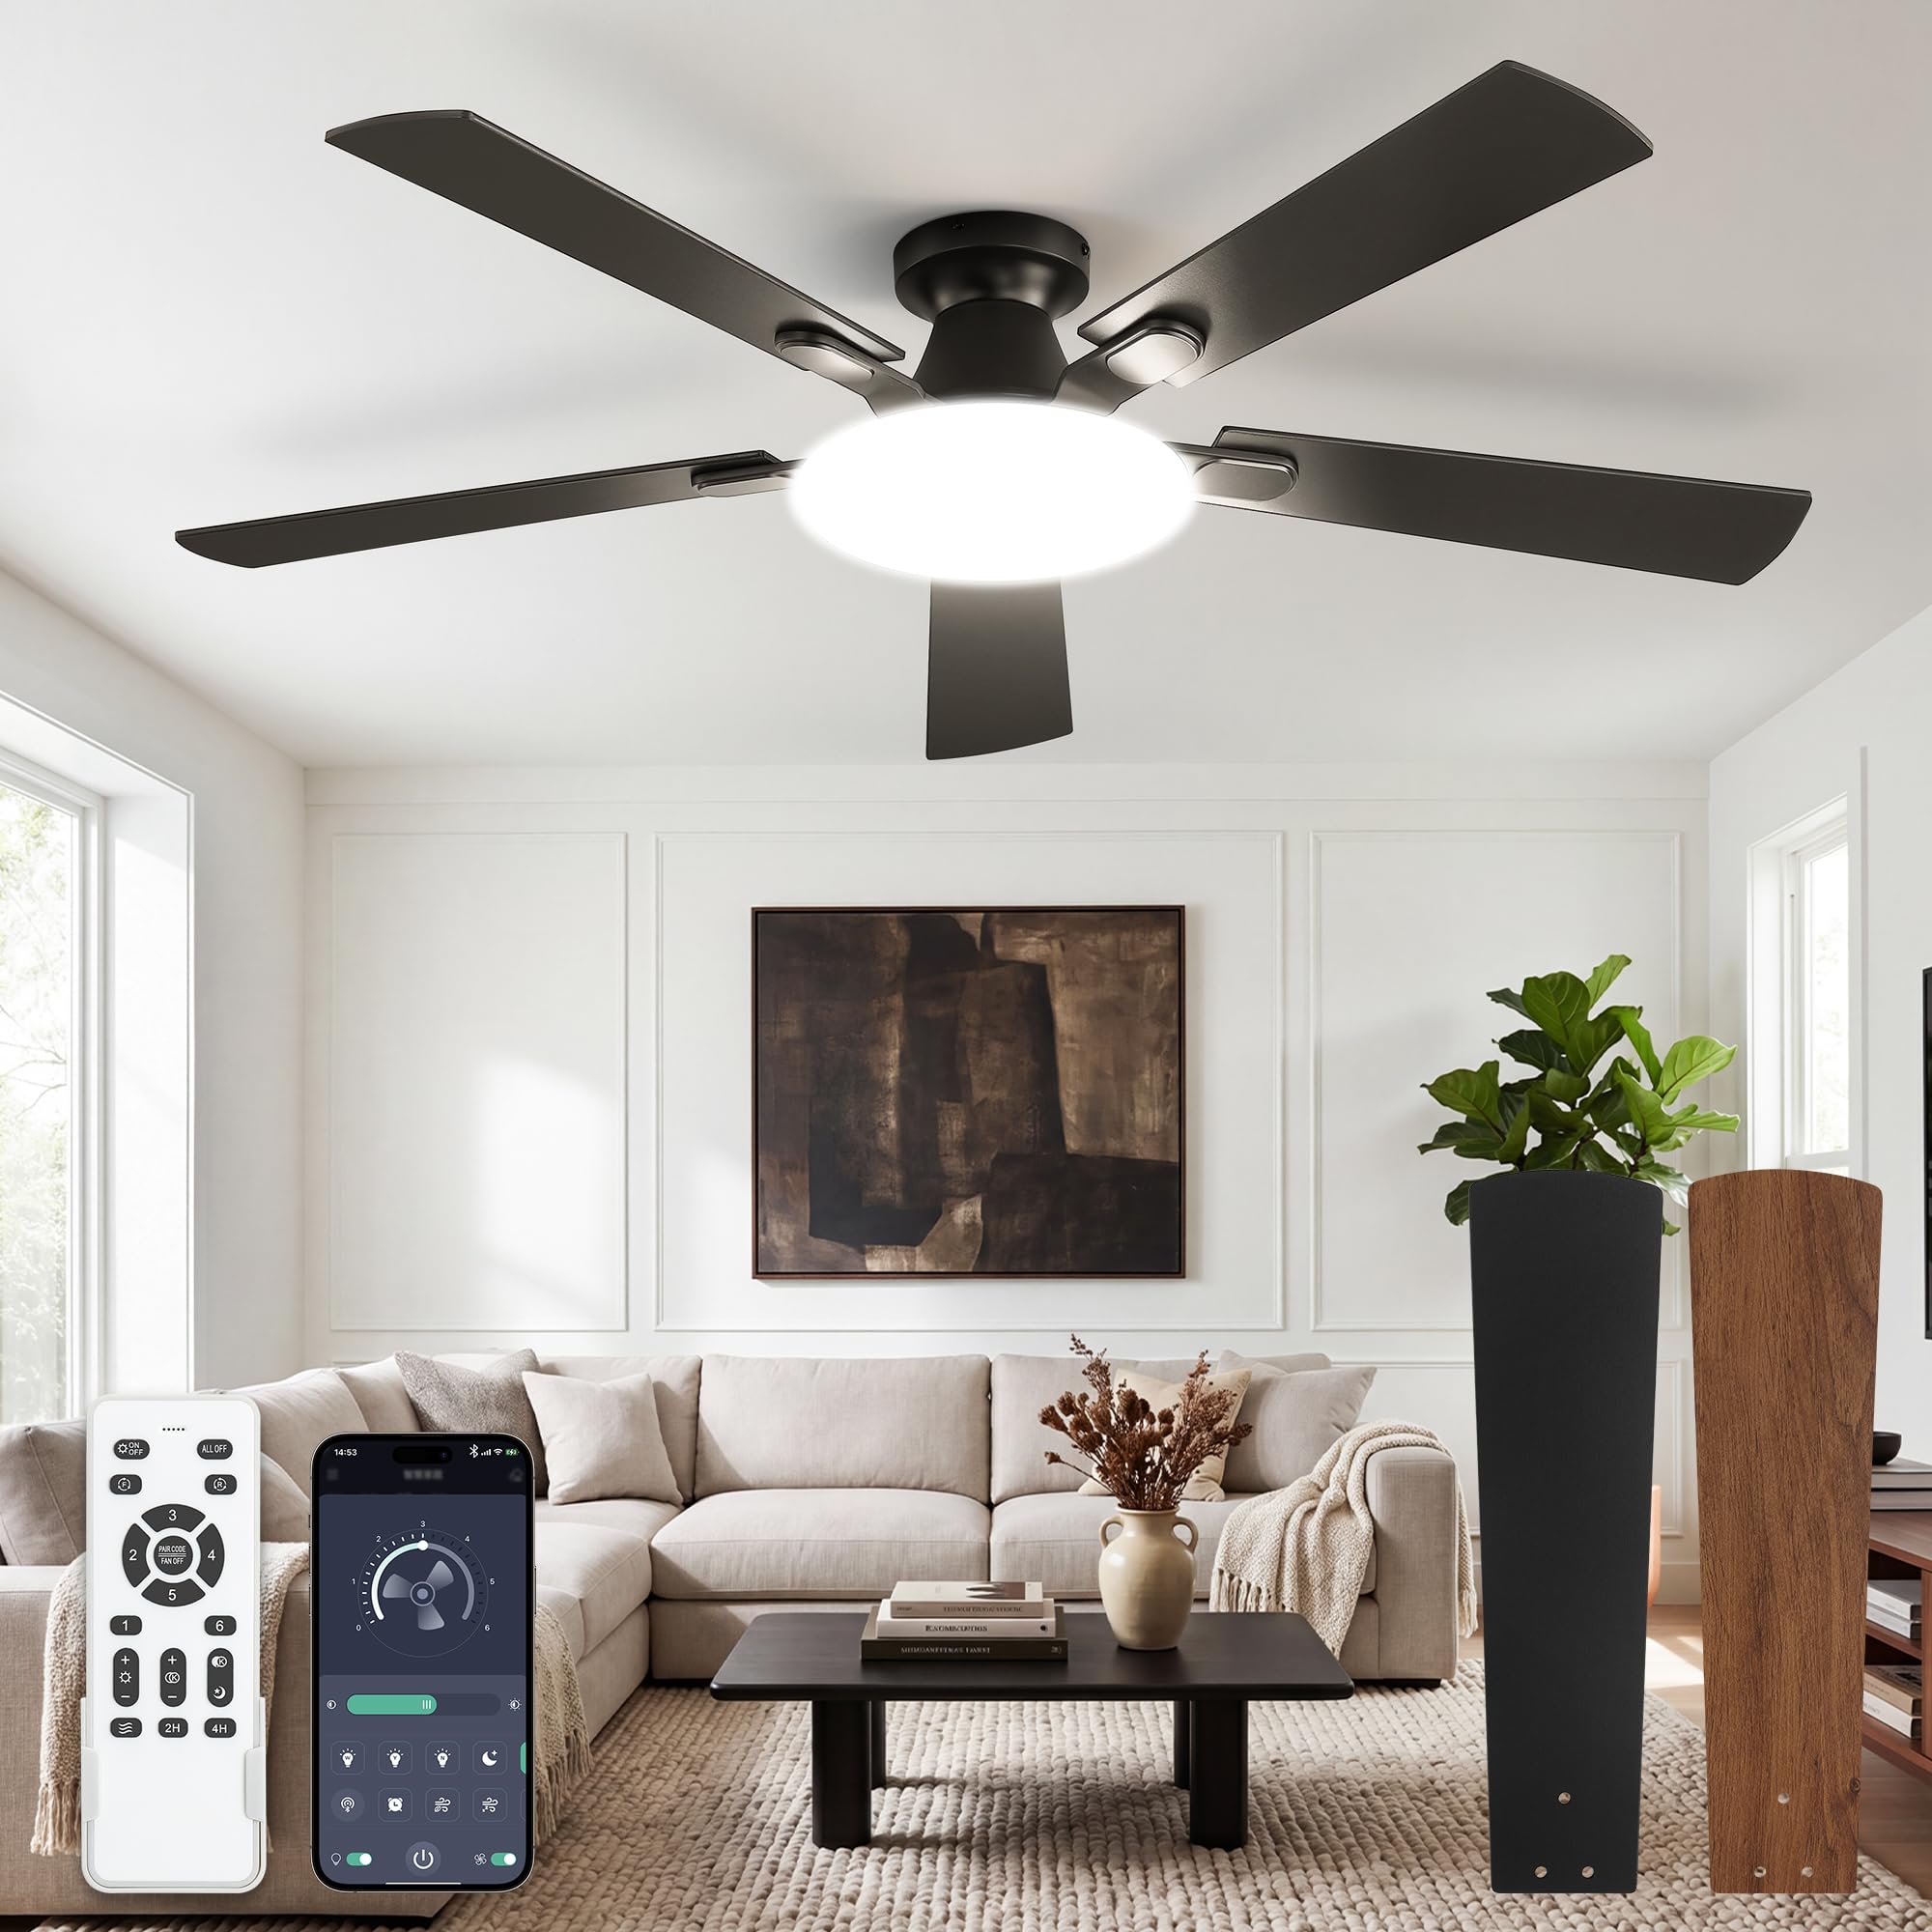
Figure 1: LEDIARY 52 Inch Flush Mount Ceiling Fan (Black)
Included Components:
- 52" Ceiling Fan Motor Housing
- Fan Blades (5)
- 25W LED Light Kit
- Remote Control
- Mounting Hardware Kit
- User Manual (this document)

Figure 2: Fan Dimensions (52" diameter, 10" height) and Light Panel (12" diameter, 2500 Lumens)
Setup (Installation)
This fan is designed for easy installation, typically completed in under 30 minutes. Always ensure power is disconnected before starting.
Pre-Installation Checklist:
- Verify all components are present and undamaged.
- Ensure you have the necessary tools (screwdriver, wire strippers, ladder).
- Confirm the electrical box is securely mounted and rated for ceiling fan support.
Installation Steps:
- Mount the Bracket: Secure the mounting bracket to the ceiling electrical box using the provided screws.
- Wire the Fan: Connect the fan's electrical wires to the household wiring according to the color-coded instructions (typically black to black, white to white, green/bare to ground). Use wire nuts to secure connections.
- Attach the Fan Body: Lift the fan body and attach it to the mounting bracket. Ensure it is securely seated and locked into place.
- Install Blades and Light Kit: Attach the fan blades to the motor housing. Connect the LED light kit wiring and secure the light cover.

Figure 3: Visual representation of the 4-step installation process.
Installation Video Guide:
Video 1: Detailed installation guide for the LEDIARY 52 Inch Ceiling Fan with LED Lights. This video demonstrates each step of the assembly and mounting process.
Operating Instructions
Your LEDIARY ceiling fan can be controlled using the included remote control or the dedicated smartphone application.
Remote Control Functions:

Figure 4: Remote control layout showing light, dimming, fan speed, and timer buttons.
- Fan ON/OFF: Press the fan icon button to turn the fan on or off.
- Fan Speed (1-6): Use the '+' and '-' buttons to adjust between 6 fan speeds.
- Light ON/OFF: Press the light bulb icon to turn the light on or off.
- Color Temperature (CCT): Press the 'K' button to cycle through 3000K (Warm White), 5000K (Cool White), and 6000K (Daylight).
- Stepless Dimming: Hold the light '+' or '-' buttons to adjust brightness from 12% to 100%.
- Night Light: Press the moon icon for a soft 12% brightness night light mode.
- Timer: Set the fan to turn off after 2 hours ('2H') or 4 hours ('4H').
- Reversible Motor: Press the reversible arrow button to change fan direction (see below).
App Control:
Download the LEDIARY app from your smartphone's app store. Follow the in-app instructions to pair your fan via Bluetooth. The app provides similar controls to the remote, including fan speed, light settings, timer, and reversible function.

Figure 5: App interface displaying timing, 6 wind speeds, reversible motor, and stepless dimming controls.
Reversible Motor Function:
The fan features a reversible DC motor for year-round comfort.
- Downdraft Mode (Summer): Blades rotate counter-clockwise, pushing air downwards to create a cooling breeze.
- Updraft Mode (Winter): Blades rotate clockwise, drawing air upwards to circulate warm air trapped near the ceiling.

Figure 6: Visualizing downdraft (summer cooling) and updraft (winter circulation) airflow.
Memory Function:
The fan's smart memory function restores the last used brightness, color temperature, and fan speed settings when turned back on, provided the light was off for at least 10 seconds.
Maintenance
Regular maintenance ensures optimal performance and longevity of your ceiling fan.
- Cleaning: The minimalist design with straight blades and a flat light panel reduces dust accumulation. Use a soft, damp cloth to wipe down the fan blades and light cover. Do not use abrasive cleaners or solvents.
- Blade Screws: Periodically check that all blade screws are tight. Over time, they may loosen due to fan vibration.
- Light Cover: Ensure the light cover is securely fastened.
WARNING: Always turn off the power at the circuit breaker before cleaning or performing any maintenance on your fan.
Troubleshooting
If you experience issues with your fan, refer to the following common problems and solutions:
| Problem | Possible Cause | Solution |
|---|---|---|
| Fan does not start | No power to the fan; loose wire connections; remote control battery low. | Check circuit breaker; ensure all wire connections are secure; replace remote control battery. |
| Light does not work | Loose wire connection to light kit; LED light kit failure. | Check light kit wiring; contact customer support if LED is faulty. |
| Remote control not working | Battery low or incorrectly inserted; remote not paired. | Replace battery, ensure correct polarity; refer to pairing instructions (if applicable, usually pre-paired). |
| Fan wobbles | Loose blade screws; unbalanced blades; loose mounting bracket. | Tighten all blade screws; ensure blades are installed correctly; check mounting bracket security. |
| Noisy operation | Loose screws; fan not properly secured; internal motor issue. | Check and tighten all screws; ensure fan is flush with ceiling; contact support if noise persists. |
Specifications
| Feature | Detail |
|---|---|
| Brand | LEDIARY |
| Model Number | PY52 |
| Product Dimensions | 52"D x 52"W x 9.8"H |
| Item Weight | 8.8 pounds |
| Number of Blades | 5 |
| Air Flow Capacity | 4042 CFM |
| Number of Speeds | 6 |
| Noise Level | 30 dB |
| Fan Wattage | 35 watts (DC Motor) |
| Light Wattage | 25W LED (2500 Lumens) |
| Color Temperature | 3000K/5000K/6000K (Adjustable) |
| Voltage | 120 volts |
| Control Method | App Control, Remote Control |
| Installation Type | Flush Mount |
| Indoor/Outdoor Usage | Indoor (Damp-Rated for covered patios) |
| Special Features | Reversible DC Motor, Stepless Dimming, Memory Function, Timer, Night Light |
Warranty and Support
This LEDIARY ceiling fan comes with a 2-year limited warranty from the date of purchase. This warranty covers defects in materials and workmanship under normal use.
For warranty claims, technical support, or replacement parts, please contact LEDIARY customer service through the retailer where the product was purchased or visit the official LEDIARY website for contact information.
Please have your model number (PY52) and proof of purchase available when contacting support.