
1. Introduction
Thank you for choosing the PTHRAOUTA H10-1 Home Dehumidifier. This manual provides essential information for the safe and efficient operation of your new appliance. Please read it thoroughly before use and retain it for future reference.
This dehumidifier is designed to reduce humidity in indoor spaces up to 950 sq.ft, featuring a 95oz (2.8L) water tank capacity and the ability to remove up to 34oz (1L) of moisture daily (at 86°F and 80%RH). It includes a reusable air filter, two operating modes (Powerful and Sleep), an automatic shut-off function, and optional ambiance lighting.
2. Safety Instructions
To prevent injury to the user or others and property damage, the following instructions must be followed. Incorrect operation due to ignoring instructions may cause harm or damage.
- Always use the dehumidifier on a stable, level surface to prevent tipping and water spillage.
- Do not block the air inlet or outlet. Maintain at least 8 inches (20 cm) of clearance around the unit.
- Ensure the power cord is not damaged, pinched, or placed under heavy objects.
- Do not operate the dehumidifier with wet hands or in excessively wet environments like standing water.
- Unplug the unit before cleaning, maintenance, or when not in use for extended periods.
- Keep the appliance out of reach of children and pets.
- Do not attempt to repair or modify the unit yourself. Contact qualified service personnel.
- Only use the provided power adapter and drain hose.
3. Product Overview
Familiarize yourself with the components of your PTHRAOUTA H10-1 Dehumidifier.

Figure 3.1: Control Panel and Front View
This image shows the front of the PTHRAOUTA H10-1 dehumidifier, highlighting its sleek design and the intuitive control panel with touch-sensitive buttons for power, sleep mode, night light, and a water level indicator.
Control Panel Functions:
- Power Button (⏻): Turns the unit On or Off.
- Quiet Mode Button (💤): Activates the low-speed, quiet operation mode for undisturbed sleep.
- Night Lights Button (🌟): Cycles through 7 color options or turns off the ambiance lighting.
- Water Full Indicator (💧): Illuminates when the water tank is full, triggering automatic shut-off.
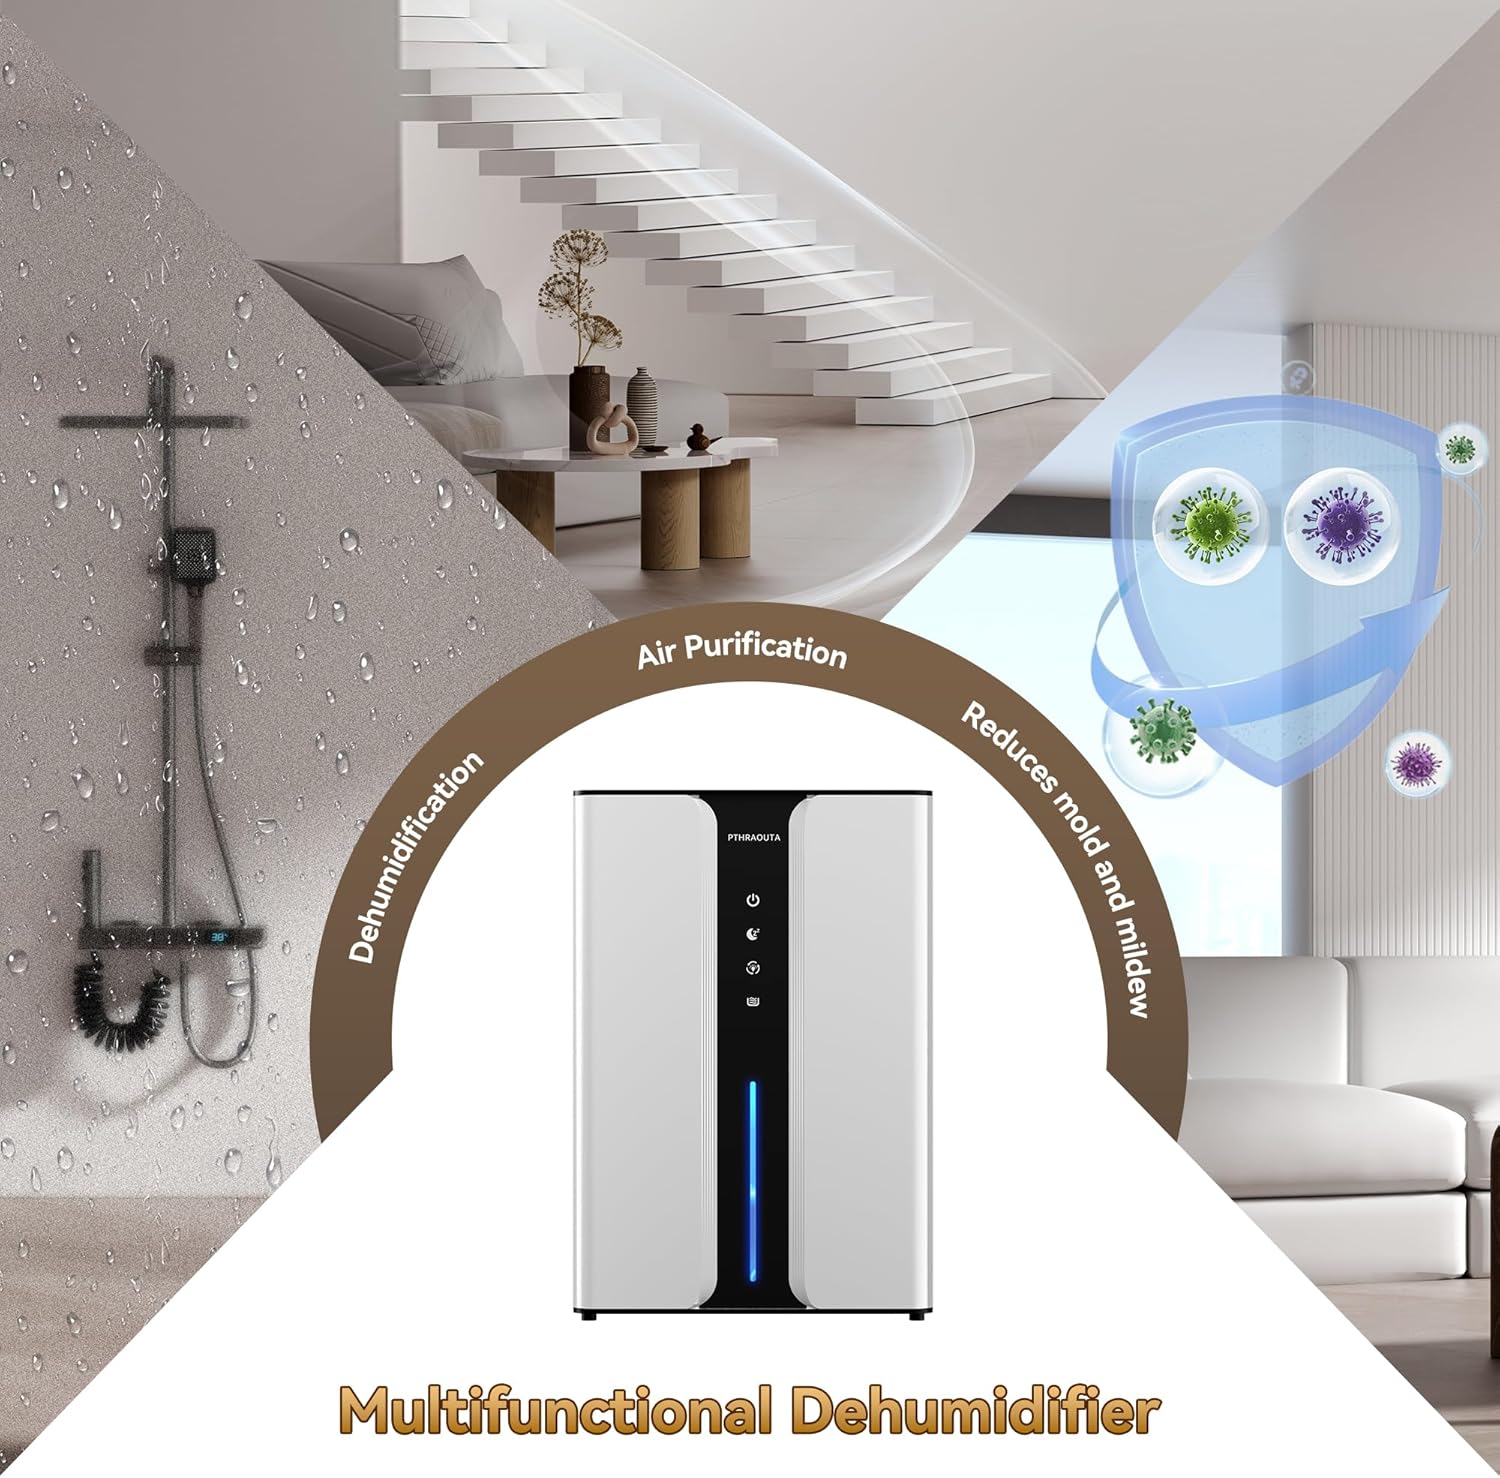
Figure 3.2: Internal Components
This image illustrates the internal structure of the dehumidifier, showing the high-efficiency dehumidification condenser, the activated carbon filter, and the 95oz water tank. These components work together to remove moisture and purify the air.
4. Setup
4.1 Unpacking
- Carefully remove the dehumidifier and all accessories from the packaging.
- Check for any damage during transit. If damaged, do not operate and contact customer support.
- Retain the packaging for future storage or transport.
4.2 Placement
Place the dehumidifier in an area where humidity is highest or where you wish to reduce moisture. Ensure:
- It is on a firm, level surface.
- There is at least 8 inches (20 cm) of space around all sides for proper airflow.
- It is away from heat sources, direct sunlight, and open windows/doors.
4.3 Power Connection
Plug the power cord into a grounded electrical outlet. The unit is now ready for operation.
4.4 Drainage Options
Your dehumidifier offers two methods for water collection:
A. Manual Water Tank Drainage
The dehumidifier will collect moisture into its 95oz (2.8L) water tank. When the tank is full, the unit will automatically shut off, and the water full indicator will illuminate. You will need to manually empty the tank.

Figure 4.1: Manual Water Tank Emptying
This image demonstrates the steps for manually emptying the water tank: pull out the tank, remove the cover, pour out the collected water, then replace the cover and reinsert the tank into the dehumidifier.
B. Continuous Drainage with Drain Hose
For continuous operation without needing to empty the water tank, you can connect the included drain hose.
- Locate the drain outlet at the back of the unit.
- Remove the rubber plug from the drain outlet.
- Firmly attach one end of the drain hose to the drain outlet.
- Route the other end of the hose to a suitable drain (e.g., sink, floor drain), ensuring it is lower than the dehumidifier's drain outlet for gravity flow.

Figure 4.2: Drain Hose Connection
This image illustrates the two steps for connecting the drain hose: first, unplug the lower corner plug of the water tank, and second, insert the drain hose into the drain hole of the water tank for continuous drainage.
5. Operating Instructions
5.1 Power On/Off
- Press the Power Button (⏻) once to turn the dehumidifier On.
- Press the Power Button (⏻) again to turn the dehumidifier Off.
5.2 Mode Selection
The dehumidifier offers two operating modes:
- Powerful Mode: This is the default mode, providing efficient and rapid moisture removal. It operates at a higher fan speed.
- Sleep Mode: Press the Quiet Mode Button (💤) to activate Sleep Mode. The unit will operate at a lower fan speed, reducing noise to below 30 dB for a quiet environment, ideal for bedrooms.

Figure 5.1: Quiet Mode vs. Powerful Mode
This image visually compares the Quiet Mode (sleep-friendly with lower noise, less than 30dB) and the Powerful Mode (faster dehumidification, 30dB-40dB), illustrating their respective benefits for different user needs.
5.3 Ambiance Night Light
The dehumidifier features a night light with seven color options.
- To activate the night light, press the Night Lights Button (🌟) for 5 seconds until the light starts flashing.
- Press the Night Lights Button (🌟) again to cycle through the available colors (Blue, Orange, Purple, Green, Yellow, Red, White).
- To turn off the night light, continue pressing the button until the light turns off, or press and hold for 5 seconds again.

Figure 5.2: Ambiance Night Light Options
This image displays the dehumidifier with various colored night lights (Blue, Orange, Purple, Green, Yellow, Red), demonstrating the customizable ambiance feature. The text indicates that the night light can be turned off.
5.4 Automatic Shut-Off
The unit is equipped with an automatic shut-off feature for safety and convenience:
- When the water tank is full, the dehumidifier will automatically stop operating, and the Water Full Indicator (💧) will illuminate.
- If the water tank is incorrectly positioned or removed, the unit will also cease operation.
- To resume operation, empty the water tank and ensure it is correctly reinserted.

Figure 5.3: Automatic Shut-Off Protection
This image shows the dehumidifier in two states: working normally (blue light) and with the water tank full (red light, auto shut-off activated), illustrating the automatic shut-off safety feature.
5.5 Product Video Overview
Video 5.1: PTHRAOUTA Home Dehumidifier Features
This video provides a visual demonstration of the PTHRAOUTA H10-1 dehumidifier's key features, including its operation, quiet performance, and the continuous drainage option. It highlights how the unit helps combat humidity in various home environments.
6. Maintenance
Regular maintenance ensures optimal performance and extends the lifespan of your dehumidifier.
6.1 Cleaning the Water Tank
- Empty the water tank as described in Section 4.4.
- Rinse the tank with clean water. For stubborn residue, use a mild detergent and a soft cloth.
- Ensure the tank is completely dry before reinserting it into the unit.
6.2 Cleaning the Air Filter
The reusable air filter should be cleaned regularly (every 2-4 weeks, depending on usage and air quality) to maintain efficiency.
- Turn off and unplug the dehumidifier.
- Locate the air filter cover at the back of the unit. Gently pull to remove it.
- Remove the air filter.
- Clean the filter with a vacuum cleaner or wash it gently with warm, soapy water.
- Allow the filter to air dry completely before placing it back into the unit.
- Reattach the filter cover.
6.3 Exterior Cleaning
- Wipe the exterior of the dehumidifier with a soft, damp cloth.
- Do not use abrasive cleaners, solvents, or harsh chemicals, as these can damage the surface.
7. Troubleshooting
If you encounter issues with your dehumidifier, refer to the following table for common problems and solutions.
| Problem | Possible Cause | Solution |
|---|---|---|
| Dehumidifier does not turn on. | No power supply. Water tank is full or incorrectly placed. | Ensure the unit is plugged into a working outlet. Empty the water tank and ensure it is correctly seated. |
| Unit is running but not collecting water. | Room humidity is too low. Temperature is too low. Air filter is clogged. | Dehumidifier will only collect water if humidity is above 45%RH. Unit operates best above 41°F (5°C). Clean the air filter (see Section 6.2). |
| Unit is noisy. | Operating in Powerful Mode. Unit is not on a level surface. | Switch to Sleep Mode for quieter operation. Place the unit on a stable, level surface. |
| Water leaks from the unit. | Water tank is full. Drain hose is not properly connected or blocked. | Empty the water tank. Check drain hose connection and ensure it is not kinked or blocked. Ensure the hose is sloped downwards. |
If the problem persists after trying these solutions, please contact customer support.
8. Specifications
| Feature | Specification |
|---|---|
| Brand | PTHRAOUTA |
| Model Name | H10-1 |
| Floor Area Coverage | Up to 950 Square Feet |
| Moisture Removal Capacity | 34 oz (1L) per day (at 86°F, 80%RH) |
| Water Tank Capacity | 95 Fluid Ounces (2.8L) |
| Product Dimensions (D x W x H) | 5.25"D x 8.5"W x 13.46"H |
| Wattage | 80 watts |
| Operation Mode | Continuous |
| Number of Speeds | 2 (Powerful, Sleep) |
| Special Features | Dehumidifier, Air Purification, Washable Filter, Auto Shut-off, Ambiance Lighting |
| Recommended Uses | Basement, Home, Room, Bedroom, Bathroom, RV, Closet, Indoor, Living room |
| Material | Plastic |
| UPC | 730763432106 |
9. Warranty
This PTHRAOUTA H10-1 Home Dehumidifier comes with a 3-Year Manufacturer's Warranty. Please retain your proof of purchase for warranty claims. The warranty covers defects in materials and workmanship under normal use. It does not cover damage caused by misuse, accident, unauthorized repairs, or normal wear and tear.
10. Customer Support
For any questions, concerns, or technical assistance not covered in this manual, please contact PTHRAOUTA customer support. Refer to your product packaging or the official PTHRAOUTA website for the most current contact information.