
Liniotech LNT12000-48
Liniotech 12kW Off-Grid Solar Inverter (Model LNT12000-48) User Manual
Comprehensive guide for installation, operation, and maintenance.
1. Introduction
This manual provides essential information for the safe and efficient operation of your Liniotech 12kW Off-Grid Solar Inverter, Model LNT12000-48. This hybrid inverter is designed for off-grid solar systems, offering 12kW pure sine wave output, dual MPPT solar charge controllers, and compatibility with 48V lithium and lead-acid batteries. Please read this manual thoroughly before installation and use.
2. Safety Instructions
Always observe the following safety precautions to reduce the risk of electric shock, fire, or injury:
- Installation must be performed by qualified personnel.
- Ensure all power sources are disconnected before installation or maintenance.
- Do not disassemble the inverter. There are no user-serviceable parts inside.
- Install the inverter in a well-ventilated area, away from flammable materials.
- Ensure proper grounding of the unit.
- Wear appropriate personal protective equipment (PPE) during installation and maintenance.
3. Product Overview
The Liniotech 12kW Off-Grid Solar Inverter is an all-in-one solution for solar power systems. It integrates a 12kW pure sine wave inverter, dual MPPT solar charge controllers, and a battery charger. Key features include:
- 12kW Pure Sine Wave Output: Provides clean, stable AC power for various applications, supporting both split-phase and single-phase systems.
- Dual MPPT Solar Charge Controllers: Two independent 6,000W MPPTs with a wide 90-500V input range for optimized solar energy harvesting.
- Battery Compatibility: Supports 48V LiFePO4, AGM, GEL, and flooded batteries with adjustable charging up to 220A.
- Smart Monitoring: Remote monitoring and control via the Liniotech mobile app (iOS & Android) using WiFi, USB, RS485, or GPRS.
- Scalability: Stackable design allows parallel operation of up to 6 units for a total output of up to 72kW.
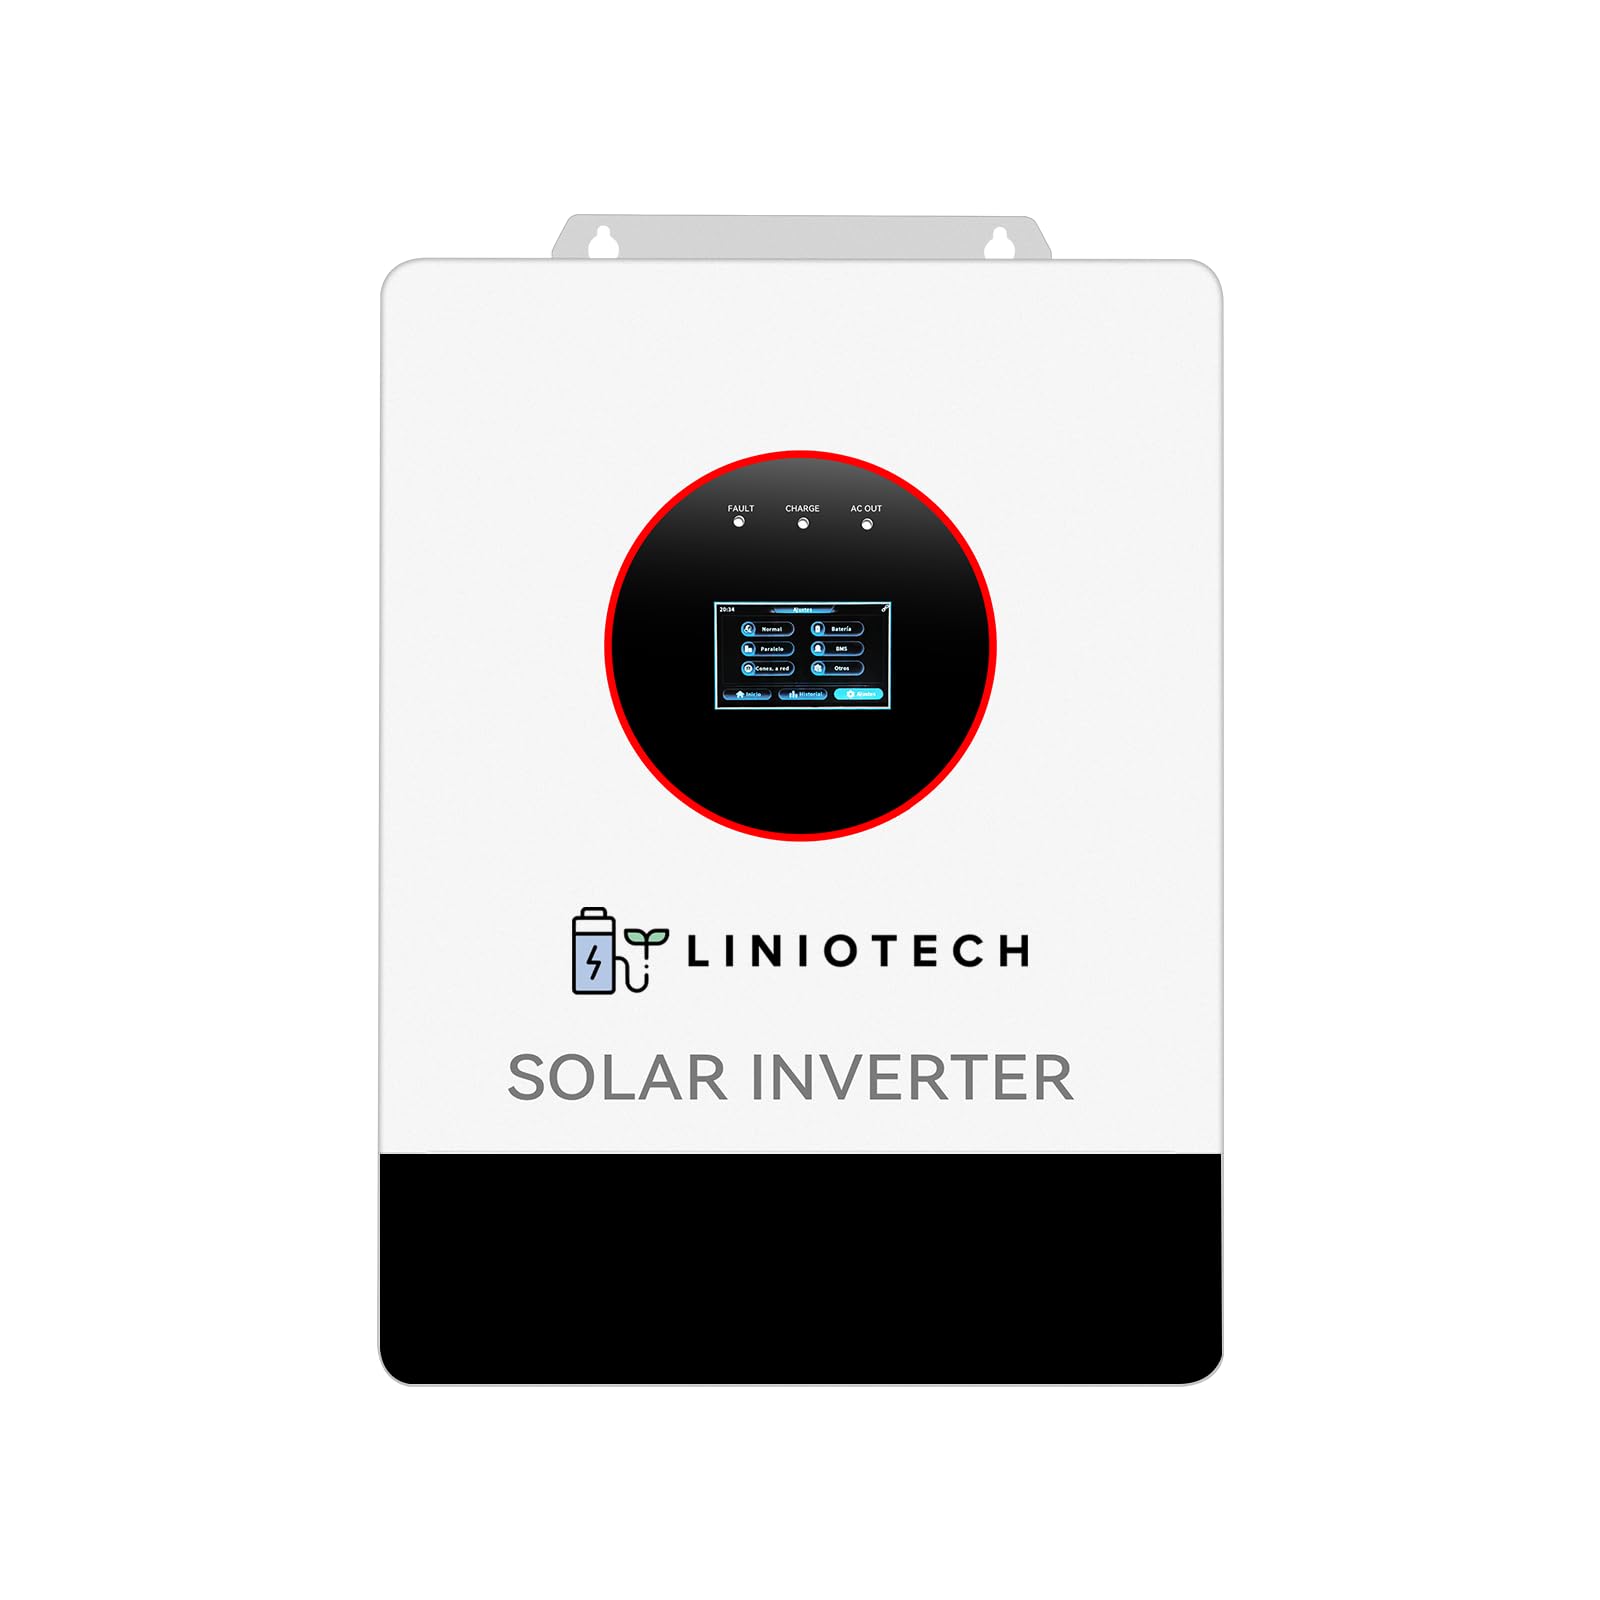
Figure 3.1: Front view of the Liniotech 12kW Off-Grid Solar Inverter, showing the display and branding.

Figure 3.2: Angled view of the Liniotech 12kW Off-Grid Solar Inverter, highlighting the side vents and top panel.
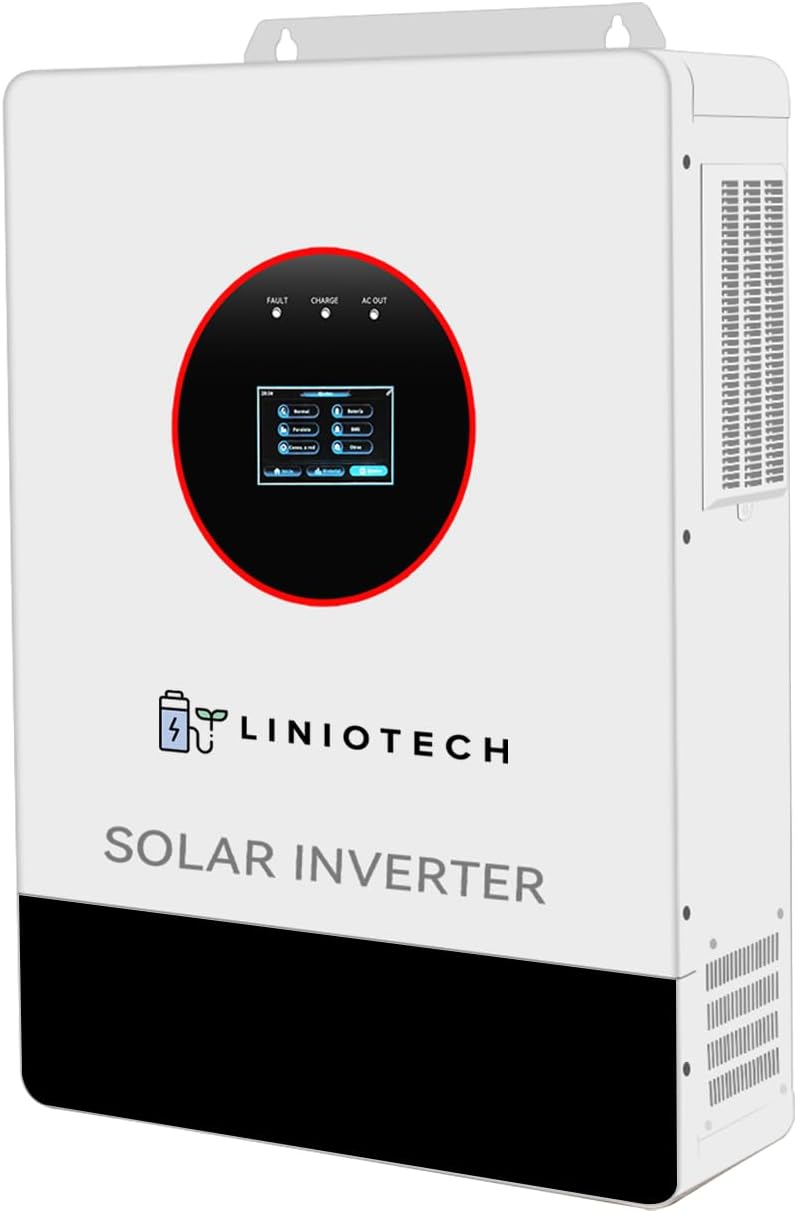
Figure 3.3: Rear view of the Liniotech 12kW Off-Grid Solar Inverter, showing AC input/output, battery terminals, PV inputs, and communication ports.
4. Setup and Installation
4.1 Unpacking and Inspection
Upon receiving your inverter, carefully unpack it and inspect for any shipping damage. Report any damage to your dealer immediately. Ensure all components listed in the packing list are present.
4.2 Mounting the Inverter
Choose a suitable location for mounting the inverter. It should be:
- Indoors, protected from direct sunlight, rain, and dust.
- Well-ventilated to ensure adequate airflow for cooling.
- Mounted vertically on a solid surface capable of supporting the inverter's weight.
- Accessible for wiring and maintenance.

Figure 4.1: Rear view of the inverter's mounting plate, showing attachment points for wall installation.
4.3 Wiring Connections
All wiring must comply with local and national electrical codes. Refer to Figure 3.3 for connection points.
- Battery Connection: Connect the 48V battery bank to the BAT+ and BAT- terminals. Ensure correct polarity.
- PV Array Connection: Connect your solar panel strings to the PV1+ / PV1- and PV2+ / PV2- terminals. Observe voltage and current limits for each MPPT.
- AC Input Connection (Grid/Generator): Connect the AC input from your grid or generator to the AC IN terminals.
- AC Output Connection (Loads): Connect your household loads to the AC OUT terminals.
- Grounding: Connect the inverter to a reliable earth ground.
Important: Ensure all circuit breakers are OFF before making any electrical connections. Double-check all wiring for tightness and correct polarity.
5. Operation
5.1 Initial Startup
- After all connections are secure, switch ON the battery breaker.
- Switch ON the PV array breaker.
- Switch ON the AC input breaker (if connected to grid/generator).
- Turn ON the inverter's main power switch.
- The inverter will perform a self-test and then begin operation.
5.2 Display and Settings
The inverter features a touchscreen display for monitoring system status and adjusting settings. Navigate through menus to view:
- Input/Output Voltage and Current
- Battery State of Charge (SOC)
- Solar Power Generation
- Load Consumption
- Operating Mode (e.g., Solar First, Utility First, Battery First)
- Charging Parameters (e.g., battery type, charge current)
Refer to the detailed settings section in the full manual for specific parameter adjustments.
5.3 Remote Monitoring (WiFi/App)
The Liniotech inverter supports remote monitoring via the Liniotech mobile app (iOS & Android). Connect the optional WiFi module to the inverter's WiFi port and follow the app's instructions for setup. This allows for real-time data viewing and remote control of certain functions.
6. Maintenance
Regular maintenance ensures optimal performance and longevity of your inverter.
- Monthly: Inspect the inverter for any visible damage, loose connections, or unusual noises. Clean the exterior with a dry cloth. Ensure ventilation openings are clear of dust and debris.
- Quarterly: Check all electrical connections for tightness. Verify battery terminal connections are clean and free of corrosion. Monitor battery health and electrolyte levels (for flooded batteries).
- Annually: Have a qualified technician perform a comprehensive inspection of the entire solar power system, including wiring, breakers, and ground connections.
Caution: Disconnect all power sources (PV, battery, AC input) before performing any maintenance or cleaning that involves opening the inverter or touching electrical connections.
7. Troubleshooting
This section provides solutions to common issues. For problems not listed here, contact Liniotech customer support.
| Problem | Possible Cause | Solution |
|---|---|---|
| Inverter not turning on | No battery power; main switch off; loose connections. | Check battery voltage; ensure main switch is ON; verify all connections. |
| No AC output | Overload; short circuit; inverter fault; AC output breaker tripped. | Reduce load; check for short circuits; reset AC output breaker; check inverter display for error codes. |
| No solar charging | PV input voltage too low/high; PV breaker off; shading on panels; MPPT fault. | Check PV voltage within range (90-500V); ensure PV breaker is ON; clear shading; check inverter display for PV error codes. |
| Battery not charging | Incorrect battery settings; battery fault; charging current too low. | Verify battery type and charging parameters in settings; inspect battery health; increase charge current if safe. |
| Over-temperature warning | Insufficient ventilation; high ambient temperature; blocked cooling fins. | Ensure adequate clearance around inverter; improve room ventilation; clean cooling fins. |
8. Specifications
| Feature | Detail |
|---|---|
| Model Name | LNT12000-48 |
| Output Power | 12 KW |
| Peak Output Power | 12000 Watts |
| Input Voltage | 48 VDC |
| Output Voltage | 120 VAC (Split Phase 120/240V capable) |
| Electrical Output Waveform | Pure Sine Wave |
| Frequency | 60 Hz |
| PV Input Voltage Range | 90-500V VOC |
| MPPTs | Dual (2 x 6000W) |
| Max Charging Current | 220A |
| Battery Compatibility | LiFePO4, AGM, GEL, Flooded (48V) |
| Monitoring | WiFi, USB, RS485, GPRS (via Liniotech App) |
| Parallel Capability | Up to 6 units (72kW total) |
| Certifications | UL, FCC |
| Recommended Uses | Home, Household appliances, Workshop |
9. Warranty Information
Liniotech products are covered by a limited warranty. Please refer to the warranty card included with your product or visit the official Liniotech website for detailed terms and conditions. The warranty typically covers defects in materials and workmanship under normal use and service.
Note: Unauthorized disassembly, improper installation, or misuse of the inverter will void the warranty.
10. Customer Support
For technical assistance, troubleshooting, or warranty claims, please contact Liniotech customer support. Have your model number (LNT12000-48) and purchase date ready when contacting support.
- Online Support: Visit the official Liniotech website for FAQs, documentation, and contact forms.
- Email Support: Refer to your product packaging or the Liniotech website for the support email address.
- Phone Support: Refer to your product packaging or the Liniotech website for the support phone number.
Many common issues can be resolved by consulting the troubleshooting section of this manual or the online resources.
Related documentsLNT12000-48


Ask a question about this manual
Ask about setup, troubleshooting, compatibility, parts, safety, or missing instructions. Manuals+ will review the question and use this page’s manual context to help answer it.