
1. Introduction
This manual provides detailed instructions for the installation, operation, and maintenance of your Blütezeit MJ-400 Chain Drive Gate Opener and its accompanying Visor Clip Remote. Please read this manual thoroughly before installation and use to ensure proper function and safety. This system is designed for residential and light commercial sliding gates up to 1100 lbs and 50 ft in length.
2. Safety Information
WARNING: Failure to follow these safety instructions may result in serious injury or property damage.
- Ensure all electrical connections are performed by a qualified electrician and comply with local electrical codes.
- Keep children and pets away from the gate area, especially during operation.
- Do not allow children to operate the gate opener or play with remote controls.
- Regularly inspect the gate and opener for signs of wear, damage, or misalignment.
- Do not attempt to repair the gate opener yourself. Contact qualified service personnel.
- Install safety devices such as photocell sensors (sold separately) to prevent the gate from closing on obstructions.
- Ensure the gate is properly balanced and moves freely before installing the opener.
3. Package Contents
Verify that all components listed below are present in your package:
- Blütezeit MJ-400 Gate Opener Motor Unit
- 16.4 ft Heavy-Duty Drive Chain
- Mounting Base
- Idler Gear Assembly
- Limit Magnets (2 pcs)
- Remote Controls (2 pcs)
- Visor Clip Remote (1 pc)
- Hardware Kit (bolts, nuts, washers, etc.)
- User Manual (this document)

Image 3.1: Complete Blütezeit MJ-400 Gate Opener Kit. This image displays the main motor unit, the 16.4 ft chain, two standard remote controls, a visor clip remote, and various mounting brackets and hardware components included in the package.
4. Specifications
| Feature | Specification |
|---|---|
| Model | MJ-400 |
| Motor Type | AC110V/60Hz 130W Chain-Drive |
| Max Gate Weight | 1100 lbs (500 kg) |
| Max Gate Length | 50 ft (15 m) |
| Gate Speed | 0.7 ft/s (21 cm/s) |
| Remote Frequency | 433.92 MHz (Rolling Code) |
| Remote Range | Up to 100 ft (30 m) |
| Auto-Close Timer | Adjustable 0-60 seconds |
| Safety Features | Resistance Rebound, Supports Optional Infrared Sensor |

Image 4.1: Copper Motor. The internal view of the gate opener motor, highlighting the high-efficiency copper motor designed for powerful performance and long-lasting durability in daily gate operation.

Image 4.2: Quenched Idler Wheels. A detailed view of the heat-treated idler wheels, engineered to resist chain abrasion and provide exceptional durability for extended service life of the gate opener.
5. Installation (Setup)
Proper installation is crucial for the safe and reliable operation of your gate opener. Follow these steps carefully.
5.1 Pre-Installation Checklist
- Ensure the gate slides smoothly and freely by hand.
- Confirm the gate is level and plumb.
- Verify adequate space for the motor unit and chain installation.
- Have necessary tools: drill, wrenches, measuring tape, level, wire strippers.
5.2 Mounting the Motor Unit
- Determine the optimal mounting location. The motor unit should be positioned so the drive sprocket aligns with the gate's chain attachment points.
- Secure the mounting base to a concrete pad or a sturdy, level foundation using appropriate anchor bolts (not included). Ensure the base is level.
- Attach the motor unit to the mounting base using the provided hardware.
5.3 Installing the Drive Chain
- Attach one end of the 16.4 ft drive chain to the gate using the provided chain brackets.
- Route the chain through the motor's drive sprocket and around the idler gear assembly.
- Attach the other end of the chain to the gate, ensuring the chain is taut but not overly tight. There should be a slight sag (approx. 1 inch) in the middle of the chain run.
5.4 Limit Switch Setup
- Install the two limit magnets on the gate, one for the fully open position and one for the fully closed position.
- Position the magnets so they trigger the internal limit switches within the motor unit at the desired open and closed points. Adjust as needed for precise gate travel.
5.5 Electrical Wiring
CAUTION: Electrical wiring should only be performed by a qualified professional.
- Connect the AC power supply (110V/60Hz) to the motor unit's control board as per the wiring diagram in the detailed installation guide (separate document).
- Connect any optional accessories, such as photocell sensors or external keypads, to the designated terminals on the control board.
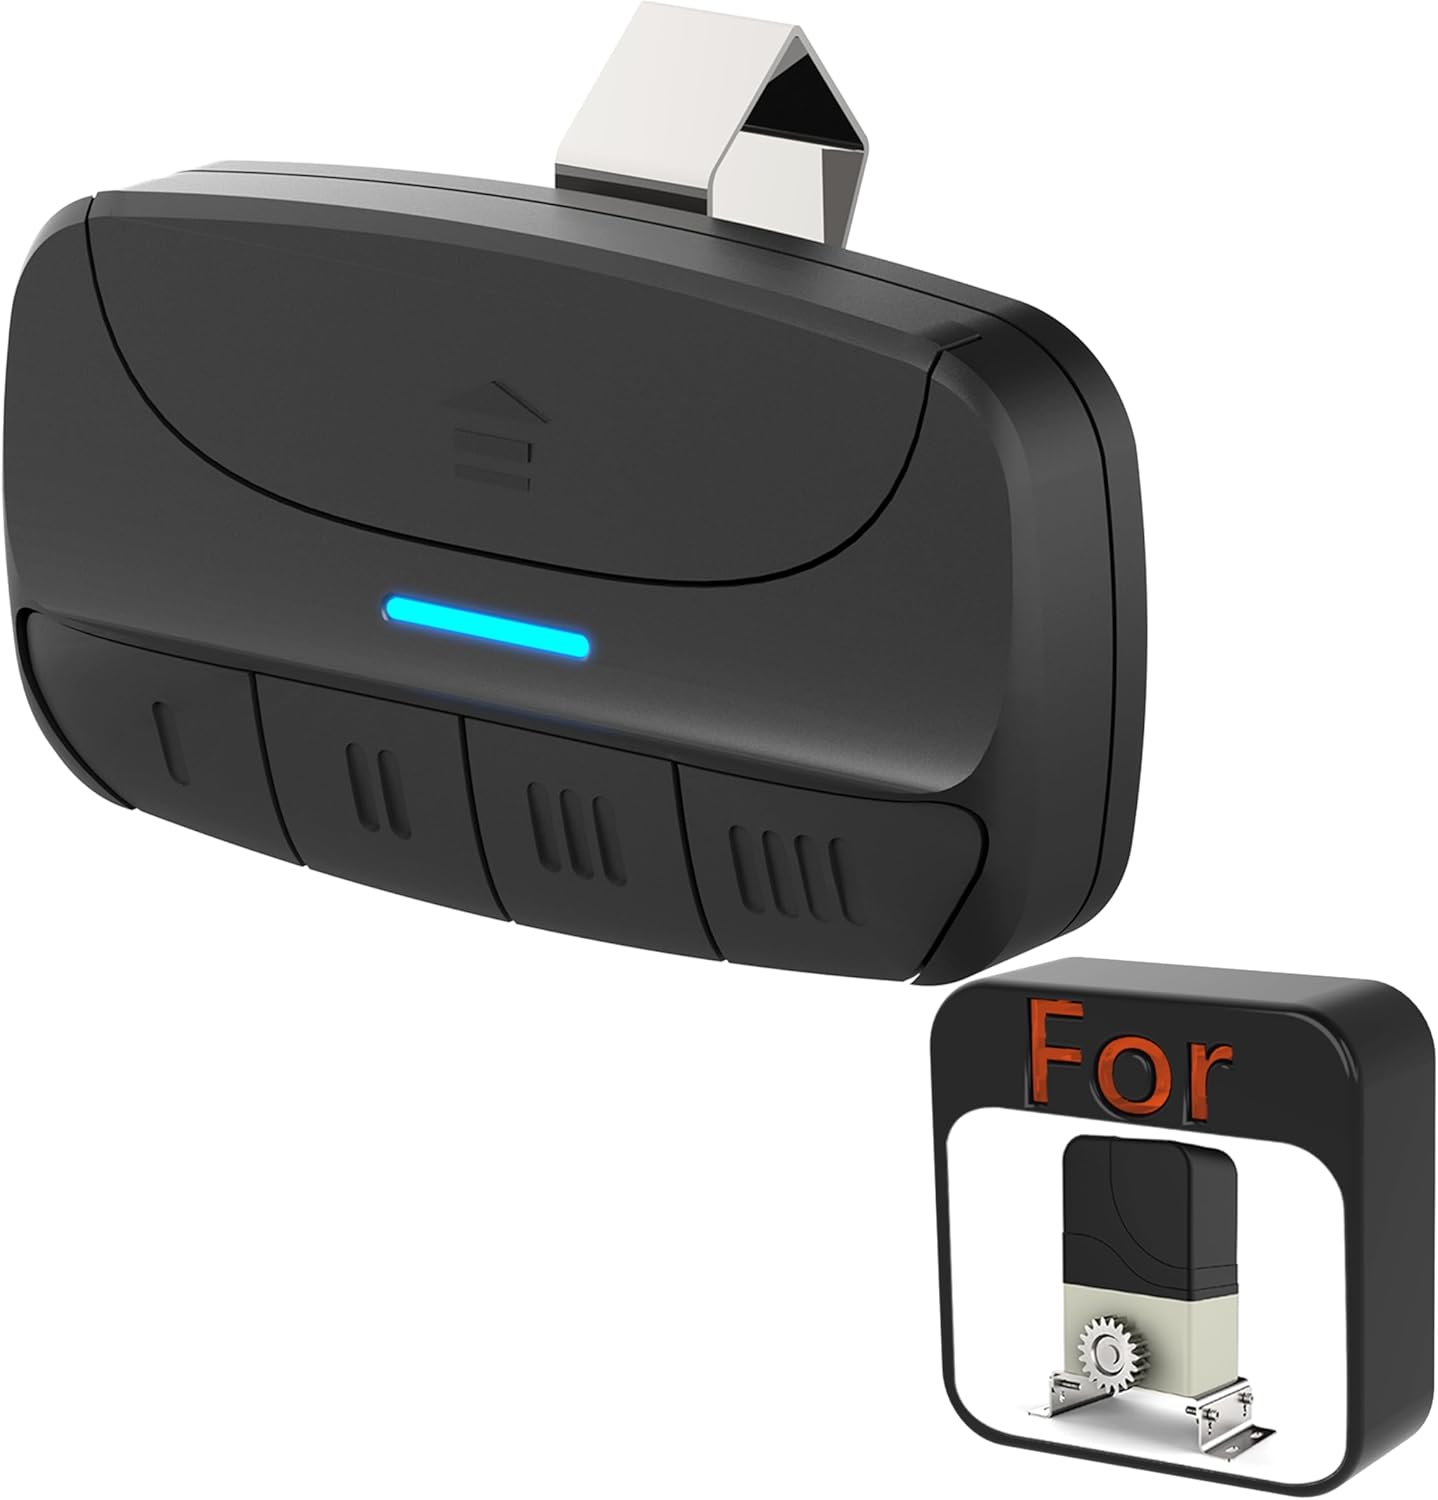
Image 5.1: Motor Unit Components. This image shows the main motor unit with its cover removed, revealing the internal drive sprocket, control board, and wiring connections, essential for understanding the installation process.
6. Operation
Once installed and powered, your Blütezeit MJ-400 gate opener offers various operational modes.
6.1 Basic Open/Close
Pressing the designated button on your remote control will initiate the gate to open or close. A second press during operation will stop the gate. A third press will reverse its direction.
6.2 Auto-Close Timer
The gate opener features an adjustable auto-close timer (0-60 seconds). After the gate fully opens, it will automatically close after the set delay. Refer to the control board's programming instructions for setting this feature.
6.3 Resistance Rebound
The system is equipped with a built-in resistance rebound safety feature. If the gate encounters an obstruction during closing, it will automatically reverse direction to prevent damage or injury. If an obstruction is met during opening, the gate will stop.
6.4 Pedestrian Mode
This mode allows the gate to open partially for foot traffic. The partial opening distance and duration (5-30 seconds) can be programmed. Activate this mode using a specific button on your remote control.
6.5 Condo Mode
In Condo Mode, a single press of the remote button will fully open the gate. The gate will remain open until the limit switch is triggered. A second press of the remote button will close the gate. Safety interruptions from photocell sensors or remote controls will re-enable protection in this mode.
7. Remote Control
The Blütezeit MJ-400 system includes standard remote controls and a convenient visor clip remote.
7.1 Visor Clip Remote Features
- Designed for hands-free operation, securely mounting to your vehicle's sun visor.
- Operates exclusively with ME-MJ series gate openers.
- Utilizes 433.92 MHz rolling code encryption for enhanced security.
- Effective range up to 100 ft (30 m).
- Powered by a 12V 23A battery.

Image 7.1: Encrypted Remote Transmitter. This image shows the visor clip remote mounted on a car's sun visor, demonstrating its use to control a gate from up to 100 feet away, providing convenient and quiet operation without leaving the vehicle.
7.2 Pairing Remote Controls
To pair a new remote control with your gate opener:
- Locate the 'Learn' or 'Code' button on the gate opener's control board.
- Press and release the 'Learn' button. An indicator light will illuminate.
- Within a few seconds, press the desired button on your remote control twice.
- The indicator light on the control board will flash or turn off, confirming successful pairing.
- Test the remote control to ensure it operates the gate correctly.

Image 7.2: Simple Four-Button Pairing. This image illustrates the pairing process between the main gate opener unit and the visor clip remote, showing signal transmission for effortless remote expansion and seamless integration for convenient access control.
7.3 Remote Battery Replacement
The visor clip remote uses a 12V 23A battery. To replace:
- Gently open the remote control casing.
- Remove the old battery.
- Insert a new 12V 23A battery, ensuring correct polarity.
- Close the casing securely.

Image 7.3: Strong Signal Remote Transmitter. This image displays the internal components of the remote, highlighting the 27A 12V battery (note: product description states 12V 23A, this image shows 27A, please refer to product specifications for correct battery type) which powers the remote for stronger, extended-range signal transmission with stable, interference-resistant performance.
8. Maintenance
Regular maintenance ensures the longevity and optimal performance of your gate opener.
- Monthly: Inspect the drive chain for proper tension and lubrication. Apply a suitable lubricant if dry.
- Quarterly: Check all mounting hardware for tightness. Inspect the gate for smooth movement and any obstructions.
- Annually: Inspect electrical wiring for wear or damage. Clean any debris from the motor unit and around the limit switches.
- Keep the area around the gate opener clear of vegetation and debris.
9. Troubleshooting
Refer to the table below for common issues and their solutions.
| Problem | Possible Cause | Solution |
|---|---|---|
| Gate does not move. | No power; Remote battery dead; Limit switch issue. | Check power supply; Replace remote battery; Inspect limit magnets and switches. |
| Gate stops unexpectedly. | Obstruction detected; Photocell sensor blocked; Motor overheating. | Remove obstruction; Clear sensor path; Allow motor to cool. |
| Remote not working. | Battery dead; Not paired; Out of range. | Replace battery; Re-pair remote; Operate within 100 ft range. |
| Gate opens/closes partially. | Limit switch misalignment; Pedestrian mode activated. | Adjust limit magnets; Check remote button for pedestrian mode. |
| Gate makes unusual noise. | Lack of lubrication; Worn chain/gears; Misaligned gate. | Lubricate chain; Inspect chain/gears for wear; Check gate alignment. |
10. Warranty and Support
For warranty information and technical support, please refer to the documentation provided with your purchase or visit the official Blütezeit website. Keep your proof of purchase for warranty claims.
For further assistance, contact Blütezeit customer service through the contact information provided on their official website or your purchase platform.