
1. Introduction
Thank you for choosing the Misodo G26 Electric Bike. This manual provides essential information for the safe assembly, operation, maintenance, and troubleshooting of your new e-bike. Please read this manual thoroughly before your first ride and keep it for future reference. Proper understanding and adherence to these instructions will ensure a safe and enjoyable riding experience.
2. Safety Guidelines
Your safety is paramount. Always wear a helmet and appropriate safety gear when riding. Observe all local traffic laws and regulations. Perform a pre-ride inspection before each use to ensure all components are in good working order.
- Helmet Use: Always wear a certified helmet.
- Pre-Ride Check: Inspect brakes, tires, battery, and all fasteners before each ride.
- Traffic Laws: Adhere to all local traffic laws, signs, and regulations.
- Weather Conditions: Exercise caution in wet or adverse weather conditions. Braking distance may increase.
- Weight Limit: Do not exceed the maximum load capacity of 350 lbs.
3. Package Contents
Upon opening the box, verify that all components are present:
- Misodo G26 Electric Bike x1 (95% pre-assembled)
- Battery Charger
- User Manual (this document)
- Assembly Tools (may vary)
4. Assembly
The Misodo G26 Electric Bike arrives 95% pre-assembled. Follow these steps to complete the assembly:
- Handlebar Installation: Attach the handlebars to the stem and tighten securely. Ensure brake levers and shifters are in comfortable positions.
- Front Wheel Installation: Install the front wheel, ensuring the quick-release skewer or axle nuts are properly tightened.
- Pedal Installation: Identify left (L) and right (R) pedals. Thread them into the crank arms. The left pedal threads counter-clockwise, and the right pedal threads clockwise. Tighten firmly.
- Seat Post and Saddle: Insert the seat post into the frame and adjust the saddle height for a comfortable riding position. Secure with the quick-release lever or bolt.
- Battery Installation: If the battery is not pre-installed, slide it into its compartment and lock it securely with the key.
- Final Checks: Double-check all bolts, nuts, and quick releases for tightness. Ensure brakes are functioning correctly and tires are inflated to the recommended pressure.
For a visual guide on assembly, please refer to the official assembly video:
Video Description: This video demonstrates the step-by-step assembly process for the Misodo G26 electric mountain bike, covering handlebar, front wheel, pedal, and seat installation, as well as final checks.

Image Description: A detailed diagram illustrating the frame dimensions and recommended rider height for the Misodo G26 Electric Bike. It shows lengths, handlebar height, battery height, minimum seat height, maximum seat height, seat to handlebar distance, tire height, and handlebar width, along with recommended rider height (5'1"-6'6") and max load capacity (350 lbs).
5. Operating Instructions
5.1 Powering On/Off
To power on the bike, press and hold the power button on the LCD display. To power off, press and hold the same button until the display turns off.
5.2 LCD Display Functions
The multi-function LCD display provides real-time riding data:
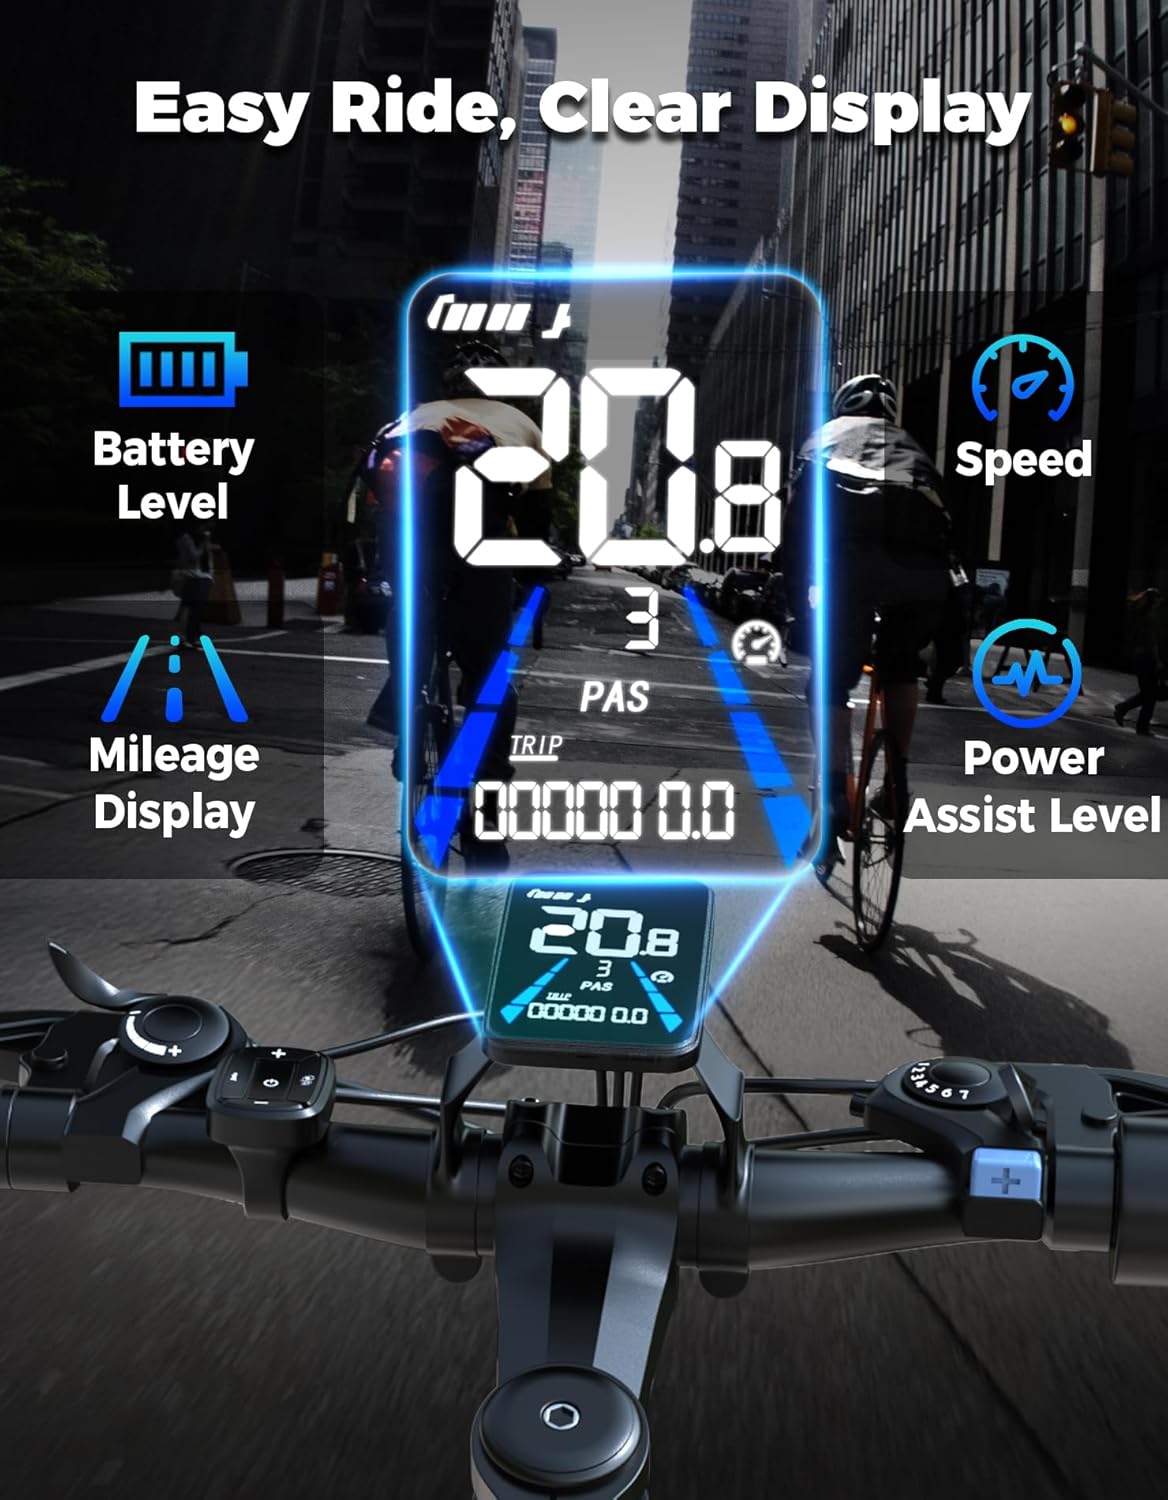
Image Description: A close-up view of the Misodo G26 Electric Bike's LCD display, clearly showing the battery level, current speed, mileage (TRIP), and Power Assist System (PAS) level. The display is bright and easy to read, even in a city environment.
- Battery Level: Indicates remaining battery charge.
- Speed: Displays current riding speed.
- Mileage: Shows trip distance or total odometer reading.
- PAS Level: Indicates the current level of pedal assist (1-5).
5.3 Pedal Assist System (PAS)
The PAS provides motor assistance as you pedal. Use the '+' and '-' buttons on the control panel to adjust the assist level from 1 (lowest assist) to 5 (highest assist). Level 0 means no motor assistance.
5.4 Throttle Operation
The throttle provides power on demand without pedaling. Gently twist the throttle to engage the motor. Use with caution, especially at higher PAS levels.
5.5 Gear Shifting
The Misodo G26 features a 7-speed gear system. Use the shifter on the handlebar to change gears, adapting to different terrains and riding conditions. Shift to a lower gear for climbing hills and a higher gear for flat terrain or downhill riding.

Image Description: A composite image showing the 7-speed gear shifter on the handlebar, a close-up of the 14T-28T gear cassette, and the professional derailleur system on the Misodo G26 Electric Bike. This illustrates the components responsible for smooth and easy gear changes.
5.6 Braking
The bike is equipped with dual mechanical disc brakes for reliable stopping power. Squeeze both brake levers simultaneously to slow down or stop. Apply gentle pressure initially and increase as needed. Avoid sudden, hard braking, especially at high speeds.

Image Description: A three-part image highlighting key safety features of the Misodo G26 Electric Bike: a bright 400-lumen headlight for visibility, the dual disc brake system for effective stopping, and the puncture-proof tires designed for durability and safety on various terrains.
6. Battery Care & Charging
The Misodo G26 Electric Bike is powered by a removable 48V 10Ah (480 Wh) lithium-ion battery.
6.1 Charging the Battery
The battery can be charged both on and off the bike. Charging typically takes 4-5 hours.
- On-Bike Charging: Connect the charger to the charging port on the bike frame, then plug into a standard wall outlet.
- Off-Bike Charging: Unlock and remove the battery from the frame. Connect the charger directly to the battery, then plug into a wall outlet.
The charger indicator light will typically be red during charging and turn green when fully charged.

Image Description: An illustration demonstrating the two convenient charging methods for the Misodo G26 Electric Bike: charging the battery while it is installed on the bike, and charging the battery separately after it has been removed from the bike. The image also highlights the 480Wh Lithium-Ion Battery, BMS Intelligent Safety, and Anti-Theft Design.
6.2 Battery Maintenance
- Avoid fully discharging the battery regularly.
- Store the battery in a cool, dry place, away from direct sunlight and extreme temperatures.
- If storing for an extended period, charge the battery to 50-70% every few months.
- Use only the official Misodo charger provided with your bike.
7. Maintenance
Regular maintenance ensures the longevity and safe operation of your Misodo G26 Electric Bike.
- Tires: Check tire pressure before each ride. Recommended pressure is typically found on the tire sidewall. The 26"x2.0" tires are designed to be puncture-resistant.
- Brakes: Regularly inspect brake pads for wear and brake cables for tension. Adjust or replace as needed.
- Chain: Keep the chain clean and lubricated to ensure smooth gear changes and prevent wear.
- Fasteners: Periodically check all bolts, nuts, and screws for tightness.
- Suspension: The front fork suspension system should be inspected for proper function and cleanliness.
- Cleaning: Clean the bike with a damp cloth. Avoid using high-pressure water jets directly on electrical components.
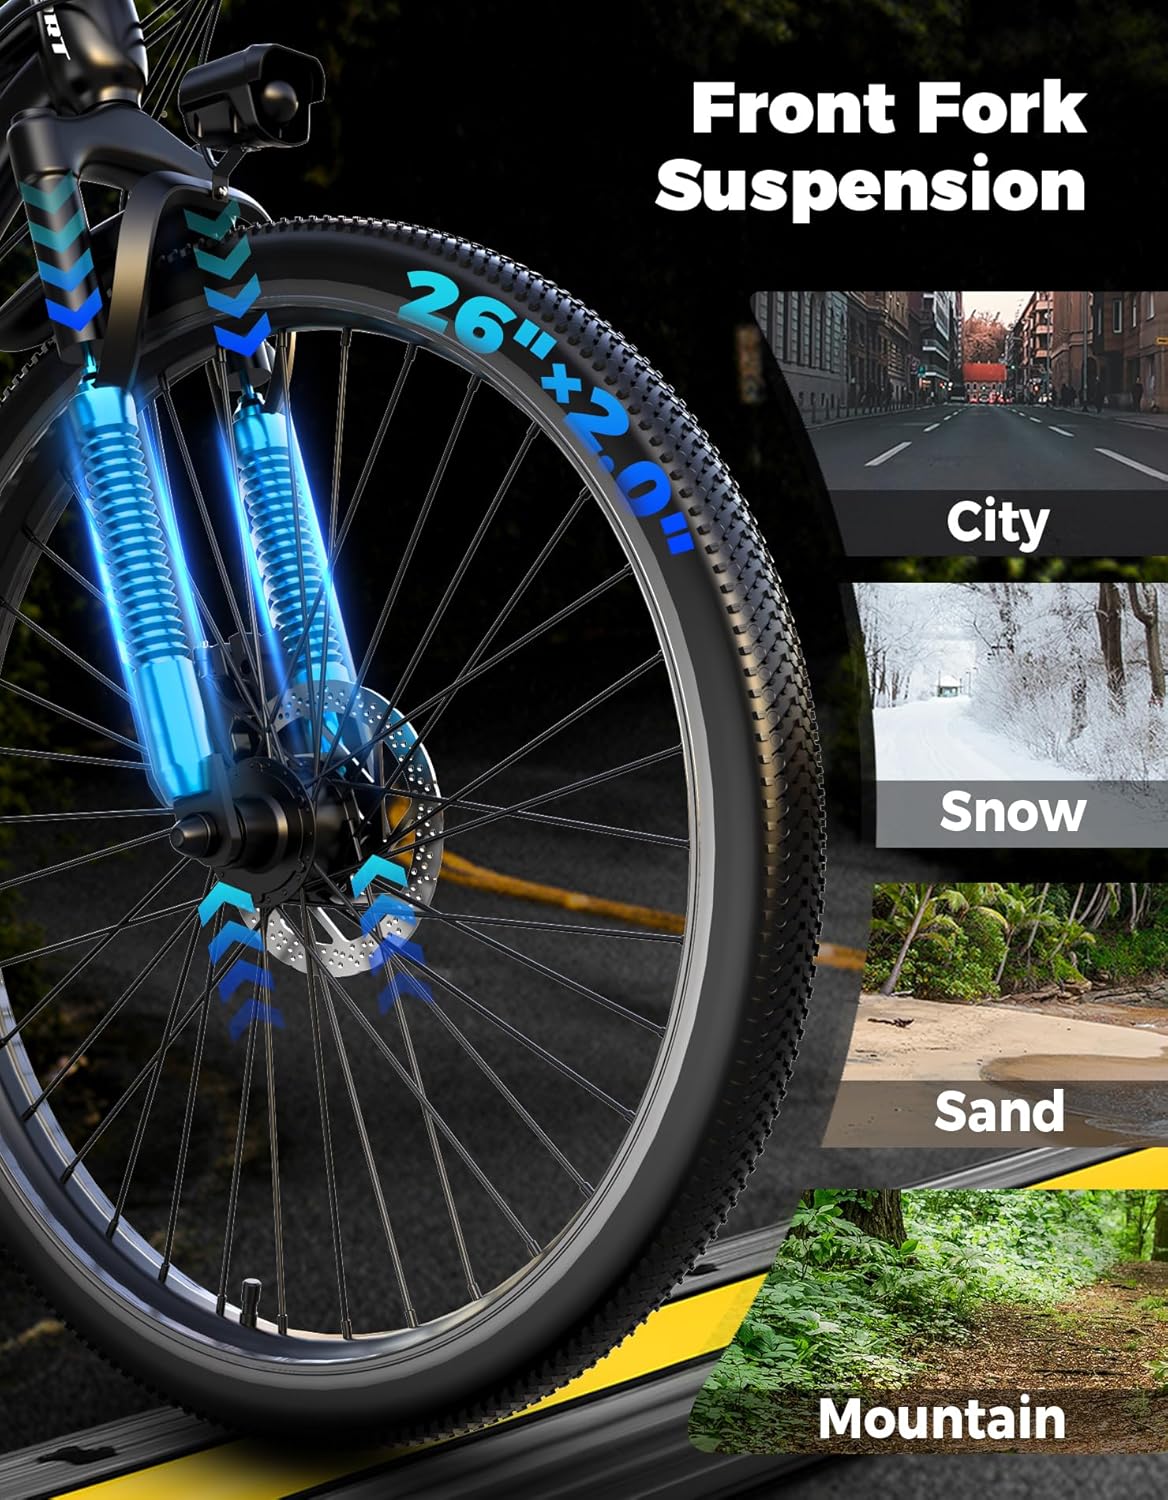
Image Description: A close-up view of the front fork suspension system on the Misodo G26 Electric Bike, highlighting its robust design. The image also shows various terrains (City, Snow, Sand, Mountain) where the suspension helps absorb bumps for a comfortable ride.
8. Troubleshooting
If you encounter issues with your Misodo G26 Electric Bike, refer to this section for common problems and solutions.
| Problem | Possible Cause | Solution |
|---|---|---|
| Bike does not power on | Battery not charged or not properly installed. Loose electrical connection. | Ensure battery is fully charged and securely locked in place. Check all visible cable connections. |
| Motor not assisting | PAS level set to 0. Brake levers engaged. Motor cable disconnected. | Increase PAS level. Ensure brake levers are fully released. Check motor cable connection. |
| Brakes feel weak | Worn brake pads. Loose brake cables. | Inspect and replace brake pads if worn. Adjust brake cable tension. |
| Gears not shifting smoothly | Dirty or unlubricated chain. Derailleur out of adjustment. | Clean and lubricate the chain. Consult a bike mechanic for derailleur adjustment if needed. |
If the issue persists after attempting these solutions, please contact Misodo customer support.
9. Specifications
| Feature | Detail |
|---|---|
| Model | G26 |
| Motor | 1500W Peak Brushless Motor |
| Max Speed | Up to 25 MPH |
| Battery | 48V 10Ah (480 Wh) Removable Lithium-Ion |
| Range | 45-65 Miles (depending on assist level and terrain) |
| Charging Time | 4-5 Hours |
| Gearing | 7-Speed Gear Shifter |
| Brakes | Dual Mechanical Disc Brakes |
| Tires | 26" x 2.0" Puncture-Resistant |
| Suspension | Front Fork Suspension |
| Frame Material | Alloy Steel |
| Max Load Capacity | 350 lbs |
| Vehicle Weight | 58.42 lbs |
| Recommended Rider Height | 5'1" - 6'6" |
10. Warranty & Support
10.1 Warranty Information
The Misodo G26 Electric Bike comes with a 1-Year Manufacturer Warranty. This warranty covers defects in materials and workmanship under normal use. Please retain your proof of purchase for warranty claims. The warranty does not cover damage due to misuse, accidents, unauthorized modifications, or normal wear and tear.
10.2 Customer Support
For any questions, technical assistance, or warranty claims, please contact Misodo customer support through the retailer where you purchased the product or visit the official Misodo website for contact details.