1. Introduction
Thank you for choosing the Reboot RBM2100 4-in-1 MIG Welder. This versatile welding machine is designed for a variety of welding tasks, supporting Gas MIG, Flux Core MIG, Lift TIG, and Stick (MMA) welding processes. Its compact design, digital display, and robust safety features make it suitable for both beginners and experienced users in home, workshop, and farm environments. Please read this manual thoroughly before operation to ensure safe and efficient use of your welding machine.
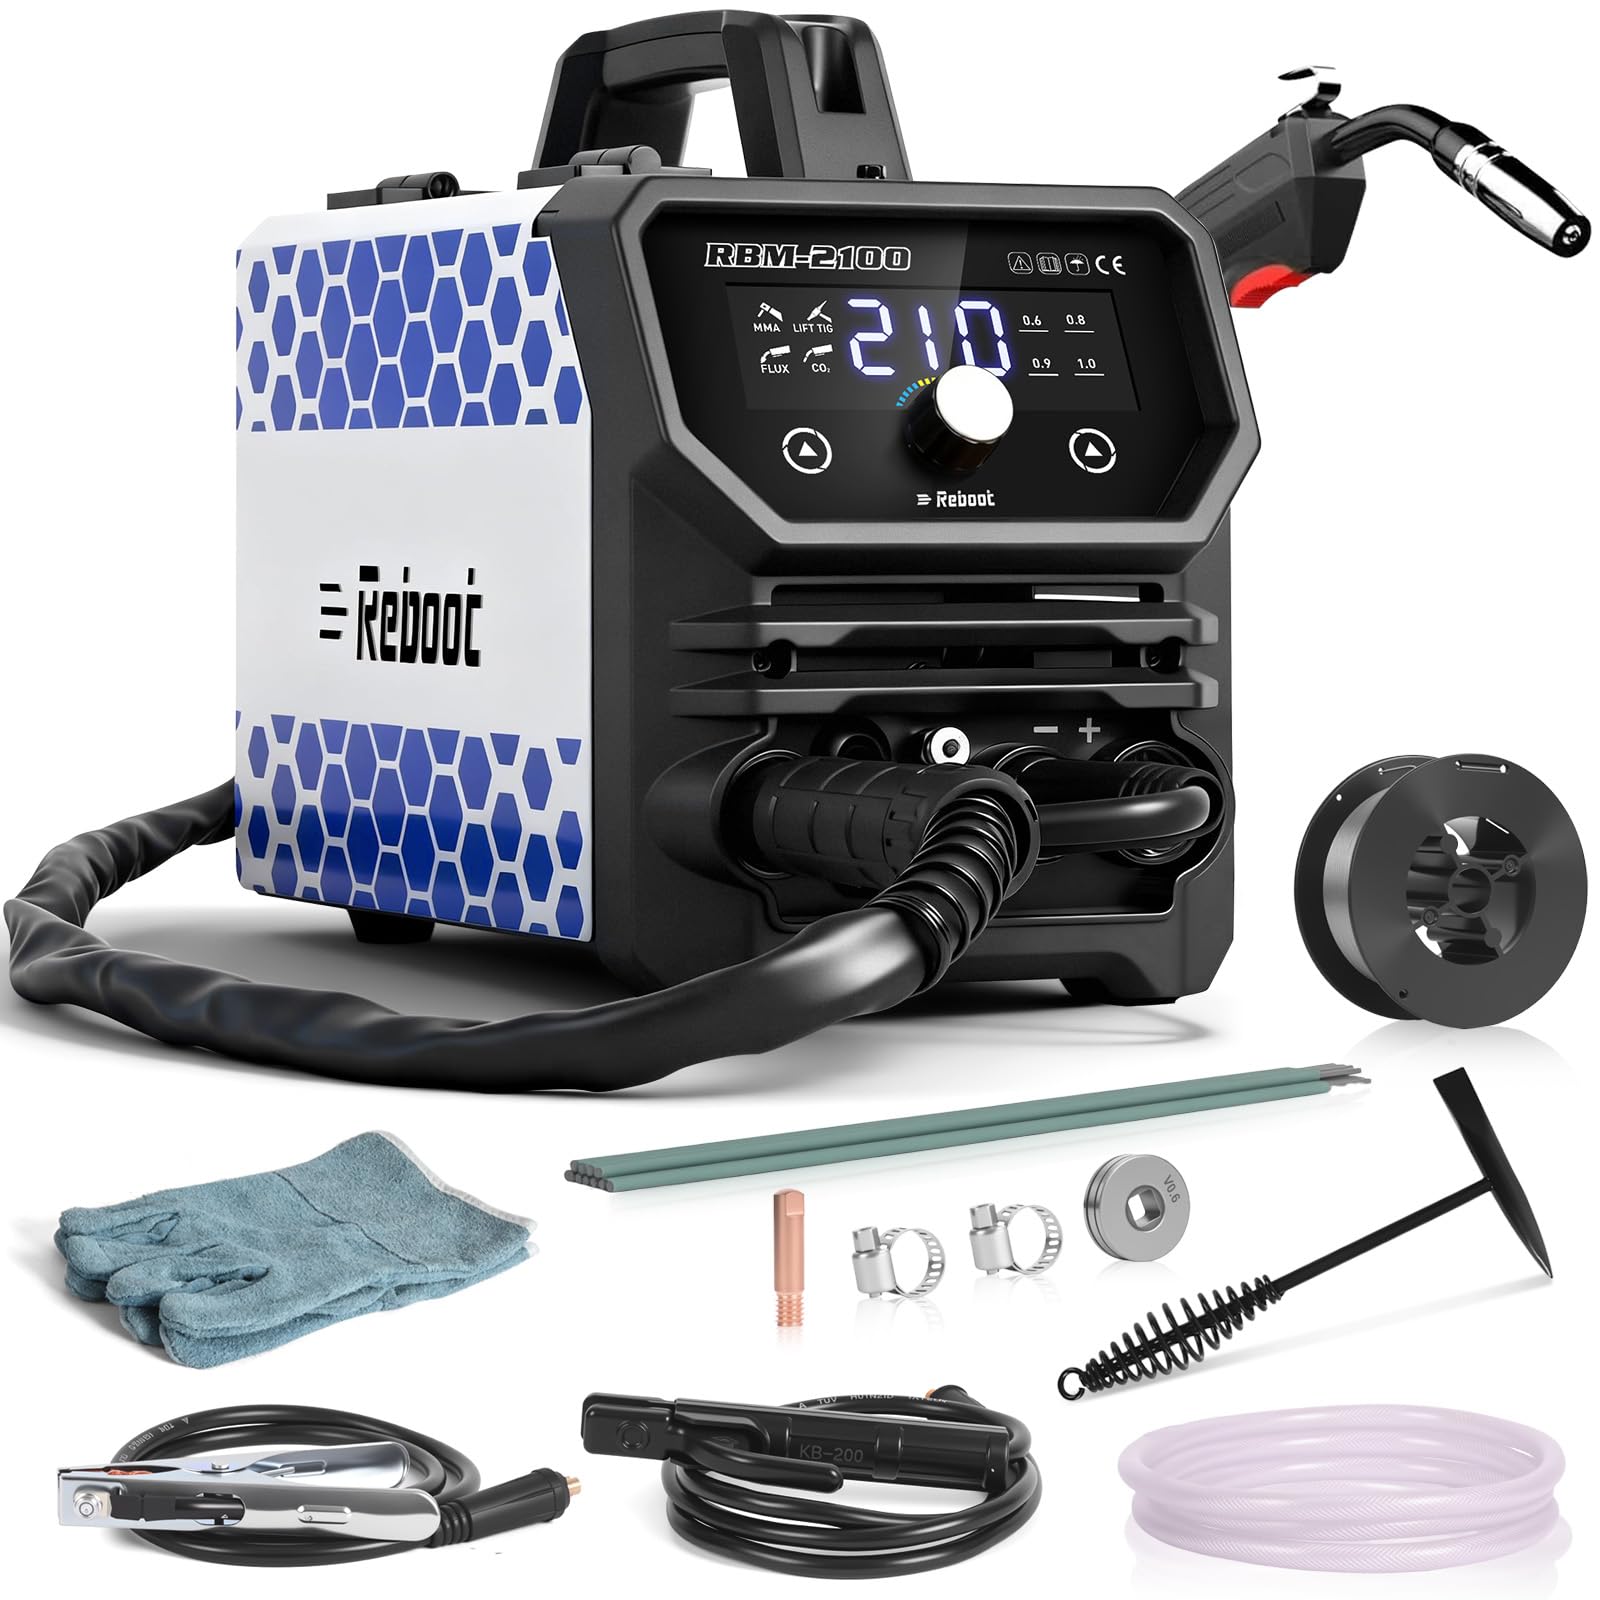
Image 1: The Reboot RBM2100 4-in-1 MIG Welder with included accessories, showcasing its compact size and various welding modes.
2. Safety Information
Welding can be dangerous. Always follow safety precautions to prevent injury or damage. This machine is equipped with overcurrent, overheat, and overload protection, which automatically activate under abnormal working conditions to protect the operator. However, additional safety measures are essential.
- Always wear appropriate personal protective equipment (PPE), including a welding helmet with proper shade, flame-resistant clothing, welding gloves, and safety shoes.
- Ensure adequate ventilation to avoid inhaling welding fumes.
- Protect bystanders from arc rays and sparks.
- Never weld near flammable materials.
- Ensure the welding machine is properly grounded.
- Do not touch live electrical parts.
- Disconnect power before performing any maintenance or changing accessories.
3. Product Overview and Features
3.1 Key Features
- 4-in-1 Versatile Welding: Supports Gas MIG, Flux Core MIG, Lift TIG, and Stick (MMA) welding. A Lift TIG torch is required separately for TIG welding.
- Solid/Flux-Core Wire Compatibility: Compatible with 0.8mm, 0.9mm, and 1.0mm solid wire diameters for clean stainless steel/carbon steel welds, and gasless flux-cored wires for outdoor repairs.
- Digital Display: High-brightness LED display shows real-time voltage, current, welding mode, and wire diameter selection. Parameters are adjustable via buttons and knobs.
- Lightweight & Portable: Weighs approximately 8.6 pounds (3.9kg), allowing for easy transport and handling.
- Accessory Pack: Includes welding torch, welding wire, electrodes, contact tips, wire feed roller, heat-resistant gloves, slag hammer, ground clamp, gas hose, and hose clamp.
- Safety Protection: Features overcurrent, overheat, and overload protection for enhanced operator safety.
3.2 Panel Button Introduction

Image 2: Front and rear panel overview of the RBM2100, detailing connection points and controls.
- Digital panel
- Air output
- MIG torch socket
- Control switch socket
- Output terminal (-)
- Output terminal (+)
- Power switch
- Air input
- Input power cable
- Powerful fan
4. Setup Instructions
4.1 General Connections
- Connect the input power cable (9) to a suitable 120V AC power source.
- Ensure the power switch (7) is in the OFF position before making any connections.
- Connect the ground clamp to the workpiece. The connection point for the ground clamp will vary depending on the welding mode.
4.2 MIG Welding (Gasless Flux Core) Setup
- Install the flux-cored wire spool into the wire feeder compartment. Ensure the wire diameter matches the selected setting on the digital panel.
- Feed the wire through the liner to the MIG torch.
- Connect the MIG torch to the MIG torch socket (3).
- Connect the ground clamp cable to the output terminal (+) (6).
- Connect the work clamp to the workpiece.
- Turn on the power switch (7).
- Select the Flux Core MIG mode on the digital panel.
Video 1: This video demonstrates the setup and adjustment process for Gasless MIG welding with the Reboot RBM2100 welder, including wire feeding and parameter selection.
4.3 MIG Welding (Gas) Setup
- Install the solid wire spool into the wire feeder compartment. Ensure the wire diameter matches the selected setting on the digital panel.
- Feed the wire through the liner to the MIG torch.
- Connect the MIG torch to the MIG torch socket (3).
- Connect the gas hose from your shielding gas cylinder (e.g., CO2 or Argon/CO2 mix) to the gas inlet on the rear of the machine (8).
- Connect the ground clamp cable to the output terminal (-) (5).
- Connect the work clamp to the workpiece.
- Turn on the power switch (7).
- Select the Gas MIG mode on the digital panel.
4.4 Stick (MMA) Welding Setup
- Connect the electrode holder cable to the output terminal (+) (6).
- Connect the ground clamp cable to the output terminal (-) (5).
- Secure an appropriate electrode into the electrode holder.
- Connect the work clamp to the workpiece.
- Turn on the power switch (7).
- Select the Stick (MMA) mode on the digital panel.
4.5 Lift TIG Welding Setup (Lift TIG torch sold separately)
- Connect the Lift TIG torch cable to the output terminal (-) (5).
- Connect the ground clamp cable to the output terminal (+) (6).
- Connect the gas hose from your Argon shielding gas cylinder to the gas inlet on the Lift TIG torch.
- Connect the work clamp to the workpiece.
- Turn on the power switch (7).
- Select the Lift TIG mode on the digital panel.

Image 3: Visual guide illustrating the different connection configurations for each welding mode (MIG Gas, MIG Gasless, Lift TIG, Stick/MMA).
5. Operating Instructions
5.1 Digital Display and Parameter Adjustment
The RBM2100 features a clear digital display that shows welding parameters. Use the buttons and central knob below the screen to navigate and adjust settings such as current (amperage), voltage, and wire feed speed (for MIG modes). Refer to the welding parameter chart for recommended settings based on material thickness and welding process.

Image 4: The RBM2100's digital display, showing current settings and adjustment controls.
5.2 Welding Process
- Once the machine is set up for your desired welding process and parameters are adjusted, ensure your workpiece is clean and properly clamped.
- Put on all required PPE.
- Initiate the arc according to the specific welding process (e.g., pulling the trigger for MIG, striking for Stick, or lift-starting for Lift TIG).
- Maintain a consistent travel speed and arc length for optimal weld quality.
- After welding, allow the workpiece to cool before handling.
Video 2: This video demonstrates the MIG welding process using the Reboot RBM2100 welder, showing arc initiation and bead formation.
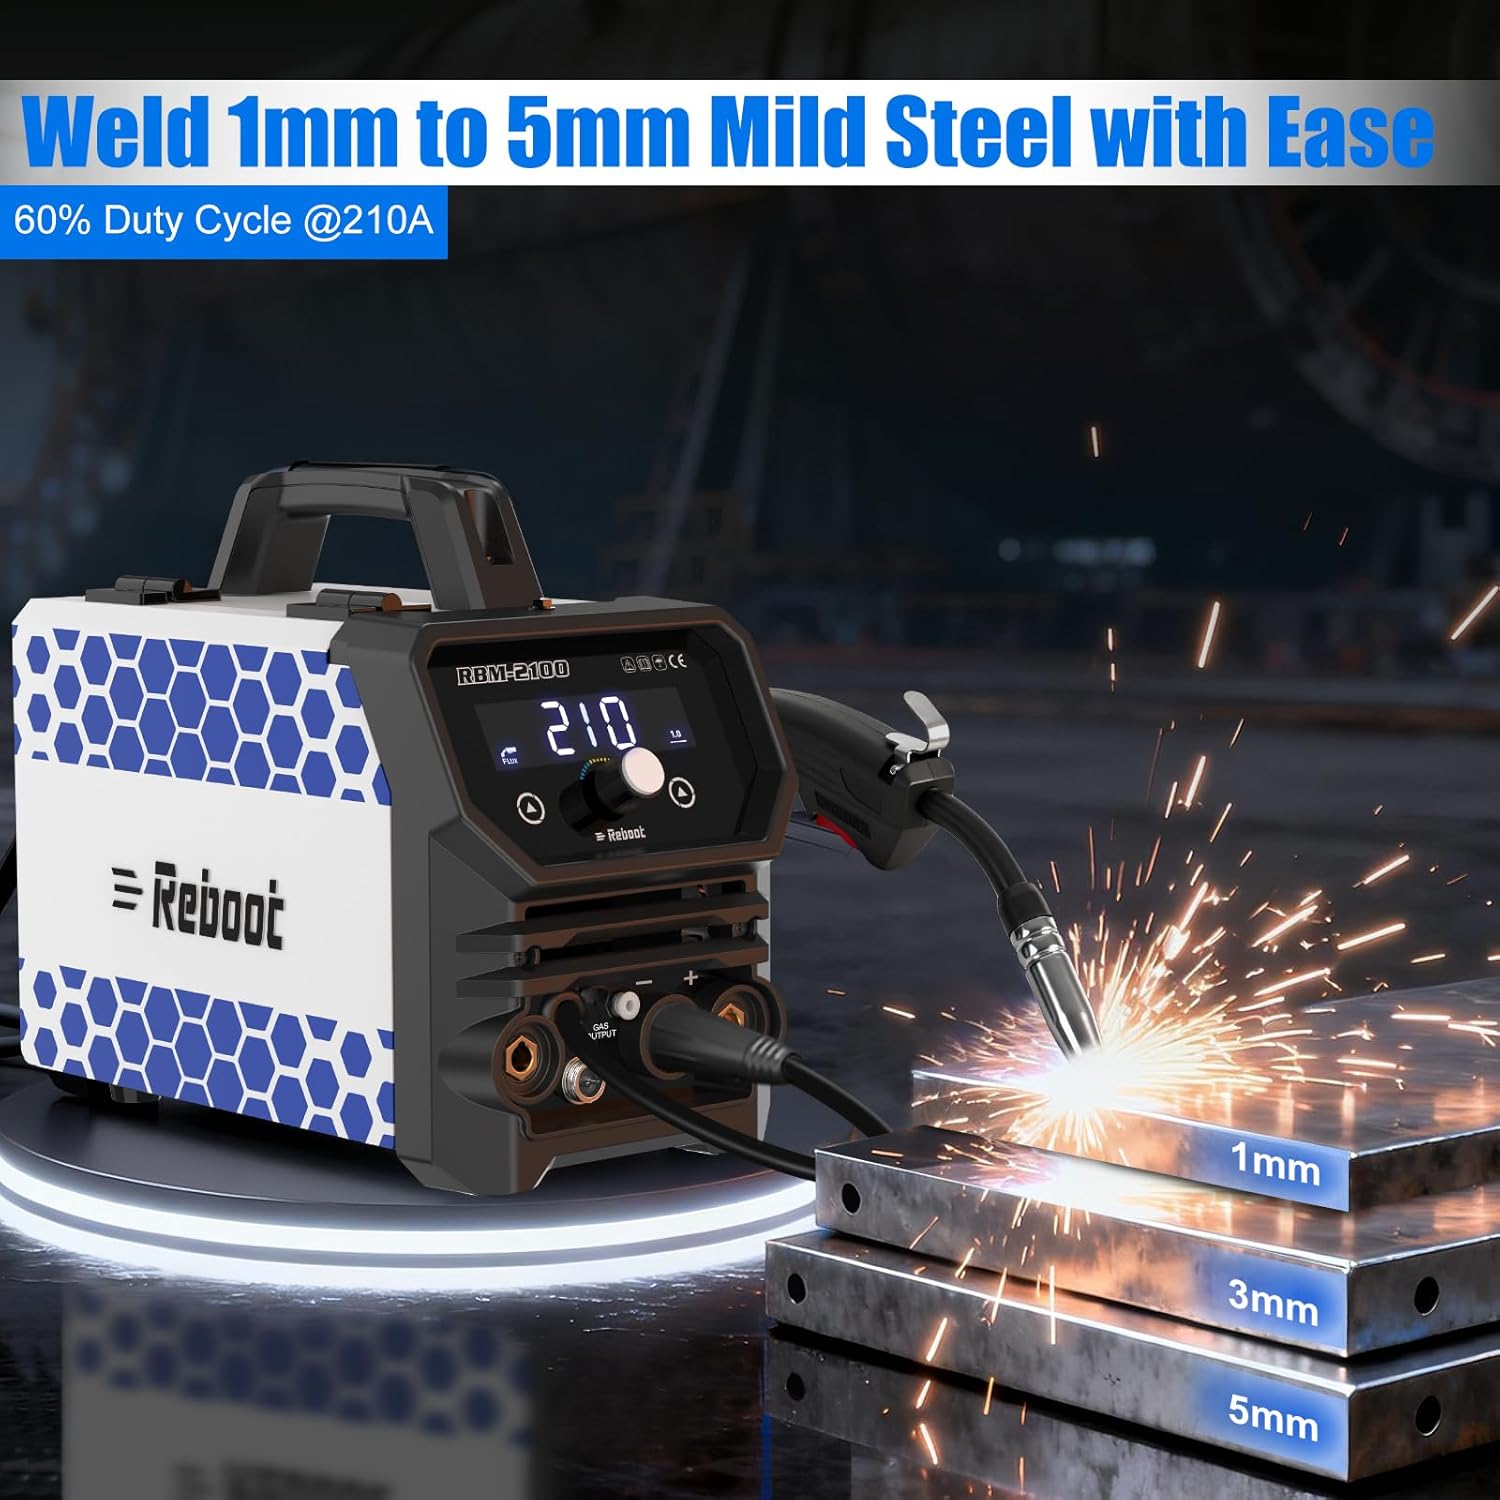
Image 5: The RBM2100 welding mild steel, demonstrating its capability on various thicknesses (1mm, 3mm, 5mm).
6. Maintenance
Regular maintenance ensures the longevity and optimal performance of your RBM2100 welder.
- Cleaning: Periodically clean the internal components of the machine using compressed air to remove dust and debris. Ensure the power is disconnected before cleaning.
- Torch and Cables: Inspect the welding torch, ground clamp, and all cables for wear, damage, or loose connections before each use. Replace damaged parts immediately.
- Contact Tip and Nozzle (MIG): Regularly check and clean the contact tip and nozzle of the MIG torch. Replace the contact tip when it becomes worn or clogged.
- Wire Feed Roller (MIG): Ensure the wire feed roller is clean and free of debris. Verify that the correct groove size is used for your welding wire.
- Electrodes (Stick): Store electrodes in a dry environment to prevent moisture absorption.
7. Troubleshooting
If you encounter issues with your RBM2100 welder, refer to the following common troubleshooting tips:
| Problem | Possible Cause | Solution |
|---|---|---|
| No power | Power switch off, loose power cable, tripped circuit breaker | Check power switch, ensure cable is secure, reset circuit breaker |
| No arc / Weak arc | Poor ground connection, incorrect settings, worn contact tip (MIG), damp electrode (Stick) | Ensure clean and secure ground, adjust parameters, replace contact tip, use dry electrodes |
| Wire feeding issues (MIG) | Incorrect wire tension, clogged liner, wrong drive roller groove, tangled wire | Adjust tension, clean liner, use correct drive roller, untangle wire spool |
| Excessive spatter | Incorrect voltage/amperage, improper stick-out (MIG), dirty workpiece | Adjust settings, maintain proper stick-out, clean workpiece thoroughly |
| Overheat protection activated | Exceeded duty cycle, blocked ventilation | Allow machine to cool, ensure clear airflow to fan (10) and vents |
For further assistance, please contact Reboot customer support.
8. Specifications
| Feature | Detail |
|---|---|
| Model Number | RBM2100 |
| Manufacturer | Reboot |
| Power Source | AC 120V |
| Welding Processes | Gas MIG, Flux Core MIG, Lift TIG, Stick (MMA) |
| Item Weight | 16.98 pounds (approx. 7.7 kg) |
| Package Dimensions | 13.19 x 13.19 x 11.81 inches |
| Included Components | RBM2100 MIG Welder Machine, welding torch, welding wire, electrodes, contact tip, wire feed roller, heat-resistant gloves, slag hammer, ground clamp, gas hose, hose clamp |
| Batteries Required | No |
9. Warranty and Support
For warranty information, please refer to the documentation included with your purchase or visit the official Reboot website. If you require technical support, have questions about operation, or need assistance with parts, please contact Reboot customer service. Ensure you have your model number (RBM2100) and purchase details available when contacting support.