1. Introduction
This manual provides detailed instructions for the Chtoocy GPS Wireless Dog Fence F700PLUS-1T2. This system combines a wireless dog fence with a dog training collar, offering real-time distance visualization and adjustable boundary settings for pet containment and behavior correction. Please read this manual thoroughly before use to ensure proper operation and safety.
2. Product Components
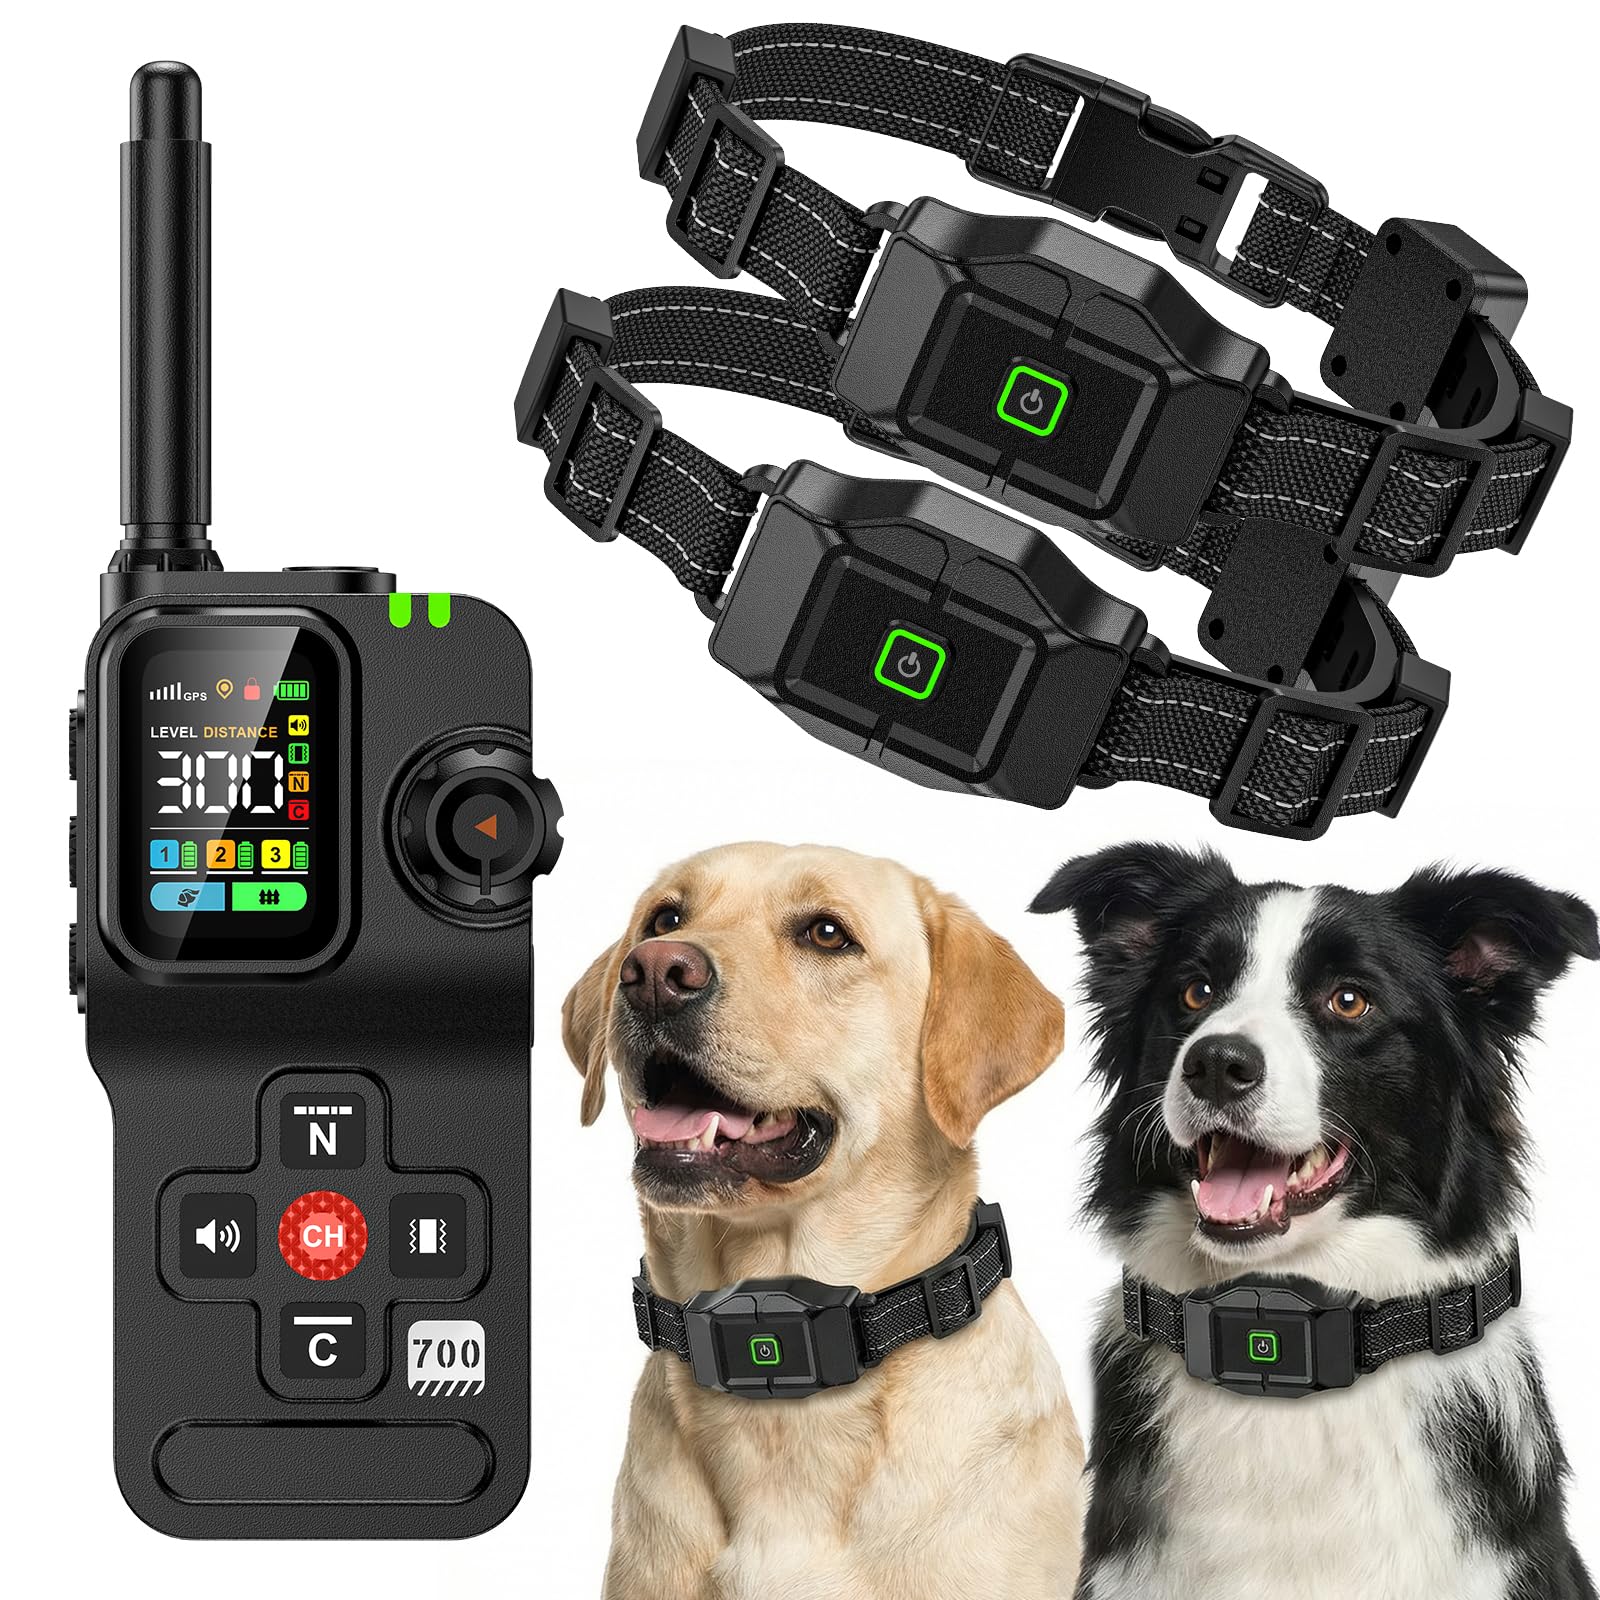
The Chtoocy GPS Wireless Dog Fence F700PLUS-1T2 package includes the following items:
- Transmitter x 1
- Receiver x 2
- Type-C Cable x 1
- Static Test Light x 1
- Wrist Strap x 2
- Contact Point x 4 Pairs
- Boundary Flag x 10

3. Setup
3.1 Charging the Transmitter and Receiver
Before first use, fully charge both the transmitter and receiver using the provided Type-C cable and a 5V/1A adapter. The transmitter's red light flashes during charging and turns solid green when full. The receiver's green LED flashes regularly during charging and turns solid green when full. It is strongly recommended to fully charge the collar after each use.
3.2 Turning On/Off the Transmitter and Receiver
- Transmitter: Short press the LOCK button to turn on. Hold the LOCK button for 3 seconds to turn off.
- Receiver: Short press the ON/OFF button to turn on (you will hear a beep sound and feel a vibration). Press and hold the ON/OFF button for 3 seconds to turn off (you will hear two sounds and feel a vibration twice).
3.3 Pairing the Transmitter and Receiver
- Receiver: In the OFF state, long press the ON/OFF button to enter pairing mode. The green LED will flash regularly for 15 seconds.
- Transmitter: Long press the CH button to enter pairing state. Then, short press the CH button to select the target dog (Dog 1, Dog 2, or Dog 3).
- Finally, press any correction mode button to complete pairing. If using static correction, ensure the static is unlocked.
- Success Indication: The receiver will beep once and the Green LED will flash, while the transmitter will display the battery status of the corresponding channel.
3.4 Installing Contact Points and Testing Functions
- Install the contact points onto the receiver.
- Use the static test light as a wrench to tighten the contact points.
- To test static stimulation: Ensure contact points are installed and the device is paired. Ensure training function is active and static stimulation mode is unlocked. Place the test light on the contact points and press the static button. If the test light illuminates, the static function is working correctly.
3.5 Assembling the Collar Belt
Attach the collar belt to the receiver unit. Ensure it is securely fastened. After completing the fence setup, refer to the training manual to guide and train your dog.

4. Operating Modes
4.1 Training Mode Setup
To enter training mode, press the Function Switch Button on the transmitter. You can select the target dog (Dog 1, Dog 2, or Dog 3) by long-pressing the Channel Switch Button and waiting 5 seconds for confirmation. Short-press the CH Button to cycle through 4 warning modes: Sound Warning (no level adjustment), Vibration Warning (no level adjustment), Nick Static Warning (0-24 adjustable levels), and Constant Static Warning (0-5 adjustable levels).
4.2 Fence Mode Setup
To enter fence mode, short-press the Function Button. In an open area, it takes approximately 3-5 minutes for the GPS signal to stabilize (position icon and "+=" flash). Proceed when the signal shows 3 or more bars. Press and hold the position button for 2 seconds to set the center point. Short-press the position button (distance icon flashes) and rotate the knob to adjust the radius (25-999 yards). The fence mode offers Sound, Vibration, and Constant Static modes. Note: Constant Static Mode includes both Static and Vibration effects. The Vibration mode only includes Vibration. If you need to turn off Static, simply press the Vibration button to switch to vibration mode.
4.3 Multi-dog Channel Switching
Press the CH button to switch between Dog 1, Dog 2, and Dog 3. After selecting the channel, wait 5 seconds, and the channel will be confirmed automatically. Each channel saves independent settings (training levels, fence radius, etc.). A low-battery alert for a specific dog will show its corresponding "Dog X" icon flashing on the transmitter.
4.4 Lighting Function
The transmitter includes a lighting function. Short press the dedicated lighting button once for steady light, a second time for fast flashing, and a third time to turn it off.
4.5 Sleep & Wake-up Function
- Receiver: In training mode, it automatically enters sleep mode after 3 minutes of no movement. In fence mode, it automatically enters sleep mode after 5 minutes of no movement. To wake it up, move the receiver or press any button on the transmitter.
- Transmitter: The screen turns off after 2 minutes of inactivity. It enters sleep mode after an additional 60 seconds of inactivity. This does not affect the fence function of the receiver; if your dog crosses the boundary, it will wake up.
5. Important Considerations and Usage Tips
- GPS Accuracy & Placement: The Swiss GPS chip is placed on the strap's back, not inside the receiver, to prevent signal blockage by thick fur, ensuring faster and stronger signals for accurate tracking.
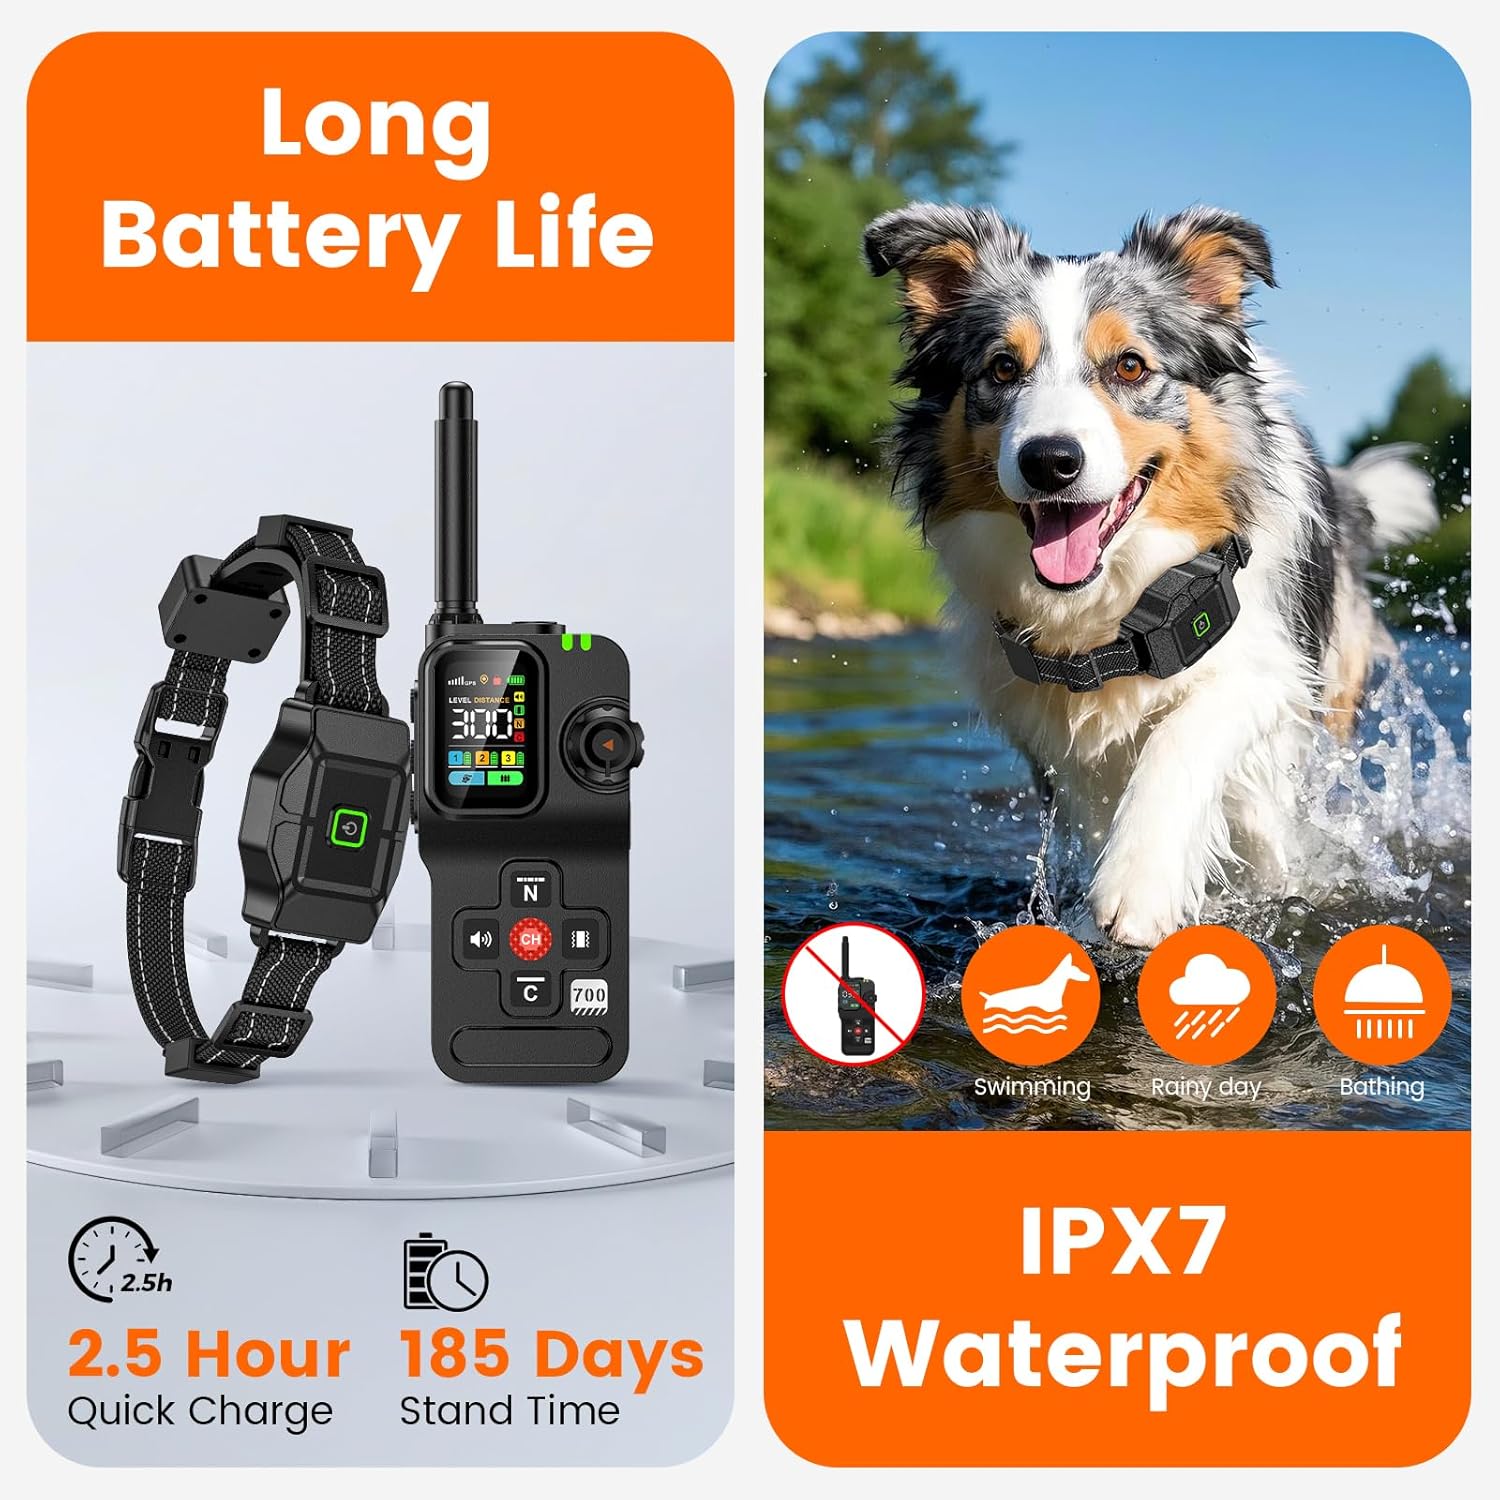
- Waterproof Design: The IPX7 waterproof invisible fence collar is resistant to rain, mud, and splashes, making it suitable for all-weather outdoor use.
- Battery Life: The device recharges in approximately 2.5 hours and offers up to 30 hours of active power, with a standby time of up to 185 days.
- Collar Fit: The adjustable collar is suitable for dogs weighing between 25 lbs and 120 lbs, with a maximum circumference of 24 inches. It is not recommended for very small dogs.
- Area Suitability: This GPS wireless dog fence performs best in large, open areas. It is not well-suited for areas that are too small, indoors, dense forests, or areas with dense housing due to potential GPS signal interference.

6. Maintenance
- Regularly clean the receiver and contact points with a damp cloth to remove dirt and debris.
- Ensure the charging ports are dry before connecting the charging cable.
- Store the device in a cool, dry place when not in use.
- Periodically check the collar strap for wear and tear and replace if necessary.
7. Troubleshooting
- No GPS Signal: Ensure you are in a large, open outdoor area away from tall buildings, dense trees, or other obstructions that might interfere with GPS reception. Wait 3-5 minutes for the device to acquire a stable signal.
- Collar Not Responding: Check if both the transmitter and receiver are powered on and fully charged. Verify that the devices are properly paired to the correct channel.
- Inconsistent Boundary: Reposition the center point of the fence in a more open area. Ensure the collar is worn correctly on the dog's neck. Test the fence boundary at multiple points.
- Static/Vibration Not Working: Ensure contact points are securely installed and the static test light confirms functionality. Check the selected warning mode and level on the transmitter.
- Short Battery Life: Ensure the devices are fully charged before each use. Reduce the frequency of corrections if possible, as frequent corrections can drain the battery faster.
8. Specifications
| Feature | Detail |
|---|---|
| Model Number | F700PLUS-1T2 |
| Brand | Chtoocy |
| Package Dimensions | 10.31 x 7.01 x 2.4 inches |
| Item Weight | 1.79 Pounds |
| Batteries | 3 Lithium Polymer batteries (included) |
| Color | Black |
| Material | Metal, Plastic |
| Closure Type | Buckle |
| Breed Recommendation | All Breeds (25-120 lbs) |
| Age Range Description | All life stages |
| Number of Items | 2 (for 2 dogs) |
| UPC | 786411739905 |
9. Warranty and Support
The Chtoocy GPS Wireless Dog Fence F700PLUS-1T2 comes with a 30-day money-back guarantee. For any questions, concerns, or technical assistance, please contact our responsive support team. You can typically find contact information on the product packaging or the seller's store page.