1. Introduction
This manual provides essential information for the safe and efficient operation, maintenance, and setup of your BILT HARD 24" Capacity Tire Changer and Balancer Combo. Please read all instructions carefully before use to ensure proper functionality and safety.
2. Safety Instructions
- Always wear appropriate personal protective equipment (PPE), including safety glasses and gloves.
- Ensure the machine is placed on a level, stable surface and properly secured before operation.
- Disconnect power before performing any maintenance or adjustments.
- Keep hands and clothing clear of moving parts during operation.
- Do not exceed the maximum tire and rim capacities specified for the machine.
- Ensure proper air pressure is supplied to pneumatic components.
- Only trained personnel should operate this equipment.
3. Setup
3.1 Unpacking and Initial Assembly
Carefully unpack the tire changer and balancer combo. Remove all packaging materials and inspect for any shipping damage. Identify all components and accessories.
For detailed installation of the tire changer, refer to the video below:
Video: BILT HARD Dual Assist Arms Tire Changer Installation Guide. This video demonstrates the step-by-step assembly process for the tire changer, including unpacking, connecting air hoses, and installing the assist arms.
3.2 Connecting Air Supply
Ensure a stable air supply is connected to the tire changer. The machine requires adequate air pressure for bead breaking and clamping operations.

Image: Air filter and pressure gauge on the tire changer. This image shows the air filtration system and pressure gauge, crucial for maintaining optimal pneumatic performance.
4. Operating Instructions
4.1 Tire Changer Operation
The tire changer is designed for efficient mounting and demounting of tires. It features dual assist arms and a bead blaster for tough beads.
Video: BILT HARD 110V Dual Assist Arms Tire Changer. This video demonstrates the operational aspects of the tire changer, including bead breaking, tire removal, and installation using the dual assist arms.
4.1.1 Bead Breaking
Position the wheel on the bead breaker and apply force using the foot pedal. For stubborn beads, utilize the handheld bead blaster system.

Image: Handheld Bead Blaster System. This image illustrates the handheld bead blaster, used for quickly seating tire beads.
4.1.2 Mounting and Demounting
Use the dual assist arms and mounting head to carefully mount or demount tires, ensuring plastic protectors are in place to prevent rim damage.

Image: Pneumatic Double Assist Arms. This image highlights the dual assist arms, which aid in handling stiff sidewall tires and low-profile tires.

Image: Stainless steel mounting head with plastic protectors. This image shows the mounting head equipped with plastic protectors to prevent scratching of alloy wheels.
4.2 Wheel Balancer Operation
The wheel balancer provides precise balancing for a smooth ride.
Video: BILT HARD Wheel Balancer. This video demonstrates the process of balancing a wheel, including mounting, data input, and weight placement.
4.2.1 Mounting the Wheel
Securely mount the wheel onto the balancer's shaft. Use appropriate cones and adapters for a snug fit.
4.2.2 Data Input and Balancing
Use the compact operation panel and automatic measurement ruler to input rim data (A/D values). Select the appropriate ALU mode for alloy wheels. Initiate the balancing cycle and apply weights as indicated by the display.
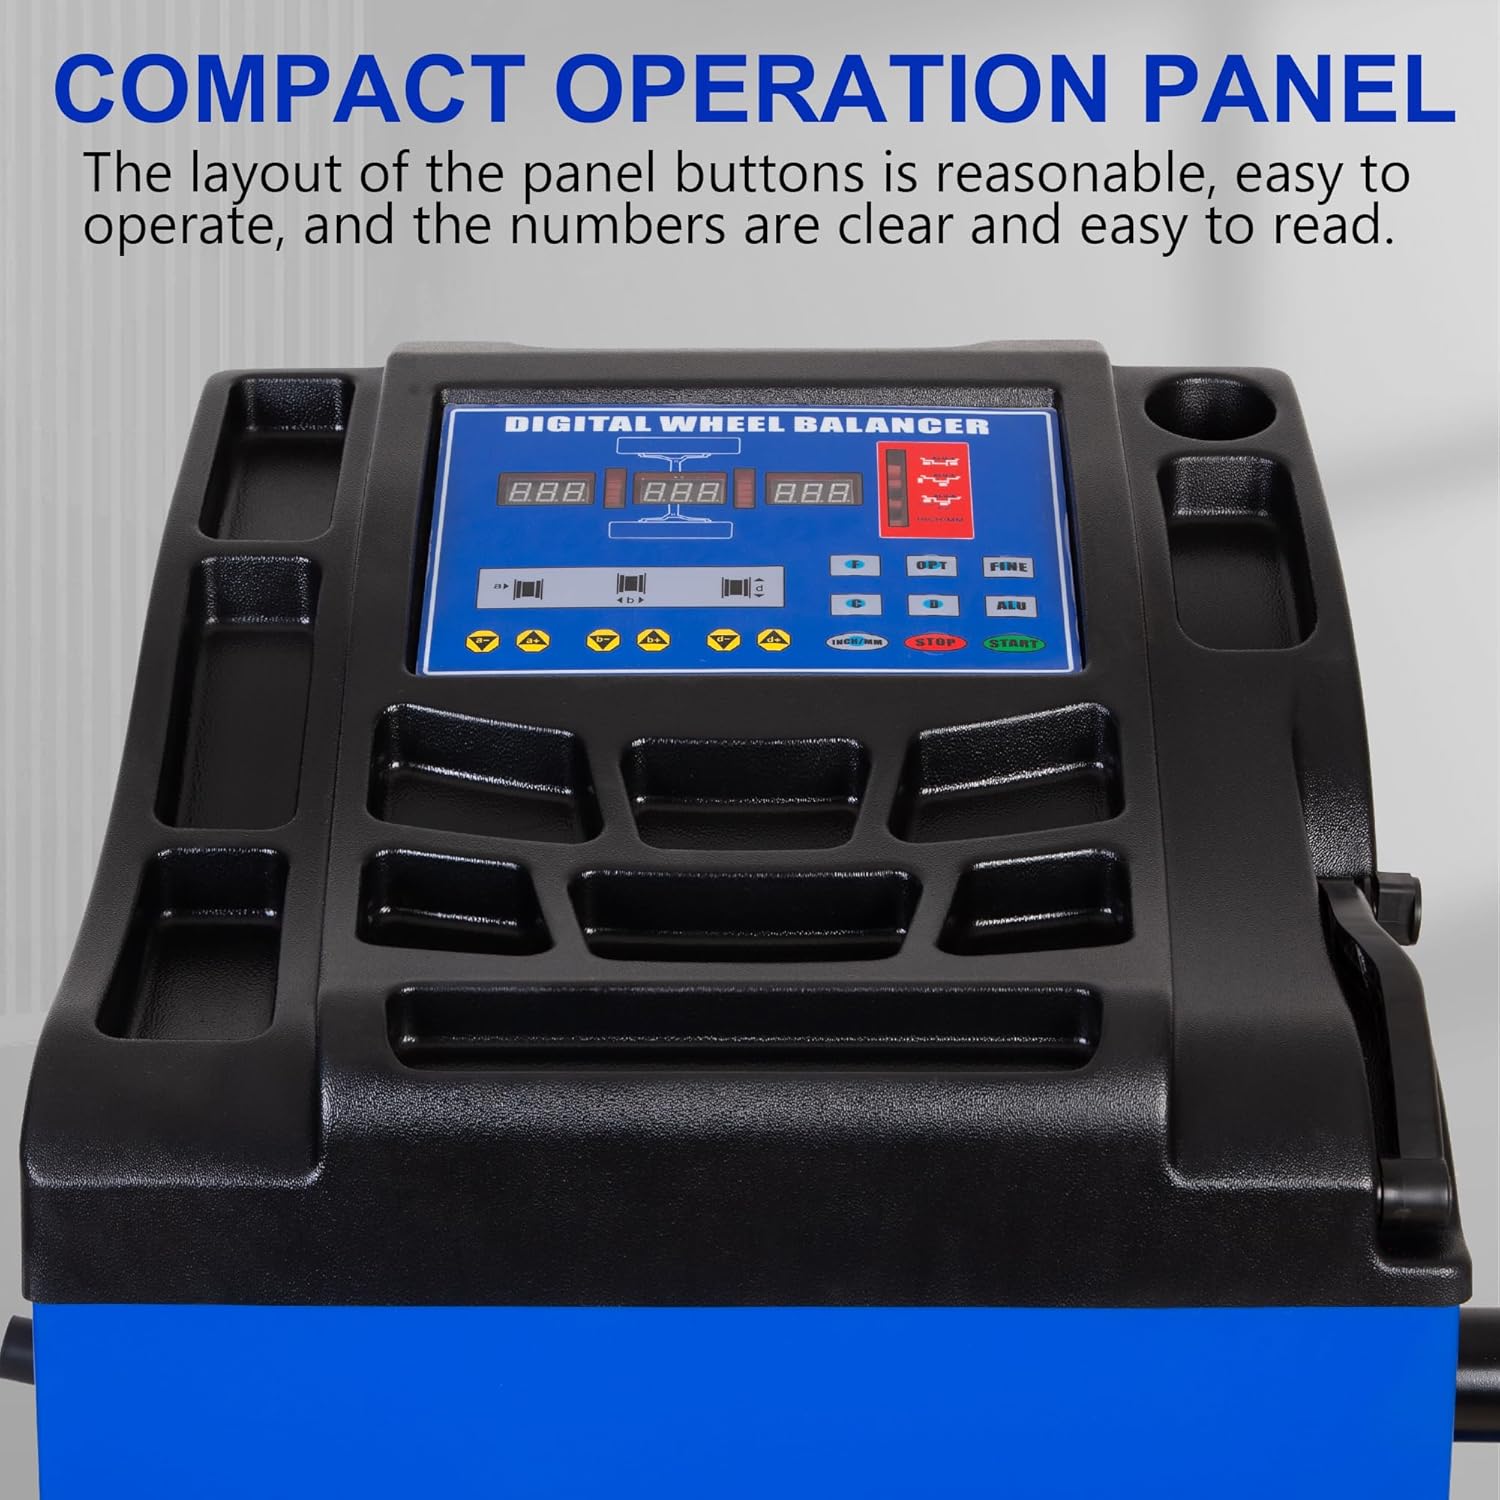
Image: Compact Operation Panel. This image displays the digital wheel balancer's control panel, featuring clear buttons and a digital display for easy operation.
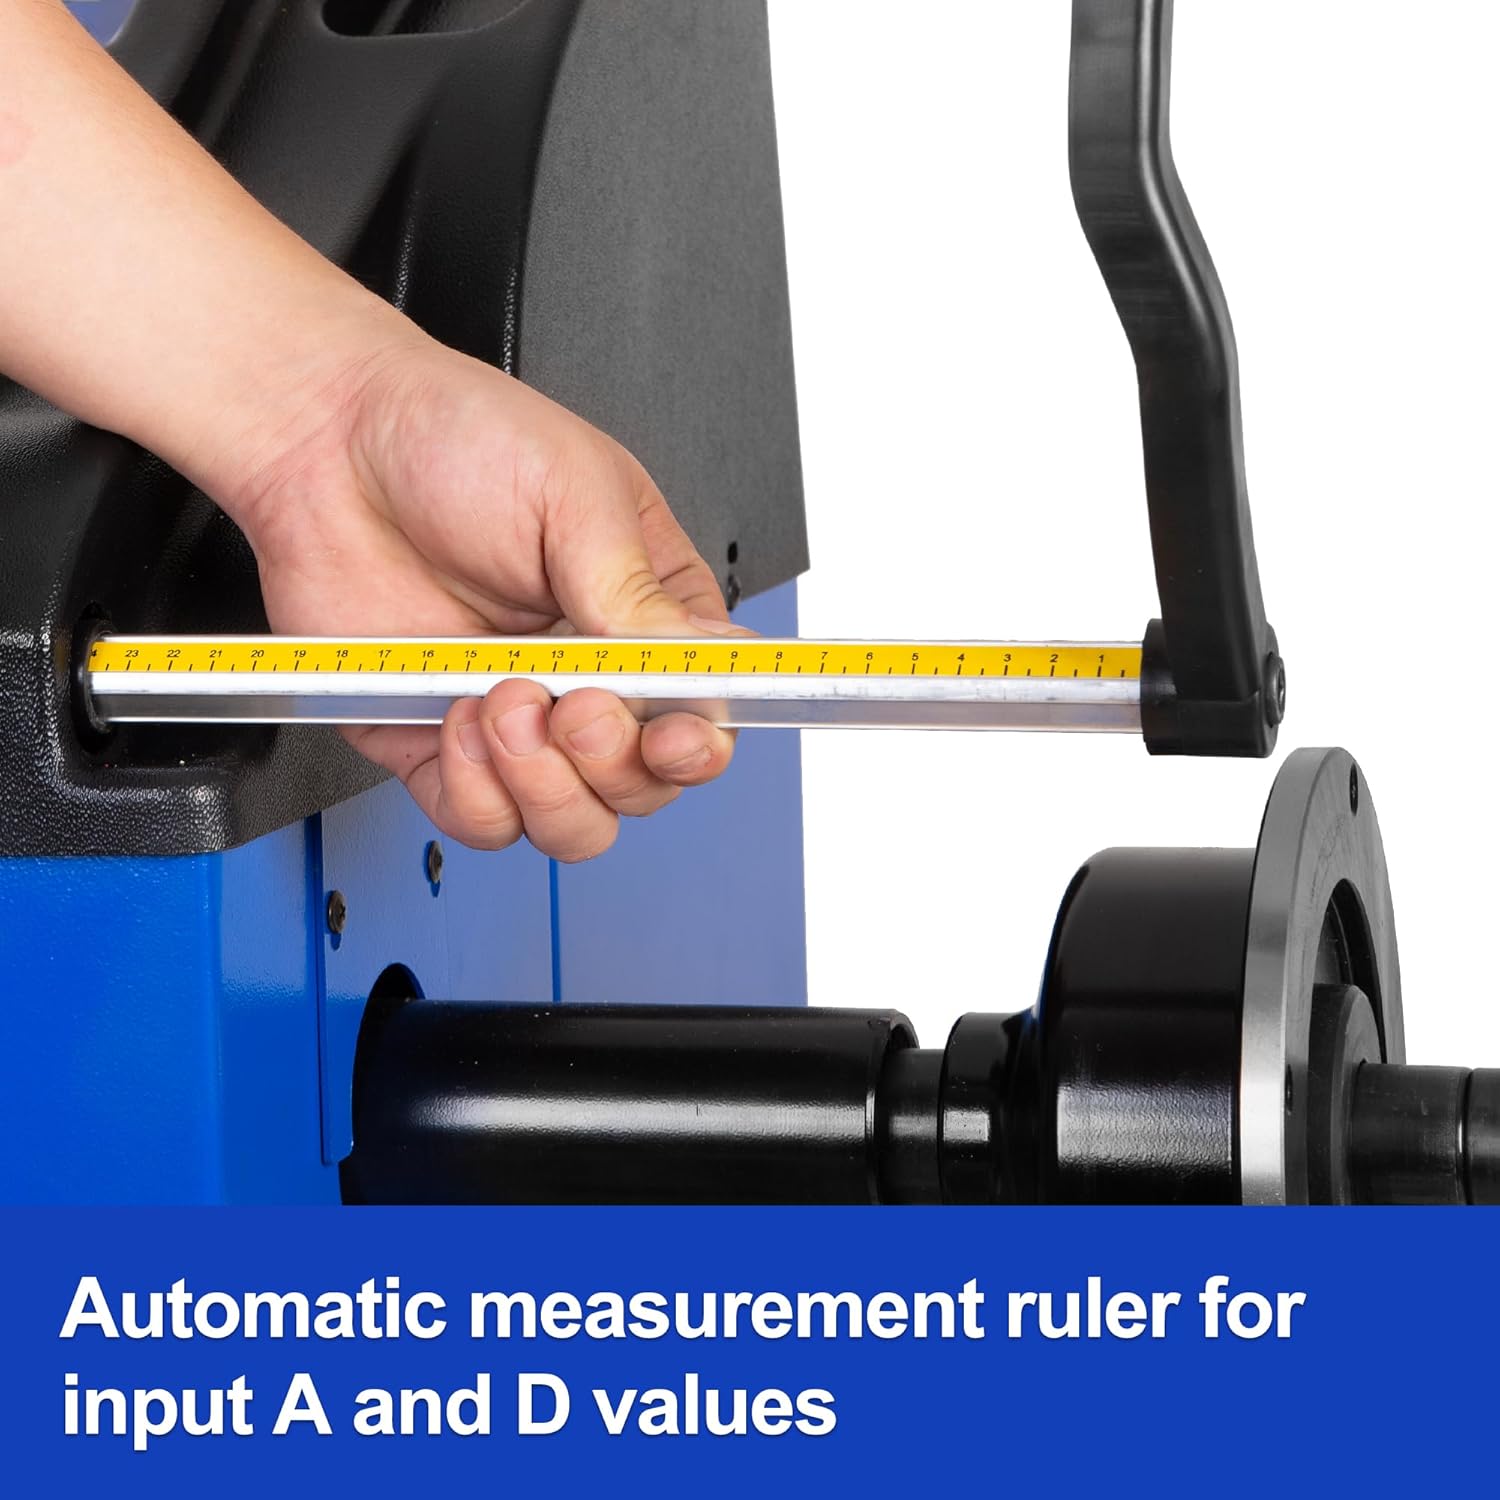
Image: Automatic measurement ruler for input A and D values. This image shows the integrated ruler used for precise automatic measurement of rim dimensions.
5. Maintenance
5.1 Regular Cleaning
- Clean the machine regularly to prevent buildup of dirt and debris, especially around moving parts and sensors.
- Wipe down the control panel with a soft, dry cloth.
5.2 Lubrication
- Periodically lubricate moving parts such as the assist arms and clamping jaws to ensure smooth operation.
- Refer to the detailed product diagram for specific lubrication points.
5.3 Air System Check
- Regularly check the air filter and water separator for accumulated moisture and debris. Drain or replace as necessary to maintain clean air supply.
- Inspect air hoses for leaks or damage.
6. Troubleshooting
6.1 Tire Changer Issues
- Problem: Tire not demounting easily.
Solution: Ensure sufficient lubrication on the tire bead. Check air pressure for bead breaker and clamping jaws. Utilize the bead blaster for stubborn beads. - Problem: Rim damage during operation.
Solution: Verify plastic protectors are correctly installed on the mounting head and clamping jaws. Ensure proper technique is used with assist arms.
6.2 Wheel Balancer Issues
- Problem: Inaccurate balancing results.
Solution: Ensure the wheel is securely mounted and centered on the shaft. Verify correct rim data (A/D values) are entered using the automatic measurement ruler. Calibrate the balancer if necessary (refer to specific calibration instructions in the full manual). - Problem: Machine not starting.
Solution: Check power connection and ensure the emergency stop button is not engaged.
7. Specifications
7.1 General
- Power: 110V
- Noise Level (Balancer): 70dB
7.2 Tire Changer
- Motor: Heavy-duty 2.0HP
- Rim Capacity: 10" to 24"
- Max Tire Diameter: Up to 40"
- Bead Breaker Force: 10 BAR
- Features: Dual Assist Arms, Handheld Bead Blaster, Stainless Steel Mounting Head with Plastic Protectors
7.3 Wheel Balancer
- Motor: 250W
- Rim Capacity: 10" to 28"
- Shaft Size: 1.42in (36mm)
- Features: One-touch auto-measurement for A/D values, Four dedicated ALU modes for alloy wheels, Dynamic and Static Balancing

Image: 1.42 inch (36mm) Balancer Shaft. This image shows the robust 36mm shaft of the wheel balancer, designed for secure wheel mounting.

Image: Dimensions of BILT HARD Tire Changer and Balancer. This image provides the overall dimensions for both the tire changer and the wheel balancer units.
8. What's in the Box
The following items are included with your BILT HARD 24" Capacity Tire Changer and Balancer Combo:
- Four Cones
- Screw
- Jaw Covers


