
1. Introduction
This manual provides essential information for the safe and efficient operation of your OTVOC DGBook A2 15.6 inch laptop. Please read this manual thoroughly before using your device and retain it for future reference.
2. Package Contents
Verify that all items are present in the package:
- OTVOC DGBook A2 Laptop
- Power Adapter
- User Manual (this document)
3. Product Overview
3.1 External Features and Ports
Familiarize yourself with the various ports and features of your laptop.
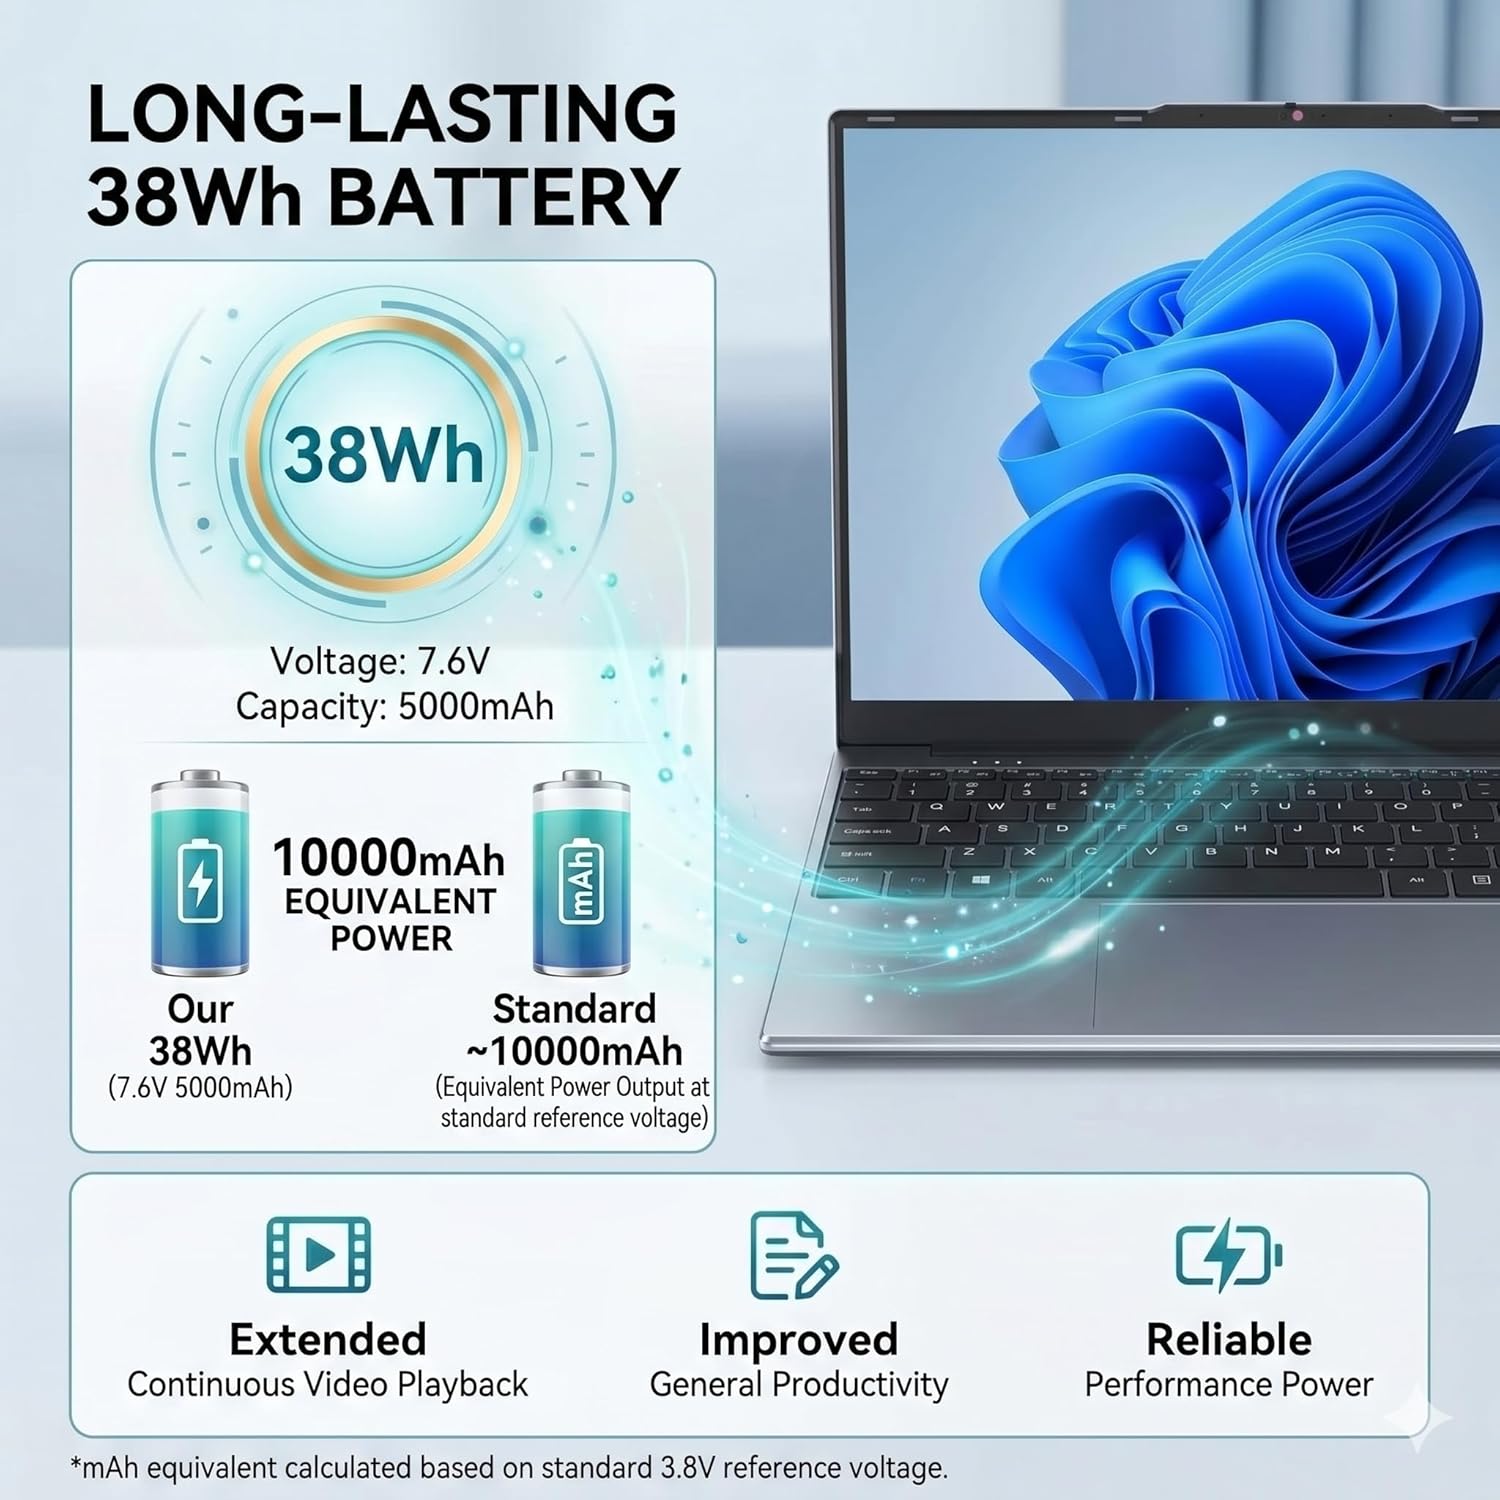
Image: The OTVOC DGBook A2 laptop showcasing its sleek design and port layout.

Image: Detailed diagram illustrating the full array of standard connectivity ports on the OTVOC DGBook A2 laptop, including USB 3.0, Type-C, HDMI, DC Power, Micro SD Card Slot, Earphone Jack, and Kensington Lock Slot.
- USB 3.0 Ports: For connecting USB devices such as external hard drives, mice, or keyboards.
- Type-C Port: Multi-function port for charging and data transfer.
- HDMI Port: For connecting to external displays or projectors.
- DC Power Jack: For connecting the power adapter to charge the laptop.
- Micro SD Card Slot: For expanding storage or transferring data from memory cards.
- Earphone Jack: For connecting headphones or external speakers.
- Kensington Lock Slot: For securing your laptop with a compatible lock.
4. Setup
4.1 Initial Power On
- Connect the power adapter to the DC Power Jack on your laptop and plug it into a power outlet.
- Open the laptop lid.
- Press the power button located on the keyboard to turn on the device.
- Follow the on-screen instructions to complete the initial Windows 11 setup, including language selection, network connection, and user account creation.
4.2 Charging the Battery
Before first use, ensure the laptop is fully charged. The battery indicator light will typically change color or turn off when charging is complete.

Image: The OTVOC DGBook A2 laptop connected to its power adapter for charging.
5. Operating Instructions
5.1 Keyboard and Touchpad
Your laptop features a full-sized keyboard with a dedicated numeric keypad and a large precision touchpad for efficient navigation.

Image: A user's hands demonstrating typing on the full-sized keyboard with an integrated numeric keypad and large precision touchpad of the OTVOC DGBook A2 laptop.
- Keyboard: Optimized key travel for comfortable typing and rapid data entry.
- Touchpad: Supports multi-touch gestures for scrolling, zooming, and navigating.
5.2 Camera and Privacy Shutter
The integrated 2MP camera is suitable for video calls. A physical privacy slider is included to block the lens when not in use, ensuring your privacy.

Image: A close-up view of the OTVOC DGBook A2 laptop's 2MP camera with its physical privacy slider, demonstrating how to turn the camera on and off for security.
- To use the camera, slide the shutter to the open position.
- To ensure privacy, slide the shutter to the closed position.
5.3 Display and Hinge
The 15.6-inch Full HD IPS display offers wide viewing angles and accurate colors. The 180-degree lay-flat hinge design allows for versatile use, ideal for collaboration and presentations.

Image: The OTVOC DGBook A2 laptop with its screen fully laid flat at 180 degrees, illustrating its versatile design for sharing and collaboration.
6. Upgrades
Your OTVOC DGBook A2 laptop is designed for easy user upgrades for both RAM and storage.
6.1 RAM Upgrade
The laptop comes with 4GB of DDR3 RAM pre-installed in one SO-DIMM slot and features a second empty SO-DIMM slot for expansion. The maximum supported RAM is 16GB.

Image: A diagram illustrating the easy memory upgrade process for the OTVOC DGBook A2 laptop, showing the pre-installed 4GB DDR3 RAM and the empty SO-DIMM slot for adding more memory up to 16GB.
- Power off the laptop and disconnect the power adapter.
- Carefully remove the back panel of the laptop.
- Locate the empty SO-DIMM slot.
- Insert a compatible DDR3 SO-DIMM module (4GB, 8GB, or 16GB) into the empty slot.
- Secure the back panel and power on the laptop.
6.2 SSD Storage Upgrade
The laptop includes a 128GB SATA M.2 SSD and supports expansion up to 2TB.

Image: A diagram demonstrating the upgradeable single-slot storage for the OTVOC DGBook A2 laptop, showing how to replace the pre-installed 128GB SATA M.2 SSD with a larger one, up to 2TB.
- Power off the laptop and disconnect the power adapter.
- Carefully remove the back panel of the laptop.
- Locate the M.2 SSD slot.
- If replacing, gently remove the existing 128GB SSD. If adding, insert the new M.2 SATA SSD (up to 2TB).
- Secure the back panel and power on the laptop.
7. Maintenance
7.1 Cleaning
- Use a soft, lint-free cloth to clean the screen and exterior surfaces.
- Avoid using harsh chemicals or abrasive materials.
- For the screen, use a specialized screen cleaner if necessary, applied to the cloth, not directly to the screen.
7.2 Cooling System
The laptop features a built-in cooling fan to maintain optimal performance and prevent overheating.

Image: An internal view of the OTVOC DGBook A2 laptop highlighting the built-in cooling fan and active heat dissipation system for sustained performance.
- Ensure the ventilation openings are not blocked to allow proper airflow.
- Operate the laptop on a hard, flat surface to facilitate cooling.
7.3 Battery Care
The laptop is equipped with a long-lasting 38Wh battery.

Image: A visual representation of the OTVOC DGBook A2 laptop's 38Wh long-lasting battery, emphasizing its high energy capacity and optimized efficiency for extended usage.
- Avoid fully discharging the battery frequently.
- Store the laptop in a cool, dry place if not used for extended periods.
8. Troubleshooting
If you encounter issues with your laptop, refer to the following common solutions:
| Problem | Possible Cause | Solution |
|---|---|---|
| Laptop does not power on | Low battery or power adapter issue | Ensure the power adapter is securely connected and the laptop is charged. Try a different power outlet. |
| Screen is blank | Display settings, external monitor connected, or sleep mode | Press any key or move the touchpad to wake the laptop. Disconnect any external monitors. Press Fn + F7 (or similar function key) to cycle display outputs. |
| Wi-Fi connection issues | Wi-Fi adapter off, driver issue, or router problem | Check if Wi-Fi is enabled in Windows settings. Restart your router and laptop. Update Wi-Fi drivers. |
| Slow performance | Too many applications running, low storage, or outdated drivers | Close unnecessary applications. Free up disk space. Update drivers. Consider upgrading RAM or SSD. |
If problems persist, please contact customer support.
9. Specifications
Detailed technical specifications for your OTVOC DGBook A2 laptop:
| Feature | Specification |
|---|---|
| Model Number | DGBook A2 |
| Processor | Intel Core m3-8100Y (Up to 3.4 GHz) |
| Operating System | Windows 11 |
| Display | 15.6 inch FHD IPS (1920x1080) |
| RAM | 4 GB DDR3 (Expandable up to 16 GB) |
| Storage | 128 GB SSD (Expandable up to 2 TB) |
| Graphics | Intel UHD Graphics |
| Ports | 2x USB 3.0, 1x Type-C, 1x HDMI, 1x TF Card Slot, 1x DC-in, 1x Headphone Jack |
| Camera | 2 MP with Privacy Shutter |
| Battery | 38 Wh |
| Dimensions | 35.76 x 22.95 x 1.92 cm |
| Weight | 2.02 kg (approx. 1.57 kg for the laptop itself) |
10. Warranty and Support
Your OTVOC DGBook A2 laptop comes with a 12-month product protection warranty.

Image: Information regarding OTVOC's 12-month product protection, firmware and technical assistance, and driver access and compatibility help.
10.1 Contacting Support
For assistance with your order, technical support, or warranty claims, please follow these steps:
- Through Order History:
Go to your Amazon account, navigate to "Returns & Orders", find your product, and click "Contact Seller" or "Get help with order". Follow the prompts to submit your inquiry. - From Product Page:
On the product page, click on the seller name (OTVOC) below the "Add to Cart" button. Then click "Ask a Question" in the top right corner of the seller profile. Select appropriate options to describe your inquiry.
Customer messages are typically replied to within 12 hours, and no more than 24 hours.