
1. Introduction
Thank you for choosing the Dayton Audio Classic CS1200 Powered Subwoofer. This 12-inch subwoofer is designed to enhance your home audio system with deep, clean, and powerful bass. Featuring a 200W Class-D amplifier and a robust cabinet, it delivers accurate low-frequency reproduction for both music and home theater experiences. This manual provides essential information for setup, operation, and maintenance to ensure optimal performance and longevity of your subwoofer.
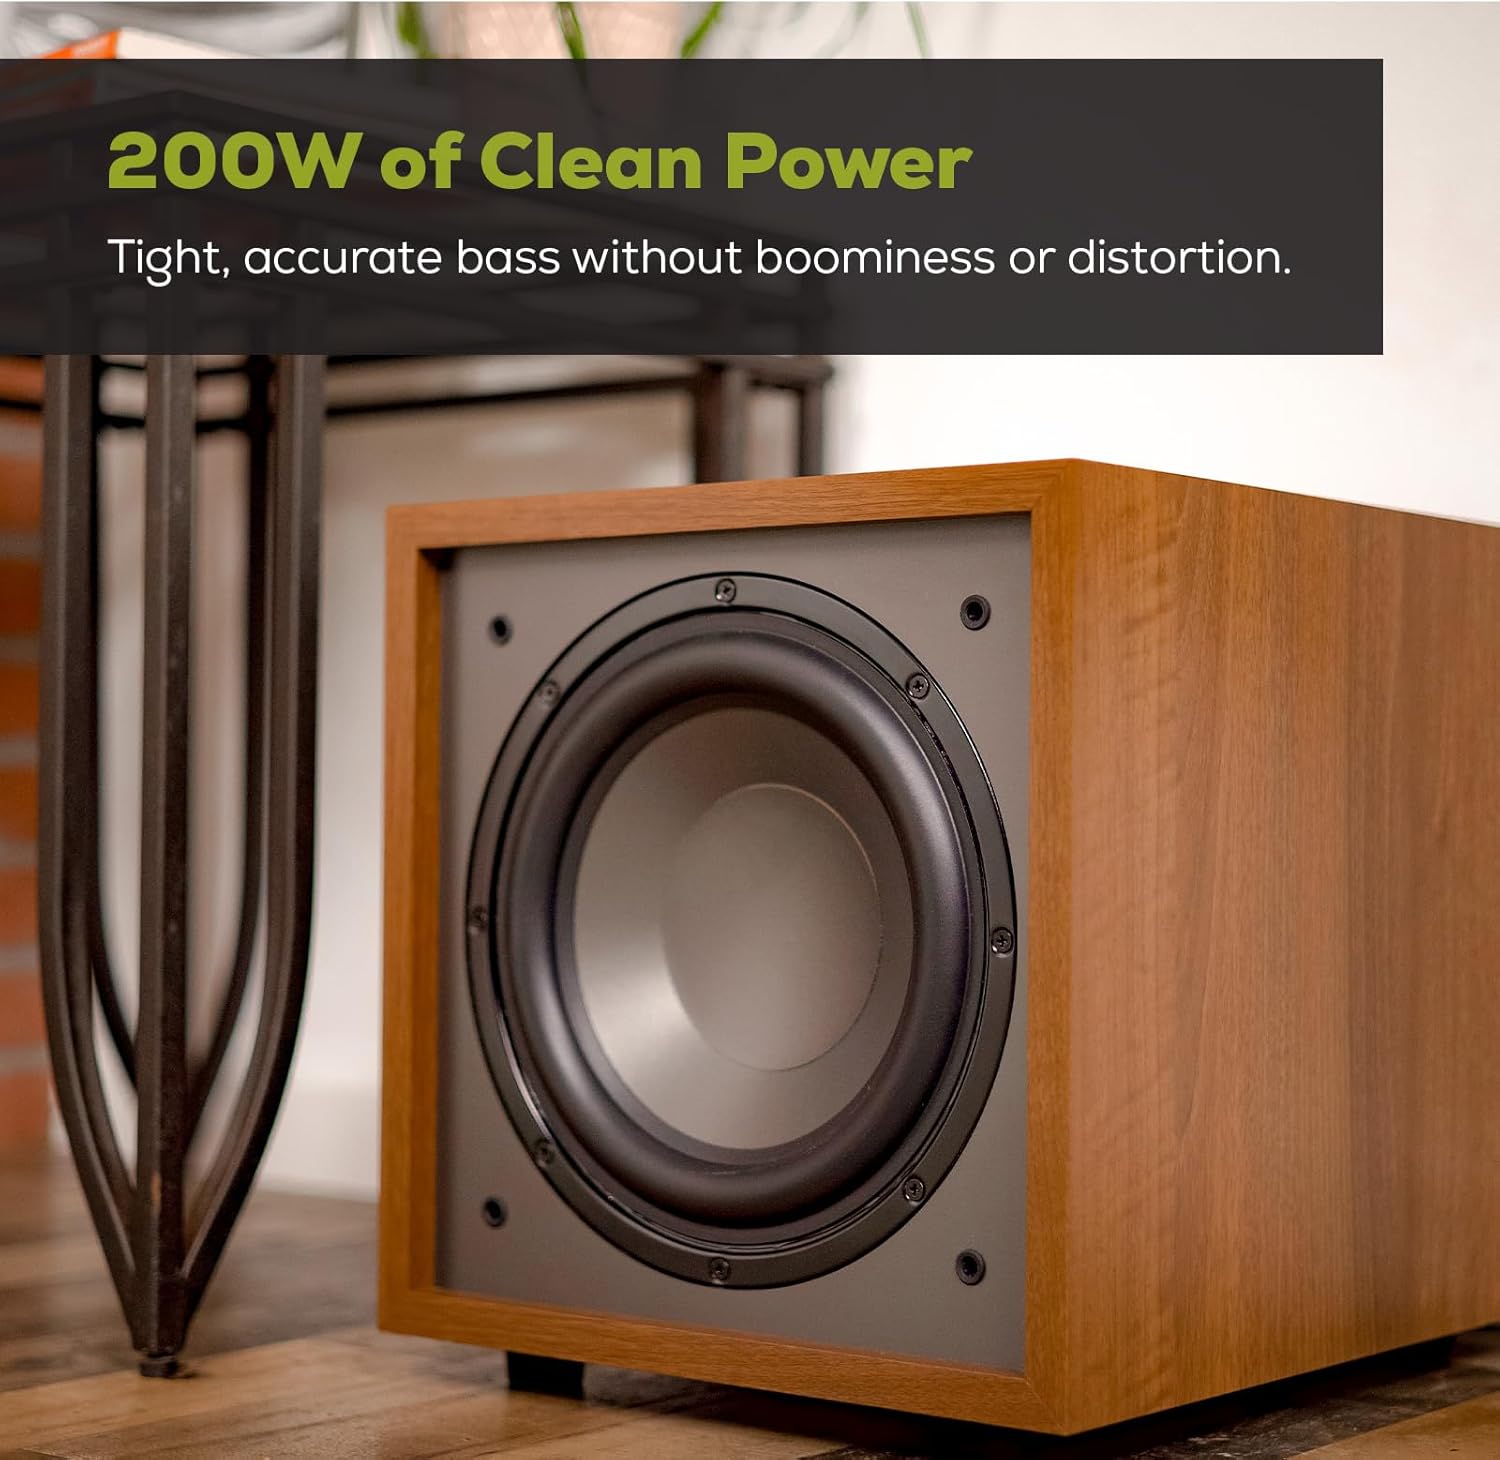
Image: The Dayton Audio CS1200 subwoofer, showcasing its powerful 200W Class-D amplifier for tight, accurate bass.
2. What's in the Box
Please check the package contents to ensure all items are present:
- Dayton Audio Classic CS1200 Subwoofer
- Speaker Grille (Gray)
- Rubber Feet
- 6ft Power Cable
- User Manual (this document)
3. Setup
3.1 Subwoofer Placement
Proper placement of your subwoofer is crucial for optimal sound performance. Experiment with different locations in your room to find the best balance of bass response and integration with your main speakers. Generally, placing the subwoofer in a corner can increase bass output, while placing it along a wall can provide a smoother response. Consider the following:
- Corner Placement: Often provides the most bass output, but can sometimes lead to a 'boomy' sound.
- Wall Placement: Placing the subwoofer along a wall, away from corners, can offer a more balanced bass.
- Near Main Speakers: Placing the subwoofer close to your main speakers can improve soundstage cohesion.
- "Subwoofer Crawl" Method: Place the subwoofer in your primary listening position, then crawl around the room to find where the bass sounds best. This is often the ideal placement for the subwoofer.

Image: The Dayton Audio CS1200 subwoofer seamlessly integrated into a living room setup, designed to complement your space.
3.2 Connections
The CS1200 offers flexible connectivity options to integrate with various audio systems. Ensure your audio system is powered off before making any connections.

Image: Detailed view of the Dayton Audio CS1200 subwoofer's rear connection panel and controls.
- LFE Input (Recommended for AV Receivers): Connect a single RCA cable from your AV receiver's "Subwoofer Out" or "LFE Out" jack to the LFE input on the subwoofer. This bypasses the subwoofer's internal crossover, allowing your receiver to manage bass management.
- RCA Line Level Inputs (Stereo): If your receiver does not have an LFE output, connect stereo RCA cables from your receiver's "Pre-Out" or "Subwoofer Pre-Out" to the Left (L) and Right (R) RCA Line Level Inputs on the subwoofer. In this configuration, the subwoofer's Crossover control will be active.
- High Level Inputs/Outputs (Speaker Wire): For systems without RCA outputs, connect speaker wires from your amplifier's main speaker outputs to the High Level Inputs on the subwoofer. Then, connect speaker wires from the High Level Outputs on the subwoofer to your main speakers. This allows the subwoofer to receive the full signal and pass it through to your main speakers, while the subwoofer's internal amplifier handles the low frequencies.
- Power Connection: Connect the supplied 6ft power cable to the AC Power Input on the subwoofer and then to a suitable wall outlet (120V AC).
4. Operating the Subwoofer
4.1 Controls Overview
The rear panel of your CS1200 subwoofer features several controls for fine-tuning its performance:

Image: Close-up of the subwoofer's control panel, showing input options and adjustment knobs.
- Subwoofer Level (Volume): Adjusts the overall output volume of the subwoofer. Start with a low setting and gradually increase until the bass blends seamlessly with your main speakers.
- Crossover (Low Pass Filter): This control sets the upper frequency limit for the subwoofer. Frequencies above this setting will not be reproduced by the subwoofer. Adjust this to blend with your main speakers. A common starting point is 80Hz. If using the LFE input, this control is typically bypassed, and crossover is managed by your AV receiver.
- Phase (0°/180°): This switch adjusts the phase of the subwoofer's output relative to your main speakers. Experiment with both settings to find the one that provides the most impactful and coherent bass at your listening position.
- On Mode (On/Auto):
- On: The subwoofer remains continuously powered on.
- Auto: The subwoofer will automatically turn on when an audio signal is detected and enter standby mode after a period of inactivity. Note that some users have reported that the auto-on feature may require a moderate volume level to activate consistently. If the subwoofer frequently enters standby during low-volume listening, you may prefer the "On" mode.
- Status LED: Indicates the power status of the subwoofer (e.g., Green for On, Red for Standby).
4.2 Initial Setup and Tuning
- Ensure all connections are secure and the subwoofer is plugged into a power outlet.
- Set the "On Mode" switch to "Auto" or "On" as preferred.
- Turn the "Subwoofer Level" control to its minimum setting.
- If using RCA Line Level Inputs, set the "Crossover" control to approximately 80Hz. If using LFE input, this control is typically inactive.
- Play some audio (music or movie) through your system at a moderate volume.
- Slowly increase the "Subwoofer Level" until the bass output blends naturally with your main speakers. The goal is to enhance the low end without the subwoofer sounding like a separate speaker.
- Adjust the "Crossover" control (if active) to achieve the smoothest transition between the subwoofer and your main speakers.
- Experiment with the "Phase" switch (0° or 180°) to determine which setting provides the most impactful and cohesive bass at your listening position.
Video: A lifestyle video showcasing the Dayton Audio Classic Collection, including the subwoofer, in various home audio setups. This video demonstrates the aesthetic integration and general use of the product line.
5. Maintenance
To ensure the longevity and optimal performance of your Dayton Audio CS1200 subwoofer, follow these simple maintenance guidelines:
- Cleaning: Use a soft, dry cloth to wipe down the cabinet. Avoid using liquid cleaners, aerosols, or abrasive chemicals, as these can damage the finish.
- Placement Environment: Place the subwoofer in a location away from direct sunlight, heat sources, and excessive moisture. Ensure adequate ventilation around the amplifier plate.
- Grille Care: The included speaker grille can be removed for cleaning. Gently brush off dust or use a lint roller.
- Power Off When Not in Use: If you will not be using the subwoofer for an extended period, it is advisable to switch the "On Mode" to "Off" and unplug the power cable from the wall outlet.
6. Troubleshooting
If you encounter issues with your Dayton Audio CS1200 subwoofer, refer to the following common troubleshooting steps:
| Problem | Possible Cause | Solution |
|---|---|---|
| No sound from subwoofer | No power; incorrect connections; low volume; receiver settings. |
|
| Boomy or distorted bass | Improper placement; crossover too high; subwoofer level too high; phase mismatch. |
|
| Subwoofer frequently enters standby in "Auto" mode | Low input signal level. |
|
7. Specifications
| Feature | Specification |
|---|---|
| Brand | Dayton Audio |
| Model Number | CS1200 |
| Speaker Type | Powered Subwoofer |
| Subwoofer Diameter | 12 inches |
| Amplifier Type | Class-D |
| Speaker Maximum Output Power | 200 watts |
| Frequency Response | 26 hertz (lower limit) |
| Connectivity Technology | RCA, Speaker Wire |
| Input Voltage | 120 volts |
| Mounting Type | Floor Standing |
| Item Dimensions (D x W x H) | 18"D x 15.5"W x 16.37"H |
| GTIN (UPC) | 848791011429 |
8. Warranty and Support
Your Dayton Audio Classic CS1200 Powered Subwoofer is backed by a 5-year manufacturer's warranty, ensuring performance you can trust. This warranty covers defects in materials and workmanship under normal use.
For technical support, warranty claims, or further assistance, please contact Dayton Audio customer service through their official website or the retailer from whom you purchased the product. Please have your model number (CS1200) and proof of purchase ready when contacting support.


