1. Introduction
This manual provides detailed instructions for the setup, operation, and maintenance of your Glacier Weikav Lucky65 V3 65% Mechanical Keyboard Kit. This kit is designed for enthusiasts and modders, offering a customizable experience with its hot-swappable design, tri-mode connectivity, and premium aluminum construction.
2. Package Contents
Please verify that all items are present in your package:
- Glacier Weikav Lucky65 V3 Keyboard Base (Aluminum Case)
- USB-C Cable
- Keycap/Switch Puller
- User Manual (this document)
- Note: Keycaps and switches are not included and must be purchased separately.

Image: Contents of the Glacier Weikav Lucky65 V3 Keyboard Kit. Shows the red aluminum keyboard base, a USB-C cable, and a keycap/switch puller.

Image: The included keycap and switch puller tool, essential for customizing your keyboard.
3. Features
- Tri-Mode Wireless Connectivity: Seamlessly switch between USB-C wired, Bluetooth, and 2.4G wireless modes.
- Premium 6063 Aluminum Keyboard Case: CNC-machined full aluminum alloy chassis for superior durability and a high-end feel.
- Hot-Swappable Mechanical Keyboard Kit: Easily install or change switches without soldering.
- 16 Million Color ARGB RGB Lighting: Fully customizable per-key RGB effects.
- 65% Compact Layout: Space-saving design ideal for enthusiasts and minimalist setups.
- Supports QMK/VIA: Advanced customization options for key remapping and macros.
- FR4 Positioning Plate: Provides a stable and consistent typing experience.

Image: Key features of the Lucky65 V3, including its aluminum case, triple-mode connectivity, QMK/VIA support, and FR4 positioning plate.

Image: The durable aluminum base of the keyboard, featuring an engraved 'Lucky' logo and anti-slip rubber feet.
4. Setup Guide
4.1 Installing Switches and Keycaps
The Lucky65 V3 is a hot-swappable kit, allowing for easy installation and removal of mechanical switches and keycaps without soldering.
- Using the provided keycap puller, gently remove any pre-installed keycaps if necessary.
- Align your desired 3-pin or 5-pin mechanical switches with the hot-swap sockets on the PCB.
- Press each switch firmly until it clicks into place. Ensure the pins are straight to avoid bending.
- Once switches are installed, place your chosen keycaps onto the switches.
Video: Demonstration of keycap removal and showing the hot-swappable nature of the keyboard base. The video also highlights the aluminum base and the on/off switch location.
4.2 Powering On and Connectivity Modes
The keyboard supports three connectivity modes: Wired USB-C, 2.4G Wireless, and Bluetooth.
- Power Switch: Locate the power switch on the keyboard. This switch controls the keyboard's power and mode.
- Wired Mode: Connect the provided USB-C cable from the keyboard to your computer. The keyboard will automatically detect the wired connection.
- 2.4G Wireless Mode:
- Ensure the keyboard is powered on.
- Insert the 2.4G USB dongle into an available USB port on your computer.
- The keyboard should automatically connect. If not, refer to the operating instructions for pairing.
- Bluetooth Mode:
- Ensure the keyboard is powered on.
- Activate Bluetooth pairing mode on the keyboard (refer to operating instructions for specific key combinations).
- On your device (PC, laptop, etc.), search for Bluetooth devices and select "Lucky65 V3" to pair.
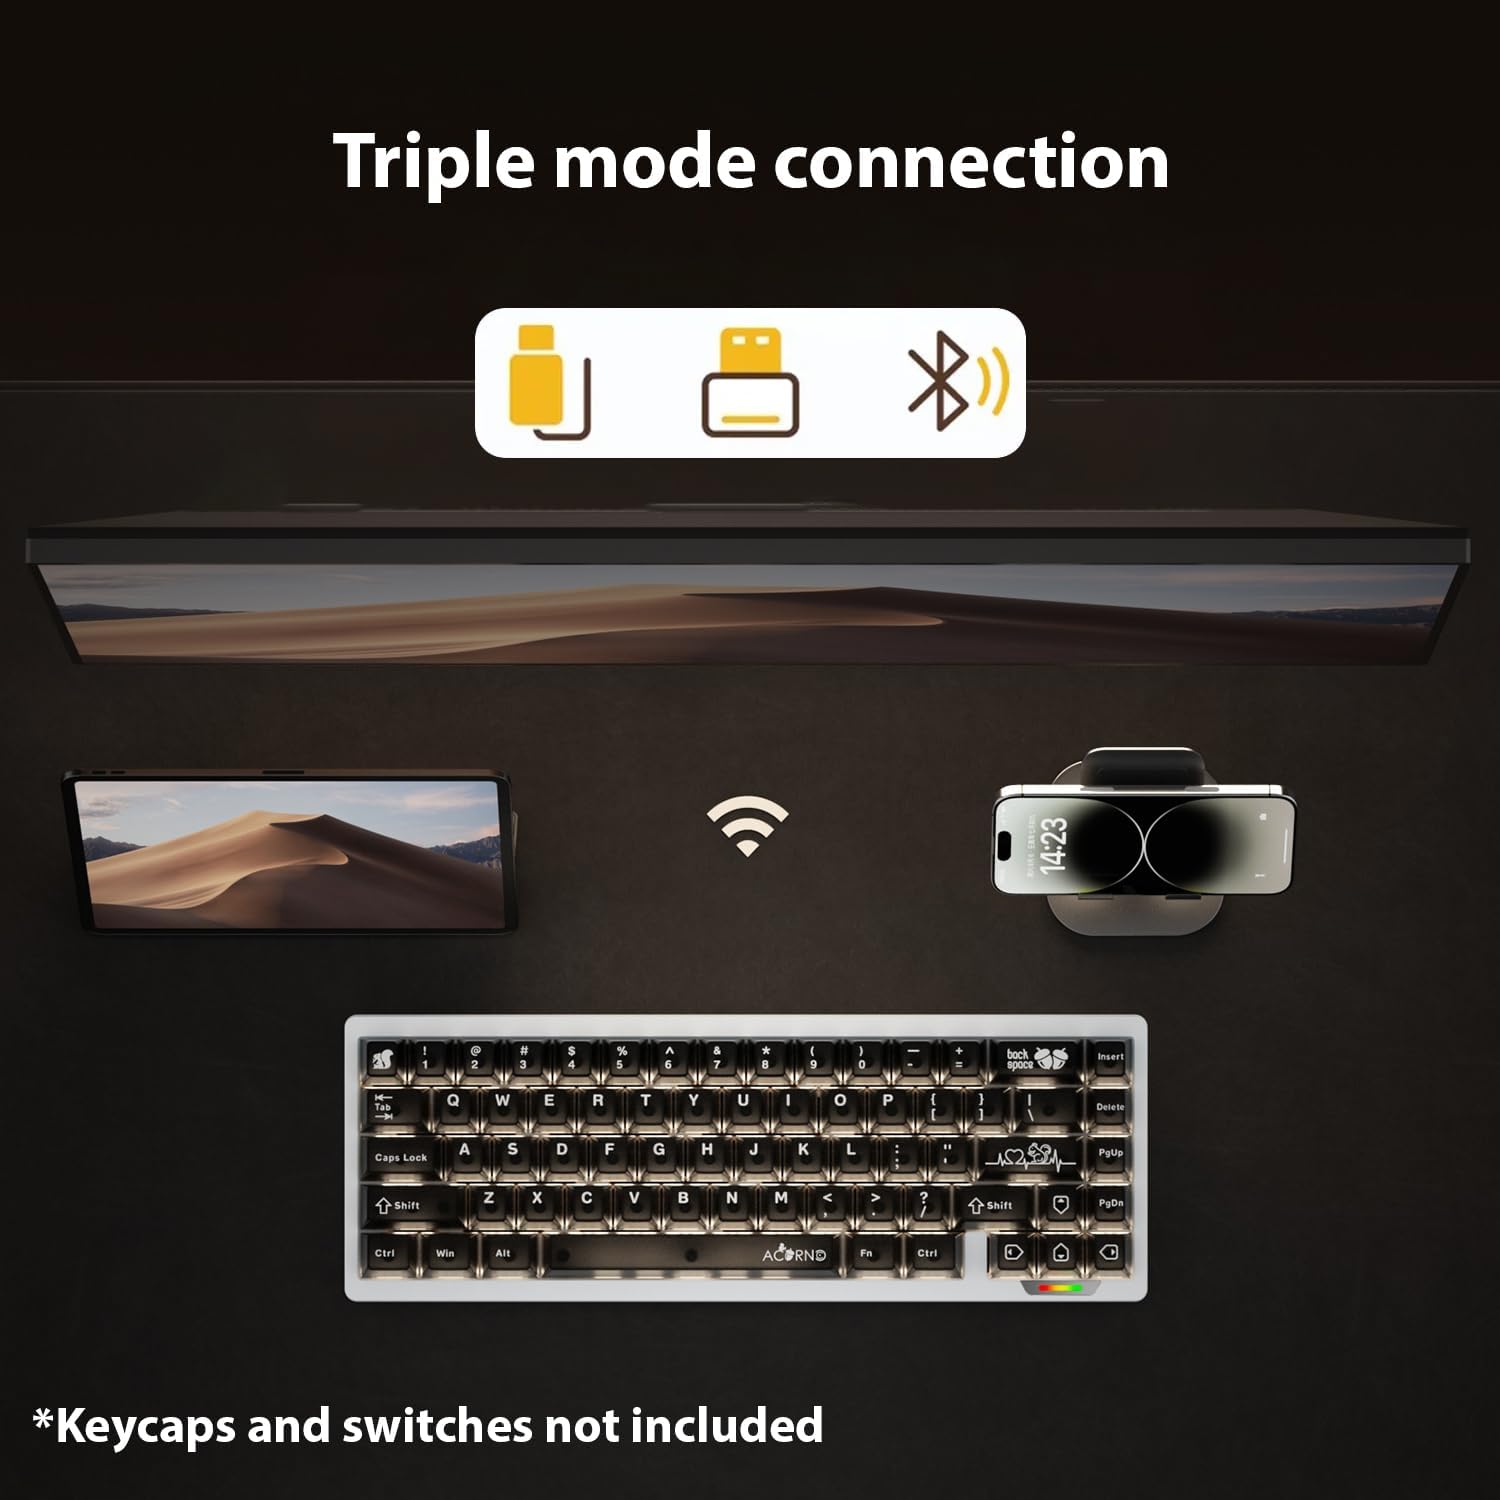
Image: Visual representation of the keyboard's triple connectivity modes: wired USB-C, 2.4G wireless, and Bluetooth.

Image: Detail of the 8-pin magnetic wave guide and magnetic quick release, facilitating modularity and connection.
5. Operating Instructions
5.1 Mode Switching
Use the physical switch on the keyboard to select between wired, 2.4G, and Bluetooth modes. Specific key combinations may be required for Bluetooth pairing or switching between multiple Bluetooth devices (refer to the manufacturer's official software or documentation for details).
5.2 RGB Backlight Control
The keyboard features 16 million color ARGB RGB lighting. Lighting effects can be customized using the keyboard's dedicated function keys or through the official software (QMK/VIA compatible).
- Brightness Adjustment: Typically Fn + ↑/↓
- Effect Change: Typically Fn + ←/→
- Color Change: Typically Fn + Del (or other designated key)
For advanced customization, download the QMK/VIA software and the specific JSON file for the Lucky65 V3 from the manufacturer's website.
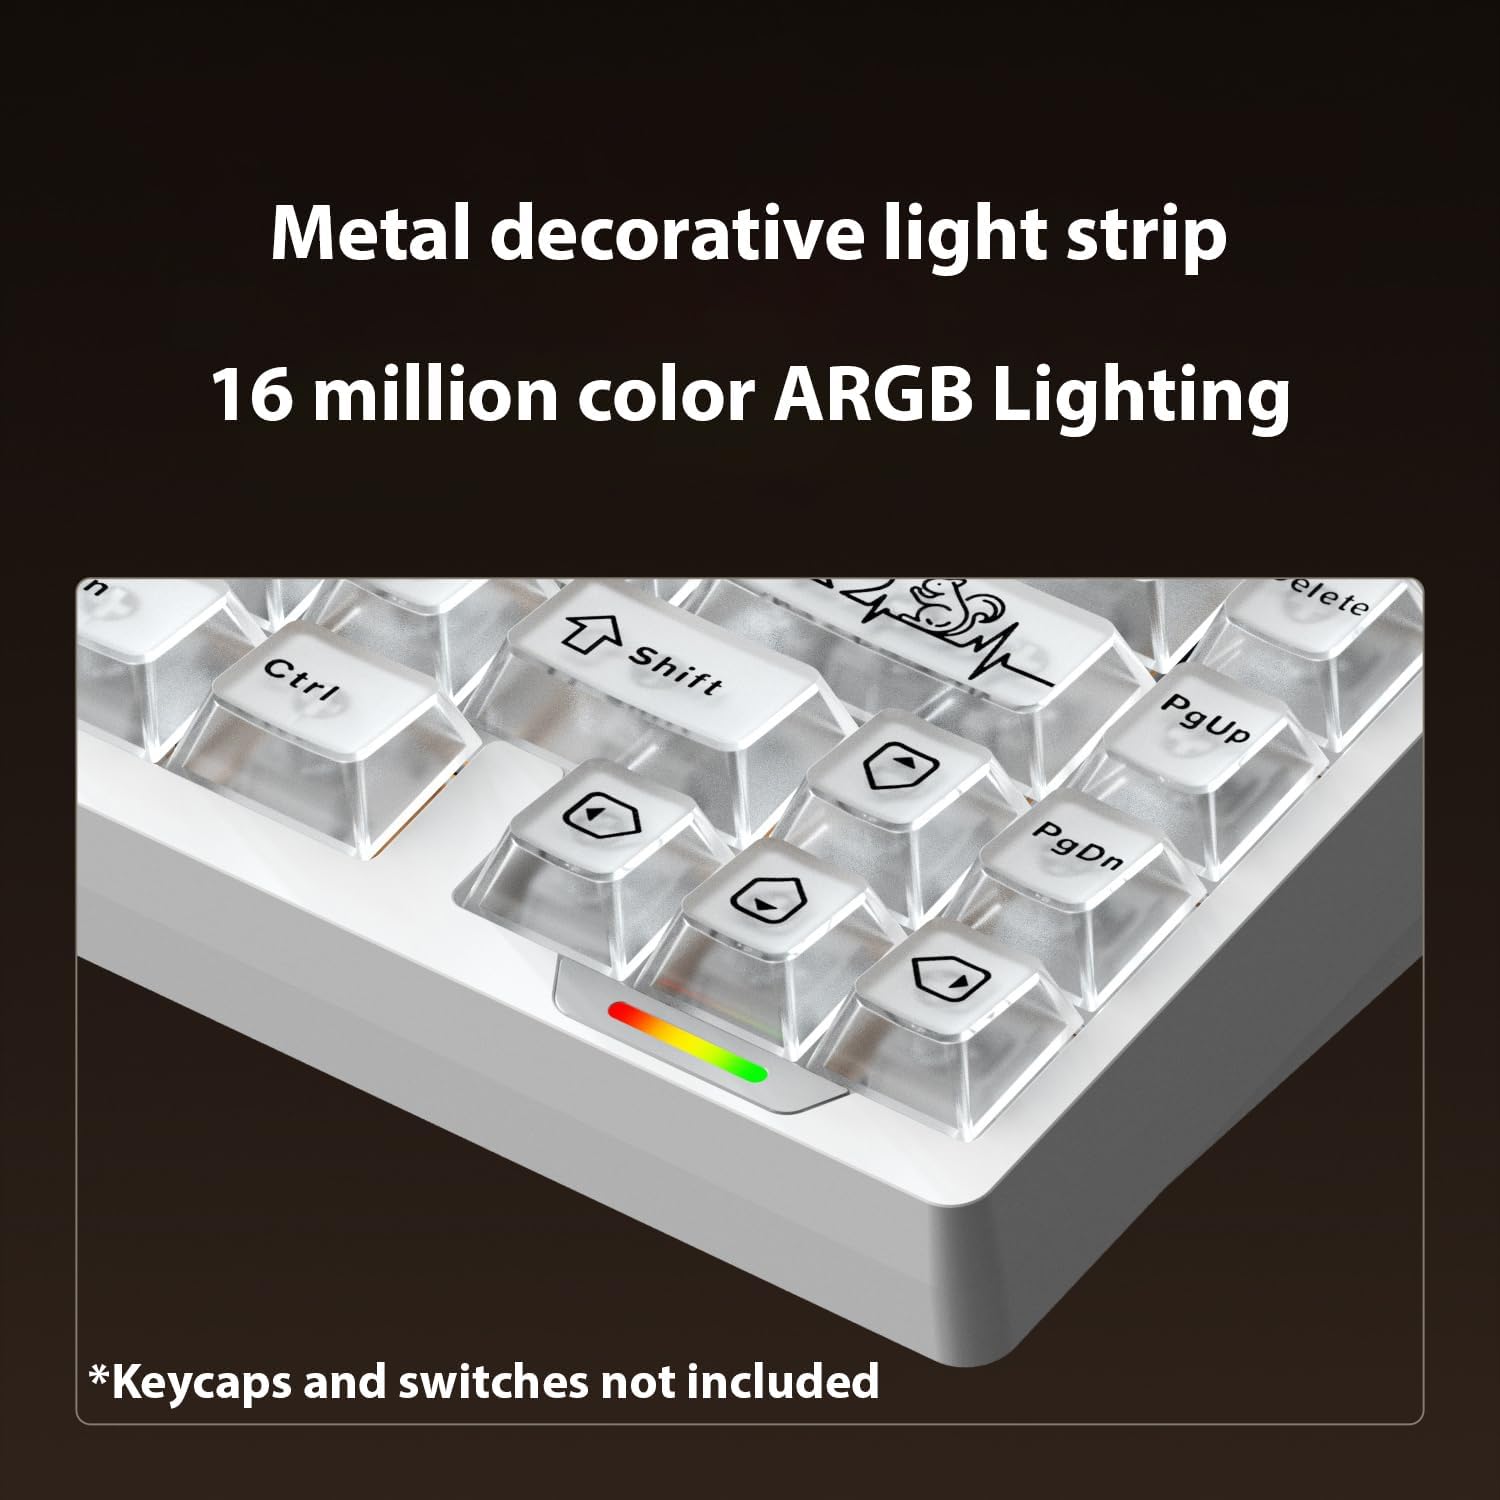
Image: The keyboard's RGB lighting in action, showcasing the metal decorative light strip and customizable colors.
5.3 Key Remapping and Macros (QMK/VIA)
The Lucky65 V3 supports QMK/VIA for comprehensive key remapping and macro creation. To utilize these features:
- Download the VIA software from the official VIA website.
- Obtain the specific JSON file for the Lucky65 V3 from the Glacier manufacturer's support page.
- Load the JSON file into the VIA software.
- Follow the software's interface to remap keys, create macros, and customize layers.
Important: Ensure you download the correct and official JSON file for your specific keyboard model to avoid compatibility issues.
6. Maintenance
6.1 Cleaning
- Disconnect the keyboard from all power sources before cleaning.
- Use a soft, lint-free cloth to wipe down the aluminum case.
- For keycaps, remove them using the provided puller and clean with mild soap and water, ensuring they are completely dry before re-installation.
- Use compressed air to remove dust and debris from between switches.
6.2 Switch Replacement
Thanks to its hot-swappable design, switches can be replaced easily:
- Gently remove the keycap using the keycap puller.
- Use the switch puller to carefully grip the top and bottom clips of the switch.
- Pull the switch straight up to remove it from the PCB.
- Align the pins of the new switch with the hot-swap socket and press down firmly until it clicks into place.
- Re-install the keycap.
7. Troubleshooting
- Keyboard Not Responding (Wired):
- Ensure the USB-C cable is securely connected to both the keyboard and the computer.
- Try a different USB port on your computer.
- Test with a different USB-C cable if available.
- 2.4G Wireless Connection Issues:
- Ensure the 2.4G dongle is properly inserted and the keyboard is in 2.4G mode.
- Move the keyboard closer to the dongle to rule out interference.
- Re-pair the keyboard with the dongle if necessary (refer to manufacturer's specific pairing instructions).
- Bluetooth Connectivity Problems:
- Ensure the keyboard is in Bluetooth mode and discoverable.
- Check your device's Bluetooth settings to ensure it's enabled and searching for devices.
- If the signal is weak, try reducing the distance between the keyboard and the connected device.
- Remove and re-pair the keyboard in your device's Bluetooth settings.
- RGB Lighting Not Working/Customizing:
- Verify the keyboard is powered on and not in a low-power state.
- Ensure you are using the correct function key combinations for lighting control.
- If using QMK/VIA, ensure the software is correctly installed, the JSON file is loaded, and the firmware is up to date.
- Key Remapping/Macros Not Working (VIA):
- Confirm that the correct Lucky65 V3 JSON file is loaded in the VIA software.
- Ensure the VIA software is running and detecting the keyboard.
- Check for any conflicting software or drivers.
8. Specifications
| Brand | Glacier |
| Model | Lucky65 V3 |
| Layout | 65% ANSI |
| Connectivity | 2.4G wireless dongle, Bluetooth, USB-C (Tri-Mode) |
| Case Material | 6063 Aluminum |
| Hot-Swappable | Yes |
| Backlighting | 16 Million Color ARGB RGB |
| Compatible Devices | PC, Laptops |
| Item Weight | 3 pounds |
| Package Dimensions | 16 x 6 x 2.5 inches |
9. Warranty and Support
For warranty information, technical support, or to download the latest firmware and VIA JSON files, please visit the official Glacier website or contact their customer service directly. Keep your proof of purchase for any warranty claims.
Manufacturer: Glacier


