
Introduction
This manual provides instructions for the Light My Bricks 2.0 Remote Control Pack. This pack enables remote power, control, and customization of your Light My Bricks lighting displays. It includes a Control Board with IR Receiver, a Remote Controller, a 30cm Belt, and a 3x3 Tether. Users can switch lights on or off and adjust brightness settings. The system is designed for integration within your build or for connecting multiple kits.
What's in the Kit?
The Light My Bricks 2.0 Remote Control Pack includes the following components:
- IR Remote Controller: For wireless operation of your lighting system.
- Control Board with IR Receiver: The central unit for receiving commands and managing power.
- 30cm Belt: Used for connecting and controlling multiple Light My Bricks kits.
- 3x3 Tether: For mounting the Control Board seamlessly within your build.

Setup
Follow these steps to integrate and set up your Light My Bricks 2.0 Remote Control Pack:
- Connect the Control Board: The compact control board can be mounted discreetly within your model. Use the included 3x3 tether to secure it. Ensure the IR receiver on the control board has a clear line of sight to where you will be using the remote.
- Integrate with Lighting Kits: Connect your Light My Bricks lighting kits to the control board. The system uses flat flex cables designed to thread between studs and plates without gaps. Cable connectors feature reverse polarity, allowing connection in any orientation.
- Using the Belt (Optional): If controlling multiple kits, use the 30cm belt to connect them to the control board. This allows for synchronized control across several displays.


Operating Instructions
Once the Light My Bricks 2.0 Remote Control Pack is set up, use the IR remote controller to manage your lighting:
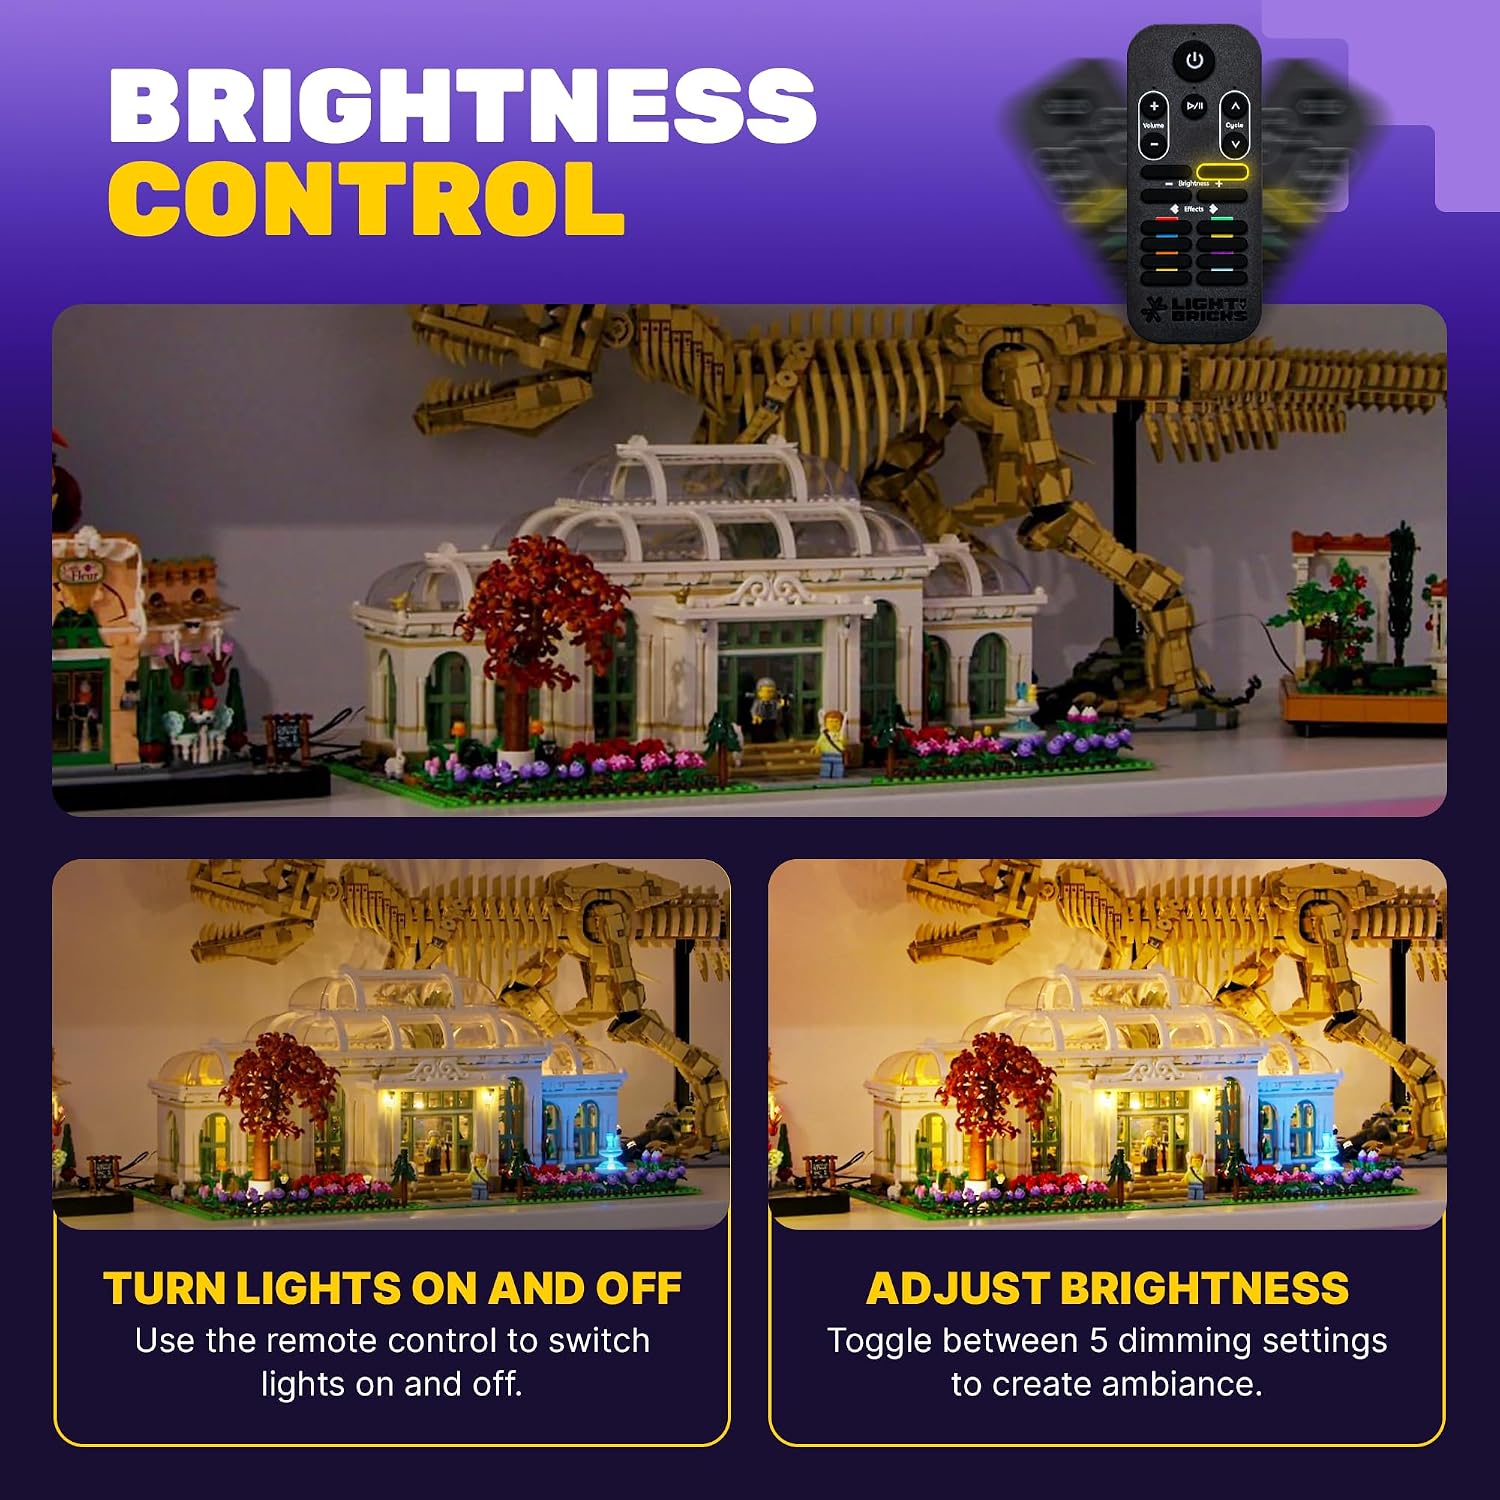
- Power On/Off: Press the power button on the remote to switch your connected lights on or off.
- Adjust Brightness: Use the brightness control buttons on the remote to cycle through five different dimming settings. This allows you to customize the light intensity for your display.
Maintenance
To ensure the longevity and optimal performance of your Light My Bricks 2.0 Remote Control Pack, consider the following maintenance guidelines:
- Cleaning: Gently wipe the remote controller and control board with a dry, soft cloth. Avoid using liquid cleaners or abrasive materials.
- Storage: Store the components in a dry environment, away from direct sunlight and extreme temperatures.
- Battery Replacement: If the remote controller's functionality diminishes, replace its battery. Refer to the remote's casing for battery type and replacement instructions.
Troubleshooting
If you encounter issues with your Light My Bricks 2.0 Remote Control Pack, try the following troubleshooting steps:
- Remote Not Responding:
- Ensure the remote's battery is correctly installed and has sufficient charge. Replace the battery if necessary.
- Verify that there is a clear line of sight between the remote controller and the IR receiver on the control board. Obstructions can block the signal.
- Confirm that the control board is properly connected to a power source and your lighting kits.
- Lights Not Turning On/Off or Dimming:
- Check all cable connections between the control board and your lighting kits. Ensure they are secure.
- Confirm that the control board is receiving power.
- If using multiple kits with a belt, ensure all connections along the belt are secure.
- No Instructions Provided: This manual serves as a comprehensive guide. For further assistance, refer to the support section.
Specifications
| Brand | Light My Bricks |
| Model Name | 2 |
| Color | Black |
| Compatible Devices | Light My Bricks lighting displays |
| Connectivity Technology | Infrared |
| Controller Type | Button Control |
| Unit Count | 1 Count |
| Manufacturer | Light My Bricks |
| ASIN | B0G7L6SBHV |
Warranty Information
Specific warranty details for the Light My Bricks 2.0 Remote Control Pack are not provided in the product data. For information regarding product warranties or available protection plans, please refer to the retailer's terms of sale or contact Light My Bricks directly.
Support
For further assistance, technical support, or additional product information, please visit the official Light My Bricks website or their store on Amazon:
Visit the Light My Bricks Store on Amazon
You may also refer to the product packaging for contact details or additional support resources.


