
1. Introduction
The W & O Q7 Vlogging Camera is a compact, handheld device designed for easy audio and video recording. Featuring a 180° rotating lens and a 7-hour battery life, it is suitable for various recording needs, including travel, daily life, and content creation. The camera is designed for straightforward operation with minimal setup.
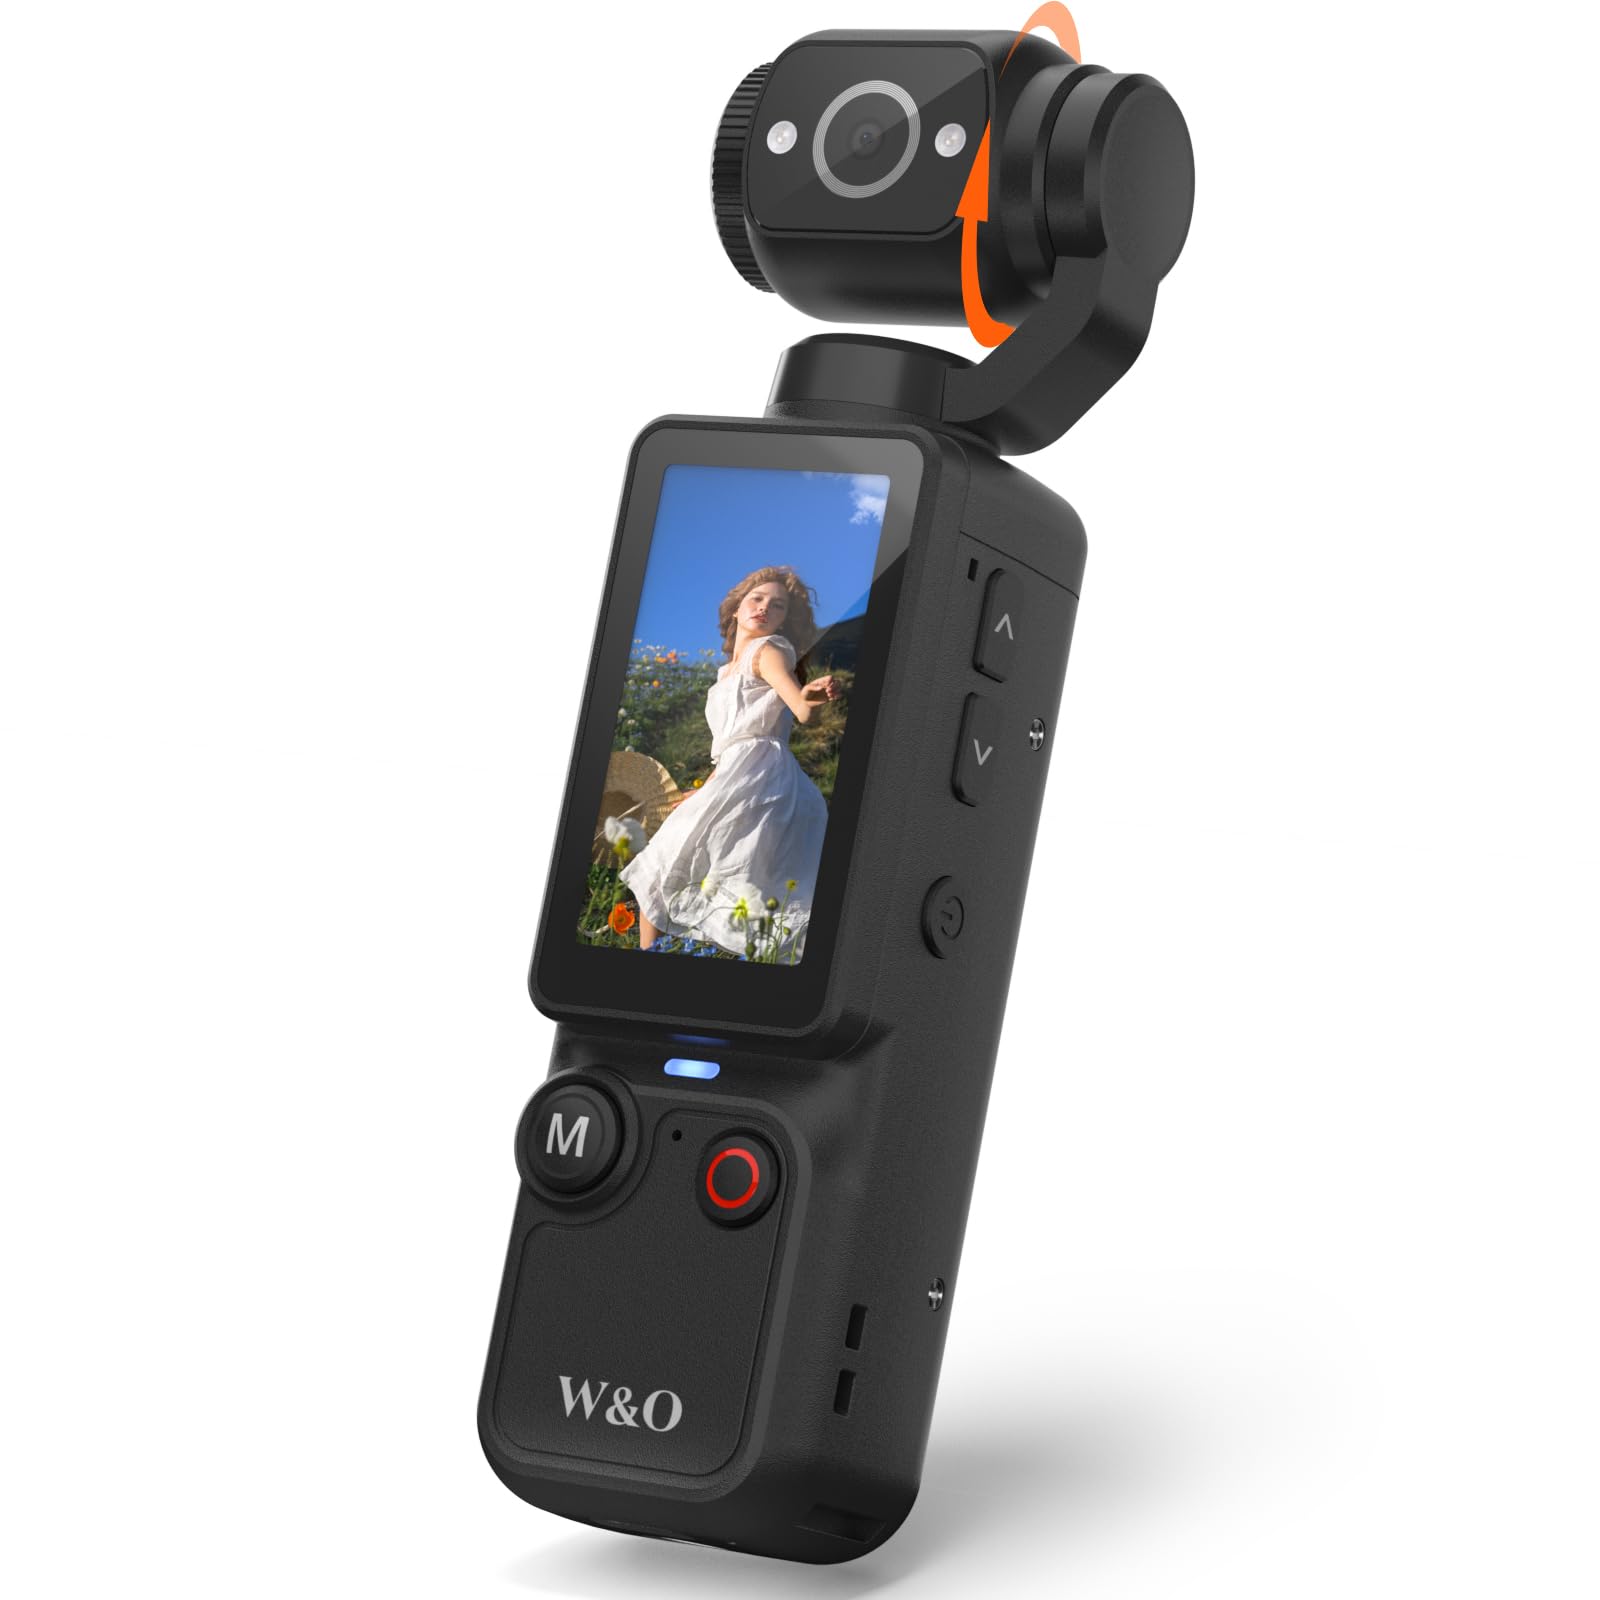
Image: W & O Q7 Vlogging Camera, showcasing its compact design and rotating lens.
2. What's in the Box
- W & O Q7 Handheld Camera
- 32GB Memory Card (pre-installed)
- USB-C Charging Cable
- SD Card Reader
- External Microphone
- Mounting Clip
- Wrist Strap
3. Product Diagram & Controls

Image: Detailed diagram of the W & O Q7 camera with labeled buttons and dimensions.
- Power On / Off, Fill Light Button: Long press to power on/off. Short press to activate/deactivate the fill light.
- Mode Switch (M) Button: Short press to cycle between Photo, Video, and Playback modes. Long press to enter the Menu.
- Record / Shutter (OK) Button: Press to start/stop video recording or to capture a photo.
- Zoom In / Zoom Out Buttons: Use to adjust zoom level.
- SD Card Slot: Insert/remove the memory card.
- USB-C Port: For charging and data transfer.
- 180° Rotating Lens: Manually rotate the lens for POV or self-recording.
4. Setup
Initial Preparation
- Charge the Camera: Before first use, fully charge the camera using the provided USB-C cable. The built-in 2000mAh battery supports up to 7 hours of continuous recording.
- Insert Memory Card: The camera comes with a 32GB memory card pre-installed. Ensure it is properly seated in the SD card slot.
- Remove Protective Film: Gently peel off any protective film from the screen and the lens for optimal clarity.
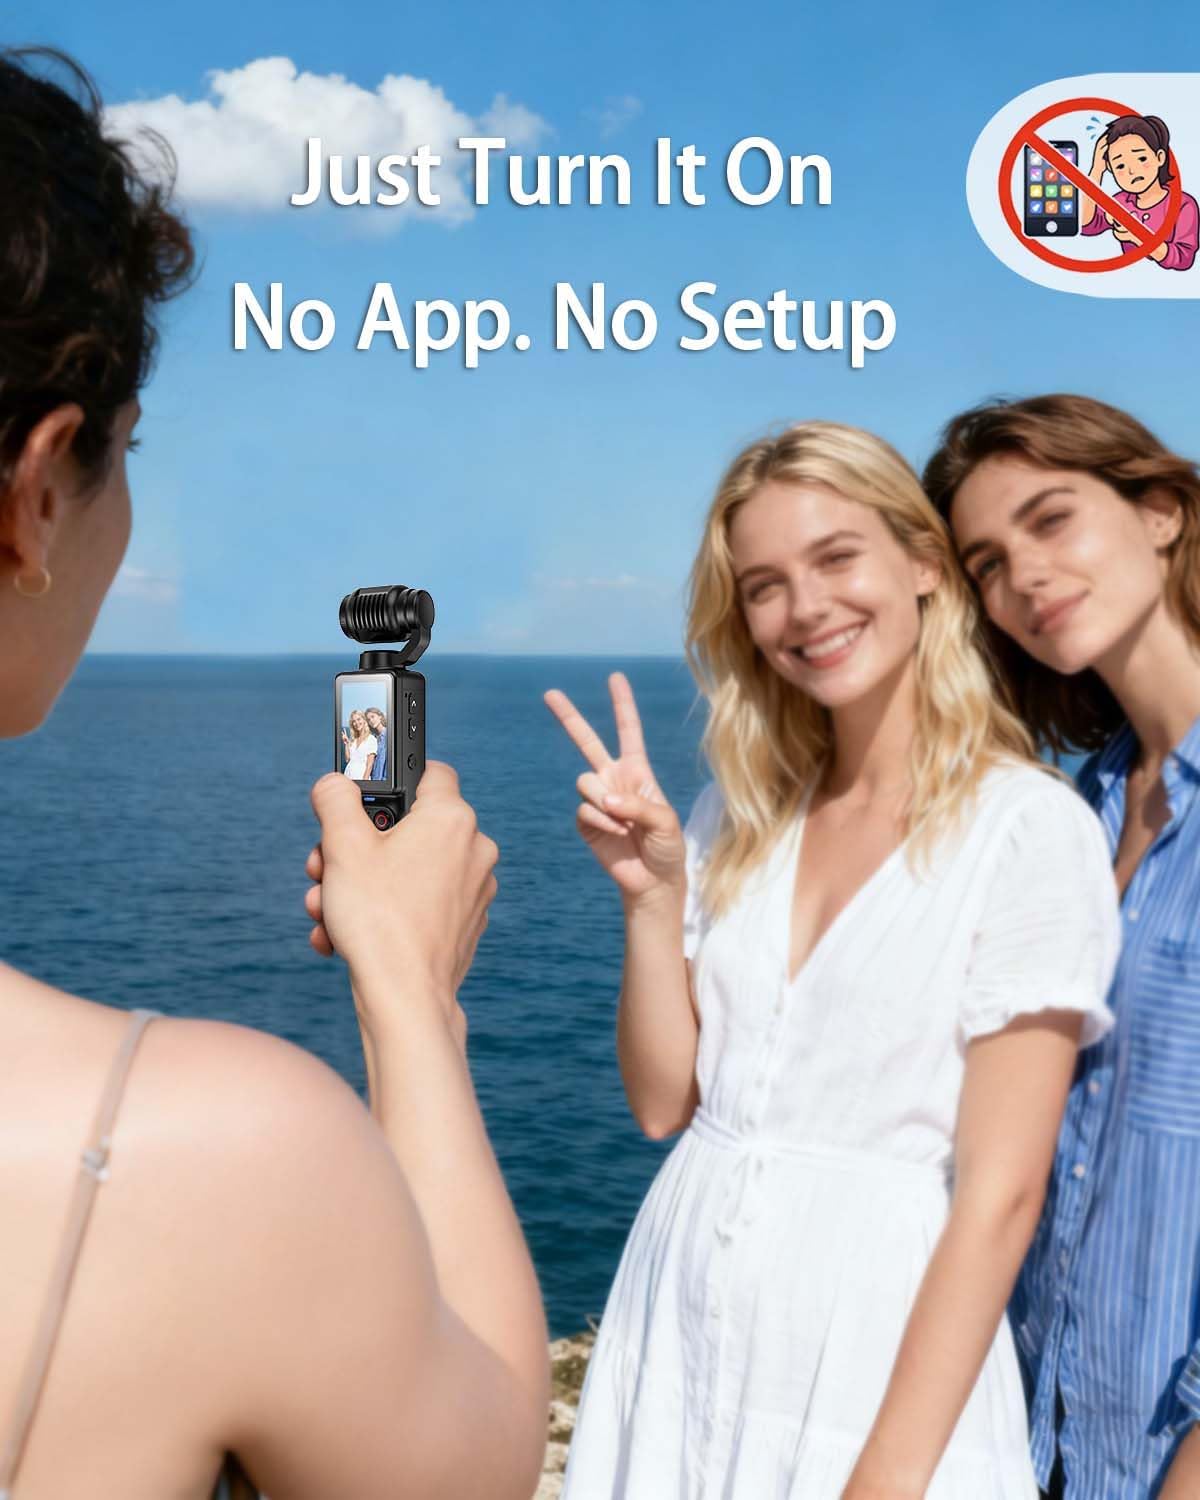
Image: The W & O Q7 camera highlighting its ease of use with no app or complex setup needed.
5. Basic Operation
Power On/Off
- To Power On: Long press the Power On/Off button until the screen lights up.
- To Power Off: Long press the Power On/Off button until the screen turns off.
Mode Selection
- Short press the Mode (M) Button to switch between Video, Photo, and Playback modes.
- Long press the Mode (M) Button to access the camera settings menu. Use the Zoom In/Out buttons to navigate and the OK button to select.
Recording Video & Taking Photos
- In Video mode, press the Record (OK) Button once to start recording. Press again to stop.
- In Photo mode, press the Shutter (OK) Button once to capture a photo.
- The 180° rotating lens allows for flexible shooting angles, including POV and self-recording.
Video: Demonstrating the W & O Q7 Vlogging Camera for beginners.
Video: Showcasing the compact size of the mini handheld camera.
6. Advanced Features
- 180° Rotating Lens: The camera head can be manually rotated 180 degrees, allowing you to easily switch between recording your surroundings and self-recording.
- Built-in Fill Light: Short press the Power On/Off button to activate the integrated fill light for improved visibility in low-light conditions.
- Electronic Image Stabilization (EIS): Provides smoother video footage, reducing shakiness during movement.
- Loop Recording: Automatically overwrites the oldest video files when the memory card is full, ensuring continuous recording.
- Slow Motion & Time-lapse: Access these modes through the settings menu for creative video effects.
- Autofocus, Burst Mode, Timer Shooting: These photo features are available in Photo mode settings for enhanced photography.

Image: The W & O Q7 camera highlighting its 2.5K UHD resolution and 180-degree rotating lens for detailed recording.

Image: The W & O Q7 camera demonstrating its fill light feature for enhanced night recording.
Video: Overview of the W & O Handheld camera features.
7. Connecting to Computer & Data Transfer
To transfer files, connect the camera to your computer using the provided USB-C cable. The camera will appear as a removable disk. You can also remove the SD card and use the included SD card reader to transfer files directly.

Image: The W & O Q7 camera connected to a laptop, illustrating USB-C data transfer and memory card reader functionality.
8. Charging
The W & O Q7 camera features a built-in 2000mAh rechargeable battery. Connect the camera to a USB power source (e.g., computer USB port, wall adapter) using the provided USB-C cable. The charging indicator light will show the charging status.

Image: The W & O Q7 camera highlighting its 2000mAh battery for extended recording time.
9. Specifications
| Feature | Detail |
|---|---|
| Brand | W & O |
| Model Number | Q7 |
| Item Weight | 9.9 ounces |
| Product Dimensions | 1.4 x 1.2 x 5 inches |
| Batteries | 1 9V batteries required. (included) |
| Special Features | 180° Rotating camera Head, 7 Hour Long Use time, Built-In Light, Time Lapse |
| Photo Sensor Technology | CCD |
| Video Capture Resolution | 2.5K UHD |
| Flash Memory Type | SD |
| Video Capture Format | MP4 |
| Supported Audio Format | MP3 |
| Screen Size | 1.3 Inches |
| Connectivity Technology | USB |
10. Troubleshooting
- Camera not powering on: Ensure the battery is fully charged. Long press the power button for at least 3 seconds.
- Recording issues: Check if the memory card is properly inserted and has sufficient free space. Ensure the camera is in the correct recording mode (Video or Photo).
- Poor video/photo quality: Ensure the lens protective film has been removed. Clean the lens with a soft cloth. Check lighting conditions and use the fill light if necessary.
- Connection issues with computer: Try a different USB-C port or cable. Ensure the camera is powered on when connecting.
11. Warranty and Support
W & O products come with a hassle-free 18-month warranty. Additionally, lifetime technical support is provided. For any questions or assistance, please contact customer service.
