
Introduction
This manual provides essential information for the safe and effective operation, setup, maintenance, and troubleshooting of your YESWELDER CUT-55DS PLUS Plasma Cutter. Please read this manual thoroughly before using the equipment to ensure proper function and to prevent injury or damage.
The YESWELDER CUT-55DS PLUS is a versatile 2-in-1 plasma cutting machine designed for both plate cutting and grid cutting applications. It features a powerful 55A output and non-touch pilot arc technology for efficient and clean cuts on various metal surfaces.
Safety Information
WARNING: Plasma cutting can be dangerous if proper safety precautions are not followed. Always wear appropriate personal protective equipment (PPE) and ensure your work area is safe.
- Always wear a welding helmet with appropriate shade, flame-resistant clothing, gloves, and safety shoes.
- Ensure adequate ventilation to remove fumes and gases.
- Keep a fire extinguisher nearby.
- Do not operate in damp or wet conditions.
- Ensure the workpiece is properly grounded.
- Disconnect power before performing any maintenance or changing consumables.
- Keep children and unauthorized personnel away from the operating area.
Product Components
The YESWELDER CUT-55DS PLUS Plasma Cutter comes with the main unit and several accessories and consumables. Familiarize yourself with all components before use.

Figure 1: YESWELDER CUT-55DS PLUS Plasma Cutter main unit and accessories, including the plasma torch, ground clamp, air hose, and power cable.

Figure 2: Included AG-60 Plasma Cutter Torch Consumables Kit, showing various shield cups, electrodes, brackets, and extend tips.
Torch Consumables Breakdown

Figure 3: Exploded view of the AG-60 plasma torch components: (1) Bracket, (2) Shield cup, (3) Extend Tip, (4) Electrode. These parts are crucial for proper torch function and require periodic replacement.
- Plasma Cutter Unit: Main power source and control panel.
- AG-60 Plasma Torch: For directing the plasma arc.
- Ground Clamp: For establishing an electrical connection to the workpiece.
- Air Hose: Connects the plasma cutter to an external air compressor.
- Power Cable: For connecting to the electrical supply.
- Consumables Kit: Includes Shield Cups, Electrodes, Brackets, and Extend Tips for the AG-60 torch.
Setup
- Unpacking and Inspection: Carefully remove all components from the packaging. Inspect for any shipping damage. Report any damage to your supplier immediately.
- Placement: Place the plasma cutter on a stable, level surface with adequate ventilation. Ensure there is sufficient space around the unit for airflow.
- Power Connection: Connect the power cable to a suitable electrical outlet. The CUT-55DS PLUS supports both 110V and 220V input voltages. Ensure the correct voltage is selected or automatically detected by the machine.
- Air Compressor Connection: Connect a clean, dry air supply from an external air compressor to the air inlet port on the back of the plasma cutter using the provided air hose. Ensure the air pressure is set between 45-75 PSI for optimal performance.
- Torch Connection: Connect the AG-60 plasma torch to the designated port on the front panel of the machine. Ensure it is securely fastened.
- Ground Clamp Connection: Connect the ground clamp cable to the designated ground terminal on the front panel. Attach the ground clamp securely to the workpiece or work table, ensuring good electrical contact.
- Consumables Installation: Ensure the correct consumables (electrode, extend tip, shield cup, bracket) are properly installed in the AG-60 torch as shown in Figure 3.
Operating Instructions
- Power On: Turn on the main power switch located on the front or rear panel of the plasma cutter. The display will illuminate.
- Select Cutting Mode: The CUT-55DS PLUS offers two cutting modes: Plate Cutting and Grid Cutting.

Figure 4: Illustration of Plate Cutting and Grid Cutting modes. Select the appropriate mode based on your material and application.
- Plate Cutting: For solid metal sheets.
- Grid Cutting: For expanded metal or grates, where the arc needs to re-establish across gaps.
- Adjust Amperage: Use the control knob to set the desired cutting amperage. Refer to the cutting capacity chart in the Specifications section for recommended settings based on material thickness.
- Verify Air Pressure: Ensure the air pressure gauge reads between 45-75 PSI. Adjust your air compressor regulator if necessary.
- Initiate Cut (Non-Touch Pilot Arc): Position the torch nozzle approximately 1/8 inch (3mm) above the workpiece. Press the torch trigger. The pilot arc will initiate without needing to touch the metal. Once the pilot arc is established, move the torch steadily across the cutting line.

Figure 5: Examples of clean cut and maximum cut capacity. Maintain consistent travel speed and torch height for optimal results.
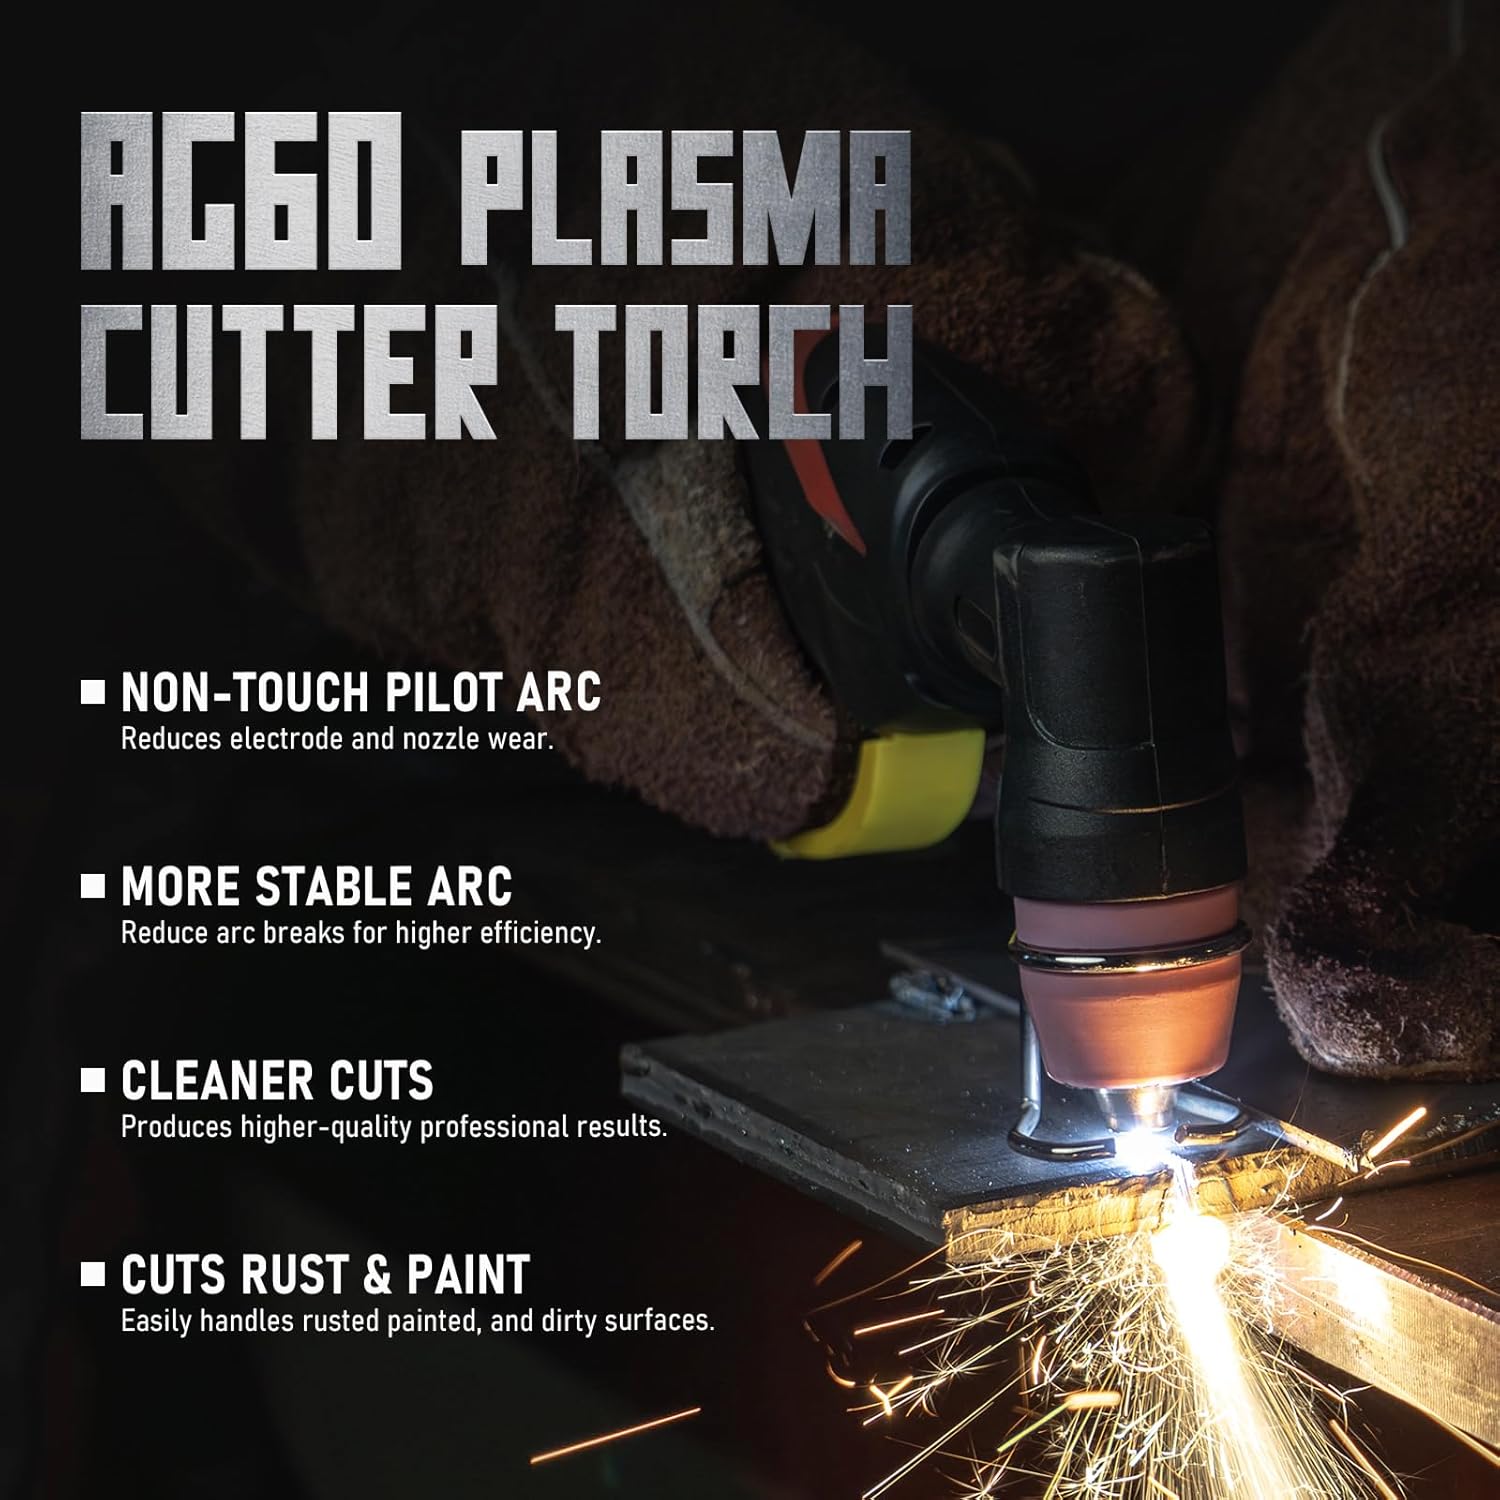
Figure 6: Key features of the AG-60 Plasma Cutter Torch, highlighting the non-touch pilot arc for improved performance and consumable life.
- Cutting Technique: Maintain a consistent torch height and travel speed. A proper cut will produce minimal dross and a clean kerf. Adjust amperage and speed as needed.
- Power Off: After completing your work, release the torch trigger, turn off the main power switch, and disconnect the power cable.
Maintenance
Regular maintenance ensures the longevity and optimal performance of your plasma cutter.
- Consumable Replacement: Regularly inspect the torch consumables (electrode, extend tip, shield cup) for wear. Replace them when they show signs of excessive wear, such as a widened orifice, pitting, or poor cut quality. Refer to Figure 3 for component identification.
- Torch Cleaning: Keep the torch head and consumables clean from spatter and debris. Use a non-abrasive tool to gently clean the nozzle and shield cup.
- Air Filter/Drain: Periodically check and drain any moisture from the air filter/water separator on your air compressor. Clean or replace the air filter as needed to ensure a clean, dry air supply to the plasma cutter.
- General Cleaning: Keep the plasma cutter unit clean and free from dust and metal particles. Use compressed air to blow out internal components if necessary, ensuring the unit is unplugged first.
- Cable Inspection: Inspect all cables (power, torch, ground) for damage, cuts, or frayed insulation. Replace damaged cables immediately.
Troubleshooting
If you encounter issues with your plasma cutter, refer to the following common problems and solutions:
| Problem | Possible Cause | Solution |
|---|---|---|
| No Arc / Arc Fails to Start |
|
|
| Poor Cut Quality / Excessive Dross |
|
|
| Unit Overheats / Thermal Overload |
|
|
Specifications
Key technical specifications for the YESWELDER CUT-55DS PLUS Plasma Cutter:
| Feature | Description |
|---|---|
| Model | CUT-55DS PLUS |
| Input Voltage | 110V / 220V (Dual Voltage) |
| Output Current | 55 Amps (Maximum) |
| Cutting Technology | Non-Touch Pilot Arc |
| Cutting Modes | 2-in-1 (Plate Cutting / Grid Cutting) |
| Ideal Clean Cut (110V) | 5/16" (8mm) |
| Maximum Cut (110V) | 9/16" (14mm) |
| Ideal Clean Cut (220V) | 25/64" (10mm) |
| Maximum Cut (220V) | 17/24" (18mm) |
| Required Air Pressure | 45-75 PSI |
| Dimensions (Approx.) | 16.34 in (L) x 6.1 in (W) x 8.86 in (H) |
| Weight (Approx.) | 14.48 lbs |

Figure 7: Physical dimensions and weight of the plasma cutter unit.
Warranty and Support
For warranty information, technical support, or to purchase replacement parts, please refer to the official YESWELDER website or contact their customer service department. Keep your purchase receipt as proof of purchase for warranty claims.
Contact Information: Please visit www.yeswelder.com for the most up-to-date support resources and contact details.