1. Introduction
This manual provides essential instructions for the safe and efficient operation of your TMY 4K Support Outdoor Smart Projector. Please read this manual thoroughly before using the projector and retain it for future reference. The projector offers native 1080P Full HD resolution, supporting 4K input, and features built-in Android TV for direct access to various applications. Its 270° rotatable design, electric focus, and auto keystone correction ensure flexible placement and optimal image quality.
2. Safety Information
- Do not look directly into the projector lens when the lamp is on. The intense light can cause eye damage.
- Ensure proper ventilation around the projector. Do not block ventilation openings.
- Keep the projector away from water or other liquids to prevent electric shock.
- Use only the power adapter supplied with the projector.
- Avoid placing the projector on unstable surfaces.
- Do not attempt to open or repair the projector yourself. Refer all servicing to qualified personnel.
- Keep the projector away from heat sources such as radiators, heat registers, stoves, or other apparatus that produce heat.
3. Package Contents
Verify that all items are present in the package:
- TMY 4K Support Outdoor Smart Projector
- Power Adapter
- Remote Control
- User Manual
4. Product Overview
The TMY 4K Support Outdoor Smart Projector is a versatile device designed for various entertainment and presentation needs. It features a compact, rotatable body and delivers native 1080P Full HD visuals with support for 4K input, ensuring vibrant colors and sharp details.

Image: A front-angle view of the TMY Smart Projector, showcasing its compact, modern design in white with a prominent dark lens. The image highlights the device's aesthetic and its rotating base.
Familiarize yourself with the projector's components and connection ports.
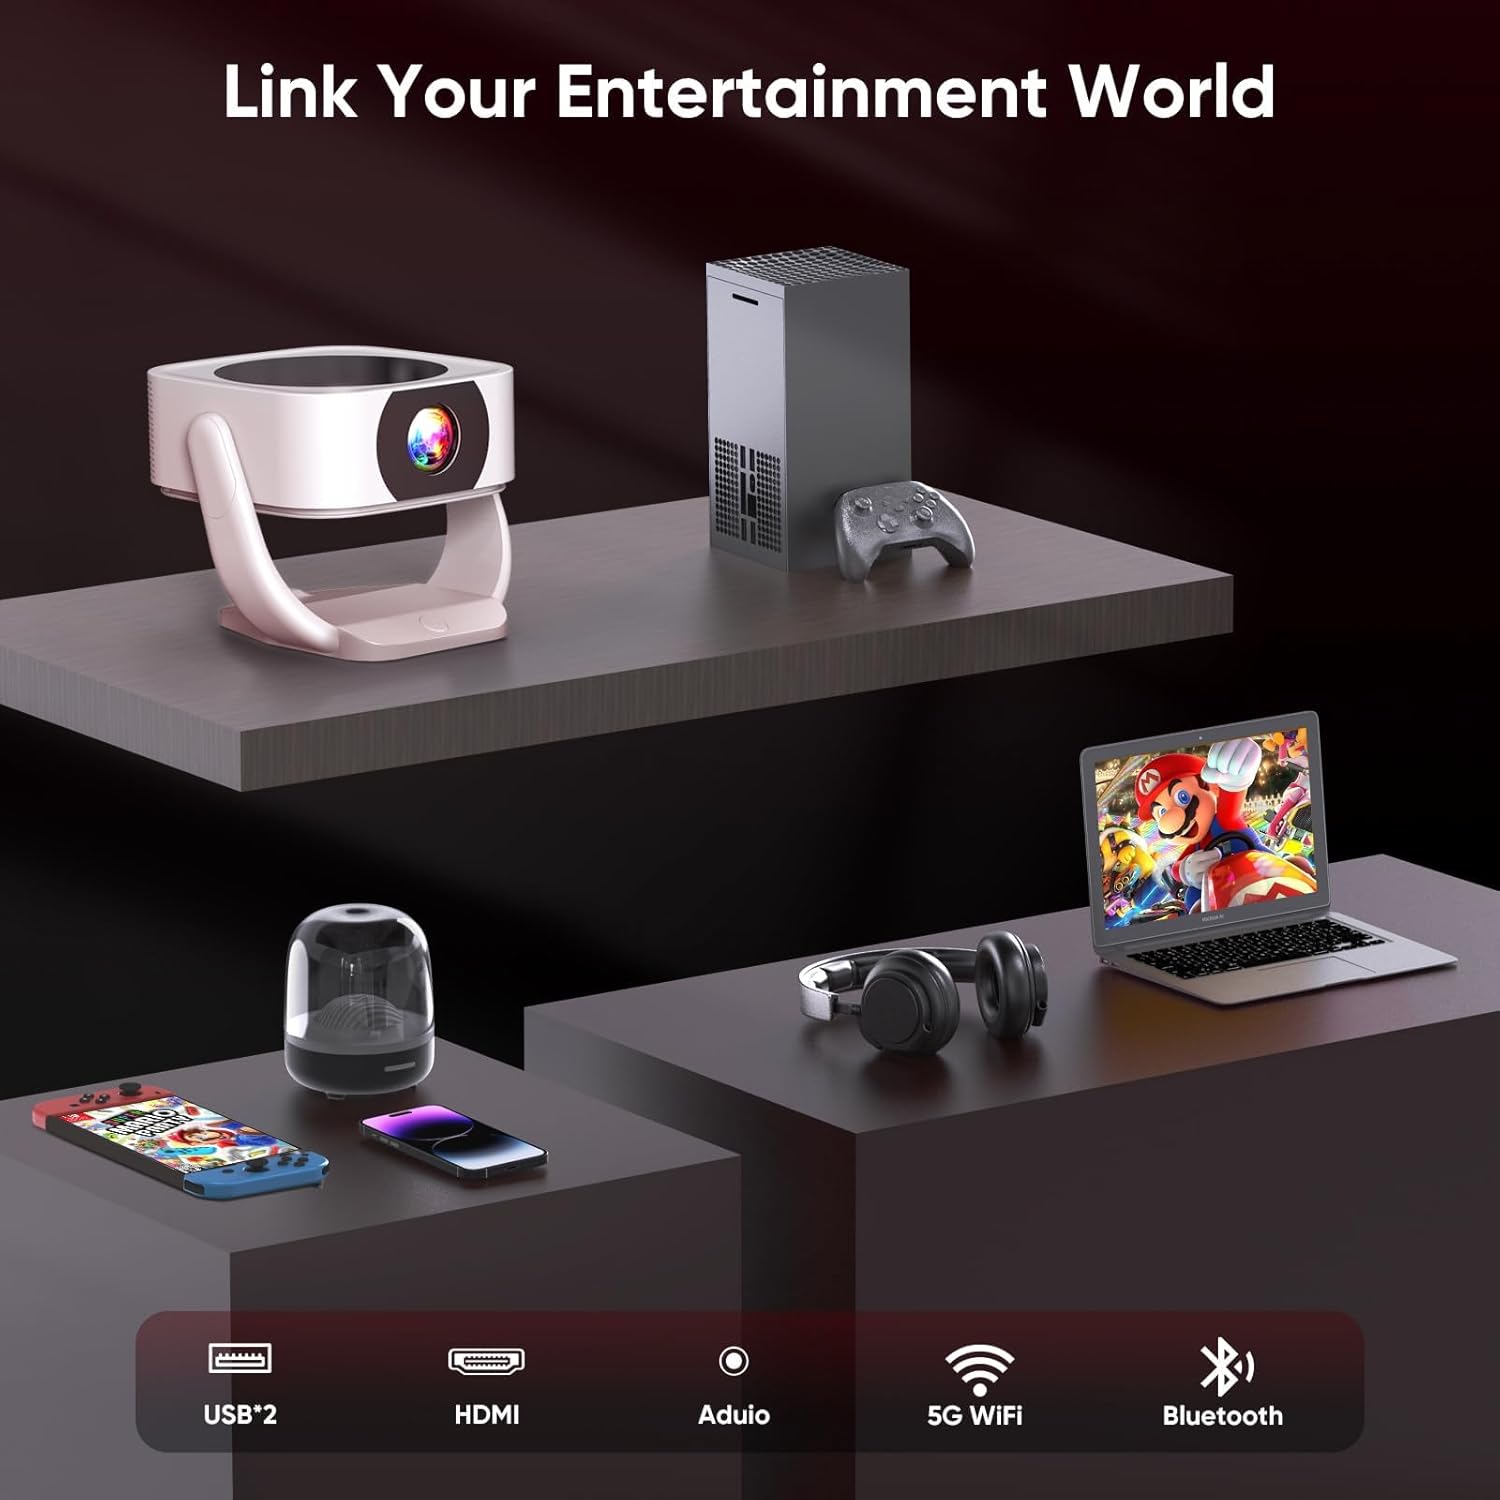
Image: Rear view of the TMY Smart Projector showing its connectivity options. These include USB ports, an HDMI input, an audio output, and indicators for 5G WiFi and Bluetooth connectivity. This allows for a wide range of external device connections.

Image: A visual comparison demonstrating the projector's superior color reproduction. One side, labeled 'Ours', displays vibrant and rich colors, while the other side, labeled 'Others', shows muted and less dynamic hues, highlighting the projector's ability to 'Bring Colors to Life'.
5. Setup
5.1 Placement
The TMY Smart Projector's 270° rotatable design and adjustable stand allow for flexible placement. You can project onto walls, ceilings, or even outdoors. Position the projector at a distance between 1 meter (minimum) and 9.98 meters (maximum) from your desired projection surface to achieve the optimal screen size.

Image: Two TMY Smart Projectors demonstrating multi-angle projection. One projects onto a wall screen, and the other projects onto the ceiling, illustrating the device's flexibility for various viewing setups.

Image: A TMY Smart Projector shown with its rotating base, highlighting its 270-degree rotatable design for versatile projection angles.
5.2 Power Connection
Connect the provided power adapter to the projector's power input port, then plug the adapter into a standard electrical outlet.
5.3 Initial Power On
Press the power button on the projector or the remote control to turn on the device. The projector will boot up and display the home screen.
5.4 Focus and Keystone Adjustment
The projector features remote electric focus and automatic keystone correction.
- Electric Focus: Use the remote control to adjust the focus until the image appears sharp and clear.
- Auto Keystone Correction: The projector will automatically correct distorted images (trapezoidal effect) to ensure a rectangular projection. Manual adjustments may be available in the settings menu if needed.

Image: A family enjoying a movie projected by the TMY Smart Projector. This image highlights the ease of achieving a brilliant image with E-focus and Auto Keystone correction, even when projecting from a casual position.
6. Operating Instructions
6.1 Smart Features and Navigation
Your TMY Smart Projector comes with built-in Android TV, providing access to hundreds of applications directly from the device.
- Use the remote control's directional buttons to navigate through the Android TV interface.
- Select applications like YouTube, Netflix, Prime Video, etc., from the home screen to start streaming content.
- Access the app store to download and install additional applications.
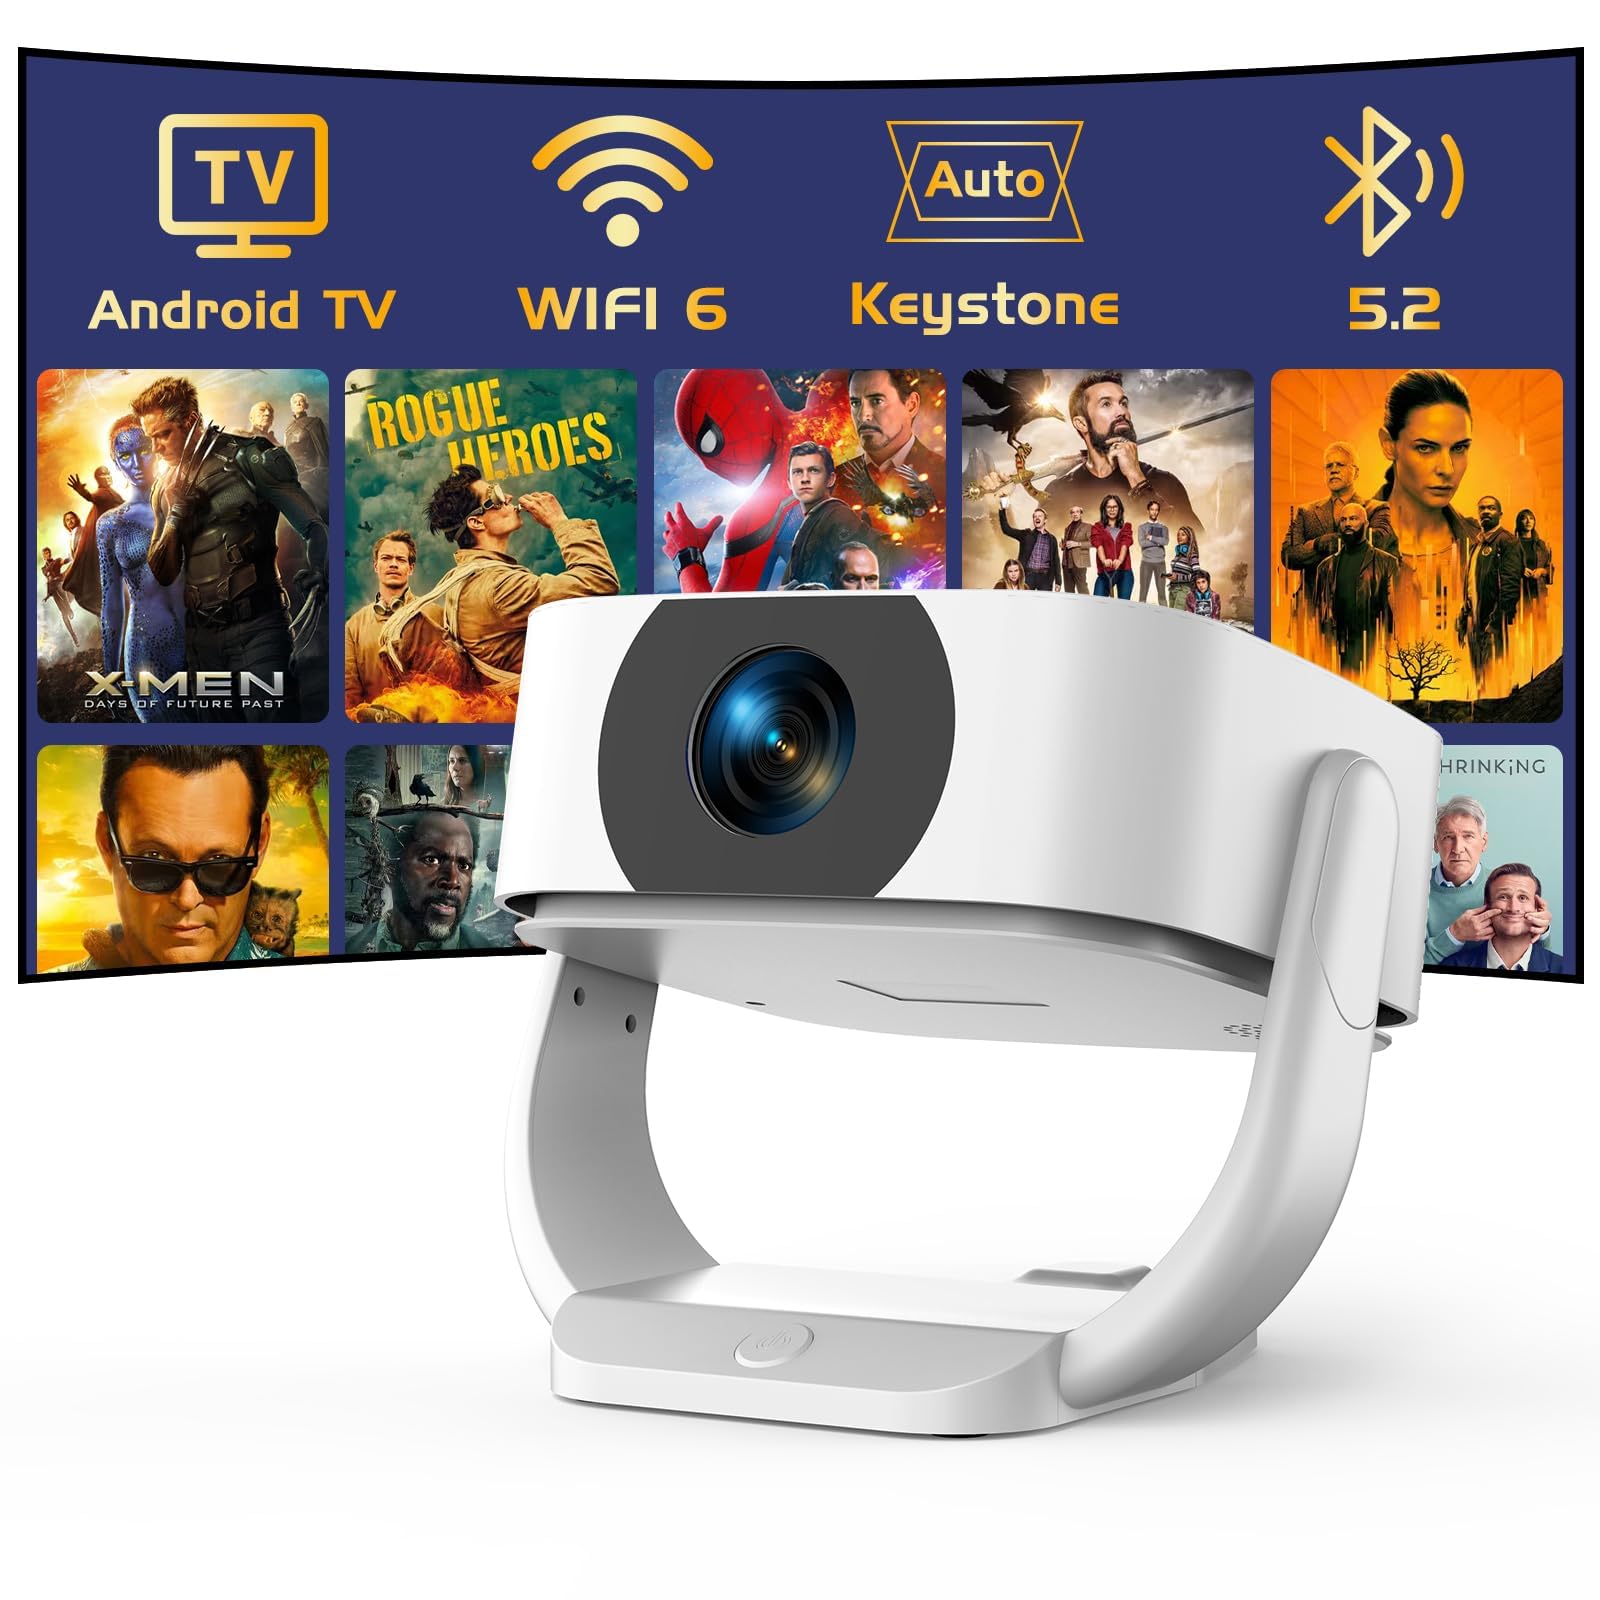
Image: The TMY Smart Projector's interface showing a wide array of built-in streaming applications, including HBO Max, YouTube, Netflix, and Prime Video, demonstrating its capability to provide endless entertainment without external devices.
6.2 WiFi Connectivity
Connect your projector to a wireless network for internet access and streaming.
- Go to the "Settings" menu on the home screen.
- Select "Network & Internet" or "WiFi Settings".
- Turn on WiFi and select your desired network from the list.
- Enter the password if prompted and connect.
6.3 Bluetooth Connectivity
The projector supports two-way Bluetooth 5.2, allowing it to connect to external Bluetooth speakers or headphones, or function as a standalone Bluetooth speaker.
- Connecting to External Speakers:
- Go to "Settings" > "Bluetooth".
- Enable Bluetooth and search for devices.
- Select your Bluetooth speaker/headphone from the list to pair.
- Using as a Standalone Bluetooth Speaker:
Refer to the specific instructions in the projector's settings or a dedicated mode for activating its Bluetooth speaker function. This allows you to play audio from your smartphone or other devices through the projector's speakers.

Image: A visual representation of the projector's two-way Bluetooth 5.2 capabilities. It shows the projector connecting wirelessly to an external Bluetooth speaker and also receiving audio from a smartphone, demonstrating its versatility as both a source and a receiver for audio.
6.4 Screen Mirroring
Mirror your smartphone (iOS/Android) screen to the projector wirelessly.
- Ensure both your smartphone and the projector are connected to the same WiFi network.
- On the projector, select the "Screen Mirroring" or "Cast" application.
- On your smartphone, activate the screen mirroring feature (e.g., "Smart View" on Android, "Screen Mirroring" on iOS Control Center).
- Select the projector from the list of available devices on your phone.
6.5 Connecting External Devices (HDMI, USB)
Connect devices such as laptops, gaming consoles, or USB drives.
- HDMI: Connect an HDMI cable from your external device to the HDMI port on the projector. Select the HDMI input source from the projector's input menu.
- USB: Insert a USB flash drive or external hard drive into the USB port. The projector's media player will typically detect the device, allowing you to browse and play media files.
6.6 Electric Zoom
Adjust the screen size without moving the projector using the electric zoom function, which allows for 50%-100% scaling.
- Access the "Picture Settings" or "Projection Settings" menu.
- Locate the "Zoom" or "Scaling" option.
- Adjust the percentage to reduce or enlarge the projected image as desired.

Image: A visual comparison demonstrating the TMY Smart Projector's ability to create a large 300-inch screen, significantly larger than a 75-inch TV. It also illustrates the 50% and 100% electric zoom capabilities, allowing users to adjust the screen size without physically moving the projector.
7. Maintenance
- Cleaning the Lens: Gently wipe the projector lens with a soft, lint-free cloth. For stubborn smudges, use a lens cleaning solution designed for optical surfaces.
- Cleaning the Casing: Use a soft, dry cloth to clean the projector's exterior. Do not use abrasive cleaners or solvents.
- Ventilation: Periodically check and clean the ventilation openings to ensure proper airflow and prevent overheating.
- Storage: When not in use for extended periods, store the projector in a cool, dry place, protected from dust and direct sunlight.
8. Troubleshooting
| Problem | Possible Cause | Solution |
|---|---|---|
| No image displayed | Power cable disconnected; Incorrect input source; Projector in standby mode. | Check power connection; Select correct input source (HDMI, USB, etc.); Press power button to wake up. |
| Image is blurry | Focus not adjusted; Projector too close/far from screen. | Use remote control for electric focus adjustment; Adjust projector distance. |
| Image is distorted (trapezoid) | Projector not perpendicular to screen. | Auto keystone correction should activate; Check manual keystone settings if available. |
| No sound | Volume too low; Muted; External audio device not connected/selected. | Increase volume; Unmute; Check Bluetooth connection or external audio cable. |
| Remote control not working | Batteries depleted; Obstruction between remote and projector. | Replace batteries; Remove obstructions; Ensure line of sight. |
9. Specifications
- Brand: TMY
- Model: B0G63V4R3R
- Native Resolution: 1080P Full HD (4K Support)
- Special Features: Built-In Wi-Fi 6, Built-in Android TV, Electric Focus, Auto Keystone Correction, 270° Rotatable Design, Two-way Bluetooth 5.2
- Aspect Ratio: 16:9
- Refresh Rate: 120 Hz
- Minimum Throw Distance: 1 Meter
- Maximum Throw Distance: 9.98 Meters
- Connectivity: HDMI, USB, Audio Out, WiFi 6, Bluetooth 5.2
- Power: AC 100-240V, 50/60Hz (via power adapter)
- Dimensions (Parcel): 24.7 x 22.4 x 18.7 cm
- Weight (Parcel): 1.61 kg
- Country of Origin: China
10. Warranty and Support
For warranty information and technical support, please refer to the warranty card included with your product or visit the official TMY website.
Contact information for support is typically available on the manufacturer's website or in the product packaging.


