
1. Introduction
The LUMDEER Smart E-Bike Helmet is designed to enhance safety and visibility for riders of e-bikes, scooters, bicycles, and mountain bikes. Certified to NTA-8776, U.S. CPSC, and EU EN 1078 safety standards, this helmet provides superior protection, especially for higher-speed e-bike use up to 28 MPH. It features integrated front and rear LED lights, wireless turn signals, an automatic brake light, and a photochromic visor for adaptable vision.
2. Setup
2.1. Helmet Adjustment
To ensure optimal safety and comfort, properly adjust the helmet to your head size.
- Place the helmet on your head.
- Locate the adjustment dial at the rear of the helmet.
- Turn the dial clockwise to tighten the fit or counter-clockwise to loosen it until the helmet is snug but comfortable.
- Adjust the chin straps so they form a 'V' shape under your ears and the buckle is centered under your chin. The chin strap features a soft padding for comfort.

Figure 1: Helmet Adjustment System and Soft Chin Pad.
2.2. Visor Attachment
The helmet includes a removable magnetic photochromic visor. To attach or remove:
- Align the magnetic points on the visor with the corresponding points on the helmet.
- The magnets will secure the visor in place. To remove, gently pull the visor away from the helmet.
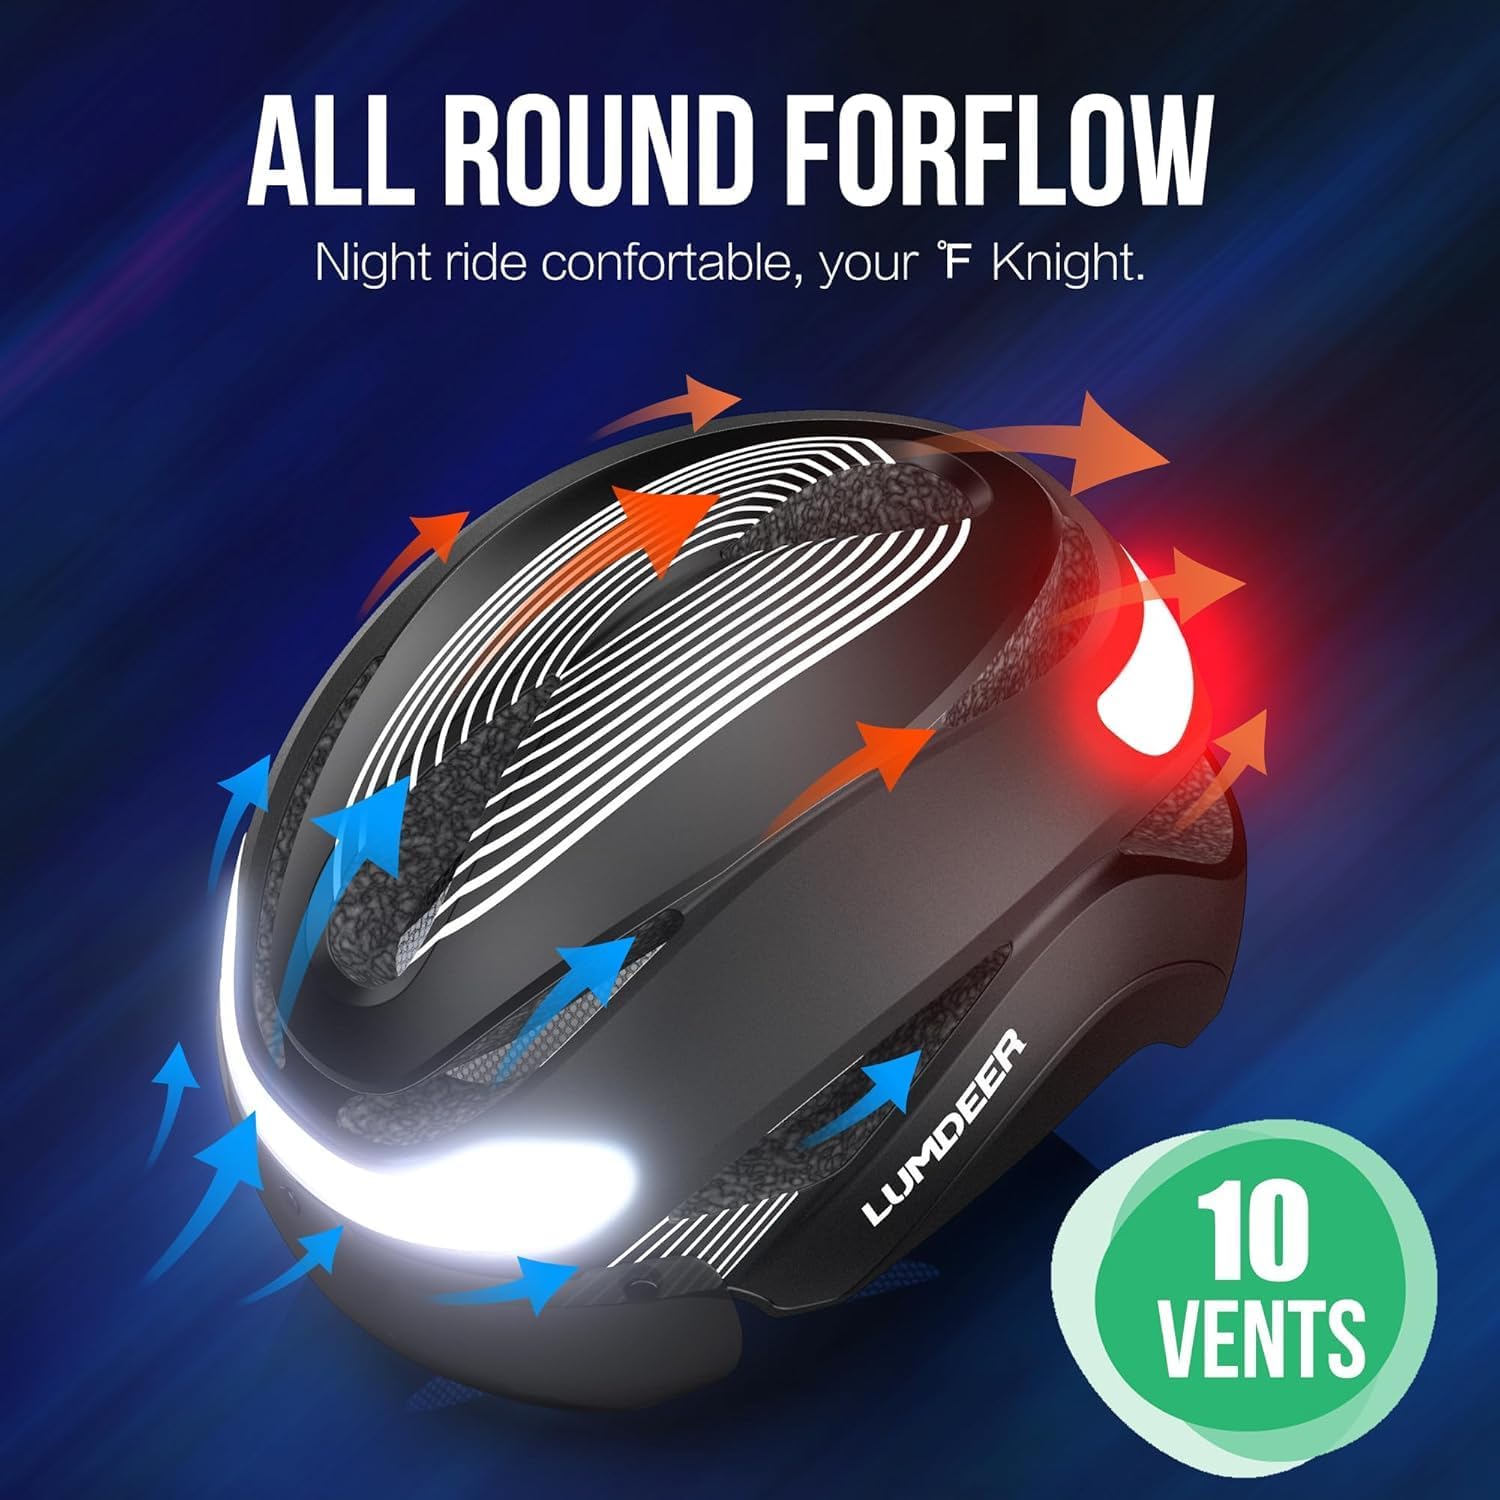
Figure 2: Magnetic Photochromic Visor.
2.3. Remote Control Mounting
The wireless remote control for turn signals can be mounted on your bike's handlebar.
- Use the included strap to secure the remote to a convenient position on your handlebar.
3. Operating Instructions
3.1. Powering On/Off and Light Modes
The helmet features integrated front and rear LED lights with multiple operating modes.
- Power On: Press the power button located on the rear of the helmet. The front and rear lights will illuminate.
- Cycle Modes: Press the power button repeatedly to cycle through the available light modes: Standard (solid front/rear), Cycling (flashing rear), Illumination (front light only), and Warning (emergency flashing).
- Power Off: Press and hold the power button for a few seconds until the lights turn off.

Figure 3: Helmet Light Modes.
3.2. Wireless Turn Signals
Activate turn signals using the handlebar-mounted remote control.
- Press the left arrow button on the remote for a left turn signal. The front and rear lights will indicate a left turn.
- Press the right arrow button on the remote for a right turn signal. The front and rear lights will indicate a right turn.
- Press the same arrow button again to deactivate the turn signal.
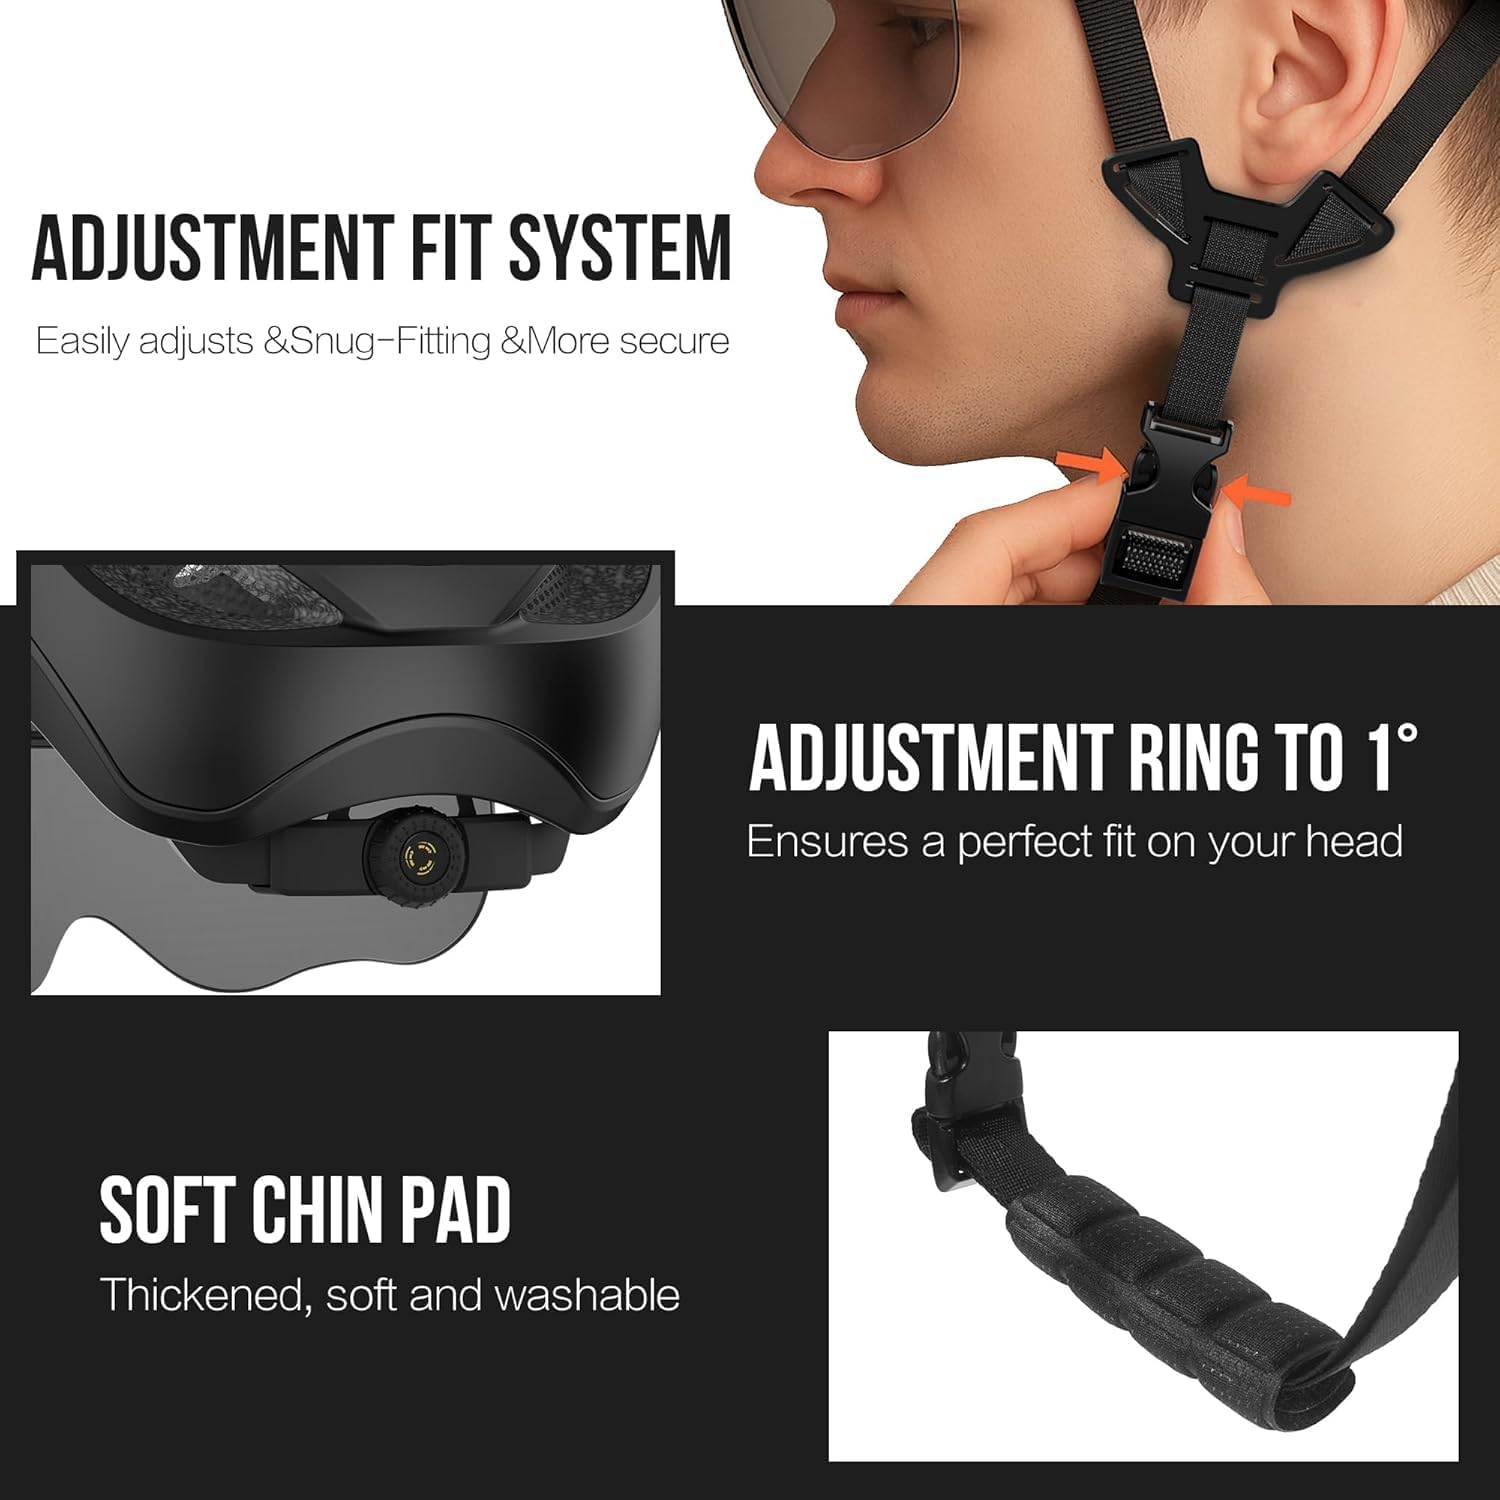
Figure 4: Wireless Turn Signals in Operation.
3.3. Automatic Brake Light
The helmet is equipped with an accelerometer that detects sudden braking.
- When the helmet detects a significant deceleration (braking), the rear lights will automatically illuminate brightly to alert traffic behind you.
3.4. Photochromic Visor Functionality
The magnetic photochromic visor automatically adjusts its tint based on UV intensity.
- In bright sunlight (UV > 400), the visor will darken.
- In cloudy conditions (400 > UV > 150), the tint will be moderate.
- In nighttime conditions (150 > UV), the visor will be clearer.
Video 1: Demonstration of LUMDEER Ebike Helmet with Turn Signals. This video illustrates the functionality of the integrated turn signals and automatic brake light.
Video 2: Quick Review of LUMDEER Ebike Helmet. This video provides a brief overview of the helmet's features, including its lights and design.
4. Maintenance
4.1. Cleaning
- The inner liner of the helmet is removable and washable for hygiene.
- Clean the helmet's exterior with a soft, damp cloth and mild soap. Avoid harsh chemicals.
- Wipe the visor gently with a microfiber cloth to prevent scratches.
4.2. Charging
The helmet's integrated lights are USB rechargeable.
- Connect the provided USB-C cable to the charging port on the rear of the helmet.
- Connect the other end to a USB power source.
- A full charge typically takes approximately 1.5 hours and provides up to 12 hours of battery life depending on the mode used.
5. Troubleshooting
- Lights not turning on: Ensure the helmet is charged. Press and hold the power button to confirm it's not in an off state.
- Turn signals not responding: Check if the remote control is charged and properly paired with the helmet. Ensure the remote is within operating range.
- Visor not attaching securely: Verify that the magnetic points on both the visor and helmet are clean and free from debris.
6. Specifications
| Feature | Detail |
|---|---|
| Brand | LUMDEER |
| Model Name | 16F-01 |
| Color | Black |
| Age Range | Adult |
| Size | Large |
| Safety Certifications | NTA-8776, U.S. CPSC, EU EN 1078 |
| Special Features | Adjustable Strap, Anti-Fog, Auto Brake Light, Front & Rear LED Lights, Remote Controlled Turn Signals |
| Outer Material | Acrylonitrile Butadiene Styrene (ABS) |
| Inner Material | Expanded Polystyrene |
| Recommended Uses | Cycling |
| UPC | 781103203719 |
7. Warranty and Support
For warranty information or product support, please refer to the following options:
- Amazon Seller Support: Log in to your Amazon buyer's account, find your order, and click "Get help" to ask for assistance with this product.
- Direct Email Support: Send an email to the LUMDEER After-Sales Team at support@lumdeerhelmet.com. You will receive a response as soon as possible.