
Introduction
Thank you for choosing the QNIGLO SW-66 Long-Range FRS Two-Way Radio. This manual provides essential information for the safe and efficient operation of your device. Please read it thoroughly before use and retain it for future reference.
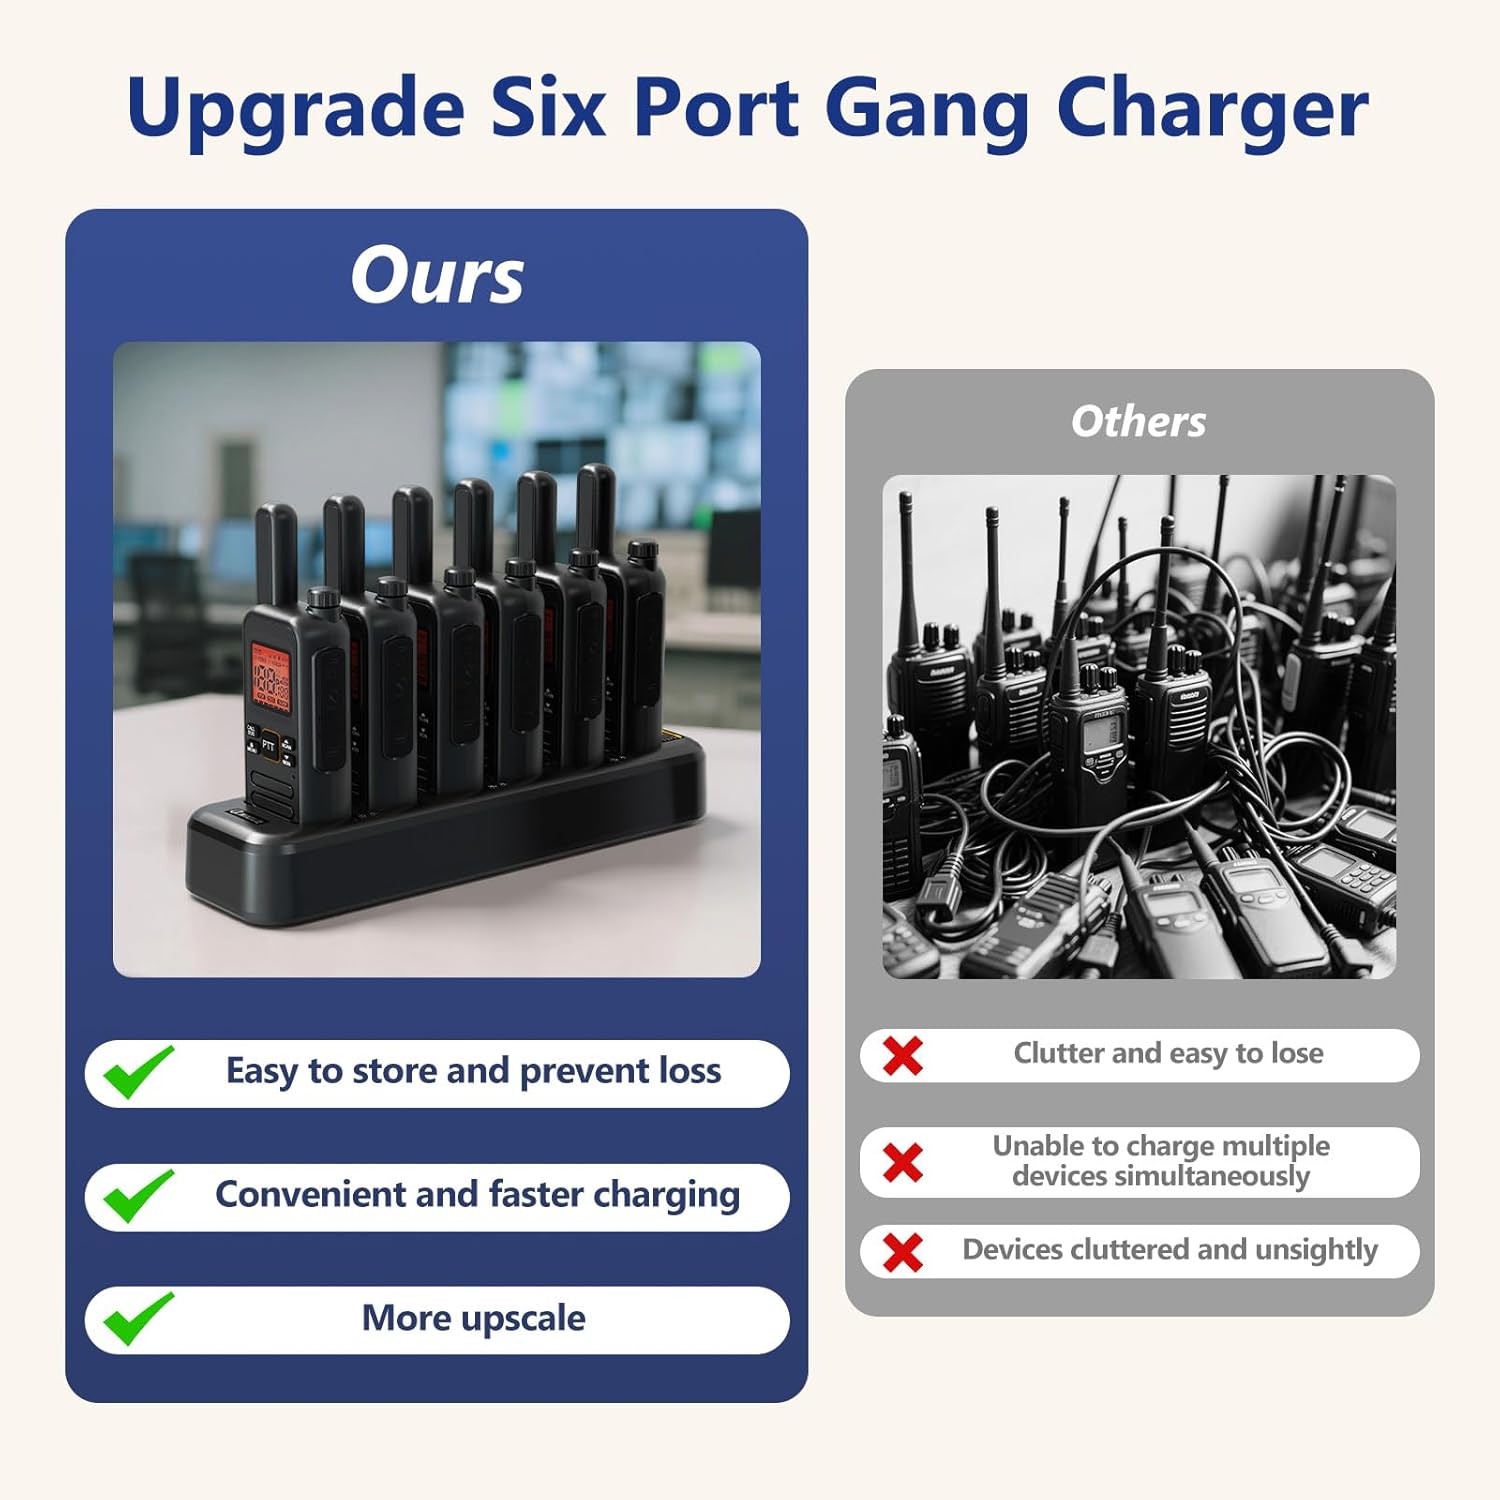
Figure 1: QNIGLO SW-66 Two-Way Radios
Package Contents
Verify that all items are present in your package:
- QNIGLO SW-66 Two-Way Radios (quantity as purchased)
- Charging Dock
- USB-C Cables (quantity matching radios)
- Wall Adapter
- Walkie-Talkie Headsets (quantity matching radios)
- Belt Clips (quantity matching radios)
- User Manual (this document)
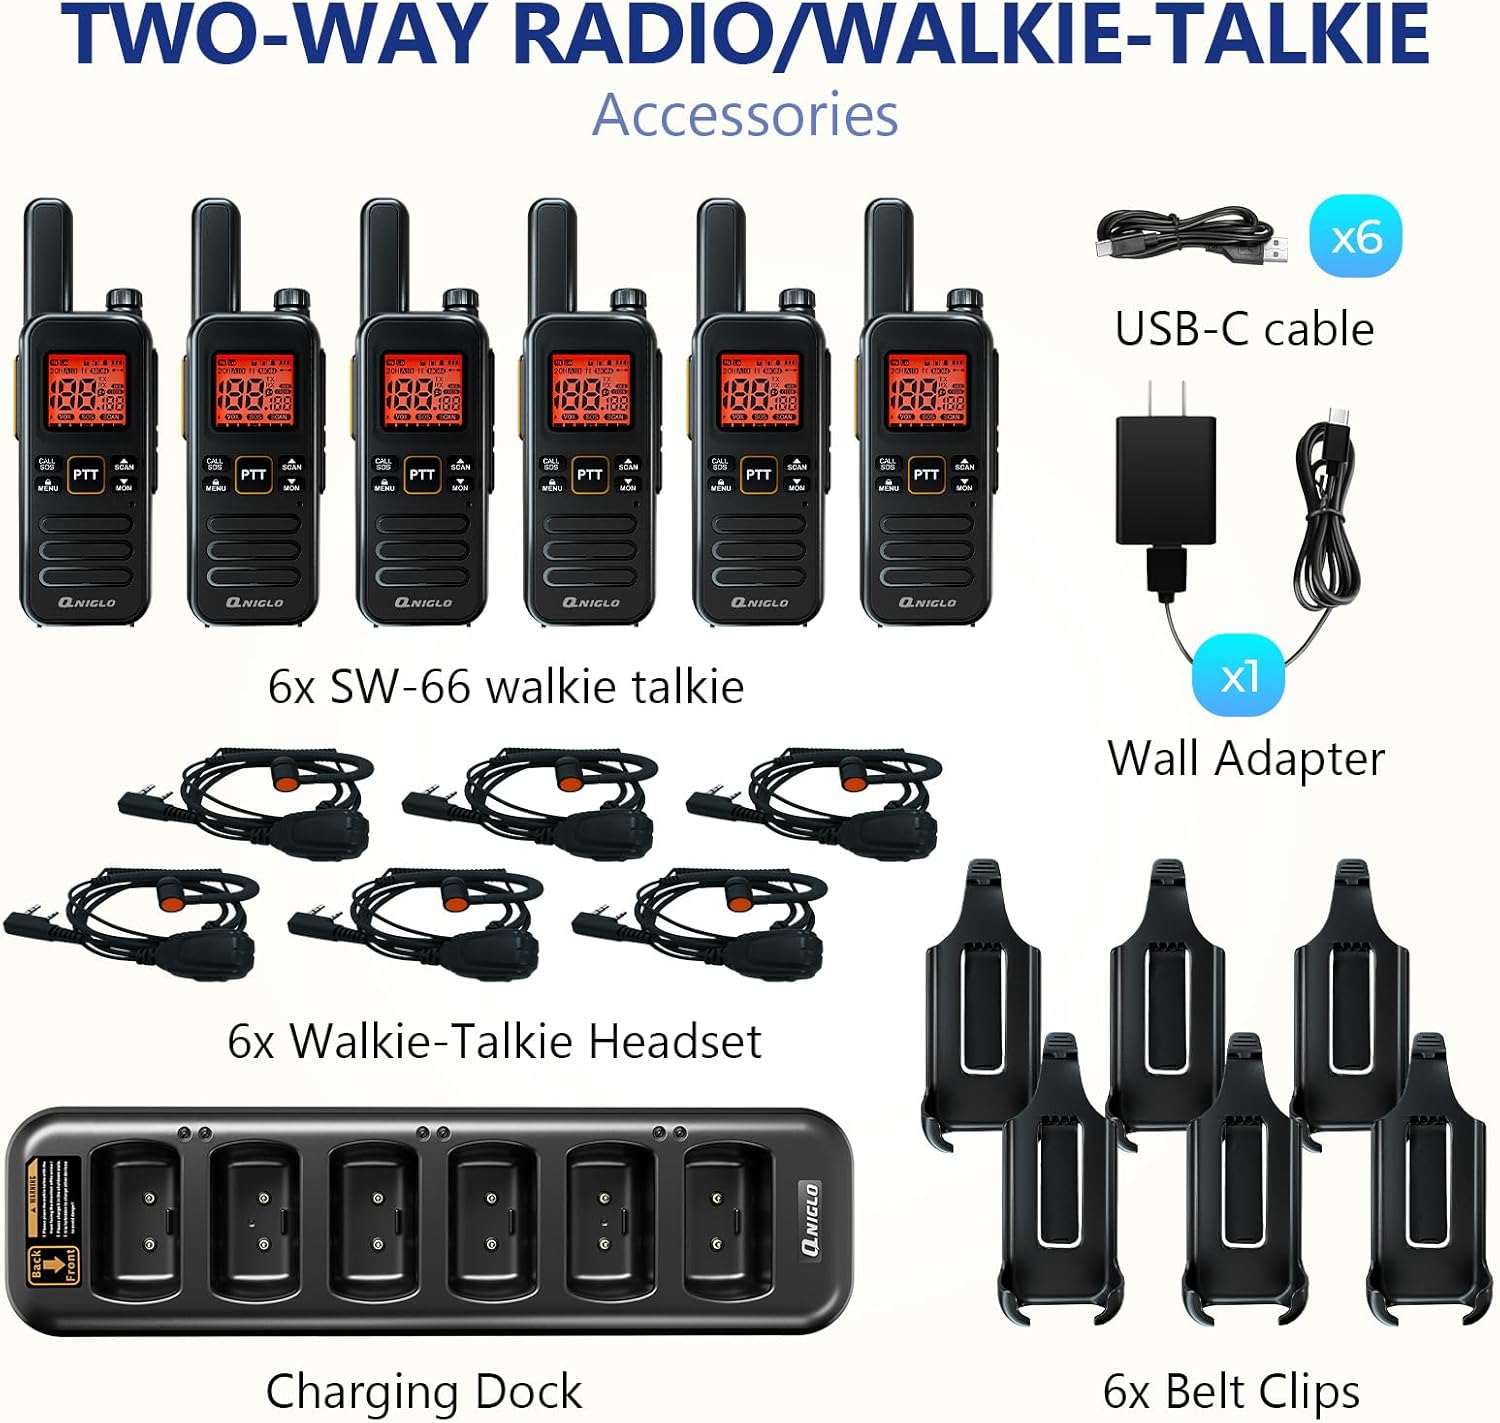
Figure 2: Included Accessories and Components
Product Overview
Familiarize yourself with the radio's components and controls.

Figure 3: QNIGLO SW-66 Button Description
Key Components:
- Antenna: For signal transmission and reception.
- Rotary Switch: Controls power ON/OFF and volume adjustment.
- PTT (Push-To-Talk) Buttons (PTT 1, PTT 2): Press to transmit, release to receive.
- F-type Connector: For external antenna or accessories.
- TYPE-C Charging Port: Direct charging port.
- Bell Mouth / Microphone Hole: For voice input.
- Base Charging Port: For charging with the charging dock.
- CALL/SOS Button: Short press to send a call, long press for SOS emergency alarm.
- MENU Button: Short press for menu, long press for keypad lock.
- SCAN/UP Button: Short press for next option, long press to activate scan function.
- MON/DOWN Button: Short press for previous option, long press to activate monitor function.
Setup
1. Charging the Radio
Before first use, fully charge the radio's battery. The radio can be charged using the included charging dock or directly via the USB-C port.
- Using the Charging Dock: Connect the charging dock to the wall adapter using the USB-C cable, then plug the adapter into a power outlet. Place the radio into a slot on the charging dock. The LED indicator on the dock will show charging status.
- Direct USB-C Charging: Connect a USB-C cable directly to the TYPE-C charging port on the side of the radio and to a USB power source.

Figure 4: Charging the Radios with the Dock
A full charge typically takes approximately 4 hours and provides about 22 hours of working time.
2. Attaching Accessories
- Belt Clip: Align the belt clip with the designated grooves on the back of the radio and slide it down until it clicks into place.
- Headset: Plug the headset connector into the F-type connector port on the radio. Ensure it is securely inserted.
Operating Instructions
1. Power On/Off and Volume Adjustment
Rotate the top rotary switch clockwise to power on the radio. Continue rotating clockwise to increase volume. Rotate counter-clockwise to decrease volume. Rotate fully counter-clockwise until a click is heard to power off the radio.
2. Channel Selection
The QNIGLO SW-66 supports 22 FRS channels. To change channels, use the MENU button to enter channel selection mode, then use the SCAN/UP and MON/DOWN buttons to navigate through channels. Press MENU again to confirm your selection.
3. Transmitting and Receiving (PTT)
- To transmit, press and hold either PTT 1 or PTT 2 button. Speak clearly into the microphone.
- Release the PTT button to stop transmitting and return to receive mode.
- Ensure all radios are on the same channel to communicate.
4. VOX Function (Voice Operated Exchange)
The VOX function allows hands-free transmission. When activated, the radio will automatically transmit when it detects your voice. Refer to the on-screen menu for VOX activation and sensitivity adjustment.
5. Scan Function
Long press the SCAN/UP button to activate the scan function. The radio will scan through active channels. Press the SCAN/UP button again to stop scanning.
6. Keypad Lock
Long press the MENU button to lock the keypad, preventing accidental button presses. Long press MENU again to unlock.
7. Emergency Alarm (SOS)
In an emergency, long press the CALL/SOS button to activate the SOS alarm. This will transmit an alert signal to other radios on the same channel.
8. Monitor Function
Long press the MON/DOWN button to temporarily disable squelch and listen for weak signals on the current channel. Release the button to return to normal operation.
9. NOAA Weather Channels
The radio supports NOAA weather channels for receiving weather alerts. Consult the on-screen menu to access and select NOAA channels.
Maintenance
- Cleaning: Use a soft, damp cloth to clean the radio's exterior. Do not use harsh chemicals or abrasive cleaners.
- Battery Care: To prolong battery life, avoid fully discharging the battery frequently. Charge the radio regularly, even if not in use for extended periods.
- Storage: Store the radio in a cool, dry place away from direct sunlight and extreme temperatures. Remove the battery if storing for very long periods.
- Water Resistance: Note that this device is NOT water resistant. Avoid exposure to water or high humidity.
Troubleshooting
| Problem | Possible Cause | Solution |
|---|---|---|
| Radio does not power on. | Battery is depleted or not properly inserted. | Charge the battery. Ensure the battery is correctly seated. |
| Cannot transmit or receive. | Incorrect channel, out of range, or low battery. | Verify radios are on the same channel. Move closer to other radios. Charge battery. |
| Poor audio quality. | Low battery, interference, or radio too far apart. | Charge battery. Move away from sources of interference. Reduce distance between radios. |
| Keypad is unresponsive. | Keypad lock is active. | Long press the MENU button to unlock the keypad. |
Specifications
| Brand | QNIGLO |
| Model Number | SW-66 |
| Number of Channels | 22 FRS Channels |
| Special Features | Battery Saver Mode, Digital Display, Emergency Alarm (SOS), Keypad Lock, Lightweight, VOX, NOAA |
| Water Resistance Level | Not Water Resistant |
| Included Components | Radio Unit, Belt Clip, Charging Dock, User Manual, Walkie-Talkie Headset |
| Charging Type | USB-C, Charging Dock |
| Typical Working Time | Approx. 22 hours (after 4 hours charge) |
Warranty and Support
The QNIGLO SW-66 Two-Way Radio comes with a 1-Year Manufacturer's Warranty from the date of purchase. This warranty covers defects in materials and workmanship under normal use.
For technical support, warranty claims, or any questions regarding your QNIGLO product, please contact QNIGLO customer service through the retailer where the product was purchased or visit the official QNIGLO website for contact information.