
Important Safety Information
Always ensure the gazebo is securely fixed to the ground as instructed to prevent it from tipping over in windy conditions. Consult the provided manual or contact our professional team for any safety-related concerns.
- Read all instructions carefully before assembly and use.
- Ensure all parts are present and undamaged before beginning assembly.
- Do not assemble in strong winds or adverse weather conditions.
- Securely anchor the gazebo to a stable surface.
- Regularly inspect the structure for loose parts or damage.
- Keep children and pets away from the assembly area.
Product Overview
The AECOJOY 12' x 8' Gazebo Outdoor Pergola is designed to provide a durable and weather-resistant outdoor shelter. It features a hard top roof and a robust metal and aluminum frame.
Key Features:
- Effortless Installation: Designed for straightforward assembly with detailed manuals and available technical support.
- 7" Snow Capacity: The hard top roof is engineered to withstand up to 7 inches of heavy snow (6 lbs/sq.ft static pressure).
- Enhanced Stability: This wall-mounted design attaches directly to a wall for superior stability, capable of withstanding winds up to 70 mph when properly secured.
- Waterproof Performance: An inclined roof design and meticulous detailing ensure complete water resistance.
- Comprehensive Protection: The 96 sq. ft. awning roof provides protection from harmful UV rays and rain.
- Dedicated Support: A professional team is available 24/7 for installation, usage, and maintenance inquiries.
Components List
Please verify that all components are included in your package before starting assembly. Refer to the separate parts list provided in your packaging for specific item codes and quantities.

Image: Exploded view showing various components of the gazebo structure.
Setup and Installation
This gazebo is designed for wall-mounted installation. Two people are recommended for assembly. Ensure you have all necessary tools and follow the steps carefully.
Step 1: Prepare the Installation Area
Choose a flat, stable surface adjacent to a sturdy wall. Clear any obstructions.
Step 2: Assemble the Frame
Begin by assembling the main support frame. Connect the aluminum tubes as shown in the diagrams.

Image: Diagram illustrating the connection of aluminum tubes to form the gazebo frame.
Step 3: Attach to the Wall
Securely attach the wall-side frame to your chosen wall using the provided hardware. Ensure the wall studs are used for maximum stability.

Image: A partially assembled gazebo frame shown attached to the side of a house.
Step 4: Install Roof Panels
Carefully place and secure the sun panels onto the roof frame. These panels are designed for anti-UV, windproof, and rain protection.

Image: Close-up view of the sun panels installed on the gazebo roof, highlighting their structure.
Step 5: Final Anchoring
Once the structure is complete, ensure all legs are securely anchored to the ground using the pre-drilled holes and appropriate fasteners for your surface type.

Image: Detail showing the stable frame leg with pre-drilled holes for secure ground attachment.
Operating Instructions
The AECOJOY Gazebo is a static outdoor structure designed to provide shade and shelter. No specific operational steps are required beyond proper installation and maintenance.
Weather Considerations
- The roof is designed to handle up to 7 inches of snow. However, in cases of extreme snowfall, it is advisable to clear excessive snow to prevent potential damage.
- The structure is wind-resistant up to 70 mph when properly anchored. In severe storm warnings, consider additional temporary bracing if available, or consult local weather advisories.
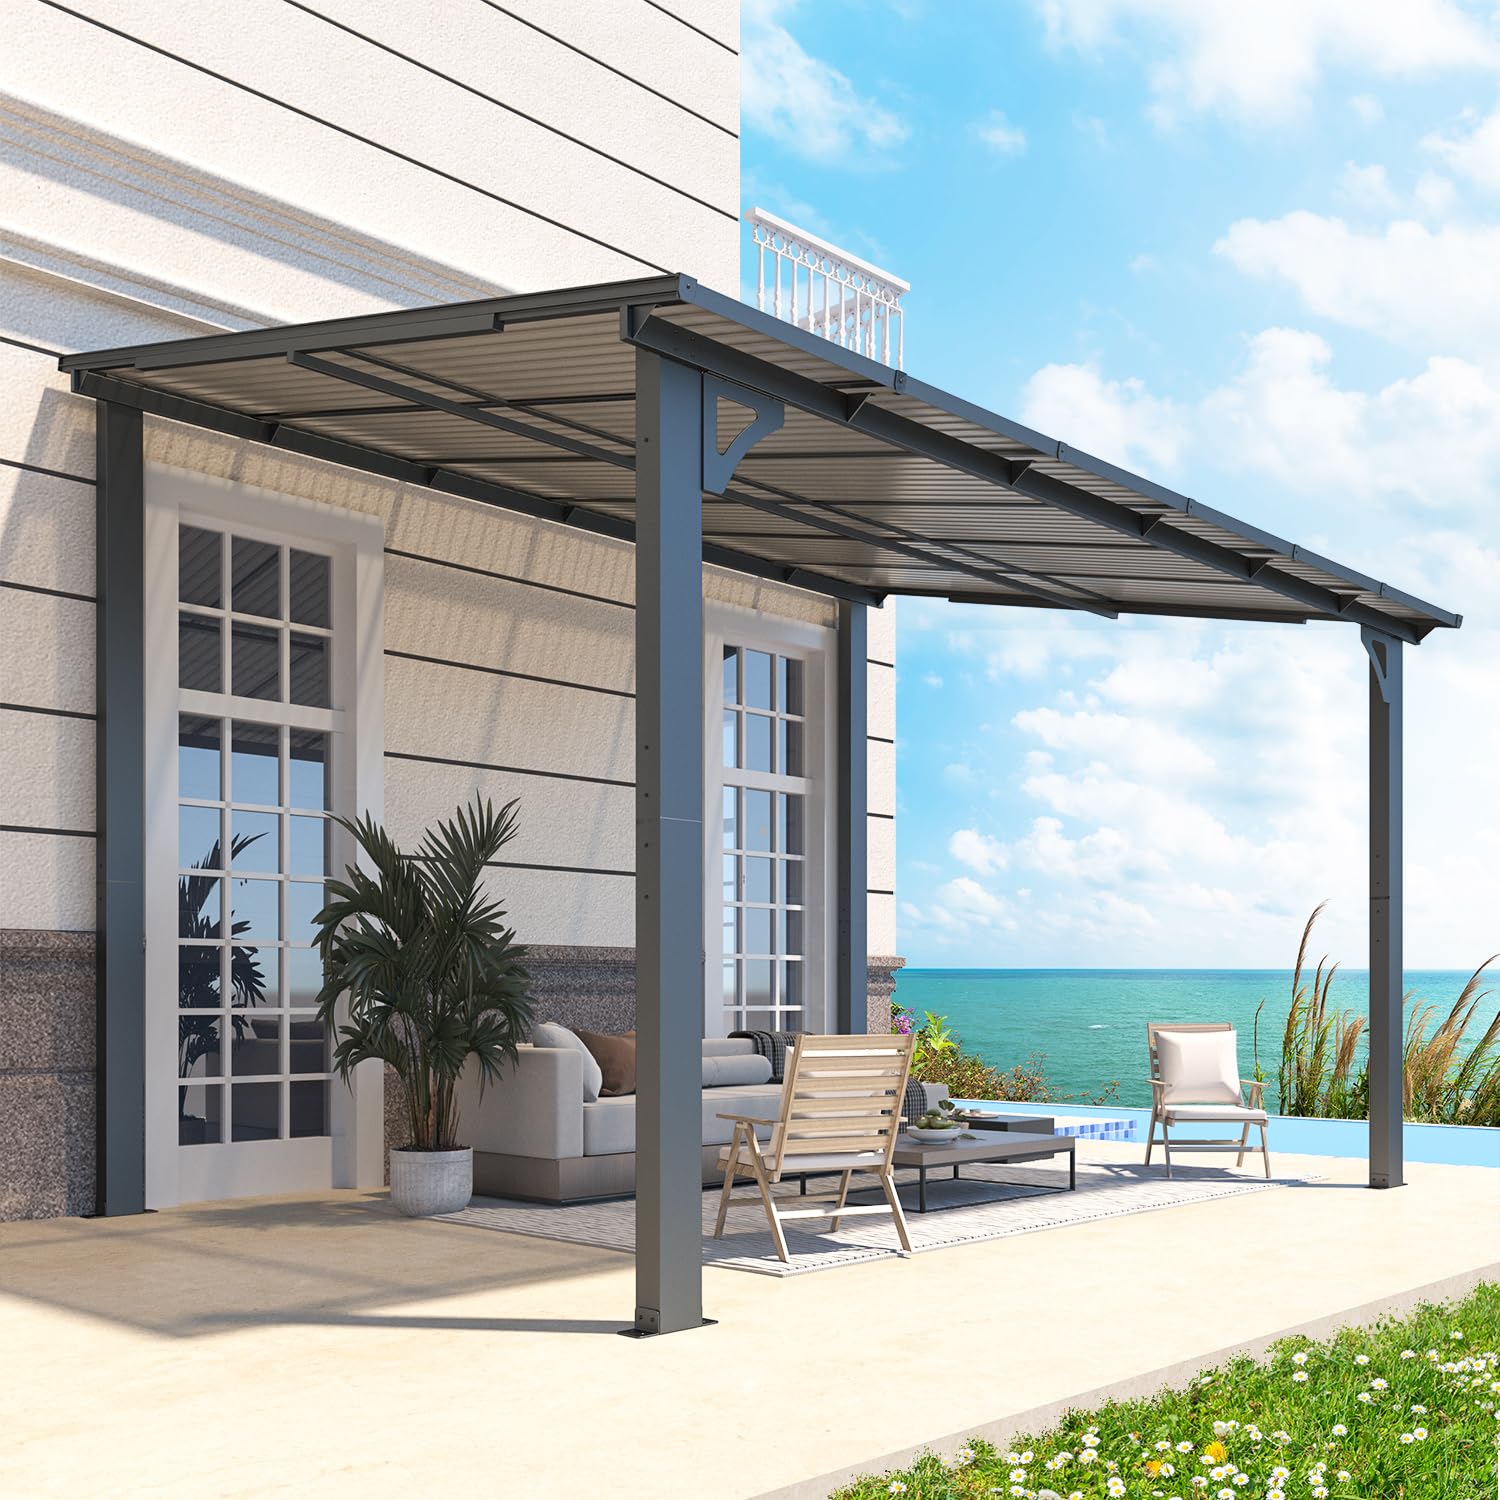
Image: The gazebo shown in both summer and winter settings, illustrating its capability to withstand snow.
Maintenance
Regular maintenance will extend the life and appearance of your gazebo.
- Cleaning: Clean the roof panels and frame periodically with mild soap and water. Avoid abrasive cleaners or tools that could scratch the surfaces.
- Inspection: Annually inspect all bolts, screws, and anchoring points to ensure they are tight and secure. Replace any worn or damaged parts immediately.
- Snow Removal: While designed for snow load, heavy, wet snow should be removed to prevent excessive stress on the structure.
- Drainage: Ensure the inclined roof allows for proper water drainage and that gutters (if installed) are clear of debris.
Troubleshooting
If you encounter any issues with your AECOJOY Gazebo, please refer to the following common solutions or contact customer support.
Common Issues:
- Water Leakage: Check that all roof panels are correctly seated and sealed. Ensure all screws are tightened. Verify the roof's incline is sufficient for drainage.
- Instability/Wobbling: Confirm all frame connections are tight. Ensure the gazebo is securely anchored to both the wall and the ground. Check for uneven ground surfaces.
- Damaged Panels/Frame: For significant damage, contact AECOJOY customer support for replacement parts or professional advice. Do not attempt to use a damaged structure.
Specifications
| Feature | Detail |
|---|---|
| Brand | AECOJOY |
| Model Number | 16407BK |
| Product Dimensions | 144"L x 96"W x 96"H (12'L x 8'W x 8'H) |
| Item Weight | 110 Pounds |
| Frame Material | Metal & Aluminum |
| Roof Material | Sun Panels |
| Water Resistance Level | Waterproof |
| UV Protection | UV protection (heavily tinted roof blocks UPF 50+ 99% UV) |
| Snow Load Capacity | 6 lbs/sq.ft (approx. 7" heavy snow) |
| Wind Resistance | Up to 70 mph (when securely fixed) |
| Assembly Required | Yes |
Warranty and Support
AECOJOY stands behind its products.
- Warranty: The product comes with a one-year warranty.
- Customer Support: A professional team is available 24/7 to address any concerns related to installation, usage, and more.
- Replacements: Maintenance and replacements for the product itself are provided.
- Contact: For assistance, please refer to the contact information provided in your product packaging or visit the official AECOJOY website.

