
Introduction
Thank you for choosing the ZZA 32-inch 4K UHD 160Hz Curved Gaming Monitor. This manual provides essential information for setting up, operating, and maintaining your monitor. Please read it thoroughly before use to ensure optimal performance and safety.
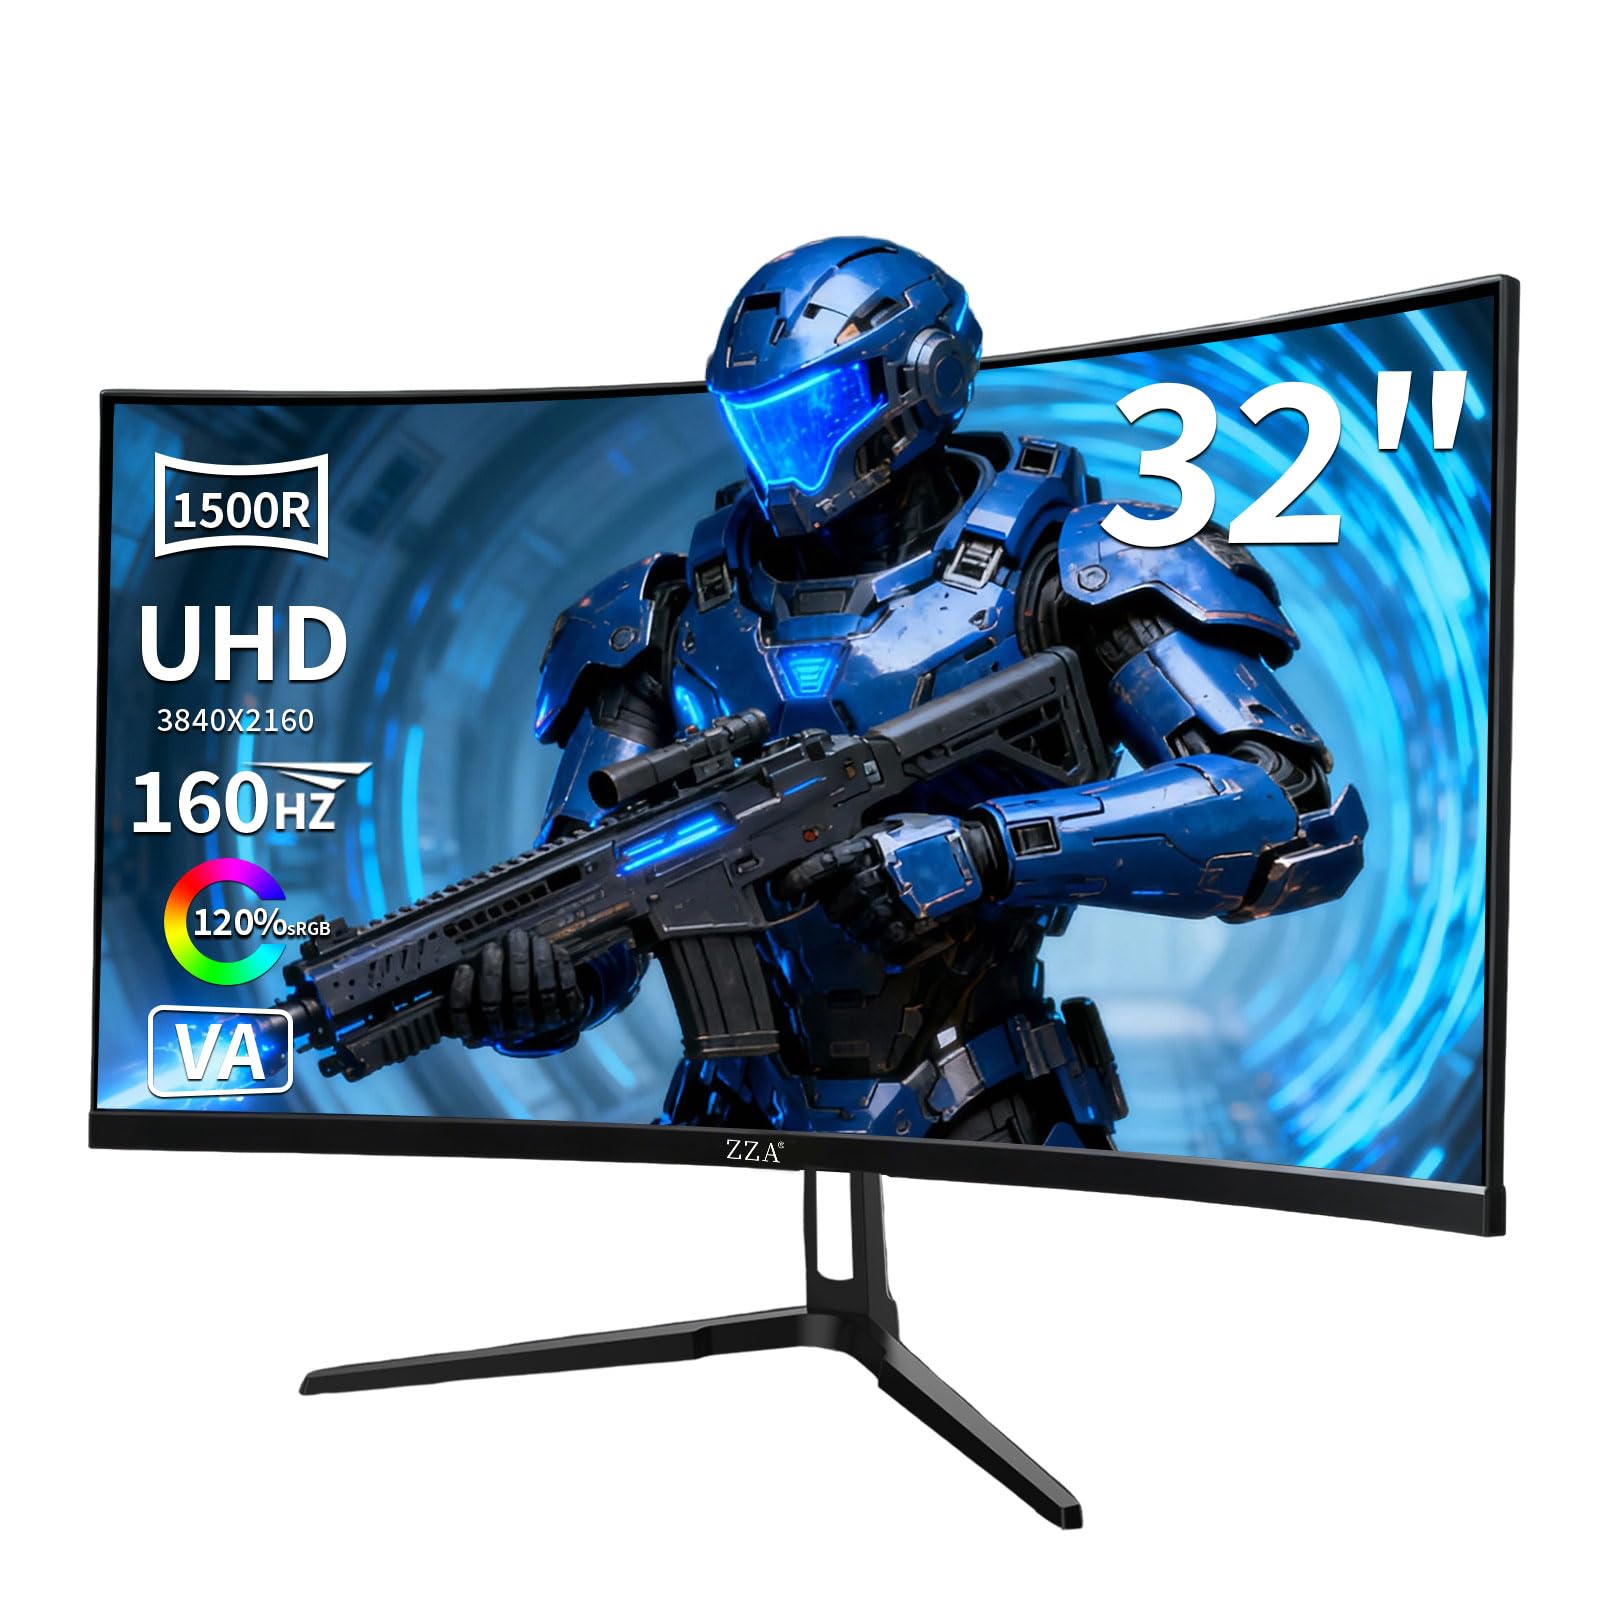
Image: Front view of the ZZA 32-inch 4K UHD 160Hz Curved Gaming Monitor, showcasing its curved screen and stand.
Safety Information
To prevent damage and ensure safe operation, observe the following precautions:
- Do not expose the monitor to rain or moisture to avoid fire or electric shock.
- Do not open the monitor casing. Refer all servicing to qualified personnel.
- Place the monitor on a stable, flat surface to prevent it from falling.
- Ensure proper ventilation around the monitor. Do not block ventilation openings.
- Use only the power adapter supplied with the monitor.
- Disconnect the power cable during lightning storms or when unused for long periods.
Package Contents
Verify that all items are present in your package:
- ZZA 32-inch Curved Gaming Monitor
- Monitor Stand (Base and Neck)
- Power Adapter
- HDMI Cable
- DisplayPort (DP) Cable
- User Manual
- Screws for Stand Assembly
Setup
1. Monitor Assembly
To assemble the monitor stand:
- Carefully remove the monitor from its packaging, placing it face down on a soft, clean surface to prevent scratches.
- Attach the stand neck to the monitor's rear panel. Ensure it clicks securely into place or is fastened with screws if provided.
- Attach the stand base to the stand neck, securing it with the provided screw(s).
- Gently lift the assembled monitor and place it on a stable, level desk.

Image: Rear view of the ZZA 32-inch curved gaming monitor, showing the stand attachment point and VESA mount area.
2. Wall Mounting (Optional)
The monitor supports VESA wall mounts (75mm x 75mm). To wall mount:
- Remove the stand from the monitor if it is already attached.
- Attach your VESA-compatible wall mount bracket to the monitor's rear panel using appropriate screws.
- Follow the instructions provided with your wall mount for secure installation.

Image: Detailed diagram illustrating the monitor's dimensions, its adjustable tilt range (-5° to 15°), and the layout of the input ports on the rear panel, including DC power, HDMI (x2), DisplayPort (x2), and Earphone jack. It also indicates 75x75mm VESA wall mount compatibility.
3. Connecting Cables
Connect your devices to the monitor using the available ports:
- Power: Connect the power adapter to the monitor's DC input and then to a power outlet.
- HDMI: Use an HDMI 2.1 cable to connect your PC or console to one of the monitor's HDMI ports (HDMI 2.1 x 2).
- DisplayPort (DP): Use a DisplayPort 1.4 cable to connect your PC to one of the monitor's DP ports (DP 1.4 x 2).
- Audio Out: Connect headphones or external speakers to the 3.5mm earphone jack for audio output.
Operating Instructions
1. Power On/Off
Press the power button, usually located on the back or bottom of the monitor, to turn it on or off. The power indicator light will illuminate when the monitor is on.
2. On-Screen Display (OSD) Menu
The OSD menu allows you to adjust various monitor settings. Use the joystick or buttons (location varies by model) to navigate and select options.
Common OSD Menu Options:
- Picture Settings: Brightness, Contrast, Sharpness, HDR Mode.
- Color Settings: Color Temperature, Gamma, sRGB Mode.
- Input Select: Choose between HDMI 1, HDMI 2, DP 1, DP 2.
- Gaming Settings: FreeSync, Response Time (Overdrive), Crosshair.
- OSD Settings: Language, OSD Transparency, OSD Timeout.
3. Display Settings
Optimize your viewing experience:
- Resolution: Set your device's display resolution to 3840 x 2160 (4K UHD) for the sharpest image.
- Refresh Rate: Configure your graphics card settings to 160Hz (or 144Hz) for smooth motion.
- AMD FreeSync: Enable FreeSync in both the monitor's OSD menu and your AMD graphics card control panel to eliminate screen tearing and stuttering.
- HDR10: Activate HDR in your operating system display settings for enhanced contrast and color depth.

Image: Visual representation demonstrating the difference between a 60Hz refresh rate and a 160Hz refresh rate with FreeSync disabled, highlighting the significantly smoother motion achieved at 160Hz.

Image: Infographic detailing the monitor's visual fidelity features, including 120% sRGB color gamut, 16.7 million color support, 8-bit color depth, a 3000:1 contrast ratio, and 330 cd/m² brightness.
Maintenance
Proper maintenance ensures the longevity of your monitor:
- Cleaning the Screen: Gently wipe the screen with a soft, lint-free cloth. For stubborn marks, use a monitor-specific cleaning solution applied to the cloth, not directly to the screen.
- Cleaning the Casing: Use a soft, dry cloth to wipe the monitor casing. Avoid abrasive cleaners.
- Ventilation: Ensure the ventilation openings on the back of the monitor are clear of dust and obstructions.
- Power Off: Always turn off the monitor and unplug it from the power outlet before cleaning or when not in use for extended periods.
Troubleshooting
Refer to this section for common issues and their solutions:
No Power / No Image
- Ensure the power cable is securely connected to the monitor and the power outlet.
- Verify the power adapter is functioning correctly.
- Check if the power indicator light is on.
- Ensure the video cable (HDMI/DP) is firmly connected to both the monitor and your computer/device.
- Select the correct input source via the OSD menu.
Image is Blurry or Distorted
- Set the display resolution to 3840 x 2160 in your operating system settings.
- Adjust the monitor's sharpness setting in the OSD menu.
- Ensure the video cable is not damaged and is properly connected.
Screen Tearing or Stuttering
- Enable AMD FreeSync in both the monitor's OSD menu and your AMD graphics card control panel.
- Ensure your graphics card drivers are up to date.
- Verify your game or application is running at a frame rate within the FreeSync range.
No Audio from Earphone Jack
- Check the volume settings on your computer/device and the monitor's OSD menu.
- Ensure your headphones/speakers are properly connected.
- Verify that the audio output is set to the monitor in your operating system's sound settings.
Specifications
| Feature | Specification |
|---|---|
| Brand | ZZA |
| Model Number | Z32K |
| Screen Size | 32 Inches |
| Resolution | 4K UHD (3840 x 2160) |
| Panel Type | VA |
| Curvature | 1500R |
| Refresh Rate | 160 Hz |
| Response Time | 1 Millisecond |
| Adaptive Sync | AMD FreeSync |
| Color Gamut | 120% sRGB |
| Brightness | 330 cd/m² |
| Contrast Ratio | 3000:1 |
| HDR Support | HDR10 |
| Connectivity | 2x HDMI 2.1, 2x DisplayPort 1.4, 1x 3.5mm Earphone Jack |
| VESA Mount | 75mm x 75mm |
| Power Consumption | 60 Watts |
| Dimensions (D x W x H) | 8.82"D x 28.11"W x 21.5"H (with stand) |
Warranty and Support
Your ZZA monitor comes with a 1-year warranty from the date of purchase, covering manufacturing defects.
For technical assistance, troubleshooting, or warranty claims, please contact ZZA customer support. We are committed to your complete satisfaction and are available to help with any questions or issues you may encounter.
Please refer to the contact information provided on the ZZA official website or your purchase documentation for the most up-to-date support channels.