
1. Introduction
This manual provides essential instructions for the safe assembly, operation, and maintenance of your Benass 20x20 Enclosed Metal Roof Carport. Designed for all-weather conditions, this heavy-duty carport offers robust protection for vehicles and equipment. Please read this manual thoroughly before installation and retain it for future reference.

Image 1.1: The Benass 20x20 Enclosed Metal Roof Carport provides shelter for vehicles and equipment.
2. Safety Information
Proper installation and adherence to safety guidelines are crucial for the longevity and safe use of your carport. Failure to follow these instructions may result in property damage or injury.
- Site Selection: Choose a level, stable surface for installation. Ensure adequate clearance from power lines, trees, and other structures.
- Anchoring: The carport must be securely anchored to the ground using the provided anchor stakes. For permanent installation or areas with high winds, consider additional anchoring methods suitable for your ground type.
- Weather Conditions: While designed to withstand winds up to 120 MPH and snow loads of 14.3 PSF, extreme weather conditions may require additional precautions. Regularly clear heavy snow accumulation from the roof to prevent structural strain.
- Assembly: Assembly requires at least two adults. Wear appropriate safety gear, including gloves and eye protection. Do not attempt assembly in high winds or adverse weather.
- Structural Integrity: Do not modify the frame or roof structure. Any alterations may compromise the carport's stability and void the warranty.

Image 2.1: The carport is designed to withstand significant snow loads. Regular clearing of heavy snow is recommended.
3. Package Contents
Before beginning assembly, verify that all components are present and undamaged. If any parts are missing or damaged, contact Benass customer support immediately.
- Powder-coated steel frame components (1.6"x1.6" square tubes)
- Galvanized steel roof panels
- PE sidewalls (2 pieces)
- Roll-up zipper doors (2 pieces)
- Reinforced crossbeams (5 pieces)
- Ground tubes (2 pieces)
- Anchor stakes (8 pieces)
- Weather strip and leak-proof adhesive strip
- Assembly hardware (bolts, nuts, washers, etc.)
- Instruction Manual
4. Setup and Assembly
Follow these steps carefully for proper assembly. Refer to the included diagrams for visual guidance.
4.1 Site Preparation
- Clear the chosen area of any debris, rocks, or vegetation.
- Ensure the ground is level and firm. Uneven ground can compromise the carport's stability.
- Mark the footprint of the carport (approximately 20'L x 20'W).
4.2 Frame Assembly
- Assemble the main arch sections using the powder-coated steel tubes and connecting hardware. Ensure all bolts are tightened securely.
- Connect the arch sections with the reinforced crossbeams and ground tubes to form the complete frame structure. The frame consists of 10 legs and 5 reinforced crossbeams for enhanced stability.

Image 4.1: The reinforced steel frame provides a strong foundation for the carport.
4.3 Roof Panel Installation
- Carefully lift and attach the galvanized steel roof panels to the frame. The roof panels are designed to overlap, similar to roof tiles, for effective water shedding.
- Apply the provided weather strip and leak-proof adhesive strip along the seams and edges of the roof panels to ensure a watertight seal.

Image 4.2: The galvanized steel roof panels are designed for overlapping installation to ensure waterproofing.
4.4 Sidewall and Door Attachment
- Attach the PE sidewalls to the frame using the designated fasteners. Ensure they are taut and securely fastened to provide full enclosure.
- Install the roll-up zipper doors at the front and rear openings. Test the zipper mechanism to ensure smooth operation.
4.5 Anchoring
- Drive the 8 anchor stakes into the ground through the designated points on the carport frame.
- Ensure anchors are fully embedded and provide maximum resistance against uplift and lateral movement.
5. Operating Instructions
Your Benass carport is designed for ease of use and versatility.
- Roll-Up Zipper Doors: The front and rear doors can be rolled up and secured to allow for drive-through access or increased ventilation. Use the zippers to fully close the doors for maximum protection.
- Removable PE Sidewalls: The PE sidewalls can be removed if an open-sided structure is desired for temporary use, such as a patio shelter or workstation. Reattach them for full enclosure and weather protection.
- Automatic Sensing Solar Light: If equipped, the integrated solar light will automatically illuminate the interior of the carport during low-light conditions, providing visibility and convenience. Ensure the solar panel is clean and exposed to direct sunlight for optimal charging.

Image 5.1: The roll-up zipper doors allow for easy access and ventilation.

Image 5.2: The automatic sensing solar light provides illumination at night.
6. Maintenance
Regular maintenance will extend the life of your carport and ensure its continued performance.
- Regular Inspection: Periodically check all bolts, connections, and anchors for tightness. Retighten as necessary.
- Cleaning: Clean the roof and sidewalls with mild soap and water. Avoid abrasive cleaners or brushes that could damage the materials.
- Snow Removal: In areas with heavy snowfall, regularly remove accumulated snow from the roof to prevent excessive weight and potential damage.
- Sidewall Care: Ensure PE sidewalls and doors are clean and dry before rolling them up or storing them for extended periods to prevent mold or mildew.
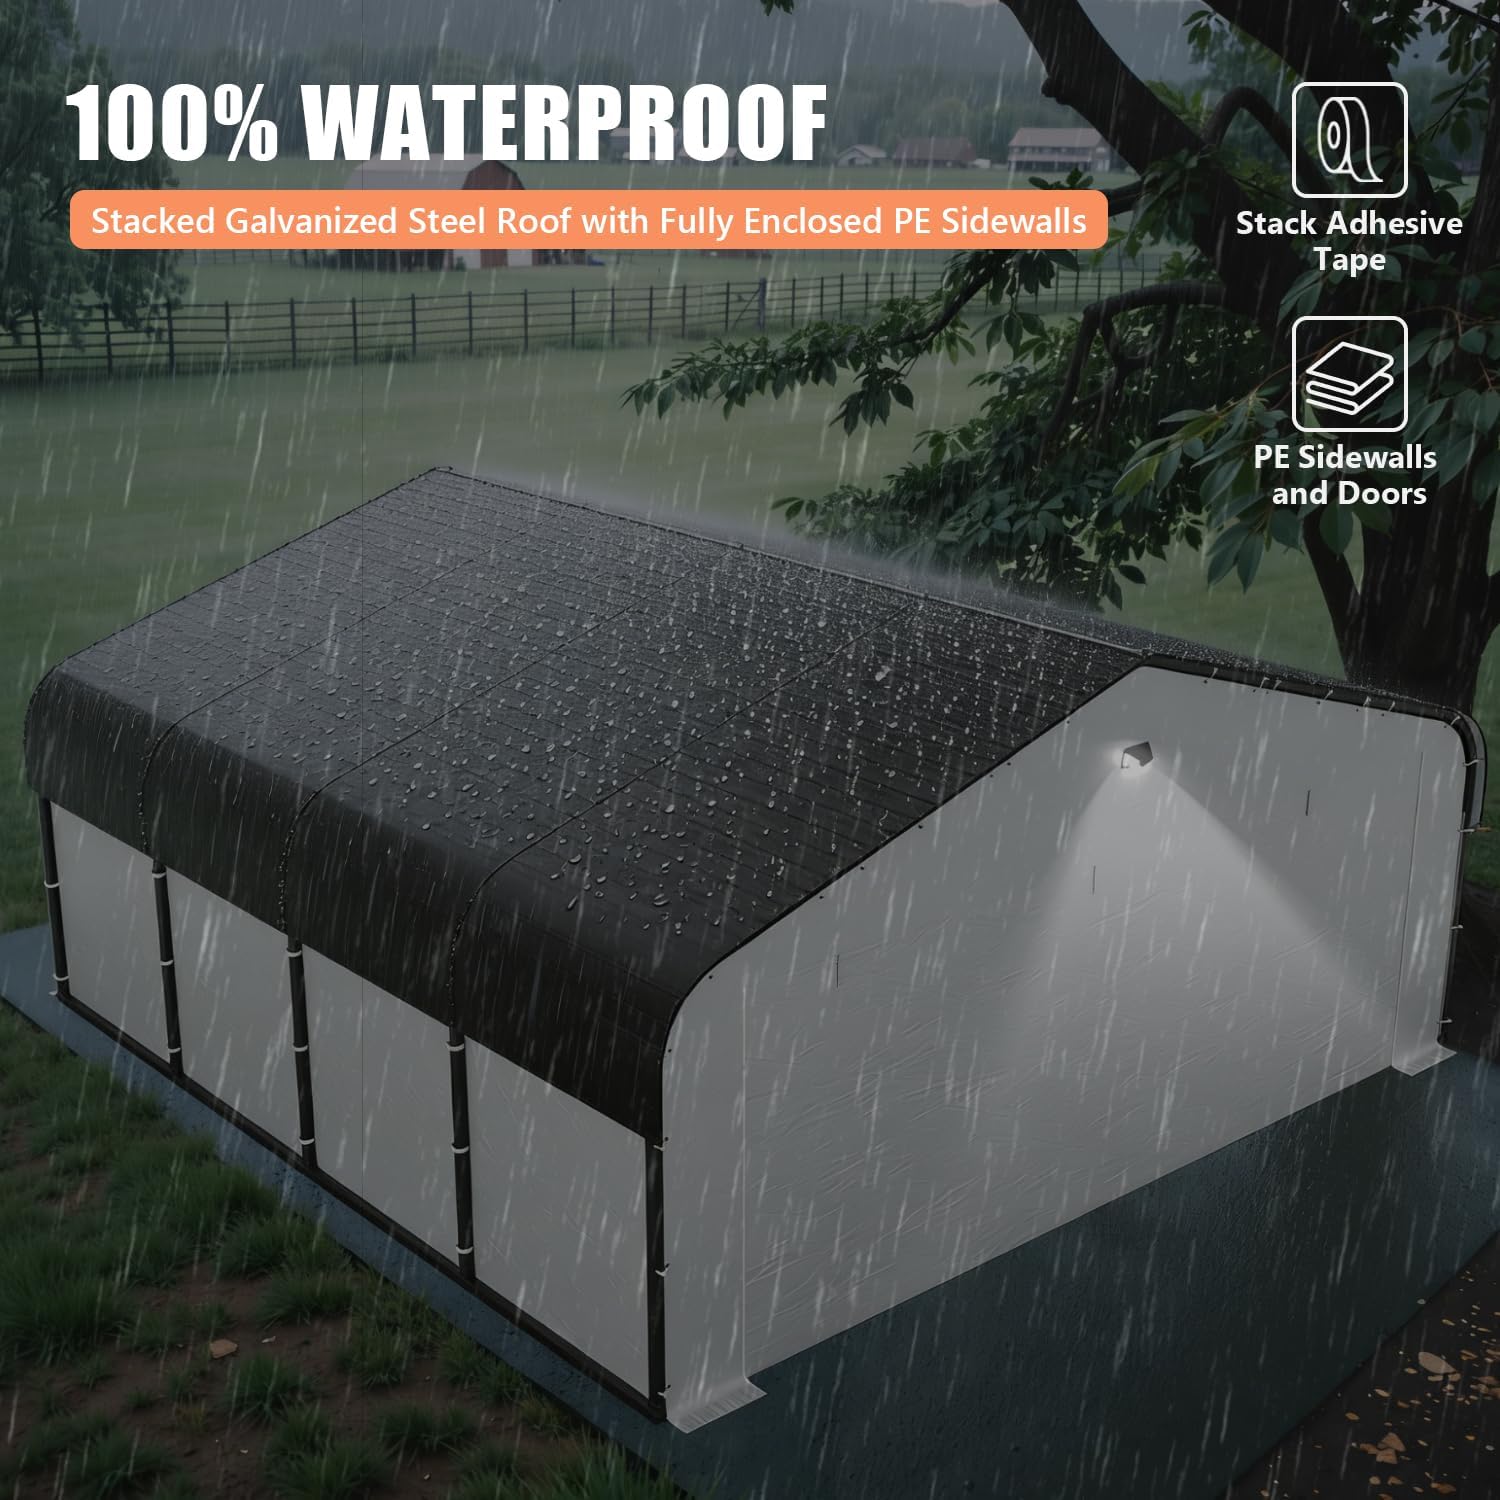
Image 6.1: The waterproof roof design effectively sheds rain, but regular cleaning is recommended.
7. Troubleshooting
If you encounter issues with your carport, refer to the following common solutions:
- Carport feels unstable: Check all frame connections and anchor points. Ensure bolts are tightened and anchors are fully secured in the ground. Verify the ground surface is level.
- Water leakage: Inspect roof panel overlaps and adhesive strips. Reapply or reinforce weather stripping if necessary. Ensure sidewalls are properly attached and sealed.
- Doors not rolling up smoothly: Check for obstructions in the zipper track. Clean the zipper with a damp cloth. Ensure the fabric is not snagged.
- Solar light not working: Ensure the solar panel is clean and receiving direct sunlight for several hours daily. Check for any physical damage to the light unit.
8. Specifications
| Feature | Detail |
|---|---|
| Model Number | mhcp2020n |
| Dimensions (L x W x H) | 233.5" x 230" x 113" (approx. 19.5' x 19.2' x 9.4') |
| Frame Material | 1.6"x1.6" Powder-coated Alloy Steel |
| Roof Material | Galvanized Steel |
| Sidewall Material | PE (Polyethylene) |
| Item Weight | 430 lbs |
| Wind Resistance | Up to 120 MPH |
| Snow Load Capacity | Up to 14.3 PSF |
| Water Resistance | Waterproof |
| UV Protection | Yes |
| Assembly Required | Yes |

Image 8.1: Key dimensions of the Benass 20x20 Enclosed Metal Roof Carport.
9. Warranty and Support
Benass offers a one-year warranty for this product, ensuring satisfactory after-sales service. If you encounter any problems upon receiving the carport or during its use, please contact Benass customer support for assistance.
For support, please refer to the contact information provided at the point of purchase or visit the official Benass website.