1. Introduction
Thank you for choosing the MERIOR 25-IN-1 Bread Maker. This automatic bread machine is designed to simplify the process of baking a wide variety of breads, cakes, and more, right in your home. With its intuitive touchscreen controls, automatic features, and versatile programs, you can enjoy freshly baked goods with minimal effort. Please read this manual thoroughly before first use to ensure safe and optimal operation.
2. Important Safety Instructions
- Always ensure the bread maker is placed on a stable, flat, heat-resistant surface.
- Do not immerse the appliance, cord, or plug in water or other liquids.
- Keep out of reach of children. Close supervision is necessary when any appliance is used by or near children.
- Unplug from outlet when not in use and before cleaning. Allow to cool before putting on or taking off parts.
- Do not operate any appliance with a damaged cord or plug, or after the appliance malfunctions or has been damaged in any manner.
- Avoid contact with moving parts.
- Do not place on or near a hot gas or electric burner, or in a heated oven.
- Extreme caution must be used when moving an appliance containing hot oil or other hot liquids.
- Do not use the appliance for other than intended use.
- The heating tube may emit smoke during the first use due to anti-rust oil. This is normal. Ensure proper ventilation.
3. Package Contents
Verify that all items are present in the package:
- 1 * Bread Machine
- 1 * Measuring Cup
- 1 * Stirring Knife (Kneading Paddle)
- 1 * Non-Stick Pan (Bread Pan)
- 1 * Fruit Nut Dispenser
- 1 * User Manual
- 1 * Recipe Booklet
- 1 * Hook (for removing kneading paddle)

Image: Contents of the MERIOR 25-IN-1 Bread Maker package, laid out on a wooden surface next to the main unit.
4. Product Overview
Familiarize yourself with the main components and control panel of your MERIOR Bread Maker.

Image: The MERIOR 25-IN-1 Bread Maker in a kitchen setting, surrounded by different types of bread, cake, and yogurt, showcasing its versatility.

Image: A detailed view of the bread maker's intelligent touch panel, highlighting the LCD display, menu, color, ferment, time, loaf, dough, manual, and start/stop buttons.
Control Panel Functions:
- MENU: Select from 25 pre-programmed settings (e.g., Basic Bread, French Bread, Cake, Jam, Yogurt).
- COLOR: Adjust crust browning (Light, Medium, Dark).
- FERMENT: Dedicated setting for fermentation.
- TIME (+/-): Adjust delay timer or custom program duration.
- LOAF: Select loaf size (1lb, 1.5lb, 2lb).
- DOUGH: Dedicated setting for dough preparation.
- MANUAL: For custom baking programs.
- START/STOP: Begin or end a program.
5. Setup
- Unpack: Carefully remove all components from the packaging. Remove any protective films or stickers from the appliance.
- Clean: Wash the bread pan, kneading paddle, and fruit nut dispenser with warm, soapy water. Dry thoroughly. Wipe the exterior of the bread maker with a damp cloth.
- Install Kneading Paddle: Insert the stirring knife (kneading paddle) onto the shaft at the bottom of the bread pan. Ensure it is securely in place.
- Place Bread Pan: Insert the bread pan into the main unit. Twist it gently until it locks into position.
- Install Fruit Nut Dispenser: Place the automatic fruit nut dispenser into its designated slot on the underside of the lid.
Your bread maker is now ready for use.
6. Operating Instructions
6.1 Adding Ingredients
- Always add liquid ingredients first to the bread pan, followed by dry ingredients.
- Make sure to add yeast last, typically on top of the dry ingredients, away from liquids and salt.
- For recipes requiring nuts or fruits, place them in the automatic nut dispenser. The machine will release them at the optimal kneading stage.

Image: A visual guide demonstrating the three simple steps: 'Put Ingredients' into the bread pan, 'Select Menu' on the control panel, and 'Get Bread' after baking.
6.2 Selecting a Program
The MERIOR Bread Maker offers 25 programs, including 14 bread options, 2 cake recipes, 4 special menus, 4 baking modes, and a custom function. Refer to the included recipe booklet for detailed instructions for each program.
- Press the MENU button repeatedly until the desired program number appears on the LCD display.
- The display will show the program number and default time.
6.3 Customizing Settings
- Loaf Size: Press the LOAF button to select your desired size (1lb, 1.5lb, or 2lb).
- Crust Color: Press the COLOR button to choose between Light, Medium, or Dark crust.
- Delay Timer: Use the TIME (+/-) buttons to set a delay for up to 13 hours. This allows you to prepare ingredients in advance and have fresh bread ready at a specific time.

Image: Illustration of the three available loaf sizes (1.1lb, 1.5lb, 2lb) and three crust color options (Light, Medium, Dark) for the bread maker.
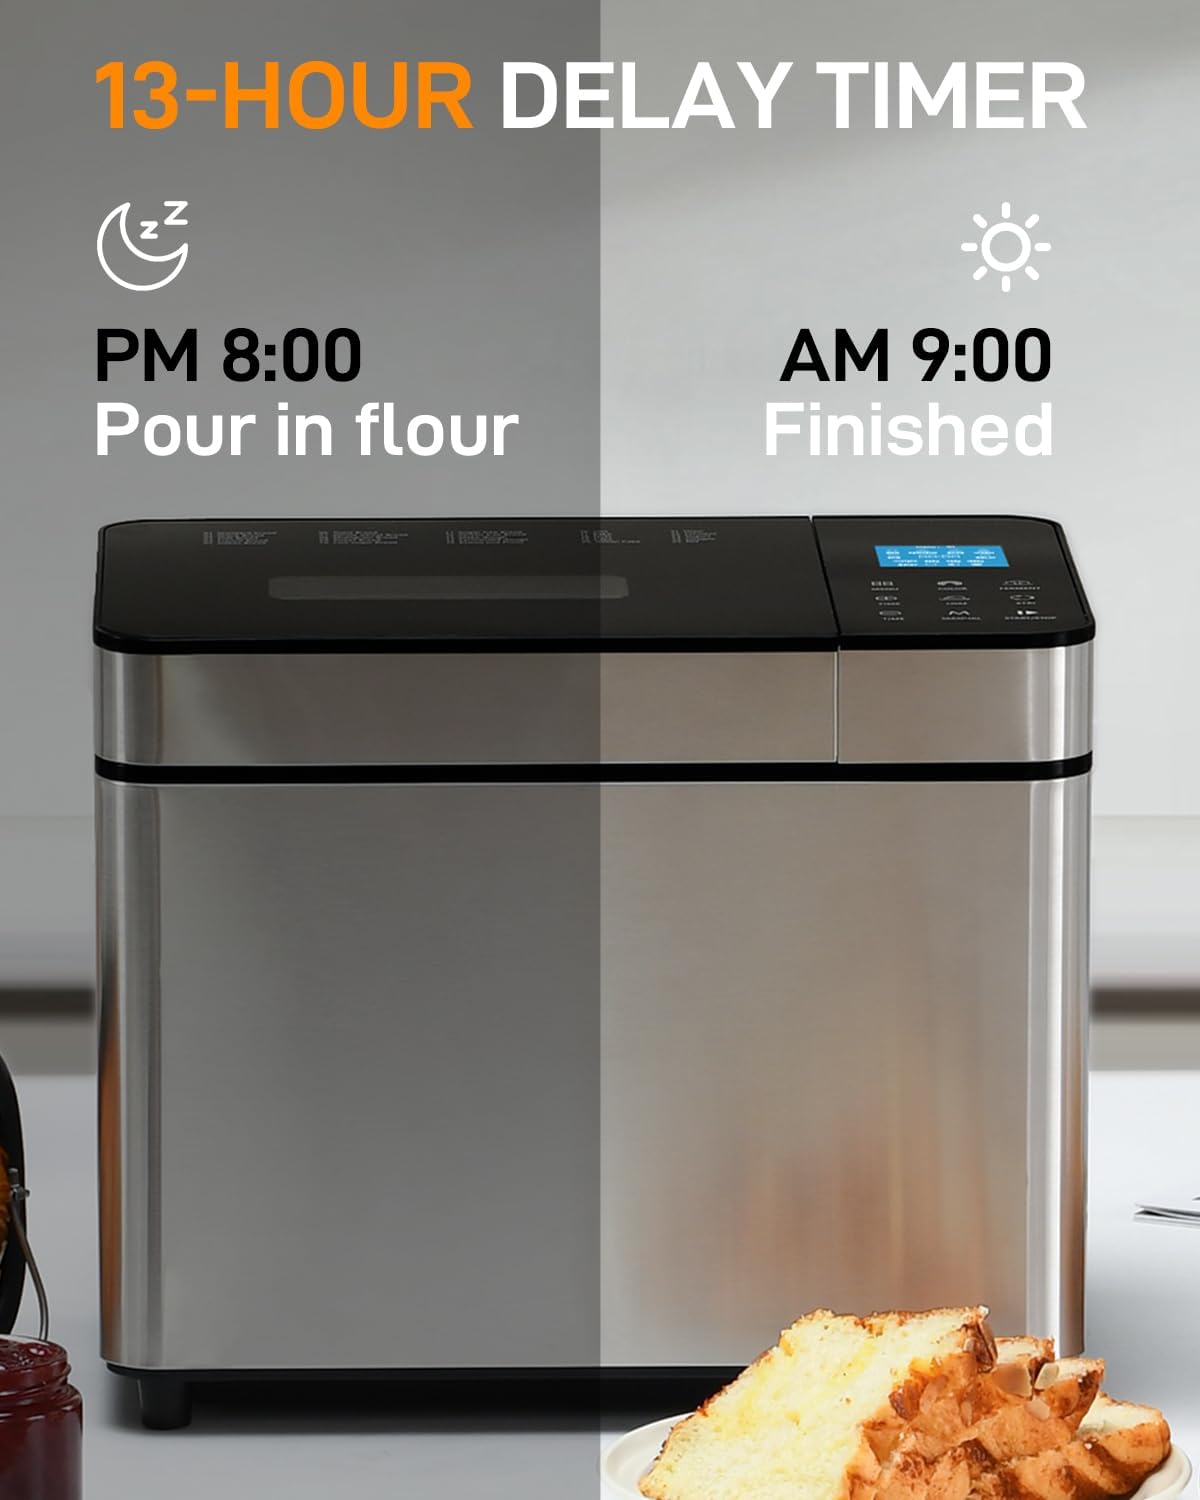
Image: The bread maker illustrating its 13-hour delay timer, with a split image showing ingredients added at 8 PM and the finished bread ready by 9 AM.
6.4 Starting the Baking Process
- After selecting your program and customizing settings, press the START/STOP button.
- The machine will begin the kneading process. You can monitor the progress through the visible lid.
- Once the program is complete, the machine will beep. Press START/STOP to end the program and unplug the power cord.
- Carefully remove the bread pan using oven mitts, as it will be hot. Allow the bread to cool on a wire rack before slicing.
Video: A demonstration of the MERIOR Bread Maker's intuitive touchscreen for one-touch program selection, showing how to choose settings and start the baking process.
Video: This video highlights the 13-hour delay timer and automatic nut dispenser features of the MERIOR Bread Maker, demonstrating how they contribute to convenient and perfectly textured bread.
Video: An overview of the MERIOR 25-IN-1 Bread Maker, showcasing its smart features and ease of use for baking various types of bread.
7. Care and Maintenance
- Cleaning the Bread Pan and Kneading Paddle: The non-stick coated aluminum inner bucket and blades are detachable and dishwasher-friendly. For best results and longevity, hand washing is recommended.
- Cleaning the Exterior: Wipe the exterior of the bread maker with a soft, damp cloth. Do not use abrasive cleaners or scourers.
- Cleaning the Fruit Nut Dispenser: The dispenser can be removed and cleaned with warm, soapy water.
- Ensure all parts are completely dry before reassembling or storing the appliance.

Image: A hand cleaning the non-stick bread pan under running water, emphasizing its food-grade material and ease of cleaning.
8. Troubleshooting
If you encounter any issues with your MERIOR Bread Maker, please refer to the following common troubleshooting tips:
- Bread not rising: Check yeast freshness, water temperature (should be lukewarm), and ensure correct ingredient proportions.
- Bread too dense: Ensure proper flour-to-liquid ratio. Too much flour or too little liquid can result in dense bread.
- Machine stops abruptly: Check for excessive flour or insufficient water. The machine is equipped with an overheat protection function and will resume operation once it has cooled down.
- Uneven baking: Ensure the bread maker is placed on a level surface and that the air vents are not obstructed.
- For further assistance, consult the detailed troubleshooting section in the full user manual or contact customer support.
9. Specifications
| Feature | Detail |
|---|---|
| Model Number | BM901 |
| Color | Gray |
| Product Dimensions | 13.75"D x 14.37"W x 11.4"H |
| Item Weight | 15.18 pounds |
| Material | Stainless Steel |
| Capacity | 2 Pounds (supports 1lb, 1.5lb, 2lb loaves) |
| Number of Programs | 25 |
| Voltage | 120 Volts |
| Product Care Instructions | Hand Wash Only (pan is dishwasher-friendly) |
10. Warranty and Support
For warranty information, please refer to the documentation included in your product packaging or visit the official MERIOR website. If you require technical support or have questions about your MERIOR Bread Maker, please contact our customer service team through the contact details provided in your warranty card or on our website. Please have your model number (BM901) and purchase date ready when contacting support.
