
1. Introduction
Thank you for choosing the Klarus E5 Ultra Pocket Flashlight. This manual provides essential information for the safe and efficient use of your device. Please read it thoroughly before operation and retain it for future reference.
The Klarus E5 Ultra is an ultra-slim, lightweight, and versatile everyday carry (EDC) flashlight featuring a triple-light system: a white spotlight, a white floodlight, and a red light. It is designed for various applications, from daily tasks to outdoor adventures, offering reliable illumination with its USB rechargeable battery and intuitive controls.
2. Product Overview
The Klarus E5 Ultra is engineered for portability and multi-functionality. Its compact design integrates multiple light sources and user-friendly features.
Key Features:
- Ultra-Slim Design: Measures only 11.5mm thick and weighs 70g for comfortable pocket carry.
- Triple-Light System: Includes an 850-lumen white spotlight, a 650-lumen white floodlight (COB), and a 30-lumen red light.
- Magnetic Tail & Clip: Provides versatile mounting options for hands-free use.
- USB Rechargeable: Built-in 1400mAh lithium battery with USB-C charging.
- Combined Button-Slider Operation: For quick light source switching and secure lockout.
Components:
- Main LED (Head Light)
- Side COB Light (Floodlight)
- Red Light
- Power Button
- Three-Stage Sliding Mode Switch
- USB-C Charging Port
- Magnetic Tail
- Pocket Clip

Figure 2.1: Klarus E5 Ultra Pocket Flashlight, showing its compact design.

Figure 2.2: The ultra-slim profile of the E5 Ultra, designed for easy portability.

Figure 2.3: The integrated pocket clip allows for secure attachment to clothing or gear.

Figure 2.4: The magnetic tail provides hands-free lighting by attaching to metal surfaces.
3. Setup
Initial Charging:
Before first use, fully charge the Klarus E5 Ultra. Connect the included USB-C cable to the charging port on the flashlight and to a compatible USB power source. The battery indicator will show charging status.
Lockout Mode:
To prevent accidental activation, slide the Three-Stage Sliding Mode Switch to the bottom position labeled 'Safety Lock'. This will lock the flashlight, making all button operations unresponsive. If the flashlight is on when entering lockout mode, it will turn off and lock immediately.
4. Operation
The Klarus E5 Ultra features a Power Button and a Three-Stage Sliding Mode Switch for controlling its various light modes.

Figure 4.1: Diagram illustrating the Power Switch and Three-Stage Sliding Mode Switch.
Main LED (Head Light) Operation:
- Slide the Mode Switch to the top position (Head LED).
- Single click the Power Button to turn on the light at the lowest brightness level.
- Single click again to cycle through brightness levels: Low → Medium → High → Turbo.
- Long press the Power Button for 0.5 seconds to turn off the light.
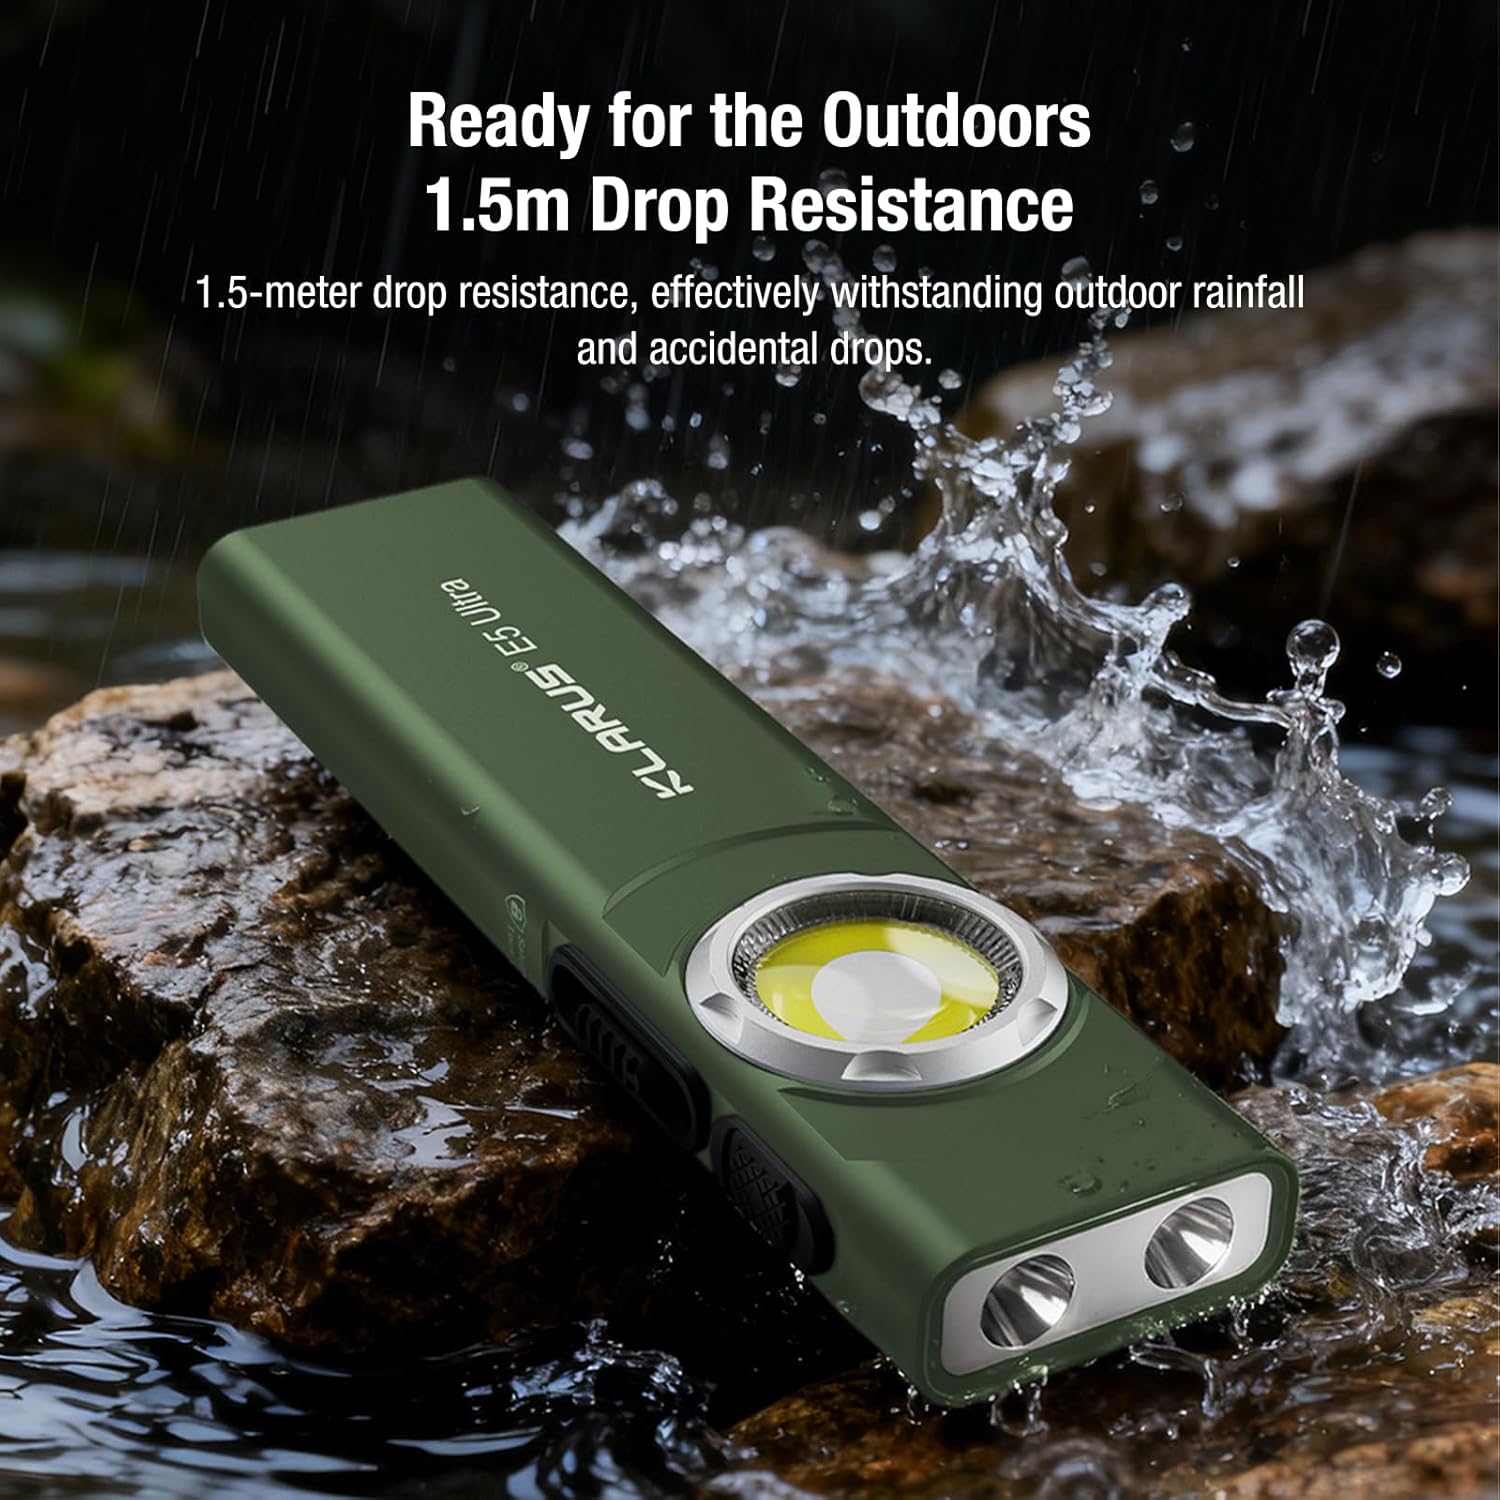
Figure 4.2: The main LED (head light) provides a focused beam for distance illumination.
COB (Side Light) Operation:
- Slide the Mode Switch to the middle position (Side COB).
- Single click the Power Button to turn on the light at the lowest brightness level.
- Single click again to cycle through brightness levels: Low → Medium → High → Turbo.
- Long press the Power Button for 0.5 seconds to turn off the light.

Figure 4.3: The side COB light offers a wide floodlight for area illumination.
Red Light Operation:
- From the COB (Side Light) mode, double click the Power Button to enter Red Light - Low mode.
- Single click again to cycle through modes: Red High → Red Flash.
- Double click again to exit Red Light Mode.
- Long press the Power Button for 0.5 seconds at any time to turn off the light.

Figure 4.4: The red light mode is useful for preserving night vision or signaling.

Figure 4.5: The red light can be used for warning or emergency signaling.
Strobe Mode:
From the Main LED (Head Light) mode, triple click the Power Button to enter Strobe Mode. Single click again to exit Strobe Mode. Long press the Power Button for 0.5 seconds to turn off the light.
Quick Light Source Switching:
When the main LED light is on, slide the Mode Switch to the middle position to instantly activate the COB White Light. This allows for fast switching between the main LED and side COB lighting modes.
Video Instructions:
Video 4.1: Official instructions for operating the Klarus E5 Ultra, demonstrating various modes and controls.
5. Charging
The Klarus E5 Ultra is equipped with a built-in 1400mAh lithium battery and supports USB-C charging.
Charging Procedure:
- Locate the USB-C charging port on the side of the flashlight.
- Open the rubber cover protecting the port.
- Connect the provided USB-C cable to the flashlight and to a 5V USB power adapter or port.
- The battery indicator will illuminate to show charging status.
- Once fully charged, the indicator will change color (e.g., from red to green) or turn off, depending on the model.
- Close the rubber cover securely after charging to maintain water resistance.

Figure 5.1: The USB-C charging port with its protective cover.

Figure 5.2: The flashlight connected to a power source for charging.
Battery Indicator:
Each time the light is turned on, the indicator shows the battery status for 5 seconds:
- Green: 70% - 100% battery remaining.
- Orange: 30% - 70% battery remaining.
- Red: Below 30% battery remaining.
- Red Flashing: Below 5% battery remaining.
6. Maintenance
Proper maintenance ensures the longevity and optimal performance of your Klarus E5 Ultra flashlight.
- Cleaning: Wipe the flashlight with a clean, soft cloth. Avoid using abrasive materials or harsh chemicals.
- Storage: Store the flashlight in a cool, dry place when not in use. Avoid extreme temperatures.
- Charging: Recharge the battery regularly, even if not frequently used, to maintain battery health.
- Water Resistance: The Klarus E5 Ultra is Not Water Resistant. Avoid exposing it to water or high humidity.
7. Troubleshooting
If you encounter issues with your Klarus E5 Ultra, refer to the following common troubleshooting steps:
| Problem | Possible Cause | Solution |
|---|---|---|
| Flashlight does not turn on. | Battery is depleted. | Charge the flashlight fully. |
| In Lockout Mode. | Slide the Mode Switch out of the 'Safety Lock' position. | |
| Light output is dim. | Low battery. | Recharge the flashlight. |
| Lens is dirty. | Clean the lens with a soft cloth. | |
| Flashlight does not charge. | Faulty USB cable or power source. | Try a different USB-C cable and power adapter. |
| Charging port obstruction. | Ensure the charging port is clean and free of debris. |
If the problem persists after attempting these solutions, please contact Klarus customer support for further assistance.
8. Specifications
Detailed technical specifications for the Klarus E5 Ultra Pocket Flashlight:
| Feature | Specification |
|---|---|
| Model Number | E5 Ultra |
| Special Feature | High Lumens, Multiple Light Modes |
| Color | Green |
| Power Source | Battery Powered |
| Light Source Type | LED |
| Material | Aluminum |
| White Brightness (Max) | 850 Lumens |
| Included Components | USB Cable |
| Product Dimensions | 4.3"D x 1.1"W x 0.45"H |
| Voltage | 5 Volts |
| Battery Cell Composition | Lithium Metal |
| Item Weight | 70 Grams (2.47 ounces) |
| Number of Batteries | 1 (internal, rechargeable) |
| Water Resistance Level | Not Water Resistant |
| Style | Compact |
| Finish Type | Knurled |
| Mounting Type | Clip-on, Magnetic |
| Number of Lights | 3 (Head LED, Side COB, Red Light) |
9. Warranty and Support
For warranty information, product registration, or technical support, please refer to the official Klarus website or contact Klarus customer service directly. Keep your purchase receipt as proof of purchase for any warranty claims.
Klarus Customer Service: Please visit the Klarus official website for contact details and support resources.