
1. Introduction
This manual provides essential information for the safe and effective operation, maintenance, and troubleshooting of your FLARING FC450 PUMP 240V Plasma Cutter. Please read this manual thoroughly before using the equipment to ensure proper function and safety.
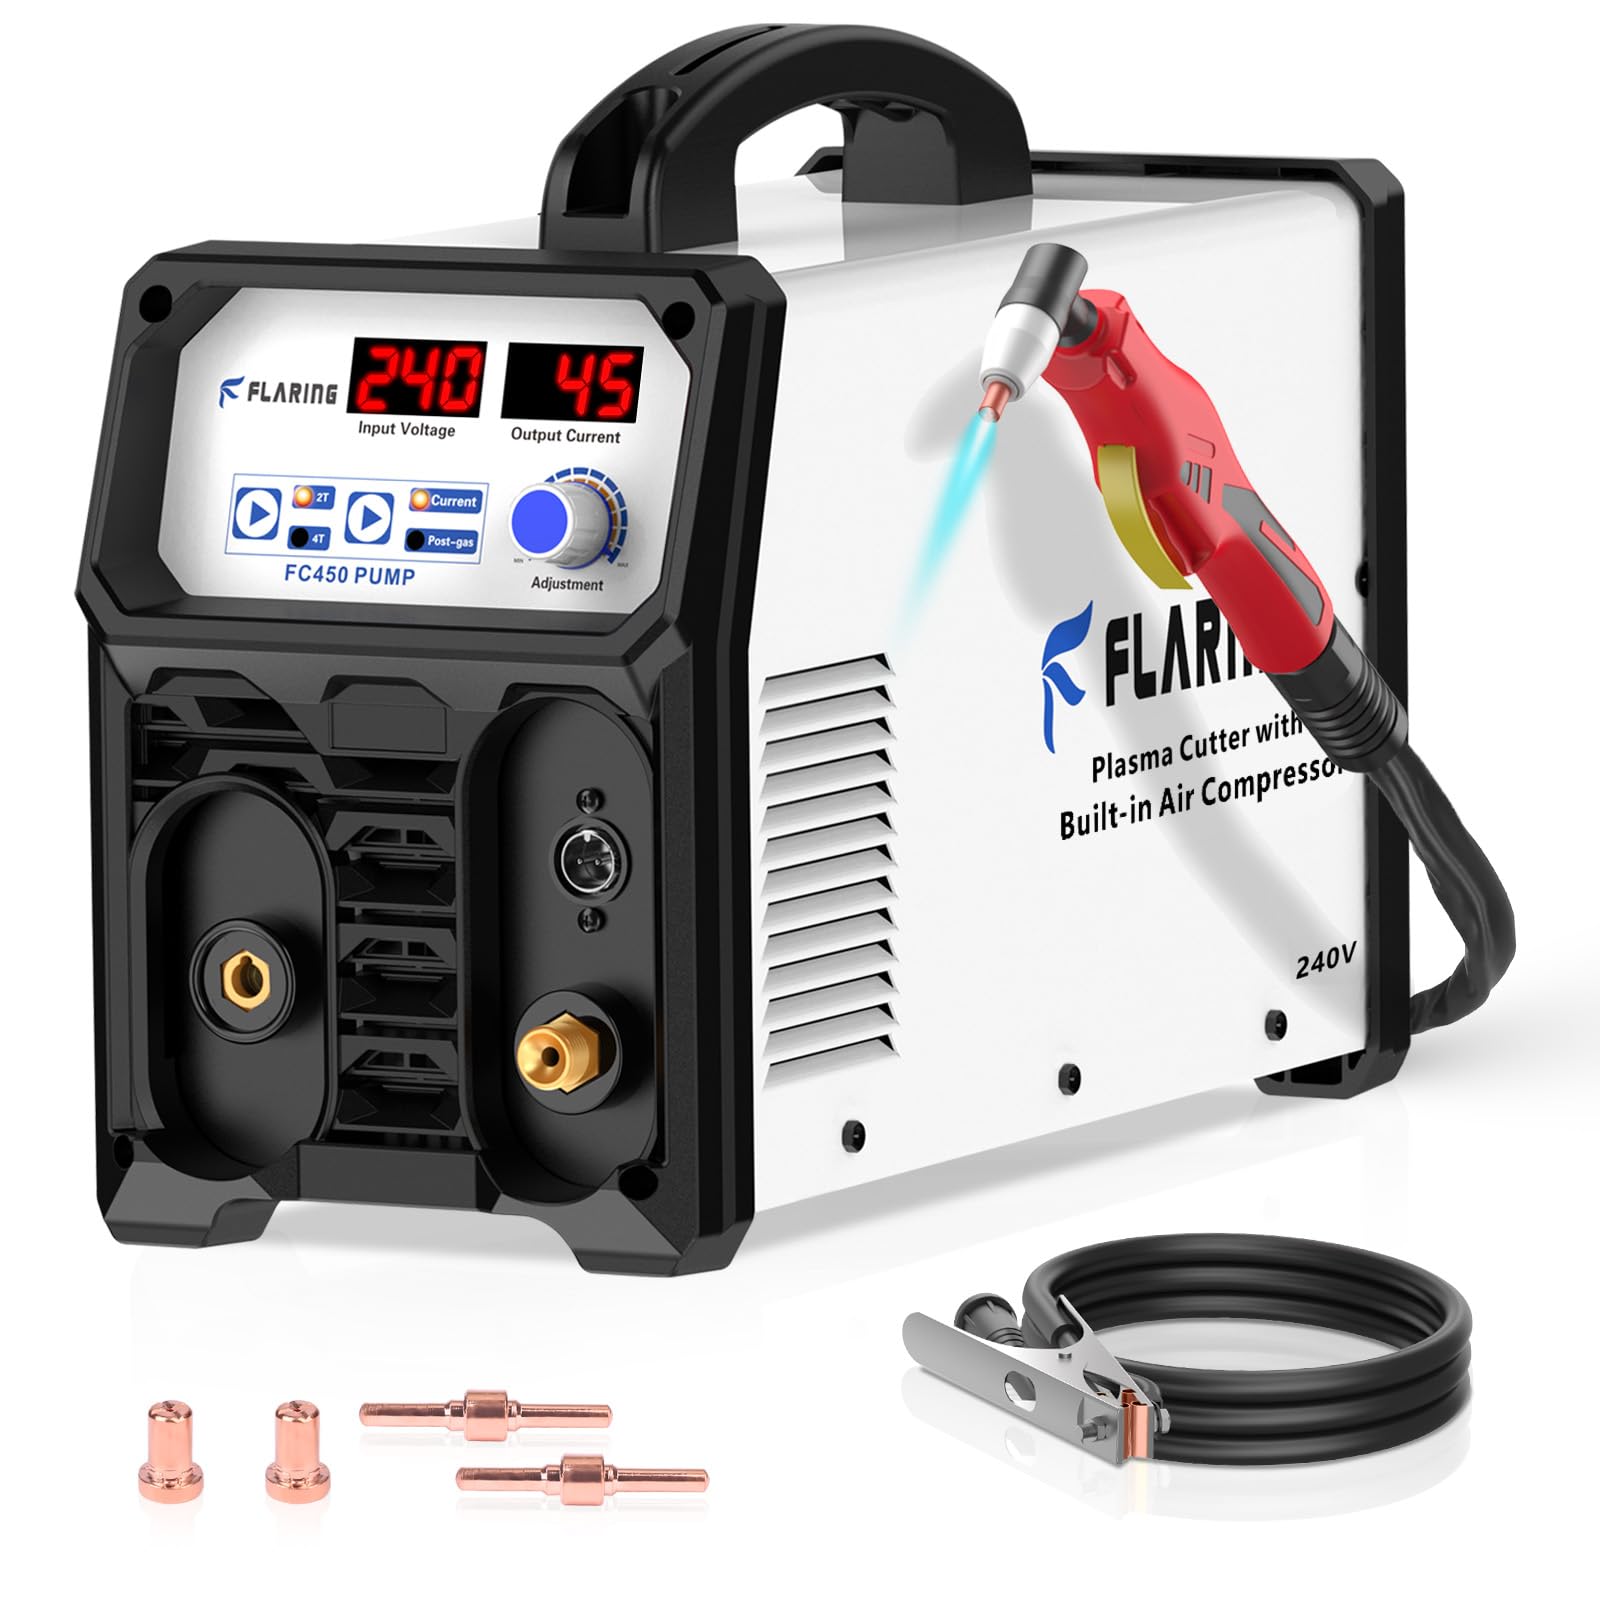
The FLARING FC450 PUMP 240V Plasma Cutter, a compact and portable unit designed for efficient metal cutting.
2. Safety Information
Operating a plasma cutter involves significant risks. Always adhere to the following safety guidelines:
- Eye Protection: Always wear a welding helmet with appropriate shade settings to protect your eyes from intense light and UV radiation.
- Body Protection: Wear flame-resistant clothing, gloves, and safety shoes to protect against sparks, molten metal, and electrical shock.
- Ventilation: Ensure adequate ventilation to remove fumes and gases produced during cutting. Work in a well-ventilated area or use fume extraction equipment.
- Electrical Safety: Connect the machine to a properly grounded power supply. Do not operate in wet conditions. Inspect cables for damage before each use.
- Fire Prevention: Keep flammable materials away from the cutting area. Have a fire extinguisher readily available.
- Compressed Air: The built-in air compressor generates high-pressure air. Do not direct air at yourself or others.
3. Package Contents
Upon unpacking, verify that all components are present:
- FLARING FC450 PUMP 240V Plasma Cutter Unit
- Plasma Cutting Torch (3M/9.9FT)
- Ground Clamp (2M/6.6FT)
- Electrode and Nozzle Kit (Consumables)
- User Manual

Included accessories with the FLARING FC450 PUMP 240V Plasma Cutter.
4. Product Overview and Setup
Familiarize yourself with the plasma cutter's components and prepare for operation.
4.1. Control Panel Introduction
The front panel provides controls and displays for operation:

The control panel features a voltage display, current display, 2T/4T button, post-gas time setting, and a current adjustment knob.
- Voltage Display: Shows the input voltage.
- Current Display: Shows the output cutting current (Amps).
- 2T/4T Button: Toggles between 2-Touch and 4-Touch trigger modes.
- Post Gas Time: Adjusts the post-flow time for cooling the torch.
- Current Adjust Knob: Used to set the desired cutting amperage.
4.2. Connections
Connect the torch and ground clamp to the appropriate terminals on the front panel. Ensure connections are secure.
4.3. Power Connection
Connect the plasma cutter to a 240V power outlet. This unit features a built-in air compressor, eliminating the need for an external air supply.

The FLARING FC450 PUMP features an integrated air pump for simplified setup and portability, unlike systems requiring external compressors.
5. Operating Instructions
Follow these steps for safe and effective plasma cutting:
- Power On: Turn on the main power switch located on the rear panel. The digital displays will illuminate.
- Adjust Current: Use the Current Adjust Knob to set the desired amperage based on the material type and thickness.
- Select 2T/4T Mode:
- 2T (Two-Touch): Hold the trigger to activate cutting; release to stop. Suitable for short, intermittent cuts.
- 4T (Four-Touch): Press once to start cutting; press again to stop. Ideal for longer cuts, eliminating the need to hold the trigger continuously.
- Prepare Material: Ensure the workpiece is clean and free of rust or paint. Secure the ground clamp firmly to the workpiece.
- Start Cutting: Position the torch nozzle close to the workpiece. Press the torch trigger to initiate the arc and begin cutting. Maintain a consistent travel speed for a clean cut.
- Post-Flow: After releasing the trigger, the air will continue to flow for a short period (post-gas time) to cool the torch.

Understanding the 2T and 4T trigger modes for different cutting applications.
5.1. Cutting Thickness Guidelines
The FC450 PUMP is capable of cutting various metal thicknesses:
- Clean Cut Thickness: Up to 3/8 inch (9.5mm) at 40A.
- Maximum Cut Thickness: Up to 5/8 inch (15.9mm) at 40A.

Visual representation of the clean and maximum cutting capabilities of the plasma cutter.
Official video demonstrating the FLARING 240V Plasma Cutter in operation, showcasing its cutting performance.
6. Maintenance
Regular maintenance ensures optimal performance and extends the lifespan of your plasma cutter.
- Consumables: Regularly inspect and replace worn electrodes and nozzles. Worn consumables can lead to poor cut quality and damage to the torch.
- Cleaning: Keep the machine and torch clean. Remove dust and debris from cooling vents to prevent overheating.
- Air Filter: Periodically check and clean or replace the air filter for the built-in compressor to ensure a clean air supply for cutting.
- Cable Inspection: Inspect all cables and connections for signs of wear, cuts, or damage. Replace damaged components immediately.
7. Troubleshooting
Refer to the following table for common issues and their solutions:
| Problem | Possible Cause | Solution |
|---|---|---|
| No arc initiation | Loose ground clamp, worn consumables, insufficient air pressure, power issue | Secure ground clamp, replace consumables, check air pressure, verify power connection |
| Poor cut quality | Worn consumables, incorrect current setting, improper travel speed, contaminated air | Replace consumables, adjust current, optimize travel speed, check air filter |
| Overheat indicator on | Exceeded duty cycle, blocked ventilation | Allow machine to cool down, clear ventilation openings |
| No air flow | Air compressor issue, blocked air line | Check compressor function, inspect air lines for obstructions |
8. Specifications
| Feature | Detail |
|---|---|
| Brand | FLARING |
| Model Number | FC450 PUMP 240V |
| Voltage | 240 Volts |
| Power Source | AC |
| Special Feature | Built-In Air Compressor |
| Item Weight | 13.54 Kilograms |
| Clean Cut Thickness | 3/8 inch @ 40A |
| Maximum Cut Thickness | 5/8 inch @ 40A |
| Included Components | Plasma Cutter Machine, Plasma Cutting Torch, Ground Clamp, Electrode and Nozzle Kit |
9. Warranty and Support
For warranty information and technical support, please refer to the warranty card included with your product or contact FLARING customer service directly. Keep your purchase receipt as proof of purchase.
Contact Information: Please visit the official FLARING website or refer to the contact details provided in your product packaging for support.