
1. Introduction
This manual provides detailed instructions for the installation, operation, and maintenance of your WAVLINK Dual M.2 NVMe SSD Enclosure. This device is designed to expand storage for laptops, desktops, and mobile devices, offering high-speed data transfer and efficient cooling.
2. Package Contents
Please verify that all items are present in your package:
- WAVLINK Dual M.2 NVMe SSD Enclosure
- USB-C to USB-C Cable with USB-A Adapter
- Screwdriver
- Mounting Screws
- User Manual (this document)

Image: The WAVLINK Dual M.2 NVMe SSD Enclosure shown with its packaging, USB-C cable, screwdriver, and mounting screws.
3. Specifications
| Feature | Description |
|---|---|
| Model Number | 20Gbps No Offline Cloning (WL-RapidFire U2DA-A) |
| Dimensions | 9 x 4.2 x 16.9 cm; 550 g |
| Material | Aluminum |
| Color | Black |
| Hardware Interface | USB 3.2 Gen 2x2 (20Gbps) |
| SSD Compatibility | PCIe NVMe M-Key and B+M Key SSDs (2230/2242/2260/2280 sizes). Does not support SATA SSDs. |
| Max Capacity | Up to 8 TB per slot, 16 TB total with two NVMe SSDs |
| Data Transfer Rate | Up to 20 Gigabits per second (approx. 1800 MB/s for single SSD) |
| Supported Features | UASP, Trim, RAID 0 (software configured) |
| OS Compatibility | Windows, macOS, Android |
| Special Features | OTG support, Smart Cooling Fan, Tool-free installation |
4. Setup and Installation
4.1 SSD Compatibility
This enclosure is designed exclusively for PCIe NVMe M-Key and B+M Key SSDs in sizes 2230, 2242, 2260, and 2280. SATA SSDs are not supported.

Image: Visual guide to compatible NVMe SSD types (M-Key, B+M Key NVMe) and incompatible SATA SSD types (B-Key SATA, B+M Key SATA).
4.2 Tool-Free SSD Installation
- Open the Enclosure: Gently slide open the left and right covers of the enclosure from the top notch.
- Insert SSD: Align your M.2 NVMe SSD with the slot and insert it firmly. Ensure it is seated correctly.
- Close the Enclosure: Close the covers. They will secure magnetically.

Image: Step-by-step illustration of how to open the enclosure, insert an M.2 SSD, and close the enclosure.
5. Operating Instructions
5.1 Connecting to a Device
Connect the enclosure to your computer, laptop, or compatible mobile device using the provided USB-C to USB-C cable. For devices with USB-A ports, use the detachable USB-A adapter. The enclosure supports plug-and-play functionality.

Image: The enclosure connected to a laptop, illustrating its 20Gbps ultra-fast transfer speed.
5.2 Data Transfer Speed
The USB 3.2 Gen 2x2 port offers up to 20 Gbps, allowing a single SSD to achieve approximately 1800 MB/s read and write speeds. When two SSDs are installed, they share the full 20 Gbps bandwidth for stable, high-speed transfers.

Image: A table detailing performance benchmarks (read/write speeds) across different computer models using specific SSDs.
5.3 OTG Compatibility
The enclosure supports On-The-Go (OTG) functionality, allowing direct access to data from compatible Android phones and tablets.

Image: A user accessing data from the enclosure directly on a smartphone via OTG connection.
5.4 RAID 0 Configuration
RAID 0 is available for users who desire faster combined performance and expanded capacity. This configuration requires software setup using operating system tools (e.g., Disk Management in Windows, Disk Utility in macOS). Please note that RAID 0 stripes data across both drives, meaning if one drive fails, all data on both drives may be lost.
6. Maintenance
6.1 Smart Cooling System
The enclosure features a solid aluminum casing and an integrated cooling fan to maintain stable temperatures during prolonged transfers. The fan automatically adjusts its speed, operating quietly during light tasks and increasing power when the enclosure heats up, ensuring reliable performance and extending SSD lifespan.
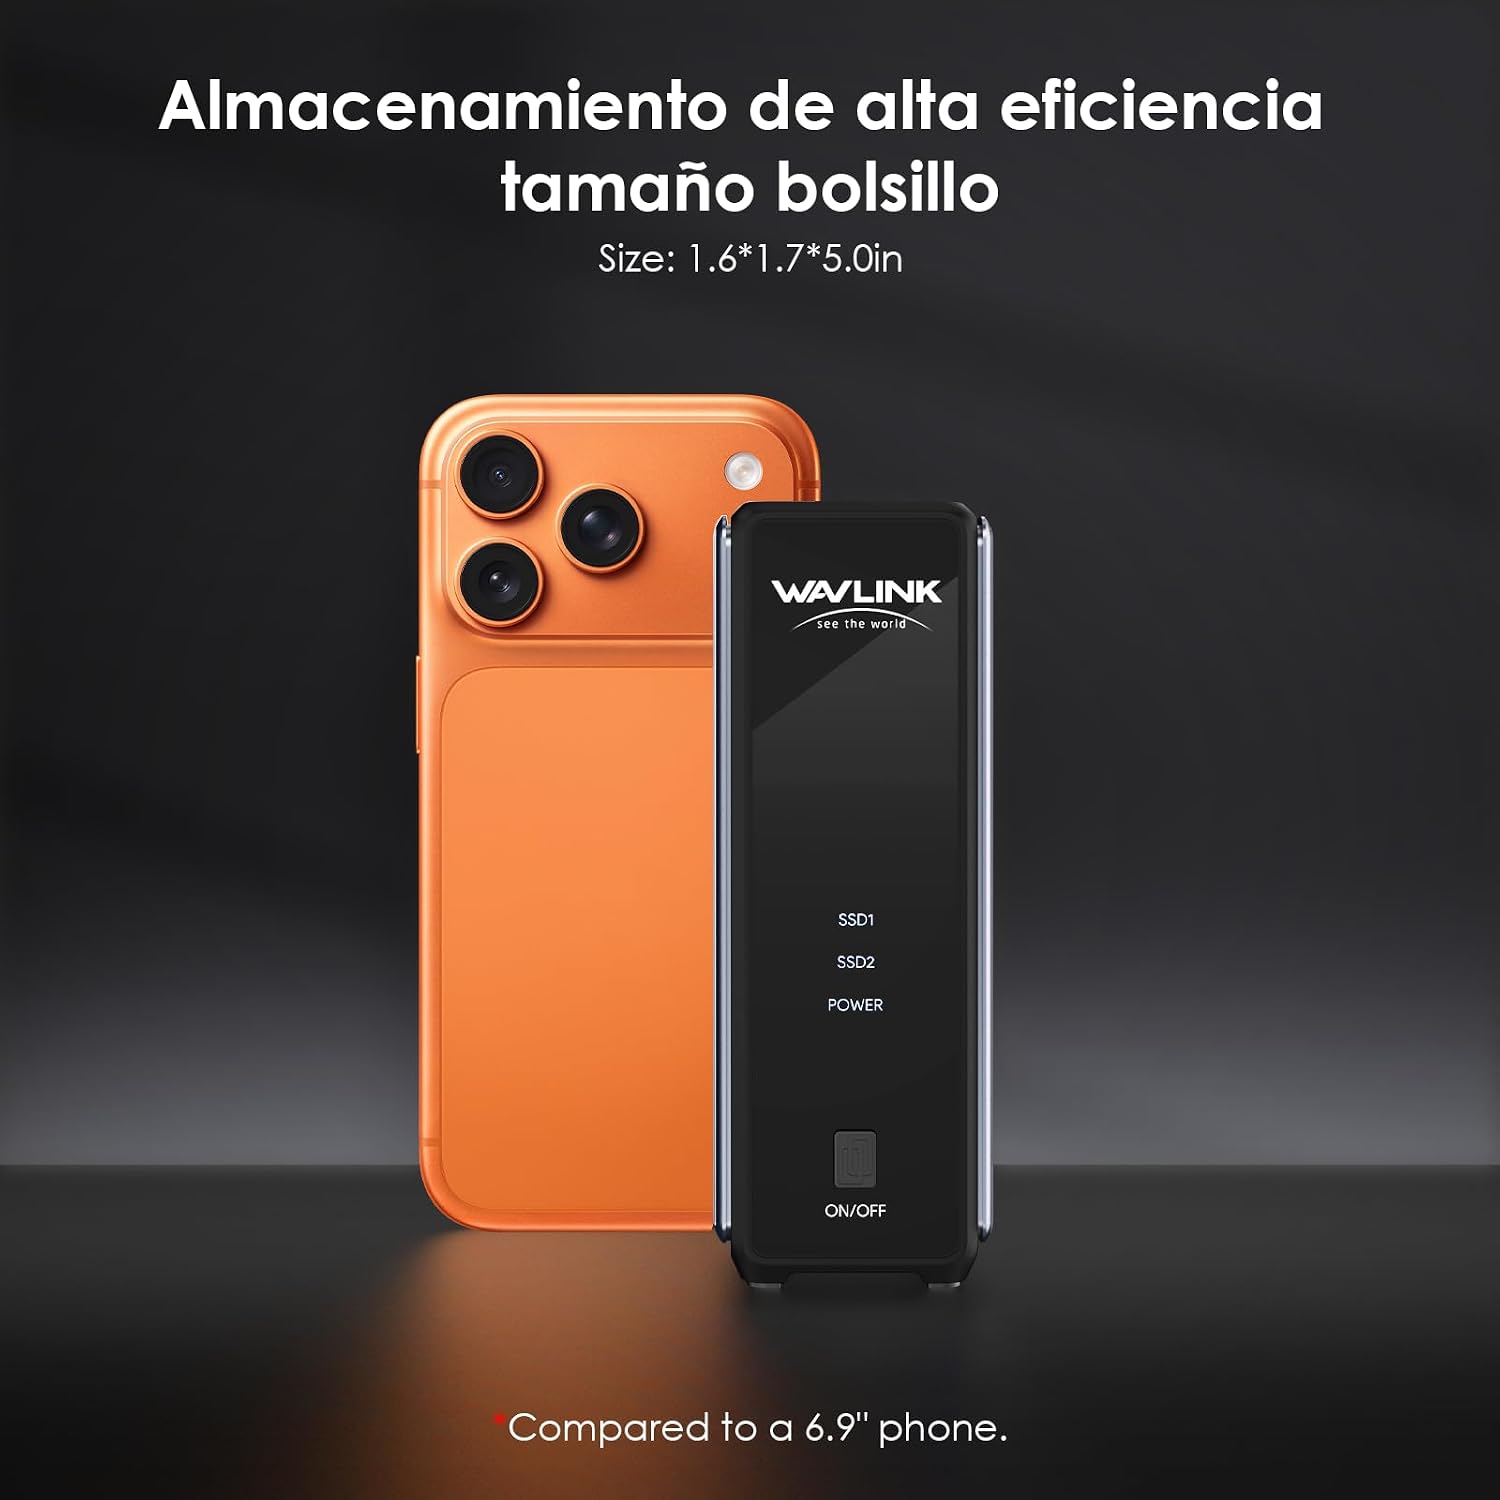
Image: An exploded view showing the internal cooling fan and a temperature comparison graph demonstrating efficient cooling.
6.2 UASP and Trim Support
The enclosure supports UASP (USB Attached SCSI Protocol) and Trim commands. UASP enhances transfer responsiveness, while Trim helps maintain long-term SSD performance by optimizing data management.

Image: A visual representation of the intelligent chip (JMS586A) and its supported features: UASP, S.M.A.R.T., and TRIM.
6.3 Cleaning
To clean the enclosure, use a soft, dry cloth. Avoid using liquid cleaners or solvents, as they may damage the device.
7. Troubleshooting
- Device Not Detected:
- Ensure the SSD is correctly installed and seated firmly in the slot.
- Try connecting the enclosure to a different USB port on your computer.
- Verify that the USB cable is securely connected at both ends.
- Check if the SSD itself is functional by testing it in another compatible device if possible.
- For new SSDs, ensure they are initialized and formatted in your operating system's Disk Management (Windows) or Disk Utility (macOS).
- Slow Transfer Speeds:
- Ensure you are connected to a USB 3.2 Gen 2x2 (20Gbps) compatible port on your host device. USB-A ports typically support up to 10Gbps.
- Confirm your SSD is an NVMe drive, not a SATA drive. SATA drives will not function in this enclosure.
- Close other applications that might be consuming system resources or disk I/O.
- Ensure your operating system and drivers are up to date.
- Overheating:
- Ensure the enclosure is placed in a well-ventilated area.
- Avoid blocking the fan vents.
- Prolonged heavy data transfers can generate heat; the intelligent cooling system is designed to manage this. If overheating persists, reduce workload or allow the device to cool.
8. Warranty and Support
WAVLINK products typically come with a standard manufacturer's warranty. Please refer to the warranty card included with your product or visit the official WAVLINK website for specific warranty terms and conditions.
8.1 Customer Support
For technical assistance or customer service, please contact WAVLINK support:
- Email: Contact@wavlink.com
- Phone: +1 8889730883 (UTC -5) Mon - Fri 9AM - 6PM
- Website: www.wavlink.com