
1. Introduction
This manual provides detailed instructions for the assembly, operation, and maintenance of your SOFTSEA Queen Size Gaming Bunk Bed. This loft bed features an integrated desk, storage shelves, LED lighting, and USB charging ports, designed for a versatile and space-saving bedroom setup. Please read all instructions carefully before beginning assembly and retain this manual for future reference.

Figure 1: Fully assembled SOFTSEA Queen Size Gaming Bunk Bed.
2. Safety Information
- Some assembly is required. Follow all instructions carefully.
- Ensure the bed is fully assembled and all fasteners are tightened before use.
- Do not exceed the maximum weight recommendation of 800 lbs (363 kg) to prevent injury or damage.
- Always use the ladder when accessing the upper bunk. Do not jump on the bed.
- Keep small parts away from children during assembly to prevent choking hazards.
- Periodically check all connections and tighten as necessary.
3. Package Contents
Your SOFTSEA Queen Size Gaming Bunk Bed will arrive in 3 separate packages. Please verify that all components are present and undamaged before beginning assembly. If any parts are missing or damaged, contact customer support immediately.
Tools Required (Not Included):
- Phillips Head Screwdriver
- Hammer (optional, for dowels)
Note: All necessary assembly tools are typically included within the packages. Please check thoroughly.
4. Assembly Instructions
It is recommended that two or more people complete the assembly together to minimize hassle and ensure safety. Follow the steps below in sequence.
Step 4.1: Unpack and Identify Components
Carefully unpack all boxes and lay out the components on a clean, soft surface to prevent scratches. Refer to the parts list (usually included in one of the packages) to identify each piece.

Figure 2: Product dimensions for planning assembly space.
Step 4.2: Assemble the Main Bed Frame
Begin by connecting the main side rails and end panels of the upper bunk. Ensure all bolts are securely tightened but do not overtighten. The frame is constructed from high-quality wood and engineered wood.

Figure 3: Initial frame assembly showing the upper bed and desk support.
Step 4.3: Install the Desk and Storage Shelves
Attach the desk surface and the integrated storage shelves to the designated frame sections. Pay attention to the pre-drilled cable holes for proper alignment. These shelves are designed for storing gaming gear and personal accessories.
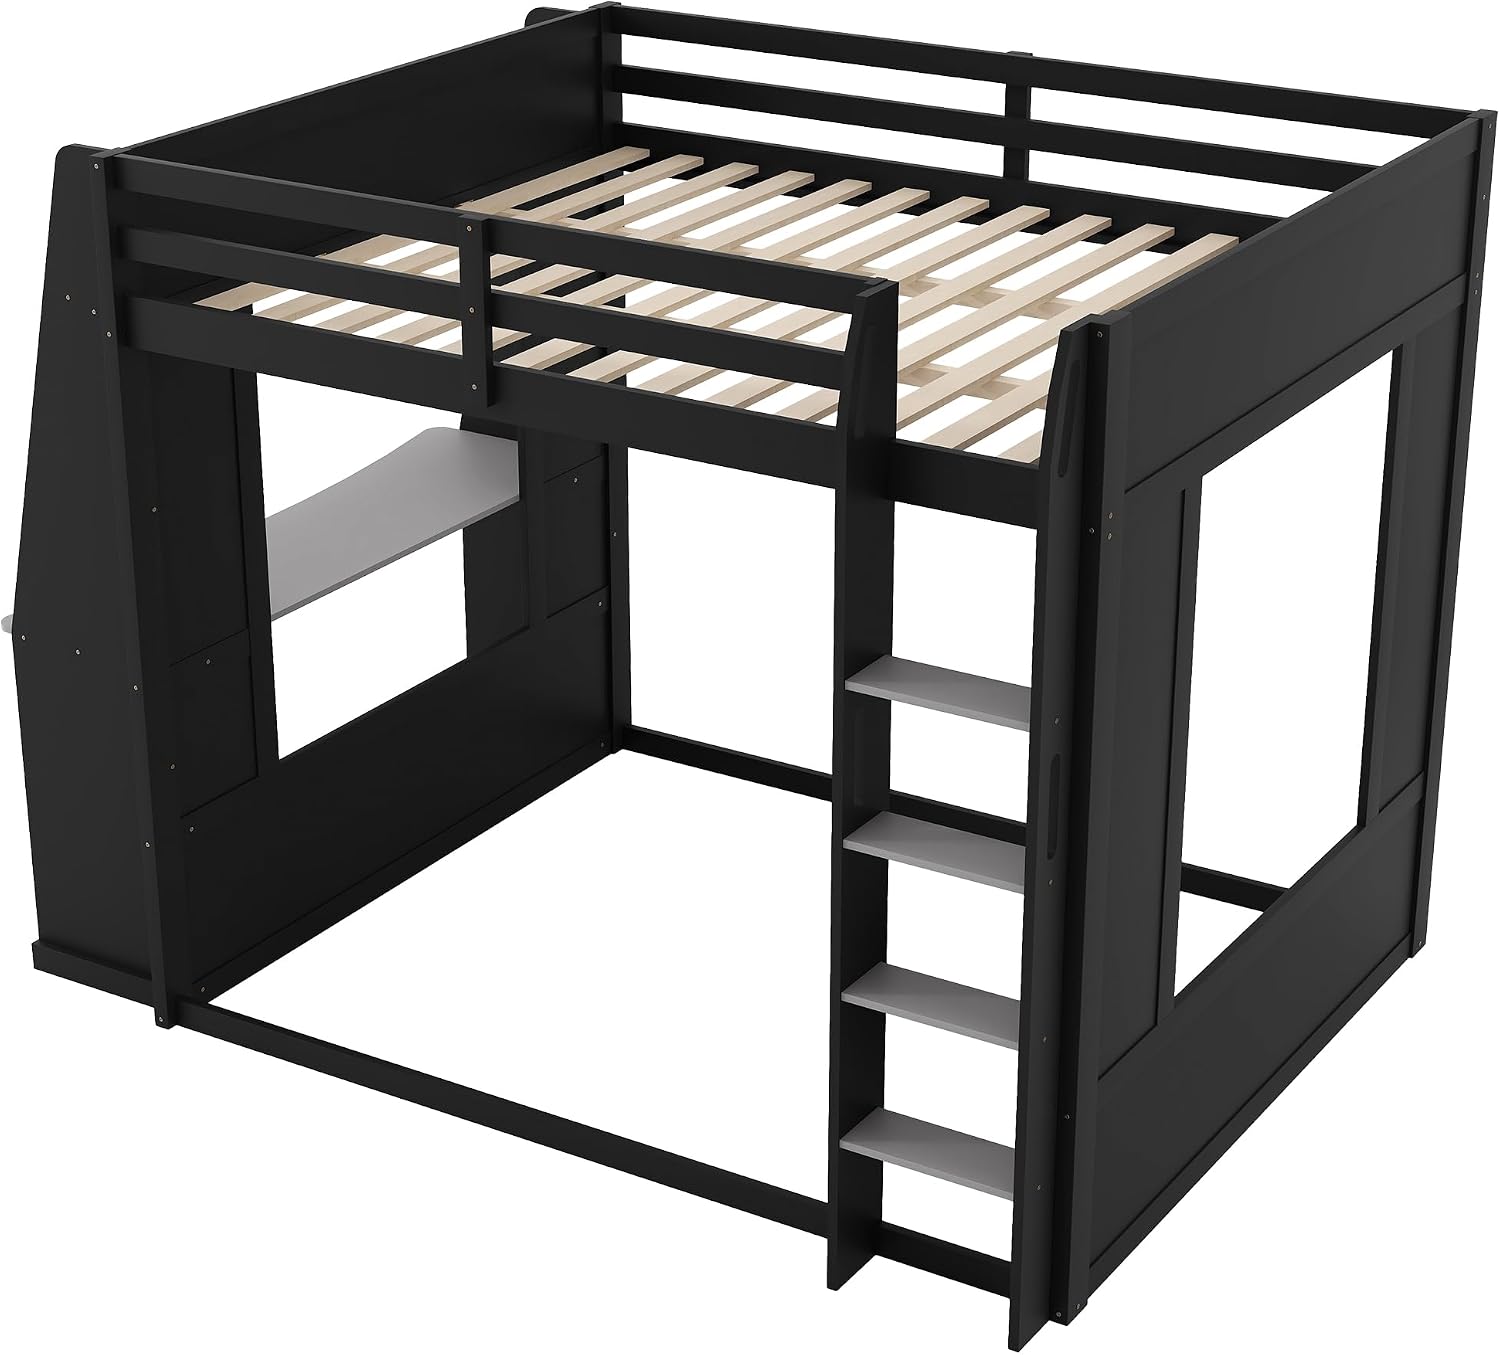
Figure 4: Attaching the desk and storage components.
Step 4.4: Attach the Ladder and Slats
Securely attach the ladder to the bunk bed frame. Ensure it is stable and can support weight. Then, place the bed slats onto the upper bunk frame, distributing them evenly and securing them according to the instructions. This provides a sturdy base for your mattress.

Figure 5: Ladder and slat installation.
Step 4.5: Connect LED Lights and USB Ports
Follow the specific wiring instructions provided for the LED lights and USB charging ports. Ensure all connections are secure. Test the lights and USB ports to confirm they are functioning correctly before final placement of the bed.
5. Operating Instructions
5.1 LED Lights
The integrated LED lights are controlled via a switch or remote (if included). Refer to the separate LED light manual for specific functions such as color changes, brightness adjustments, and modes. Ensure the power adapter is securely plugged into a wall outlet.
5.2 USB Charging Ports
The USB ports are designed for convenient charging of your electronic devices. Simply plug your device's USB cable into the port. Ensure the bed's power supply is connected for the USB ports to function.

Figure 6: Gaming setup with illuminated LED lights and functional desk area.
6. Maintenance
6.1 Cleaning
- Wipe surfaces with a soft, damp cloth.
- Avoid using harsh chemicals or abrasive cleaners, as these can damage the finish.
- For spills, clean immediately to prevent staining.
6.2 General Care
- Periodically check all bolts and screws and tighten them as needed to maintain structural integrity.
- Avoid dragging the bed when moving it; lift it to prevent damage to the frame and flooring.
- Keep the bed away from direct sunlight and excessive moisture to prevent warping or fading.
7. Troubleshooting
7.1 LED Lights Not Working
- Check if the power adapter is securely plugged into both the bed and the wall outlet.
- Ensure the power switch (if any) is in the 'ON' position.
- Verify all wiring connections for the LED strip are firm.
- If using a remote, check the battery.
7.2 USB Ports Not Charging
- Confirm the bed's main power supply is connected and active.
- Try a different USB cable or device to rule out a faulty cable/device.
- Ensure the USB port connections within the bed's wiring are secure.
7.3 Bed Feels Unstable
- Re-check all bolts and screws throughout the entire frame and tighten any that are loose.
- Ensure the bed is placed on a level surface.
- Verify that all components were assembled correctly according to the instructions.
8. Specifications
| Model Number | x27 |
| Brand | SOFTSEA |
| Style | Modern Loft Bed |
| Size | Queen |
| Overall Dimensions (L x W x H) | 100.6" x 68.1" x 70.1" |
| Bed Weight Capacity | 800 lbs (363 kg) |
| Recommended Mattress Thickness | 6" |
| Material | Wood, MDF |
| Color | Black & Grey |
| Special Features | Integrated Desk, Storage Shelves, LED Lighting, USB Ports |
| Assembly Required | Yes, full assembly |
| Number of Packages | 3 |
9. Warranty and Support
For warranty information, please refer to the documentation included with your purchase or contact SOFTSEA customer service. If you require assistance with assembly, missing parts, or have any questions regarding your product, please reach out to our support team.
Customer Support: Please refer to your purchase receipt or the SOFTSEA official website for contact details.