
1. Introduction
This manual provides detailed instructions for setting up, operating, and maintaining your Ourlife WiFi Extender Signal Booster, Model M-A25. This device is designed to expand your existing wireless network coverage, eliminate dead zones, and provide stable, high-speed internet access throughout your home or office.
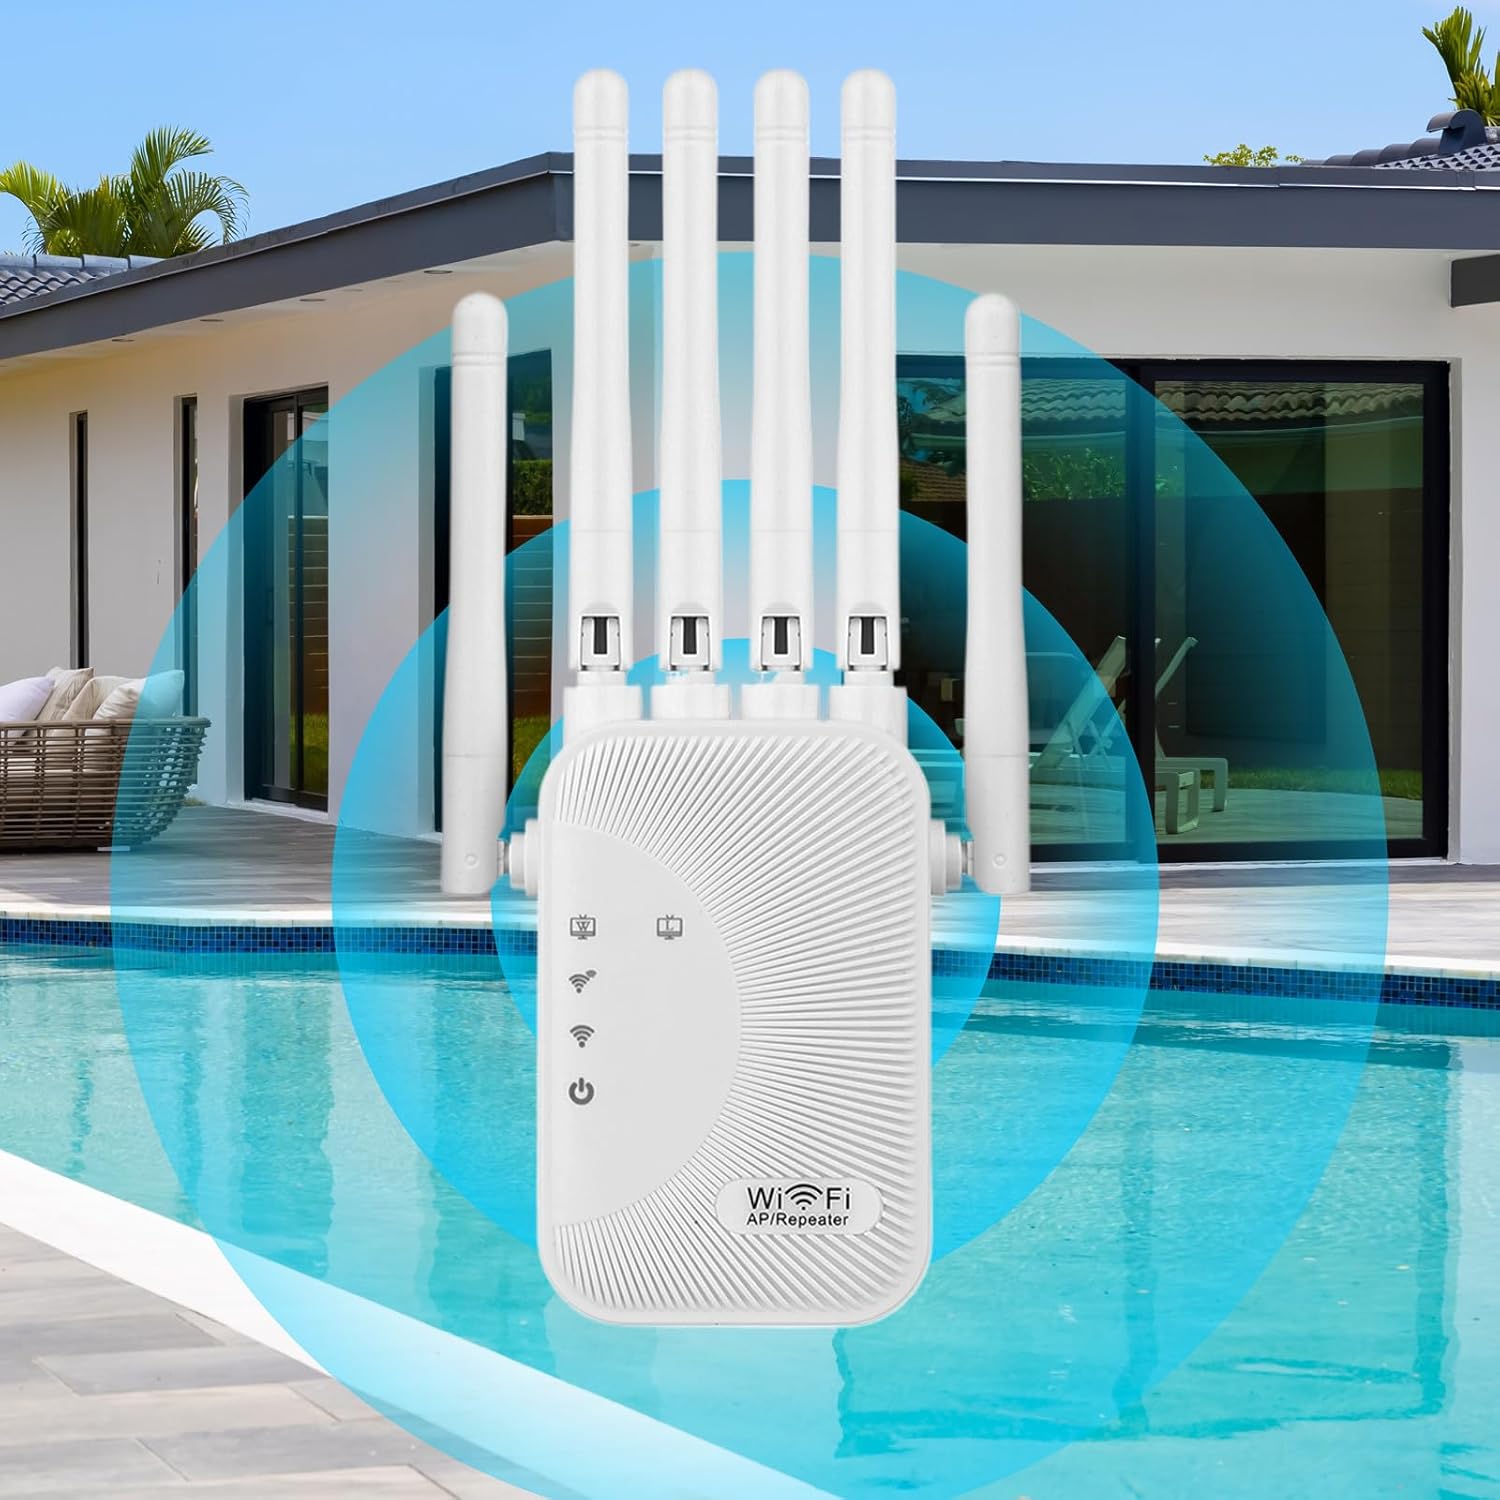
Image 1.1: Front view of the Ourlife WiFi Extender Signal Booster (M-A25).
2. Product Overview
2.1 Key Features
- Dual-Band WiFi: Supports 2.4GHz (300Mbps) and 5GHz (1200Mbps) for a combined speed of up to 1200Mbps.
- Extended Coverage: Equipped with 6 high-gain antennas to extend wireless networks up to 12,000 sq.ft, eliminating dead zones.
- Smart Dual-Core Processor: Ensures ultra-stable signals for seamless online activities.
- WPS One-Button Setup: Simplifies the connection process with your existing router.
- Efficient Heat Dissipation: Features dual-side ventilation holes to maintain stable performance and extend lifespan.
- Wide Compatibility: Works with over 45+ wireless smart devices including gaming consoles, PCs, smart TVs, smartphones, and tablets.
- Gigabit Ethernet Ports: Provides stable wired connections for devices.
2.2 Package Contents
- 1 x Ourlife WiFi Extender Signal Booster (Model M-A25)
- 1 x User Manual
2.3 Device Components
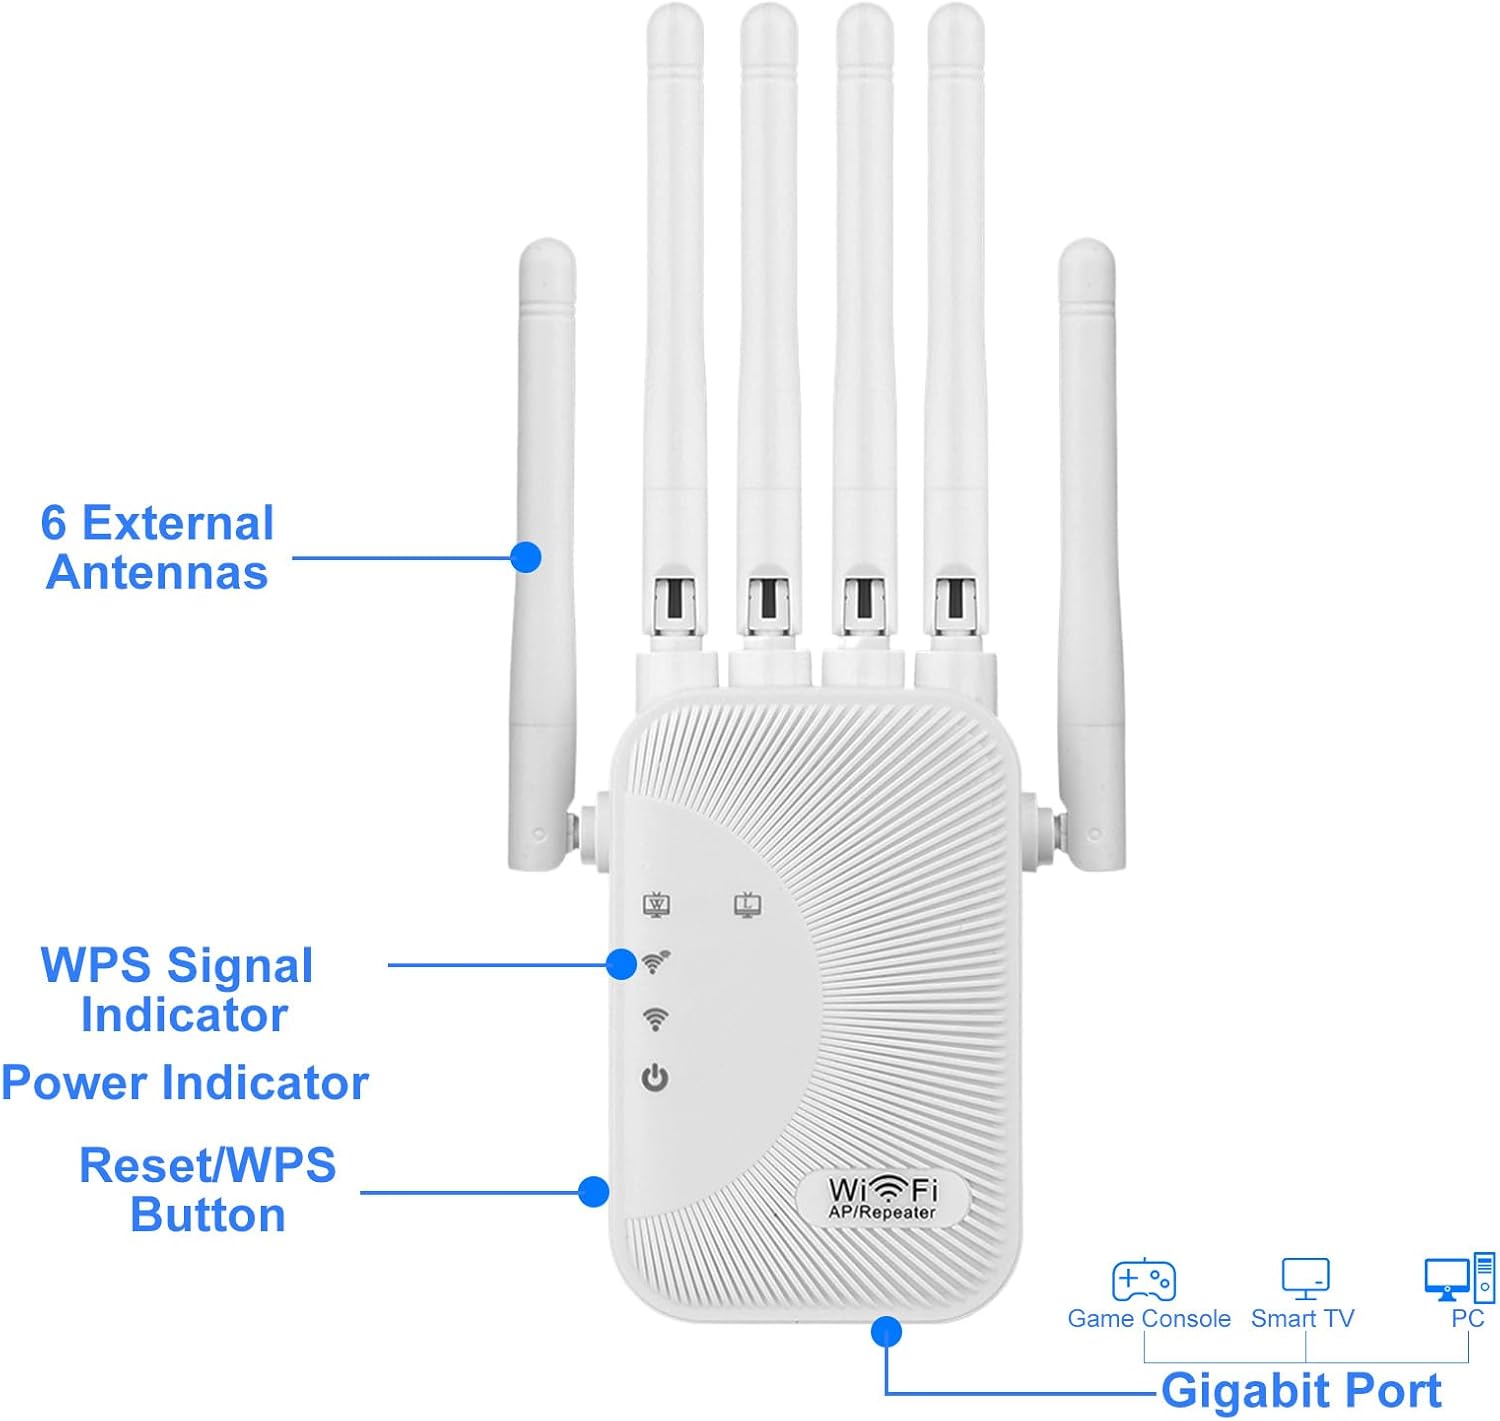
Image 2.1: Labeled diagram of the WiFi Extender's components.
- 6 External Antennas: For enhanced signal reception and transmission.
- WPS Signal Indicator: Indicates WPS status and signal strength.
- Power Indicator: Shows the device's power status.
- Reset/WPS Button: Used for WPS setup or to reset the device to factory settings.
- Gigabit Ports: For wired connections to devices like PCs or gaming consoles.
3. Setup Instructions
There are two primary methods to set up your Ourlife WiFi Extender: WPS One-Button Setup or Web Browser Setup.
3.1 WPS One-Button Setup
The WPS (Wi-Fi Protected Setup) method is the quickest way to connect your extender to your router.
- Plug the Ourlife WiFi Extender into an electrical outlet near your main router.
- Wait for the Power Indicator light to become stable.
- Press the WPS button on your main router.
- Within 2 minutes, press the Reset/WPS button on your Ourlife WiFi Extender.
- The WPS Signal Indicator on the extender will blink and then turn solid, indicating a successful connection.
- You can now unplug the extender and move it to a desired location (see Section 4.3 for placement guidelines).

Image 3.1: Visual guide for WPS One-Button Setup.
3.2 Web Browser Setup
If your router does not have a WPS button or if the WPS method fails, you can set up the extender via a web browser.
- Plug the Ourlife WiFi Extender into an electrical outlet.
- Connect your computer or smartphone to the extender's default Wi-Fi network (e.g., "Ourlife_Ext"). No password is required initially.
- Open a web browser and enter the default IP address (usually 192.168.1.1 or 192.168.0.1) or the default web address (check the label on the extender or the included quick start guide).
- Follow the on-screen instructions to select your existing Wi-Fi network and enter its password.
- Configure the extender's network name (SSID) and password. You can choose to keep the same as your main router or create a new one.
- Once configured, the extender will restart. Reconnect your devices to the new extended network.
Video 3.1: Official Ourlife video demonstrating the setup process for the WiFi Extender.
4. Operating Modes and Placement
4.1 Operating Modes
The Ourlife WiFi Extender supports multiple operating modes to suit various network requirements:
- Repeater Mode: Extends the coverage of an existing wireless network. This is the most common mode for home use.
- Access Point (AP) Mode: Converts a wired network connection into a wireless one, ideal for areas without Wi-Fi but with Ethernet access.
- Router Mode: Functions as a primary router, creating a new wireless network from a modem connection.

Image 4.1: Illustration of the different operating modes.
4.2 Device Compatibility
The extender is compatible with a wide range of devices, ensuring stable and fast WiFi signals for all your connected electronics.

Image 4.2: The extender's compatibility with various smart devices.
4.3 Optimal Placement
Proper placement of your WiFi extender is crucial for maximizing signal coverage and performance.
- Place the extender roughly halfway between your router and the area where you need improved Wi-Fi coverage.
- Avoid placing the extender too close to the router, as this will not significantly extend coverage.
- Avoid placing the extender too far from the router, as it will receive a weak signal and cannot effectively boost it.
- Ideal placement is typically 10-40 feet from your main router.
- Ensure there are minimal obstructions (thick walls, large metal objects) between the extender and both your router and client devices.

Image 4.3: Visual guide for optimal WiFi extender placement.
5. Maintenance
To ensure the longevity and stable performance of your Ourlife WiFi Extender, follow these maintenance guidelines:
- Heat Dissipation: The device features dual-side ventilation holes for efficient heat dissipation. Ensure these vents are not blocked.
- Placement: Always place the extender in a well-ventilated area to prevent overheating.
- Cleaning: Periodically clean the device with a soft, dry cloth to remove dust. Do not use liquid cleaners or aerosols.
- Firmware Updates: Check the manufacturer's website periodically for firmware updates to ensure optimal performance and security.

Image 5.1: Close-up of the extender's ventilation design.
6. Troubleshooting
If you encounter issues with your Ourlife WiFi Extender, refer to the following common problems and solutions:
| Problem | Possible Cause / Solution |
|---|---|
| No Wi-Fi in certain areas of your home. | The extender may be placed too far from the router or in a location with too many obstructions. Refer to Section 4.3 for optimal placement. |
| Weak Wi-Fi signal through thick walls or floors. | This is a common issue. The extender is designed to mitigate this. Ensure optimal placement and consider adjusting antenna orientation. |
| Difficulty connecting devices to the extended network. | Ensure the extender is properly set up (WPS or Web Browser). Verify the extended network's password. Try restarting both the extender and the client device. |
| Lost connection or intermittent signal. | Check for interference from other electronic devices. Ensure the extender is not overheating (see Section 5). Try resetting the extender and reconfiguring. |
| WPS setup fails. | Ensure you press the WPS button on both the router and extender within the specified time frame (usually 2 minutes). If it continues to fail, use the Web Browser Setup method. |
7. Specifications
| Feature | Detail |
|---|---|
| Brand | Ourlife |
| Model Number | M-A25 |
| Wireless Communication Standard | 802.11ac |
| Data Transfer Rate | 1200 Mbps (300Mbps for 2.4GHz, 867Mbps for 5GHz) |
| Frequency Band Class | Dual-Band (2.4 GHz, 5 GHz) |
| Antennas | 6 External Antennas |
| Range | Up to 12,000 square feet |
| Special Feature | 1-Tap Setup (WPS) |
| Compatible Devices | Gaming Console, Personal Computer, Smart Television, Smartphone, Tablet |
| Color | GrayWhite |
| Ports | Gigabit Ethernet Ports |
8. Warranty and Support
8.1 Warranty Information
The Ourlife WiFi Extender Signal Booster (Model M-A25) comes with a standard manufacturer's warranty. Please refer to the product packaging or the official Ourlife website for specific warranty terms and conditions.
8.2 Customer Support
For technical assistance, troubleshooting, or any product-related inquiries, please contact Ourlife customer support through their official website or the contact information provided with your purchase.