1. Introduction
Welcome to your Philips Smart Deadbolt Lock with Handle. This manual provides comprehensive instructions for the installation, setup, operation, and maintenance of your new smart lock. Please read this manual thoroughly before installation and use to ensure proper function and safety.
2. Safety Information
- Read all instructions carefully before installing and operating the lock.
- Do not use corrosive or abrasive cleaning agents on the lock's surface.
- Ensure batteries are inserted with correct polarity to prevent damage.
- Store physical keys in a secure location outside the property to prevent unauthorized access.
- This product is designed for indoor use on exterior doors. Avoid exposing the interior unit to direct moisture.
3. Package Contents
Verify that all components are present before beginning installation:
- Exterior Smart Lock Assembly
- Interior Smart Lock Assembly
- Handle Assembly
- Latch Bolt
- Strike Plate
- Mounting Hardware (screws, bolts)
- Physical Keys (2)
- User Manual (this document)
- AA Alkaline Batteries (8)
4. Installation
Follow these steps for proper installation. A screwdriver is required (not included).
- Prepare the Door: Ensure your door meets the required dimensions for the lock. Remove any existing lock hardware from the door and door frame.
- Install Latch Bolt: Insert the latch bolt into the edge of the door. Ensure the 'UP' arrow on the latch bolt faces upwards. Secure it with the provided screws.
- Install Exterior Assembly: Route the data cable from the exterior smart lock assembly through the hole in the door. Align the exterior unit with the latch bolt and secure it in place.
- Install Interior Mounting Plate: Attach the interior mounting plate to the exterior assembly using the provided screws. Ensure the data cable passes through the plate.
- Connect Cables and Install Interior Assembly: Connect the data cable from the exterior unit to the corresponding port on the interior smart lock assembly. Carefully tuck excess cable into the door. Align the interior assembly with the mounting plate and secure it with screws.
- Install Handle Assembly: Attach the handle assembly according to the specific instructions provided with your model, ensuring it operates smoothly with the latch.
- Install Batteries: Open the battery cover on the interior unit. Insert 8 AA alkaline batteries, ensuring correct positive (+) and negative (-) orientation. Close the battery cover.
- Test Operation: After installation, test the lock's functionality using a physical key and by manually operating the handle. Ensure the latch bolt extends and retracts smoothly.
5. Setup
After physical installation, configure your smart lock for digital access.
- Download the Home Access App: Search for "Home Access" in your smartphone's app store (iOS or Android) and install the application.
- Create an Account: Open the Home Access app and follow the on-screen instructions to create a new user account.
- Pair the Lock with the App: In the Home Access app, select "Add Device" or a similar option. Scan the QR code located on the interior unit of your lock or within this manual. Follow the app's prompts to connect your lock to your home Wi-Fi network.
- Initial Configuration: Once paired, the app will guide you through setting up an administrator passcode and registering your first fingerprint. You may also be prompted to calibrate the lock.
6. Operating Instructions
Your Philips Smart Deadbolt Lock offers multiple convenient ways to secure and access your property.
Unlocking Methods:
- Keypad Entry: Wake the keypad by touching it. Enter your programmed 6-10 digit passcode, then press the unlock button (usually a checkmark or lock icon).
- Fingerprint Recognition: Place a registered finger flat on the fingerprint sensor. The lock will unlock if the fingerprint is recognized.
- Mobile App: Open the Home Access app on your smartphone. Select your lock and tap the unlock icon.
- Physical Key: In case of battery depletion or electronic malfunction, insert one of the provided physical keys into the hidden keyhole (typically located under the fingerprint reader) and turn to unlock.
- Voice Command: If integrated with Amazon Alexa or Google Assistant, use voice commands such as "Hey Alexa, unlock the door." (Requires a voice assistant device and proper setup in the Home Access app).
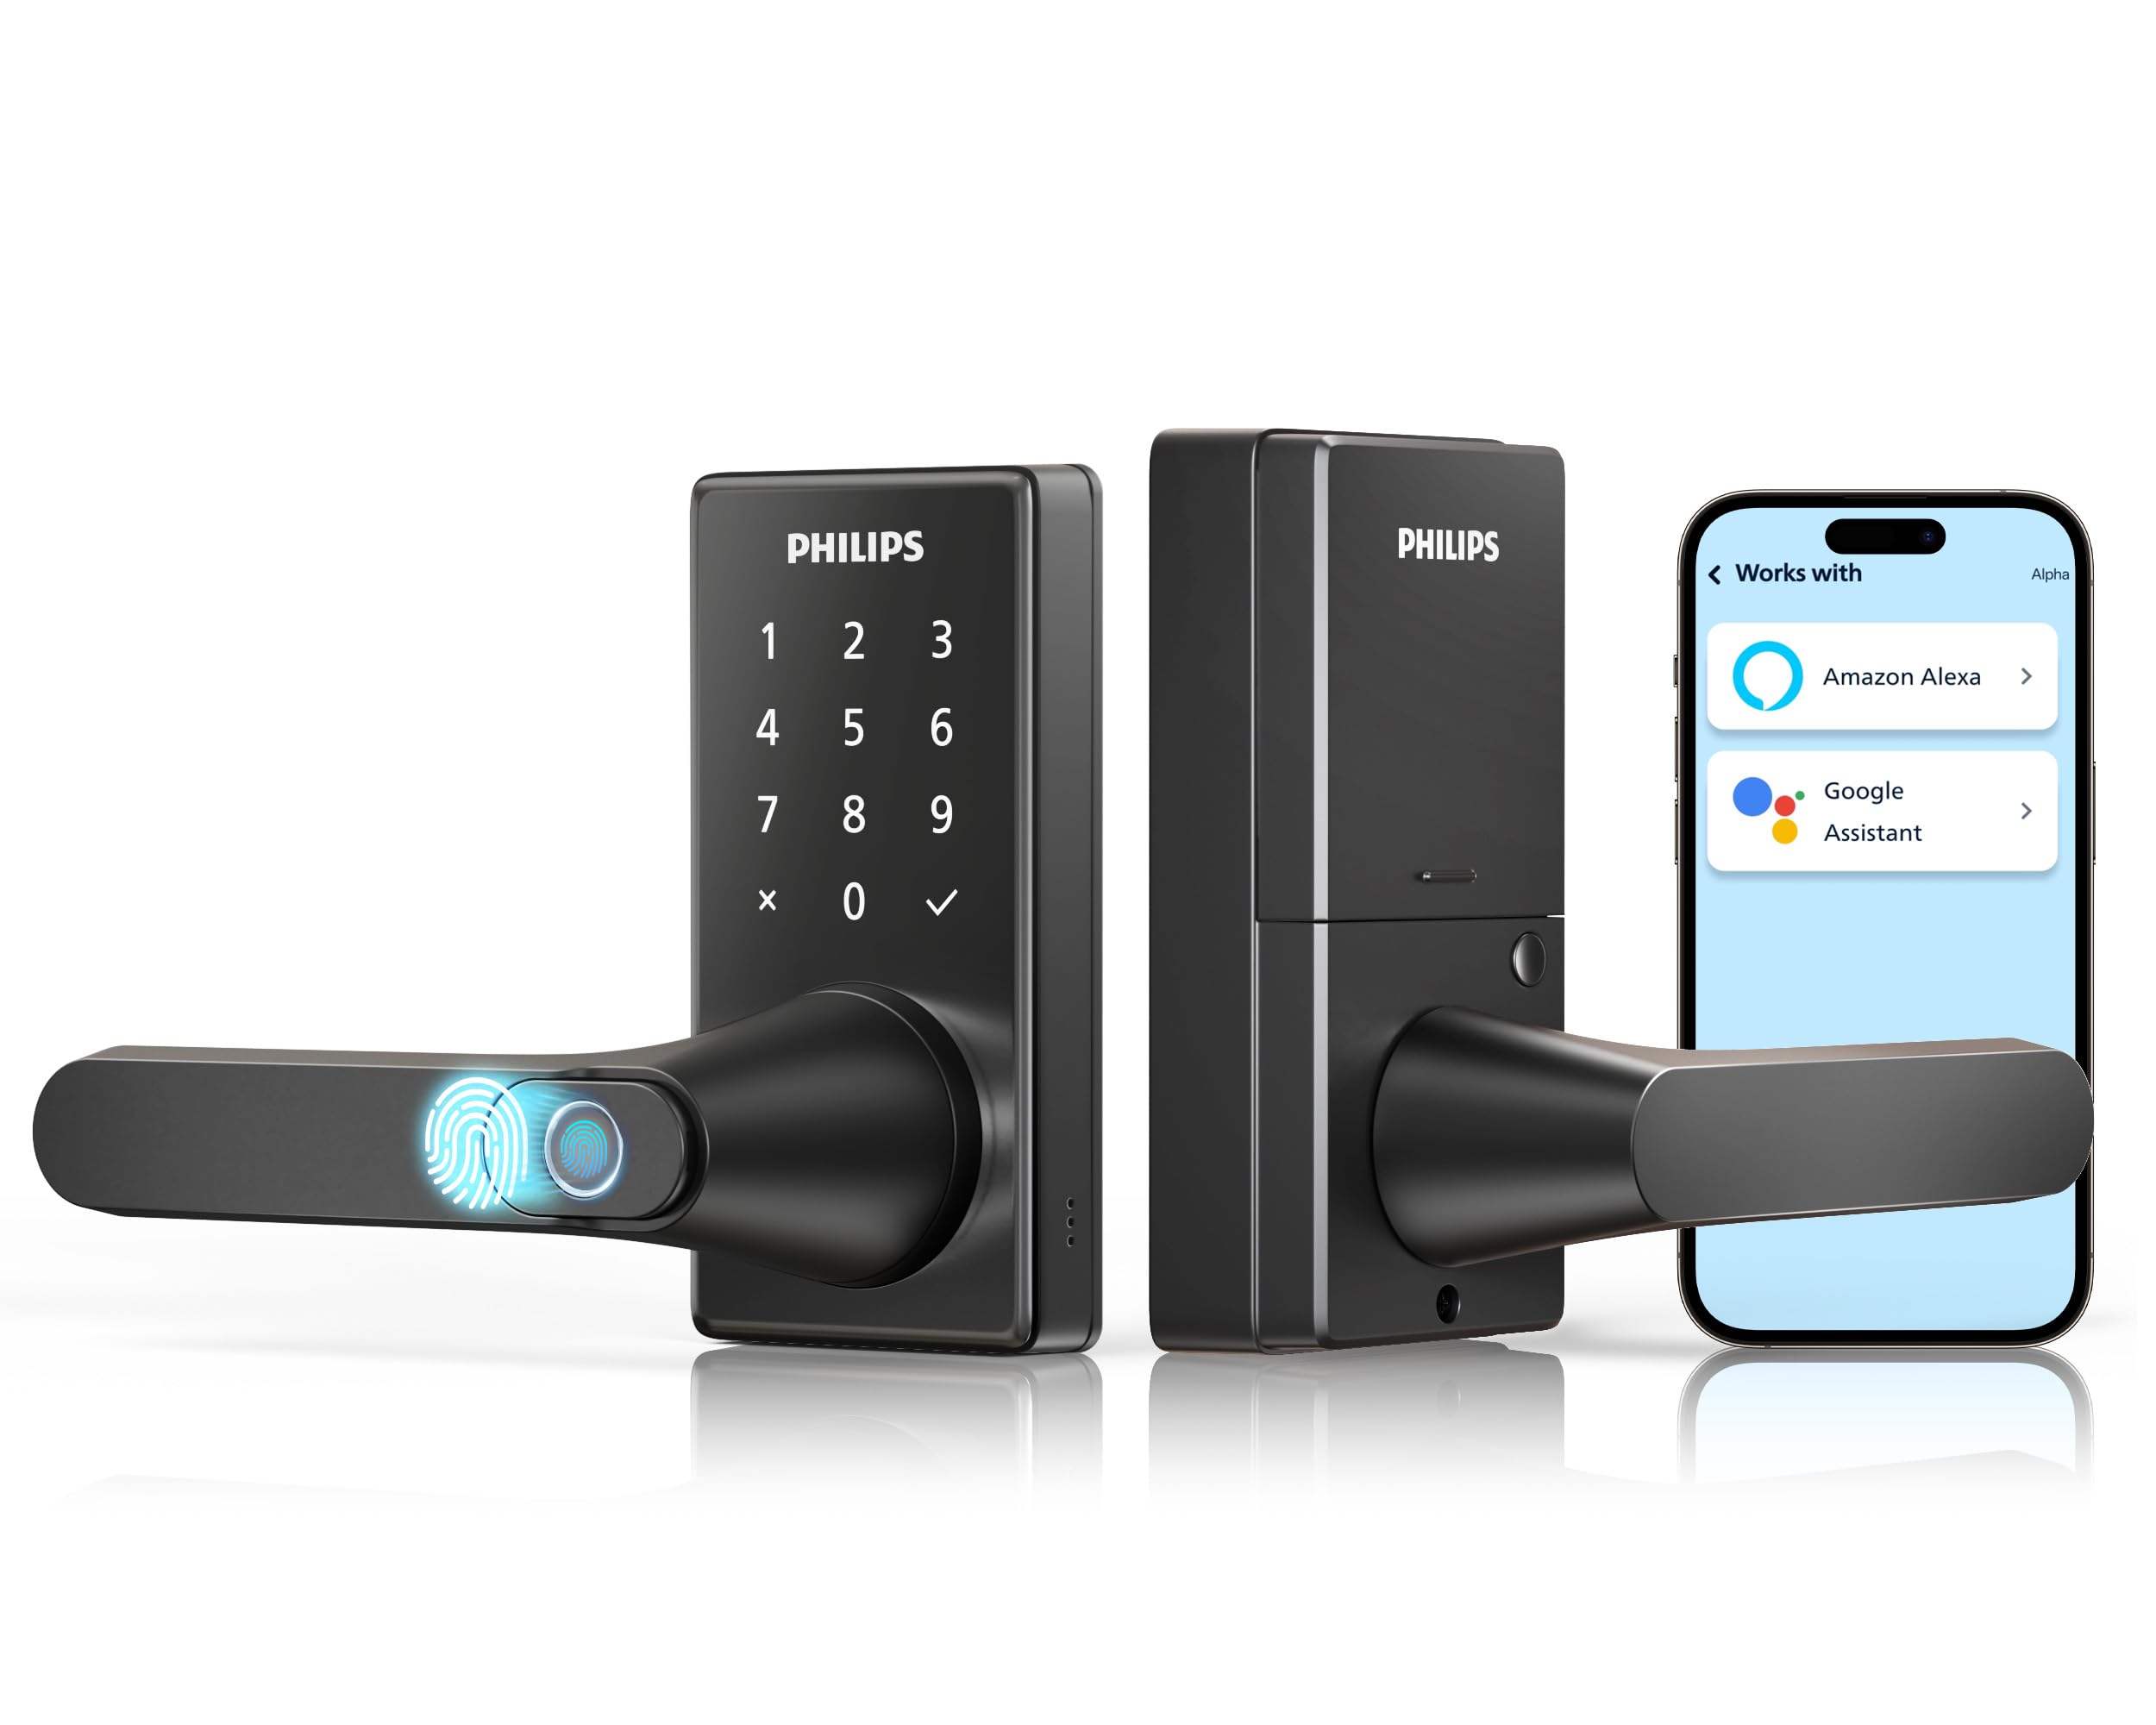
This image illustrates the voice command functionality of the Philips Smart Deadbolt Lock, showing how users can interact with smart assistants like Alexa and Google Assistant to control the lock hands-free.
Locking Methods:
- Auto-Lock: The lock can be configured in the Home Access app to automatically lock after a set period (e.g., 5 seconds, 30 seconds, 1 minute) once the door is closed.
- Manual Lock: Press the dedicated lock button on the keypad or use the lock function within the Home Access app.
Advanced Features:
- Anti-Peeping Password: To prevent others from guessing your passcode, you can enter any random digits before or after your actual passcode. The lock will still recognize the correct sequence within the longer string of numbers.
- User Management: Through the Home Access app, you can easily add, modify, or delete user passcodes and fingerprints. This allows for creating temporary access codes for guests or service providers.
- Remote Monitoring: The app provides real-time status updates and access logs, allowing you to monitor who enters and exits your property.
7. Maintenance
Regular maintenance ensures optimal performance and longevity of your smart lock.
Battery Replacement:
- The lock requires 8 AA alkaline batteries.
- Replace all batteries when the low battery indicator appears on the lock or in the app, or if the lock's performance degrades.
- To replace, open the battery cover on the interior unit, remove the old batteries, and insert new ones, ensuring correct polarity.
Cleaning:
- Wipe the lock's exterior surfaces with a soft, damp cloth.
- Do not use harsh chemicals, abrasive cleaners, or solvents, as these can damage the finish and electronic components.
8. Troubleshooting
Refer to this section for solutions to common issues.
- Lock not responding: Check the battery level. Replace all 8 AA batteries if they are low. Ensure the lock is properly installed and all internal cables are securely connected.
- Fingerprint not recognized: Ensure your finger is clean and dry. Try re-registering your fingerprint in the Home Access app. Ensure the sensor is clean.
- Keypad not working: Verify battery level. Clean the keypad surface to remove any dirt or debris. Ensure the keypad is awake before entering a code.
- App connectivity issues: Confirm your home Wi-Fi network is active and the lock is within range of your router. Restart your Wi-Fi router and then restart the lock (by removing and reinserting batteries). Ensure the Home Access app is updated to the latest version.
- Physical key not working: Ensure the key is fully inserted into the keyhole and turned correctly. Check for any obstructions within the keyhole.
- Auto-lock not engaging: Verify that the auto-lock feature is enabled and configured with the desired delay time in the Home Access app.
9. Specifications
| Manufacturer | PHILIPS |
| Model Number | DDL220X-1HW |
| Product Dimensions | 15.67 x 5.31 x 14.88 cm |
| Item Weight | 1.06 kg |
| Material | Aluminum |
| Power Source | 8 AA Alkaline Batteries (included) |
| Special Features | Alarm, Anti-Peeping Password, Auto-Lock, Fingerprint, Scratch-Resistant |
| Lock Type | Combination Lock, Deadbolt, Keypad |
| Connectivity | Built-in Wi-Fi |
| Controller Type | Amazon Alexa, Google Assistant |
10. Warranty and Support
For detailed warranty information, product registration, and technical support, please visit the official Philips website or contact Philips customer service directly. Keep your purchase receipt as proof of purchase for any warranty claims.