Product Overview
The MOVA LiDAX Ultra 1000 is a wire-free robotic lawn mower designed for lawns up to 1/4 acre. It features RTK-Free setup with AI-assisted auto-mapping, utilizing 360° 3D LiDAR and AI Vision for centimeter-accurate navigation. The mower offers zero-edge cutting, adjustable cutting heights from 1.2 to 3.9 inches, and can handle slopes up to 45%. Advanced AI vision enables detection and avoidance of over 300 types of obstacles, ensuring safety for pets and family. It supports dual maps and up to 150 managed zones for flexible lawn care.
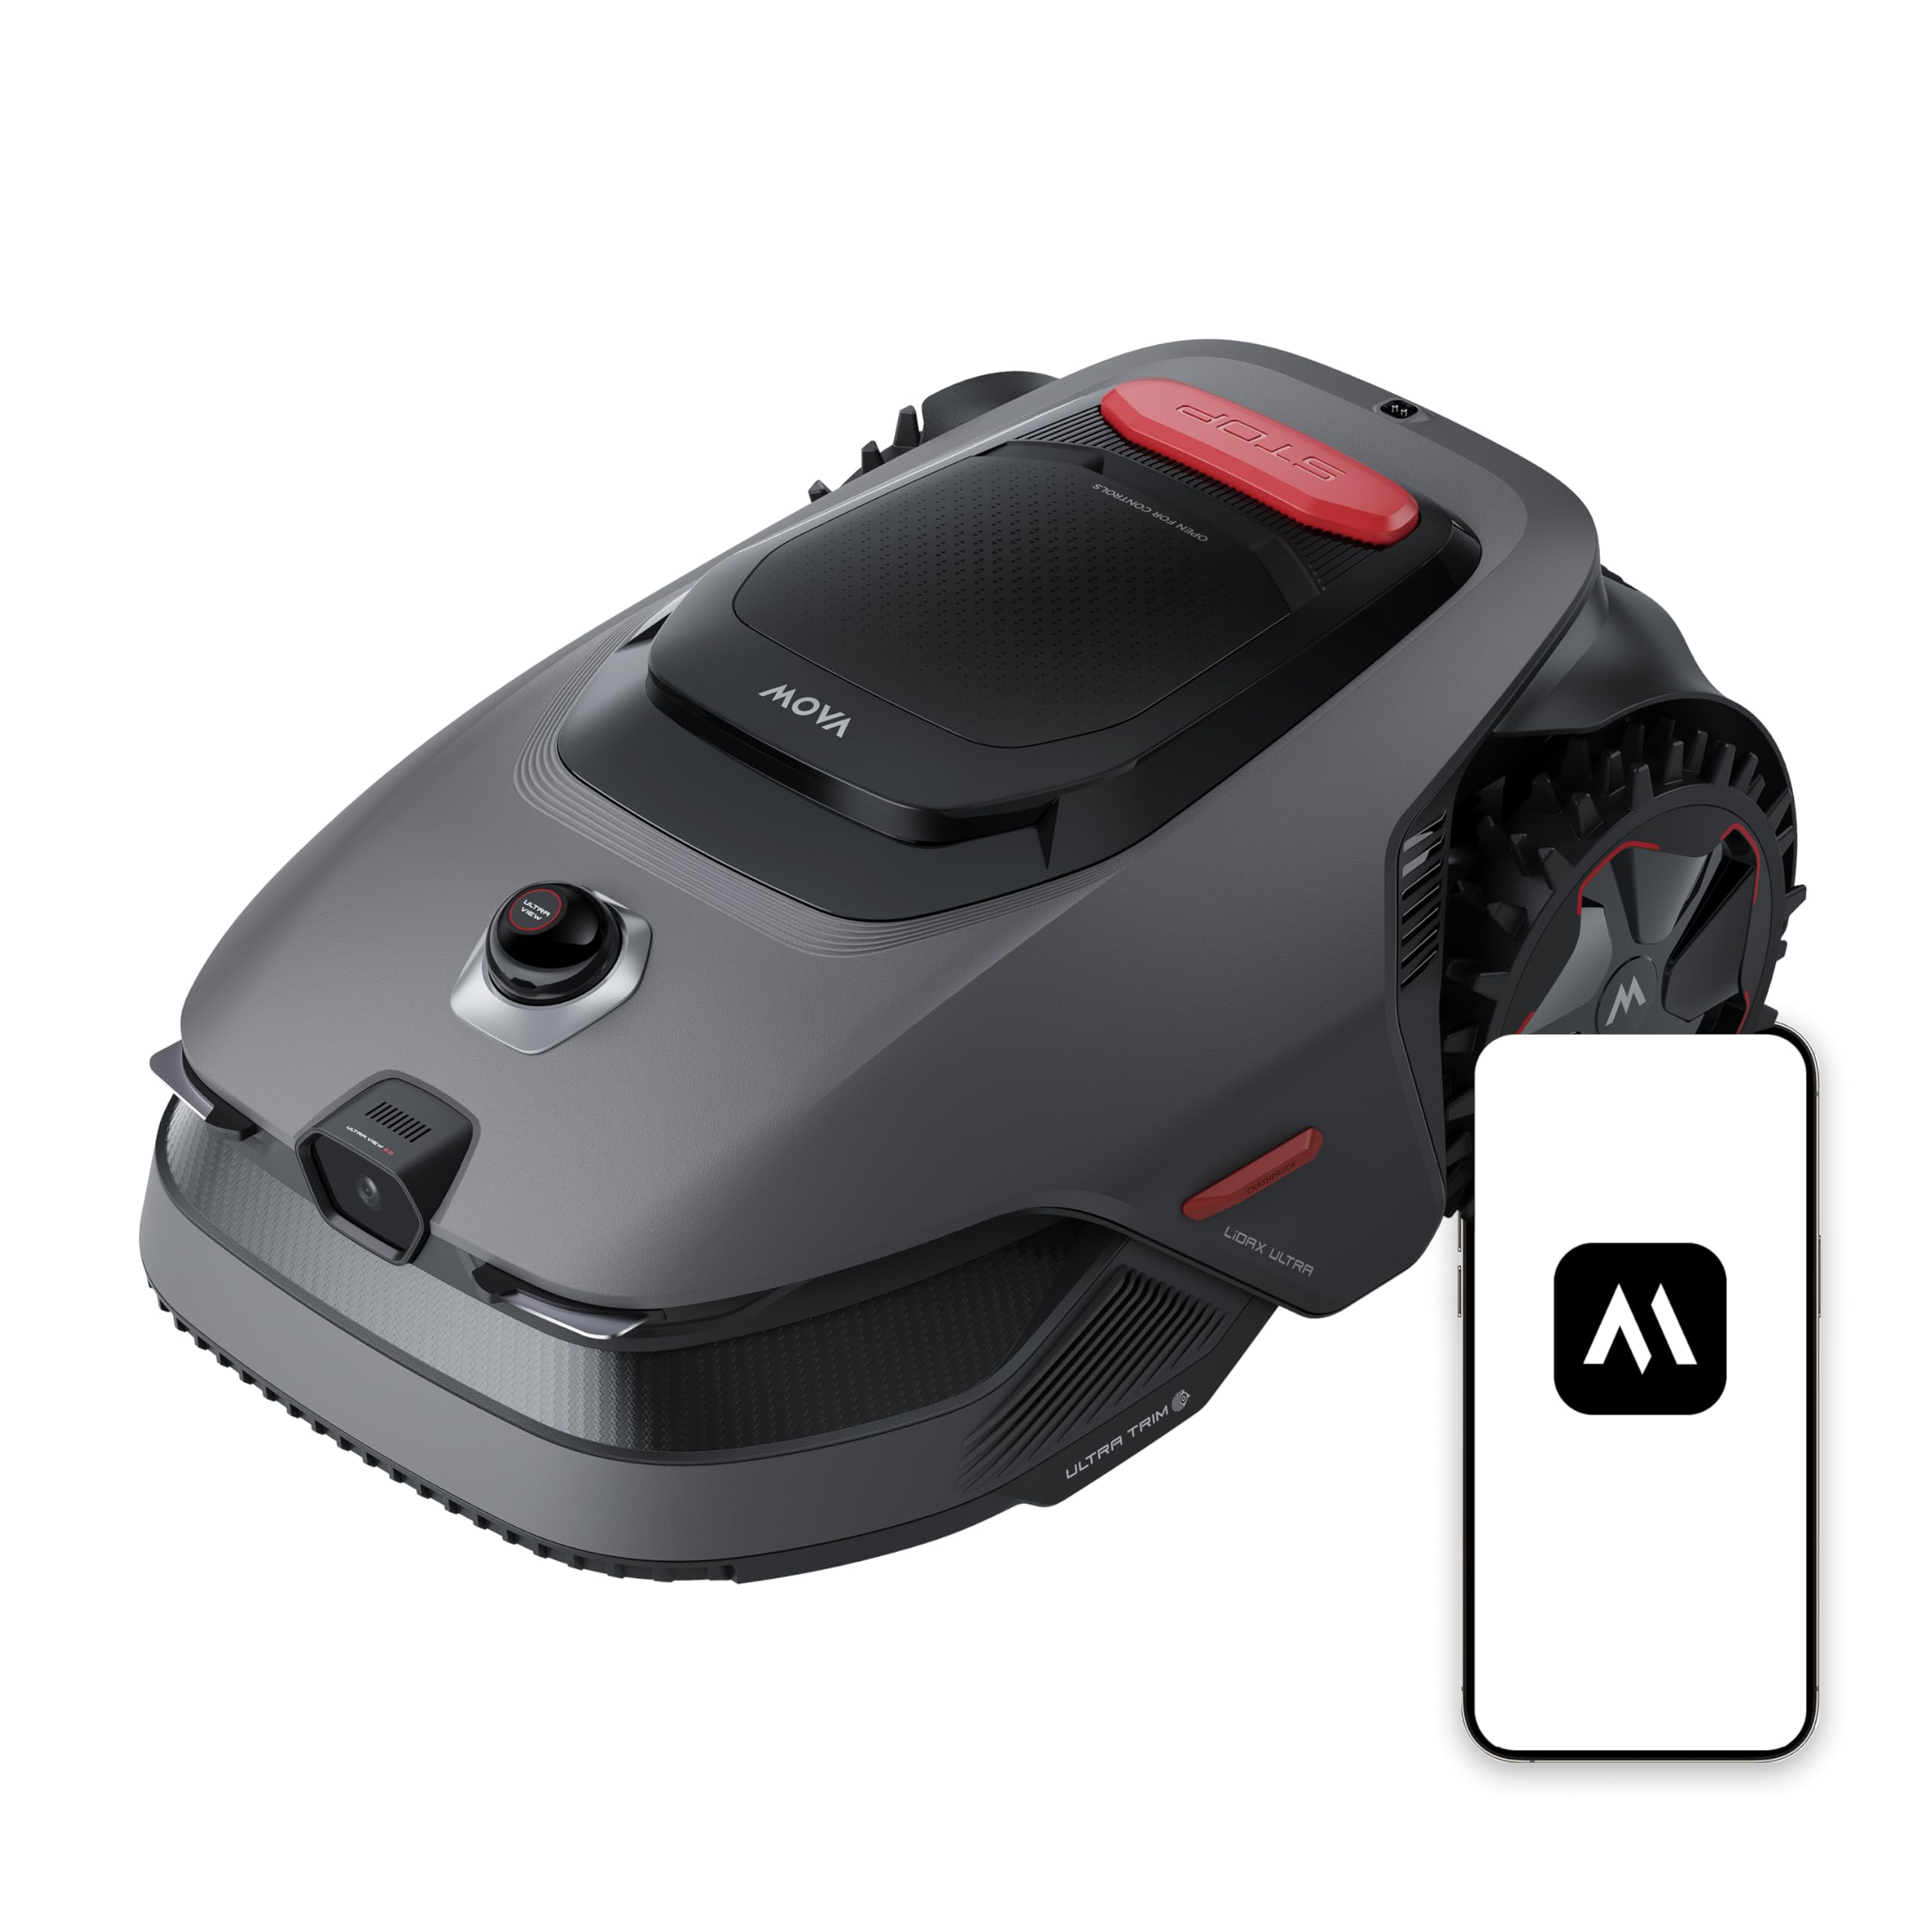
Image: MOVA LiDAX Ultra 1000 Robot Lawn Mower in a garden setting.
What's in the Box
The MOVA LiDAX Ultra 1000 package includes the following items:
- LiDAX Ultra 1000 Robot Lawn Mower (with LED Lights) x1
- Charging Tower x1
- One Set of Blades (9 PCS)
- Power Supply x1
- Screws x8
- Cleaning Brush x1

Image: Visual representation of the MOVA LiDAX Ultra 1000 package contents, including the robot, charging tower, blades, power supply, screws, and cleaning brush.
Setup
Charging Station Installation
Proper installation of the charging station is crucial for optimal performance. Select a suitable location with strong Wi-Fi, soft ground for stakes, and level terrain. Ensure at least 1m of free space to the left, right, and front of the station. If the grass is taller than 6cm, mow it first. Insert the charging tower into the baseplate until it clicks, then secure it with the supplied stakes and hex key. Connect the power supply to the extension cable and then to a power outlet. The LED indicator on the charging station will be constant blue when powered. Place the robot in the charging station to charge; the indicator light will blink green when charging successfully.
Video: Detailed steps for unboxing the MOVA LiDAX Ultra Series and installing the charging station, including site selection, assembly, and initial charging.
Initial Settings
Before first use, open the robot's top cover. Press and hold the Power button for 2 seconds to turn on the robot. The robot will automatically turn on when docked in the charging station. Use the knob to select your language and set a PIN code. Avoid setting the PIN code to "0000".
Video: Demonstrates initial setup steps including powering on, selecting language, and setting a PIN code on the robot's control panel.
Connect to the Internet
To connect your robot to the internet, ensure your mobile device and robot are on the same Wi-Fi network, your device is within 10m of the robot, and Bluetooth is enabled. Download the MOVAhome app, create an account, and log in. Go to "Device" and tap "Scan QR code to connect". Scan the QR code located inside the robot's top cover. Follow the in-app instructions to complete the Wi-Fi network connection. Use a single-band network of 2.4GHz frequency and ensure your Wi-Fi network doesn't have a firewall and isn't encrypted.
Video: Guide on connecting the robot to the internet via the MOVAhome app, including network setup and QR code scanning.
Unbind, Share, or Reset Robot
To unbind your robot from your MOVAhome account, open the app, go to "Device", tap "More" next to the robot's name, and select "Delete". Confirm the deletion. Once unbound, all user data from the robot will be permanently erased. To share your robot, tap "More" in the upper right corner, select "Device Sharing", and add contacts. To reset your robot to factory settings, press and hold the "Start" and "Back" buttons together for 3 seconds on the control panel, or use the "Reset the Robot" option in the app settings. All data will be erased upon reset.
Video: Instructions for unbinding, sharing, and resetting the robot through the MOVAhome app and control panel.
Mapping Your Garden
Create Virtual Boundary
Before mapping, ensure the robot's battery is above 50%, the LiDAR protective cover is removed, the top cover is closed, and the robot is correctly docked in the charging station. To create a virtual boundary, tap "Start Creating" in the app. The robot will check its status and calibrate. Guide the robot remotely to the edge of your lawn and tap "Set Starting Point". Then, enable "Auto Boundary Detection" mode to map out the work area. Walk within 5m behind the robot during mapping. The robot can navigate slopes up to 45%, but for better mowing results, keep work areas below 25% slope. For areas narrower than 60cm, set them as paths. If your lawn is more than 4cm higher than the adjacent ground, keep the robot at least 10cm away from the edge. If your lawn is level with the adjacent ground, the robot can cross the perimeter for optimal mowing. Make sure turning angles are greater than 90°. Avoid using auto boundary detection in poor light or rainy conditions, and use it in daylight for proper visibility. We recommend following the robot during this process. If the robot fails to accurately detect boundaries, you can exit Auto Boundary Detection mode and switch to remote control. Ensure the robot's front camera is clean and unobstructed. When the robot returns to within 1m of the starting point, tap "Close Boundary" to complete the boundary setting.
Video: Instructions for mapping your garden and creating virtual boundaries using the MOVAhome app, including important precautions and tips for optimal mapping.
Set No-Go Zones
For objects you want to protect, set them as no-go zones. These include swimming pools, sandpits, recreational facilities (trampolines, etc.), flowerbeds, exposed tree roots, and power cords. Tap "No-go Zone" in the app and review the precautions. Remotely guide the robot to the edge of the no-go zone, then tap "Set Starting Point". Guide the robot remotely around the no-go zone. The boundary will appear on the screen simultaneously. Tap "Close Boundary" when the robot returns to the starting point. Set the type of no-go zone in the app and confirm the settings. Alternatively, you can go to "Map Editing" to create or delete no-go zones after the map is finished. Areas frequently visited by animals can be designated as "Animal-Active Area" to prevent the robot from entering and ensure the safety of the animals.
Video: Guide on setting and editing no-go zones within the MOVAhome app to protect specific areas of your garden.
Add or Expand Zones
You can manage different zones easily within the app. If your lawn is separated by roads or you have several isolated lawns, you can continue creating work areas. If your garden has stone paths, designate them as separate zones. Then draw linking paths so the robot can navigate between zones. To expand an existing zone, create the area you want to include. If the two areas overlap, they will be automatically merged. You can also add, delete, or modify zones in "Map Editing" when the map is finished. You can divide a zone into smaller ones or merge zones that were divided into a larger one.
Video: Instructions for adding, expanding, dividing, and merging work zones within the MOVAhome app.
Set Paths to Connect the Charging Station to the Work Area
If your charging station is not in the work area, a path should be created to connect it to the work area. Ensure that one end is inside the work area, and the other end is right in front of the charging station. It's advisable to align the path with the charging station. Tap "Set path" to create a path that allows the robot to return to the charging station. Make sure the beginning and end of the path are in the work area. Remotely guide the robot to the zone you want to connect, then tap "Set Out Point" to finalize the path. When creating paths to connect the work area and the charging station, do not remotely dock the robot in the charging station. Otherwise, the LiDAR may be blocked, which can cause the mapping to fail.
Video: Guide on setting paths to connect the charging station to work areas, including tips for proper path creation.
Operating the Robot Mower
Mowing Preferences
Set your mowing preferences in the app in advance, such as mowing efficiency, mowing height, and mowing direction. You can use "General Mode" to apply settings across all zones, or switch to "Custom Mode" to define individual mowing preferences for each zone.
Video: Demonstrates how to set mowing preferences, including efficiency, height, and direction, via the MOVAhome app.
Start a Mowing Task
To start a mowing task, open the robot's top cover. Select "Modes" on the display and press the knob. Turn the knob to select the mowing mode (e.g., All-area Mowing). Press the "Start" button, then close the robot's top cover to confirm. The robot will leave the charging station and start all-area mowing. Alternatively, you can tap "Start" in the app to start mowing tasks. Ensure the weather is clear and dry and that there is adequate lighting. For slopes, we recommend setting the mowing direction straight up and down.
Video: Guide on how to initiate a mowing task using both the robot's control panel and the MOVAhome app.
Pause/Stop a Mowing Task
To pause the current mowing task, you can press the "Stop" button on the robot. The robot cannot be started directly through the app after the Stop button is pressed. To resume operations, enter your PIN code on the control panel. Alternatively, you can tap "Pause" in the app. To resume the task when the robot is paused, press the "Start" button, then close the robot's top cover to confirm. You can also tap "Continue" in the app to resume the mowing task.
Video: Instructions for pausing, stopping, and resuming a mowing task using the robot's controls and the MOVAhome app.
Recharge
If you encounter insufficient power or charging failure during the mowing process, manually move the robot to the map with the charging station for recharging. After charging, return the robot to the original map. It will resume mowing automatically. Do not change the map in the app during this process. To send the robot back to its charging station, press the "Home" button on the control panel to confirm to pause or cancel the current task. The robot will automatically return to the charging station to recharge. Alternatively, you can select "Start Returning to Station" in the app to send the robot back to the charging station.
Video: Guide on handling low battery situations and initiating recharging for the robot mower.
Mow the Lawn with Dual Maps
Once you have finished the second map, you can switch between maps through Map Editing. If you need to mow within the second map, you can manually move the robot to the map you want to mow. Select the correct map in the app before beginning mowing tasks. After switching the map, the schedules and mowing settings of the current map will be applied. If your lawns are connected and within the robot's capacity, use a Multi-Zone setup instead.
Video: Instructions for managing and mowing with dual maps, including switching between maps and manual robot movement.
Explore More with the MOVAhome App
With the MOVAhome app, you can access a wide range of features to customize your mowing experience. The robot offers various mowing modes, including All-Area Mowing, Zone Mowing, Edge Mowing, Spot Mowing, and Manual Mode. You can switch between these modes through the app. After the first map is completed, the robot automatically creates two weekly mowing schedules. You can completely leave the daily mowing work to the robot. If you worry that the robot may disturb you or your neighbors when it works autonomously during certain hours, you can go to Settings > Do Not Disturb and set Do Not Disturb time in the app. You only need to maintain the robot regularly. Customise your lawn by adding shapes. Defined shapes will be excluded from mowing in all modes. You can modify their position, size, or remove them in "Shapes". The UltraTrim™ blade disc is designed to move to the side when it reaches the lawn edges, ensuring a cleaner cut. You can configure additional mowing preferences via the "More" settings, or switch to "Custom Mode" to define individual mowing preferences for each zone. If you worry that adverse weather conditions may affect the mowing work, you can enable the Rain Protection feature. When this function is enabled, the robot automatically pauses mowing and returns to the charging station when it rains. Mowing wet grass can damage your lawn. We recommend setting a rain delay time to keep the robot in the charging station for a period after the rain stops, to allow the grass to get dry before mowing again. You can set the rain protection time in the app. Mowing in temperatures below 6°C may cause permanent lawn damage. To prevent this, you can enable the Frost Protection feature in the Settings through the app. This will automatically pause mowing and send the robot back to the charging station when the temperature falls below 6°C. The robot will resume mowing once the temperature rises above 11°C. With the "Lift Alarm" function enabled, an alarm will go off immediately when the robot is lifted, and the robot will be locked. To resume operation, enter the PIN code on the robot first. With the "Off-Map Alarm" function enabled, the robot will be locked and an alarm will go off immediately if it is away from the map. This function requires the Link Service to be activated. With the "Real-Time Location" function enabled, you can view the current location of the robot in Google Maps. This function requires the Link Service to be activated. With the "Human Presence Detection Alert" enabled, the robot will notify you upon detecting human presence. With the "Child Lock" function enabled, the robot will be locked if no operations are performed for 5 minutes when the cover is open. To deactivate it, press both the "Start" and "Home" buttons simultaneously on the control panel. When the robot is on standby, select "Patrol" to direct it along a designated boundary or point for patrol. To customise the robot's charging period to specific hours, you can enable the "Custom Charging Period" function through "Settings > Charging" in the app. When enabled, the robot keeps a safe battery level when idle and fully charges only during the designated charging period. MOVA development team will continuously conduct OTA (Over-the-Air) updates and maintenance on the firmware and app. Please check for update notifications or enable the "Auto-update" function to keep the firmware and app up-to-date and enjoy more features.
Video: Overview of various features and settings available in the MOVAhome app, including mowing modes, scheduling, safety features, and updates.
Maintenance
Clean Your Robot
Clean the robot regularly to ensure optimal performance and extend the robot's lifespan. Before cleaning, please turn off the robot. Cover the LiDAR with its protective cover. Turn the robot upside down. When turning the robot over, be careful not to scratch the camera lens. Clean the housing, blade disc, and chassis with a hose. Please do not use a high-pressure washer for cleaning. Do not use detergents for cleaning. Use a clean cloth to wipe the charging contacts on the robot and charging station. Use a lint-free cloth to carefully clean the LiDAR sensor. For optimal positioning and navigation, clean the front camera once every two weeks. Use a clean cloth to clean the front camera.
Video: Instructions for cleaning the robot mower, including turning it off, covering the LiDAR, rinsing the chassis, and wiping sensitive components.
Replace the Blades
To keep the blades sharp, please replace them regularly. It is recommended to replace the blades every 6-8 weeks or sooner. Please only use MOVA genuine blades. Before replacing the blades, turn off the robot. Cover the LiDAR with its protective cover. Put the robot on a soft surface and turn it upside down. Wear protective gloves before replacing the blades. When turning the robot over, be careful not to scratch the camera lens. Loosen the screws using a Phillips screwdriver. Remove the three blades. Please replace all three blades to ensure a balanced cutting system. Align the new blades with the holes on the blade disc, then secure them with the screws. Make sure the blades can rotate freely.
Video: Step-by-step guide on how to safely replace the blades of the robot mower.
Install the Link Module (Optional)
The Link Module is sold separately. Follow these steps to install the Link Module. Turn off the robot. Make sure the protective cover is on the LiDAR before turning the robot over. Place the robot on a soft surface and turn it upside down. Please wear protective gloves to prevent injuries. Loosen 4 screws to remove the cover using a screwdriver. Take out the battery, and disconnect the battery connector. Connect Link Module to the battery connector. Then insert it into the slot. Reinstall the battery and secure the compartment cover. Return the robot to its upright position.
Video: Detailed instructions for installing the optional Link Module into the robot mower.
Battery & Winter Storage
For long-term storage, charge the robot every 6 months to protect the battery. Battery damage caused by over-discharge is not covered by the limited warranty. The long-term storage temperature for the battery is -10°C to 35°C. Do not charge the battery at temperatures higher than 42°C or lower than 6°C. To minimize damage, the recommended storage temperature for the battery is between 0 and 25°C. Please obey local recycling regulations. Charge the battery fully before turning the robot off. Clean the robot thoroughly before putting it into storage in winter. Put on the LiDAR protective cover. Store the robot inside in a dry place, at a temperature above 0°C. After winter storage, reinstall the charging station and place the robot in it to charge. If you reinstall the charging station in a different location, and you encounter positioning errors because of major changes in your garden, it's recommended to remap the area. The robot will automatically update the station's location as soon as it charges and leaves the station.
Video: Guidelines for battery maintenance and proper winter storage of the robot mower.
Transport
For long distance transport, ensure that the robot is turned off. Please turn the robot off before transporting it. Lift the robot by the rear handle, keeping the blade disc away from your body. It is recommended to use the original packaging for transport.
Video: Instructions for safely transporting the robot mower, emphasizing turning it off and using original packaging.
Edit Maintenance Point
You can check the remaining time for blades and the cleaning brush by navigating to "Device Page > Set > Consumables & Maintenance" in the app. After replacing any consumables as prompted, go to the details page for the consumable and tap "I've Replaced It" to reset the timer. If you have designated areas in your garden for routine robot cleaning and servicing, you can simply tap Go and direct the robot to the designated locations for easy servicing. Once set, you can set Maintenance Points on the map by navigating to "Device Page > Set > Head to Maintenance Point > Edit Point".

Image: Screenshot of the MOVAhome app showing maintenance options and consumable status.
Troubleshooting
If you encounter any issues with your MOVA LiDAX Ultra 1000, please refer to the troubleshooting section within the MOVAhome app for common solutions. Ensure the robot's software is up-to-date and all components are clean and free from obstruction. For persistent problems, contact customer support.
Specifications
| Feature | Specification |
|---|---|
| Brand | Mova |
| Power Source | Battery Powered |
| Material | Plastic |
| Color | Black |
| Style | Lidax Ultra 1000 |
| Item Weight | 30 Pounds |
| Cutting Width | 8 Inches |
| Operation Mode | Automatic |
| Product Dimensions | 34"D x 20"W x 16"H |
| Assembly Required | Yes |
| UPC | 850071220025 |
| Maximum Adjustable Cutting Height | 3.9 Inches |
| Battery Life | 60 minutes |
| Minimum Adjustable Cutting Height | 1.2 Inches |
| Manufacturer | MOVA |
| Item model number | LiDAX Ultra 1000 |
| Batteries | 1 12V batteries required. (included) |
Warranty and Support
The MOVA LiDAX Ultra 1000 comes with a 3-year warranty and 24/7 after-sales service. Extended protection plans are available for purchase:
- 2-Year Protection Plan: $89.99 (one-time)
- 3-Year Protection Plan: $119.99 (one-time)
- Complete Protect: $16.99 (monthly) - Covers all eligible past and future purchases.
For support, please contact MOVA_Official through the Amazon platform or refer to the contact information provided in your product documentation.