1. Introduction
The MOVA LiDAX Ultra 2000 Robot Lawn Mower is an advanced, wire-free robotic solution designed to maintain your lawn with precision and efficiency. Featuring 360° 3D LiDAR and AI Vision for auto-mapping, zero-edge cutting, and intelligent obstacle avoidance, this mower offers a seamless lawn care experience. This manual provides essential information for the proper setup, operation, and maintenance of your device.
2. Safety Information
Always read and understand all safety instructions before operating the MOVA LiDAX Ultra 2000. Failure to follow these instructions may result in electric shock, fire, and/or serious injury.
- Keep hands and feet away from the cutting blades.
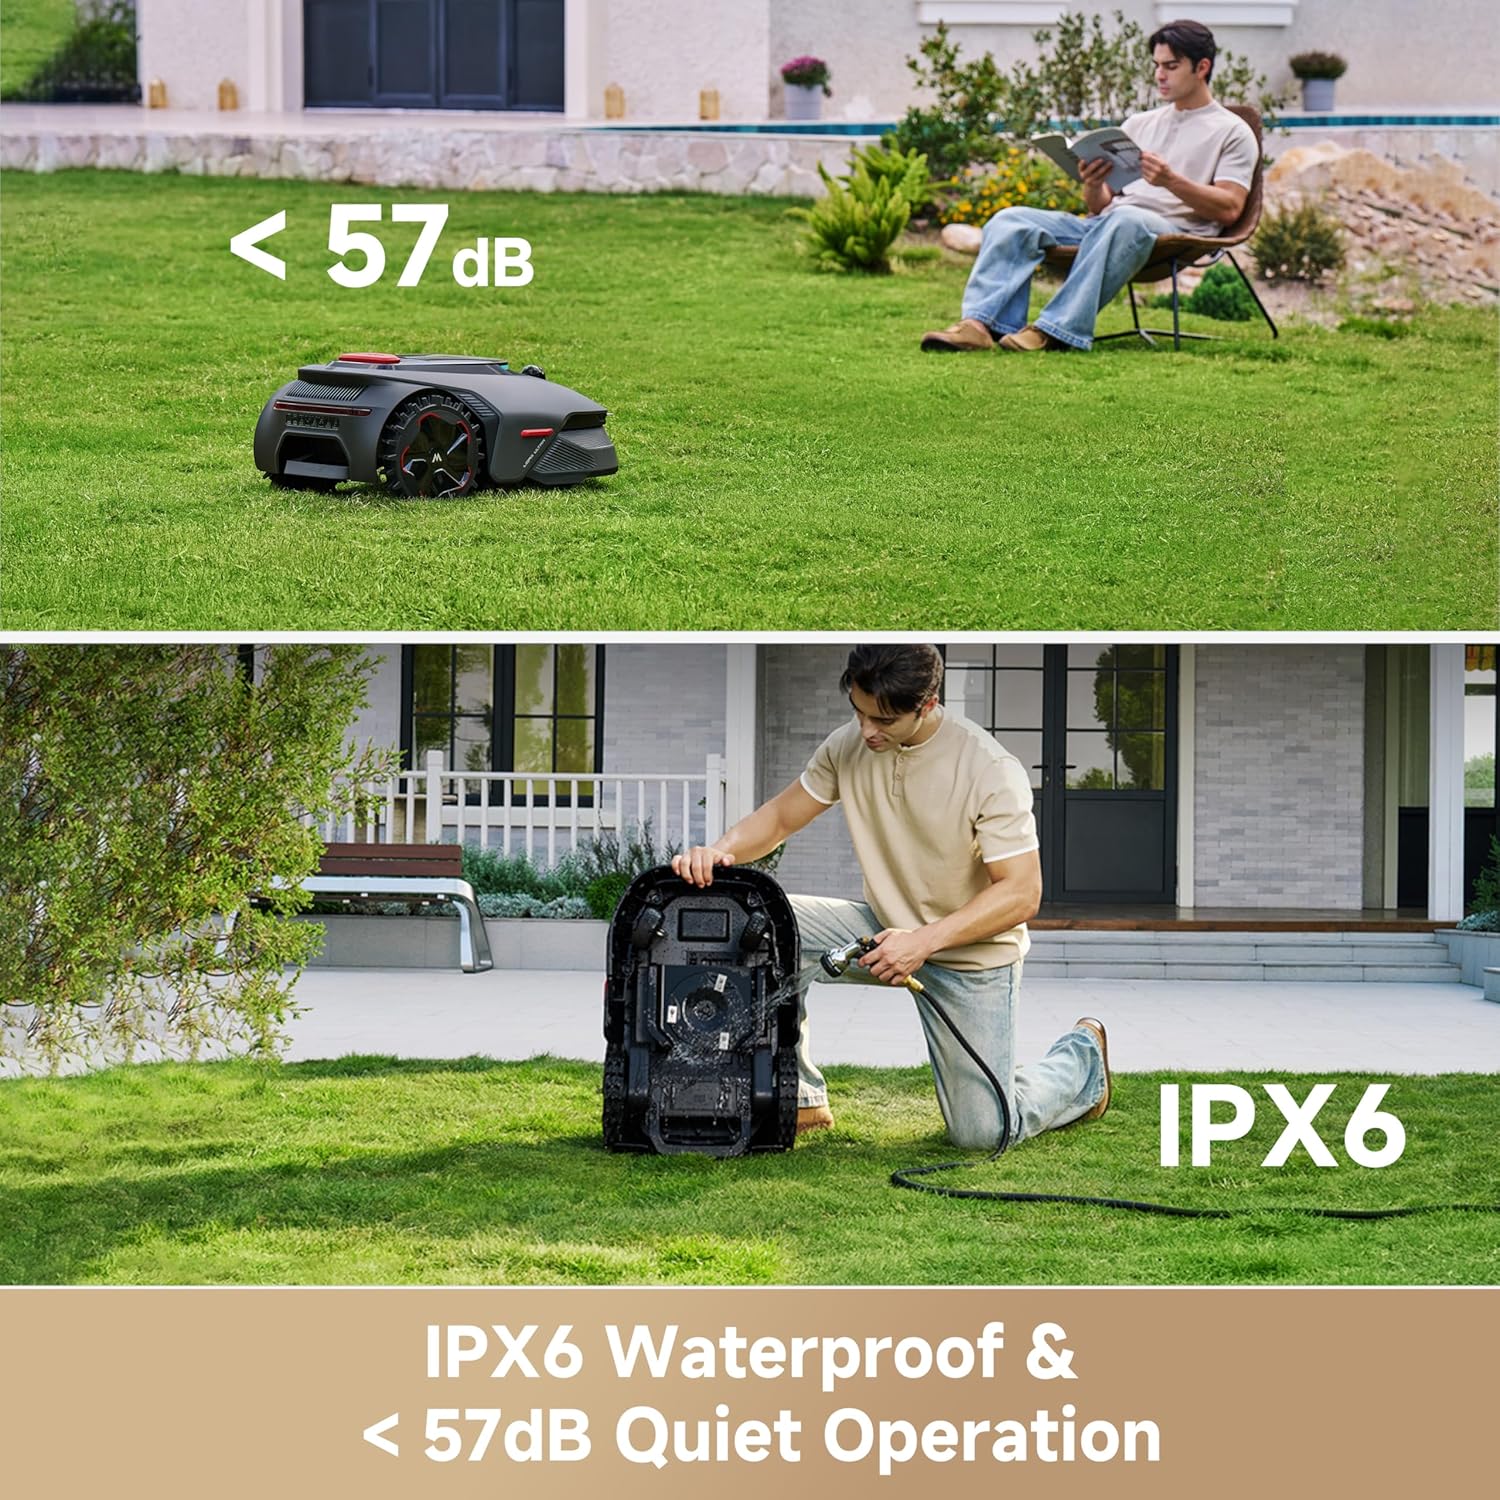
- Do not operate the mower in wet conditions or rain unless the Rain Protection feature is enabled.
- Ensure children and pets are clear of the mowing area during operation.
- Remove all debris, toys, wires, and stones from the lawn before mowing to prevent damage to the mower and potential hazards.
- Never attempt to repair or modify the mower yourself. Contact qualified service personnel for repairs.
- Use only MOVA-approved replacement parts and accessories.
3. Setup
3.1 What's in the Box
Carefully unbox your MOVA LiDAX Ultra 2000 and verify all components are present:
- LiDAX Ultra 2000 Robot Lawn Mower (with LED Lights) x1
- Charging Tower x1
- One Set of Blades (9 PCS)
- Power Supply x1
- Screws x8
- Cleaning Brush x1
For a visual guide on unboxing, please refer to the official MOVA unboxing video:
Video: Official unboxing and initial setup guide for the MOVA LiDAX Ultra Series.
3.2 Product Overview
Familiarize yourself with the main components of your robot lawn mower:

3.3 Charging Station Installation
Select a suitable location for the charging station. Ensure it is on a level surface, near a power outlet, and has a strong Wi-Fi signal. Keep at least 1m of free space around the station. Insert the charging tower into the baseplate until it clicks, then secure it to the ground with the supplied stakes and hex key. Connect the power supply to the extension cable and then to a power outlet. The LED indicator on the charging station will be constant blue when powered.
3.4 Initial Settings
Open the robot's top cover. Press and hold the Power button for 2 seconds to turn on the robot. Select your preferred language using the knob and confirm. Set a PIN code (avoid '0000' for security). The robot will automatically turn on when docked in the charging station.
3.5 App Connection (Wi-Fi & Bluetooth)
Download the MOVAhome app from your mobile device's app store. Create an account and log in. Ensure your mobile device is on the same 2.4GHz Wi-Fi network as the robot and within 10m. Enable Bluetooth. Go to "Device" in the app and tap "Scan QR code to connect". Scan the QR code located inside the robot's top cover. Follow the in-app instructions to complete the Wi-Fi and Bluetooth connection.
3.6 Mapping Your Garden
Before mapping, ensure the robot's battery is above 50%, the LiDAR protective cover is removed, and the top cover is closed. The robot must be correctly docked in the charging station. Tap "Start Creating" in the app. Guide the robot remotely along the edges of your lawn to map the work area. Enable "Auto Boundary Detection" for automatic boundary mapping. Once the robot returns to within 1m of the starting point, tap "Close Boundary" to complete the boundary setting. You can also edit the map later in "Map Editing".
For detailed instructions on mapping, setting no-go zones, and paths, refer to the official MOVA instructional videos.
Video: MOVA LiDAX Ultra Robot Lawn Mower overview and feature demonstration.
4. Operating Instructions
4.1 Basic Mowing Operations
Open the robot's top cover. Select "Modes" on the display and press the knob. Turn the knob to select your desired mowing mode (e.g., All-area Mowing, Edge Mowing). Press the "Start" button, then close the robot's top cover to confirm. The robot will leave the charging station and begin mowing. Alternatively, you can tap "Start" in the app.
- Mowing Modes: All-Area Mowing, Zone Mowing, Edge Mowing, Spot Mowing, Manual Mowing.
- Adjustable Cutting Height: Adjust from 1.2" to 3.9" via the MOVAhome App.
- U-Shaped Mowing: Ensures even, precise cuts and efficient coverage.
- Smart Floating Cutting System: Adapts to lawn contours for an even cut.

4.2 Handling Low Battery
If the robot encounters insufficient power during a mowing task, it will automatically return to the charging station. After charging, manually move the robot back to its original map location, and it will resume mowing automatically. Do not change the map in the app during this process.
4.3 Pause/Stop a Mowing Task
To pause the current mowing task, you can press the "Stop" button on the robot. To resume operation, enter your PIN code on the control panel. Alternatively, tap "Pause" in the app to pause and "Continue" to resume.
4.4 Recharge
To send the robot back to its charging station, press the "Home" button on the control panel and close the top cover. The robot will automatically return to recharge. Alternatively, select "Start Returning to Station" in the app.
4.5 Advanced Features
- AI-Vision Powered 300+ Obstacle Avoidance: Detects and avoids over 300 types of lawn obstacles, ensuring safety for family and pets.
- Zero-Edge Cutting (UltraTrim 1.0): Cuts within 2 inches of walls and edges, with a movable disc to minimize misses.
- All-Terrain Capability: Handles slopes up to 45% and obstacles up to 1.6" high with off-road wheels.
- Dual Maps & 150 Managed Zones: Manage up to 2 independent maps and set tailored mowing plans for each zone.
- Anti-Theft Protection & TrueGuard Security: Monitors surroundings, detects risks, and provides real-time tracking and alerts if moved beyond the mapped area (requires Link Module).
- Quiet Operation: Operates below 57dB for peaceful lawn care.
- Rain Protection: Robot automatically pauses mowing and returns to the charging station when it rains.
- Frost Protection: Robot automatically returns to the station when ambient temperature is below 6°C to prevent lawn damage.
- Human Presence Detection Alert: Notifies you upon detecting human presence.
- Child Lock: Locks the control panel if no operations are performed for 5 minutes when the cover is open.
- Real-time Video: View a live video feed from the robot's front camera via the app.
- Custom Charging Period: Set specific hours for charging.
- Version Upgrade: Check for and install firmware updates via the app.
5. Maintenance
5.1 Cleaning Your Robot
Regular cleaning ensures optimal performance and extends the robot's lifespan. Before cleaning, turn off the robot and cover the LiDAR with its protective cover. Turn the robot upside down (be careful not to scratch the camera lens). Clean the housing, blade disc, and chassis with a hose. Do not use a high-pressure washer or detergents. Use a clean cloth to wipe the charging contacts on the robot and charging station, and to clean the front camera and LiDAR sensor.
5.2 Replacing the Blades
To keep the blades sharp, replace them regularly (recommended every 6-8 weeks or sooner). Always turn off the robot before replacing blades. Wear protective gloves. Turn the robot upside down. Loosen the screws using a Phillips screwdriver and remove the three blades. Align the new blades with the holes on the blade disc, then secure them with the screws. Ensure the blades can rotate freely. Please use only genuine MOVA blades.
5.3 Battery Maintenance
For long-term storage, charge the robot every 6 months to protect the battery. Do not charge the battery at temperatures higher than 42°C or lower than 6°C. The recommended storage temperature for the battery is between 0°C and 25°C. If the battery is damaged or cannot be charged, do not dispose of it arbitrarily; obey local recycling regulations.
5.4 Winter Storage
Charge the battery fully before turning the robot off. Clean the robot thoroughly before putting it into storage. Store the robot inside in a dry place, at a temperature above 0°C. Unplug the charging station and store it in a dry and cool place, away from direct sunlight. After winter, reinstall the charging station and place the robot in it to charge. If you reinstall the charging station in a different location, it's recommended to remap the area.
5.5 Edit Maintenance Point
If you have designated areas in your garden for routine robot cleaning and servicing, you can set Maintenance Points on the map by navigating to "Device Page > Set > Head to Maintenance Point > Edit Point". Once set, you can simply tap Go and direct the robot to the designated locations for easy servicing.
6. Troubleshooting
If you encounter issues with your MOVA LiDAX Ultra 2000, please refer to the following common solutions:
- Robot not starting: Ensure the battery is charged, the top cover is closed, and the PIN code is correctly entered.
- Mower getting stuck: Check for obstacles in the mapped area. Ensure the lawn is free of holes or uneven terrain.
- Poor cutting performance: Check and replace dull blades. Ensure the cutting height is appropriate for your grass type.
- Connection issues: Verify Wi-Fi signal strength and Bluetooth connection. Ensure the robot and your mobile device are on the same 2.4GHz Wi-Fi network.
- Error messages: Consult the MOVAhome app for specific error codes and recommended actions.
- Robot not charging: Ensure the charging contacts on both the robot and the station are clean and properly aligned. Check the power supply connection.
If the problem persists, contact MOVA customer support for assistance.
7. Specifications
| Feature | Detail |
|---|---|
| Brand | Mova |
| Power Source | Battery Powered |
| Material | Plastic |
| Color | Black |
| Style | Lidax Ultra 2000 |
| Item Weight | 30 Pounds |
| Cutting Width | 8 Inches |
| Operation Mode | Automatic |
| Product Dimensions | 34"D x 20"W x 16"H |
| Assembly Required | Yes |
| UPC | 850071220032 |
| Maximum Adjustable Cutting Height | 3.9 Inches |
| Battery Life | 60 minutes |
| Minimum Adjustable Cutting Height | 1.2 Inches |
| Manufacturer | MOVA |
| Item model number | LiDAX Ultra 2000 |
| Batteries | 1 12V batteries required. (included) |
8. Warranty & Support
The MOVA LiDAX Ultra 2000 comes with a 3-year warranty and 24/7 after-sales service to ensure your peace of mind.
8.1 Optional Protection Plans
Enhance your product coverage with optional protection plans:
- 2-Year Protection Plan: One-time payment of $119.99
- 3-Year Protection Plan: One-time payment of $159.99
- Complete Protect: Monthly payment of $16.99, covering all eligible past and future purchases.
For further assistance or to claim warranty service, please contact MOVA customer support.