
Medilax GT-600B
Contents
Medilax GT-600B Blood Glucose Monitor Kit User Manual
Model: GT-600B | Brand: Medilax
1. Introduction
The Medilax GT-600B Blood Glucose Monitor Kit is designed for accurate and convenient blood sugar testing at home. This all-in-one kit includes a glucometer, lancing device, test strips, and lancets, providing all essentials for effective glucose management. The monitor features no-coding functionality, a clear display, and quick results, making it user-friendly for all individuals, including seniors.
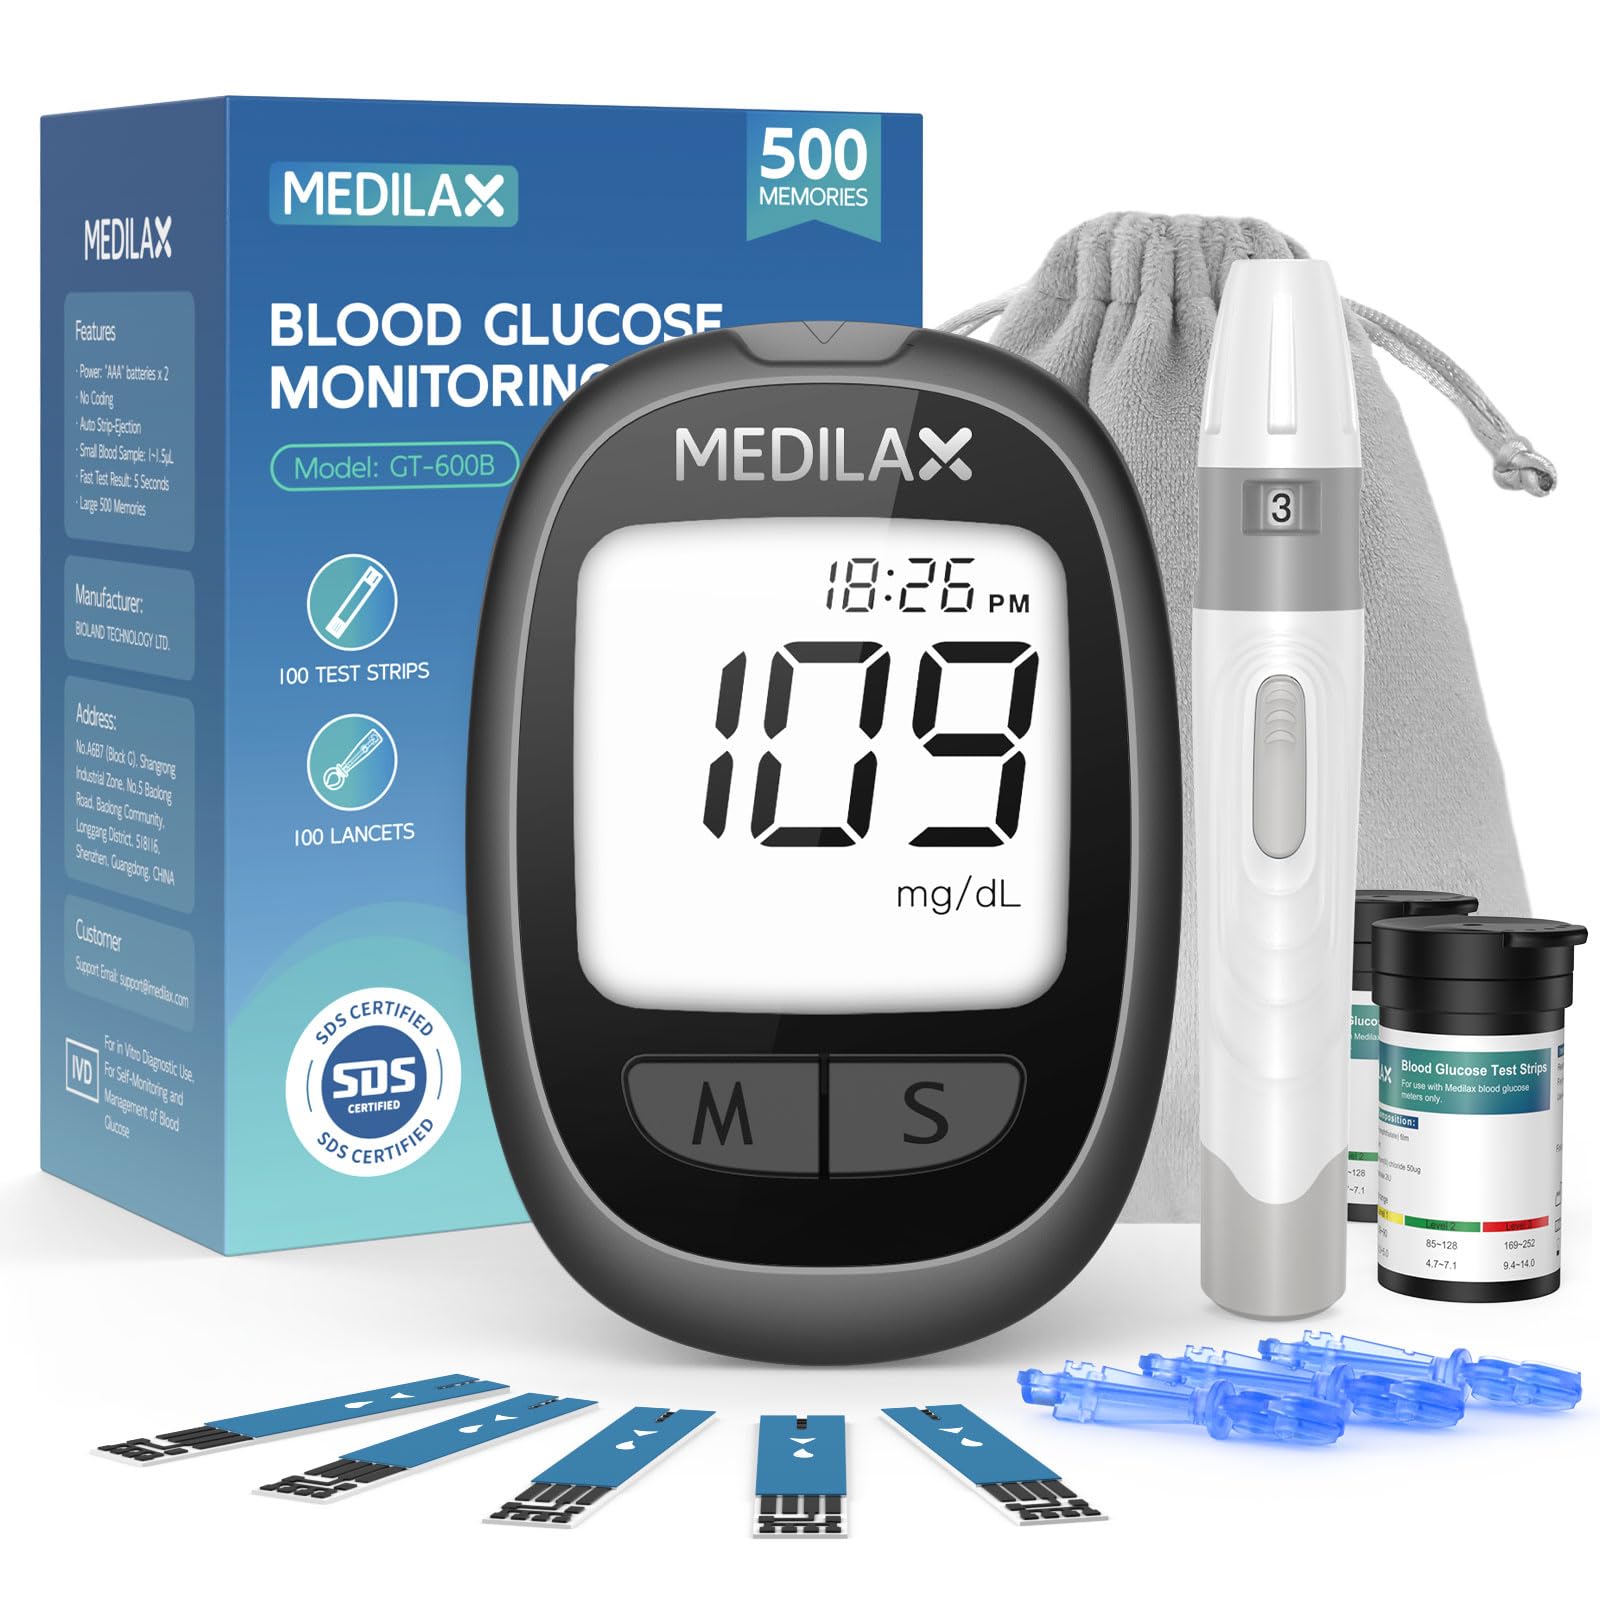
Image: The Medilax GT-600B Blood Glucose Monitor Kit, showing the glucometer, test strips, lancets, lancing device, and carrying pouch.
2. What's in the Box
Your Medilax GT-600B Blood Glucose Monitor Kit includes the following components:
- 1x Medilax GT-600B Glucometer
- 1x Lancing Device
- 100x Test Strips (Medilax brand only)
- 100x Lancets
- User Manuals
- Portable Storage Pouch

Image: A visual representation of all items included in the Medilax GT-600B Blood Glucose Monitor Kit.
3. Setup Guide
Follow these steps to set up your Medilax GT-600B Blood Glucose Monitor Kit for first use:
- Prepare Your Hands: Wash and dry your hands thoroughly before testing to avoid contaminating the blood sample.
- Prepare the Lancing Device:
- Unscrew the cap of the lancing device.
- Insert a new lancet firmly into the lancet holder.
- Twist off the protective cap of the lancet.
- Replace the lancing device cap.
- Adjust the penetration depth by rotating the top of the lancing device (5 adjustable depths available).
- Insert Test Strip: Insert a Medilax test strip into the glucometer's strip port. The meter will automatically power on and display a blood drop symbol, indicating it's ready for testing.
- Set Date/Time (Optional): If the meter is powered off, long press the "S" button to enter settings. The year will flash first. Use "M" to increase and "S" to decrease values. Long press "S" to move to the next setting (month, day, hour, minute). After setting date/time, long press "S" to enter unit settings (mg/dL or mmol/L). Long press "M" to switch units.

Image: Visual guide showing the steps to insert batteries, insert a test strip, apply a blood sample, and eject the strip.

Image: Instructions on how to get accurate test results, including checking test strip expiration and washing hands.
Video: A seller-provided video demonstrating the unboxing and basic setup of the Medilax Blood Glucose Monitor Kit.
4. Operating Instructions
Once your device is set up, follow these steps to perform a blood glucose test:
- Obtain Blood Sample: Use the lancing device to prick the side of your fingertip. Gently squeeze your finger to form a small drop of blood (approximately 0.5μL is needed). Wipe away the first drop and use the second drop for testing.
- Apply Blood to Test Strip: Touch the tip of the test strip to the blood drop. The strip will automatically draw the blood into the reaction area.
- Read Results: The meter will count down from 5 seconds, and your blood glucose result will appear on the display.
- Eject Used Strip: Press the one-touch strip ejection button to safely dispose of the used test strip.
The Medilax monitor can store up to 500 test results. To review past results, short press the "M" or "S" button when the meter is powered off to enter memory mode. Continue pressing "M" or "S" to navigate through stored readings. To power off after reviewing, long press "M".

Image: A six-step visual guide demonstrating how to wash hands, load the lancing device, insert a test strip, collect a blood sample, apply blood, and wait for results.

Image: Simple steps to track glucose records, including entering memory mode and reviewing results.
Video: A seller-provided video demonstrating the process of using the Medilax blood sugar monitor for testing.
5. Maintenance
Proper maintenance ensures the longevity and accuracy of your Medilax GT-600B Blood Glucose Monitor Kit:
- Cleaning: Regularly wipe the glucometer and lancing device with a soft, damp cloth. Do not immerse the devices in water or use harsh cleaning agents.
- Storage: Store the glucometer, test strips, and lancets in a cool, dry place, away from direct sunlight and extreme temperatures. Keep test strips in their original sealed container and close the cap immediately after removing a strip.
- Battery Replacement: The meter uses Alkaline batteries. Replace them when the low battery indicator appears on the display.
6. Troubleshooting
If you encounter any issues with your Medilax GT-600B Blood Glucose Monitor, refer to the following common problems and solutions:

Image: Table showing display messages (Lo, Hi, CTL, E-b, E-U, E-F, E-E, E-t), their meanings, and corresponding troubleshooting procedures.

Image: Explanations for why results may vary between brands and in two consecutive tests, including factors affecting accuracy and solutions.
For further assistance, please contact customer service at support@medilax.com.
7. Specifications
| Feature | Detail |
|---|---|
| Brand | Medilax |
| Model Number | GT-600B |
| Item Weight | 2.4 Ounces |
| Battery Cell Composition | Alkaline |
| Test Result Storage | Up to 500 results |
| Test Strip Technology | 10-electrode sensing technology |
| Blood Sample Volume | 0.5μL |
| Result Time | 5 seconds |
| Lancing Device Depths | 5 adjustable depths |
8. Warranty & Support
For warranty information or technical support, please refer to the detailed user manuals included in your kit. You may also contact Medilax customer service directly via email:
Medilax is committed to providing reliable health monitoring devices and excellent customer support.
Ask a question about this manual
Ask about setup, troubleshooting, compatibility, parts, safety, or missing instructions. Manuals+ will review the question and use this page’s manual context to help answer it.