
1. Introduction
This manual provides detailed instructions for the installation, operation, and maintenance of your Blütezeit MS650 Solar Swing Gate Opener System. This system is designed for dual swing gates, offering automated and secure access with solar power capabilities and a wireless keypad. Please read this manual thoroughly before installation and operation to ensure proper function and safety.
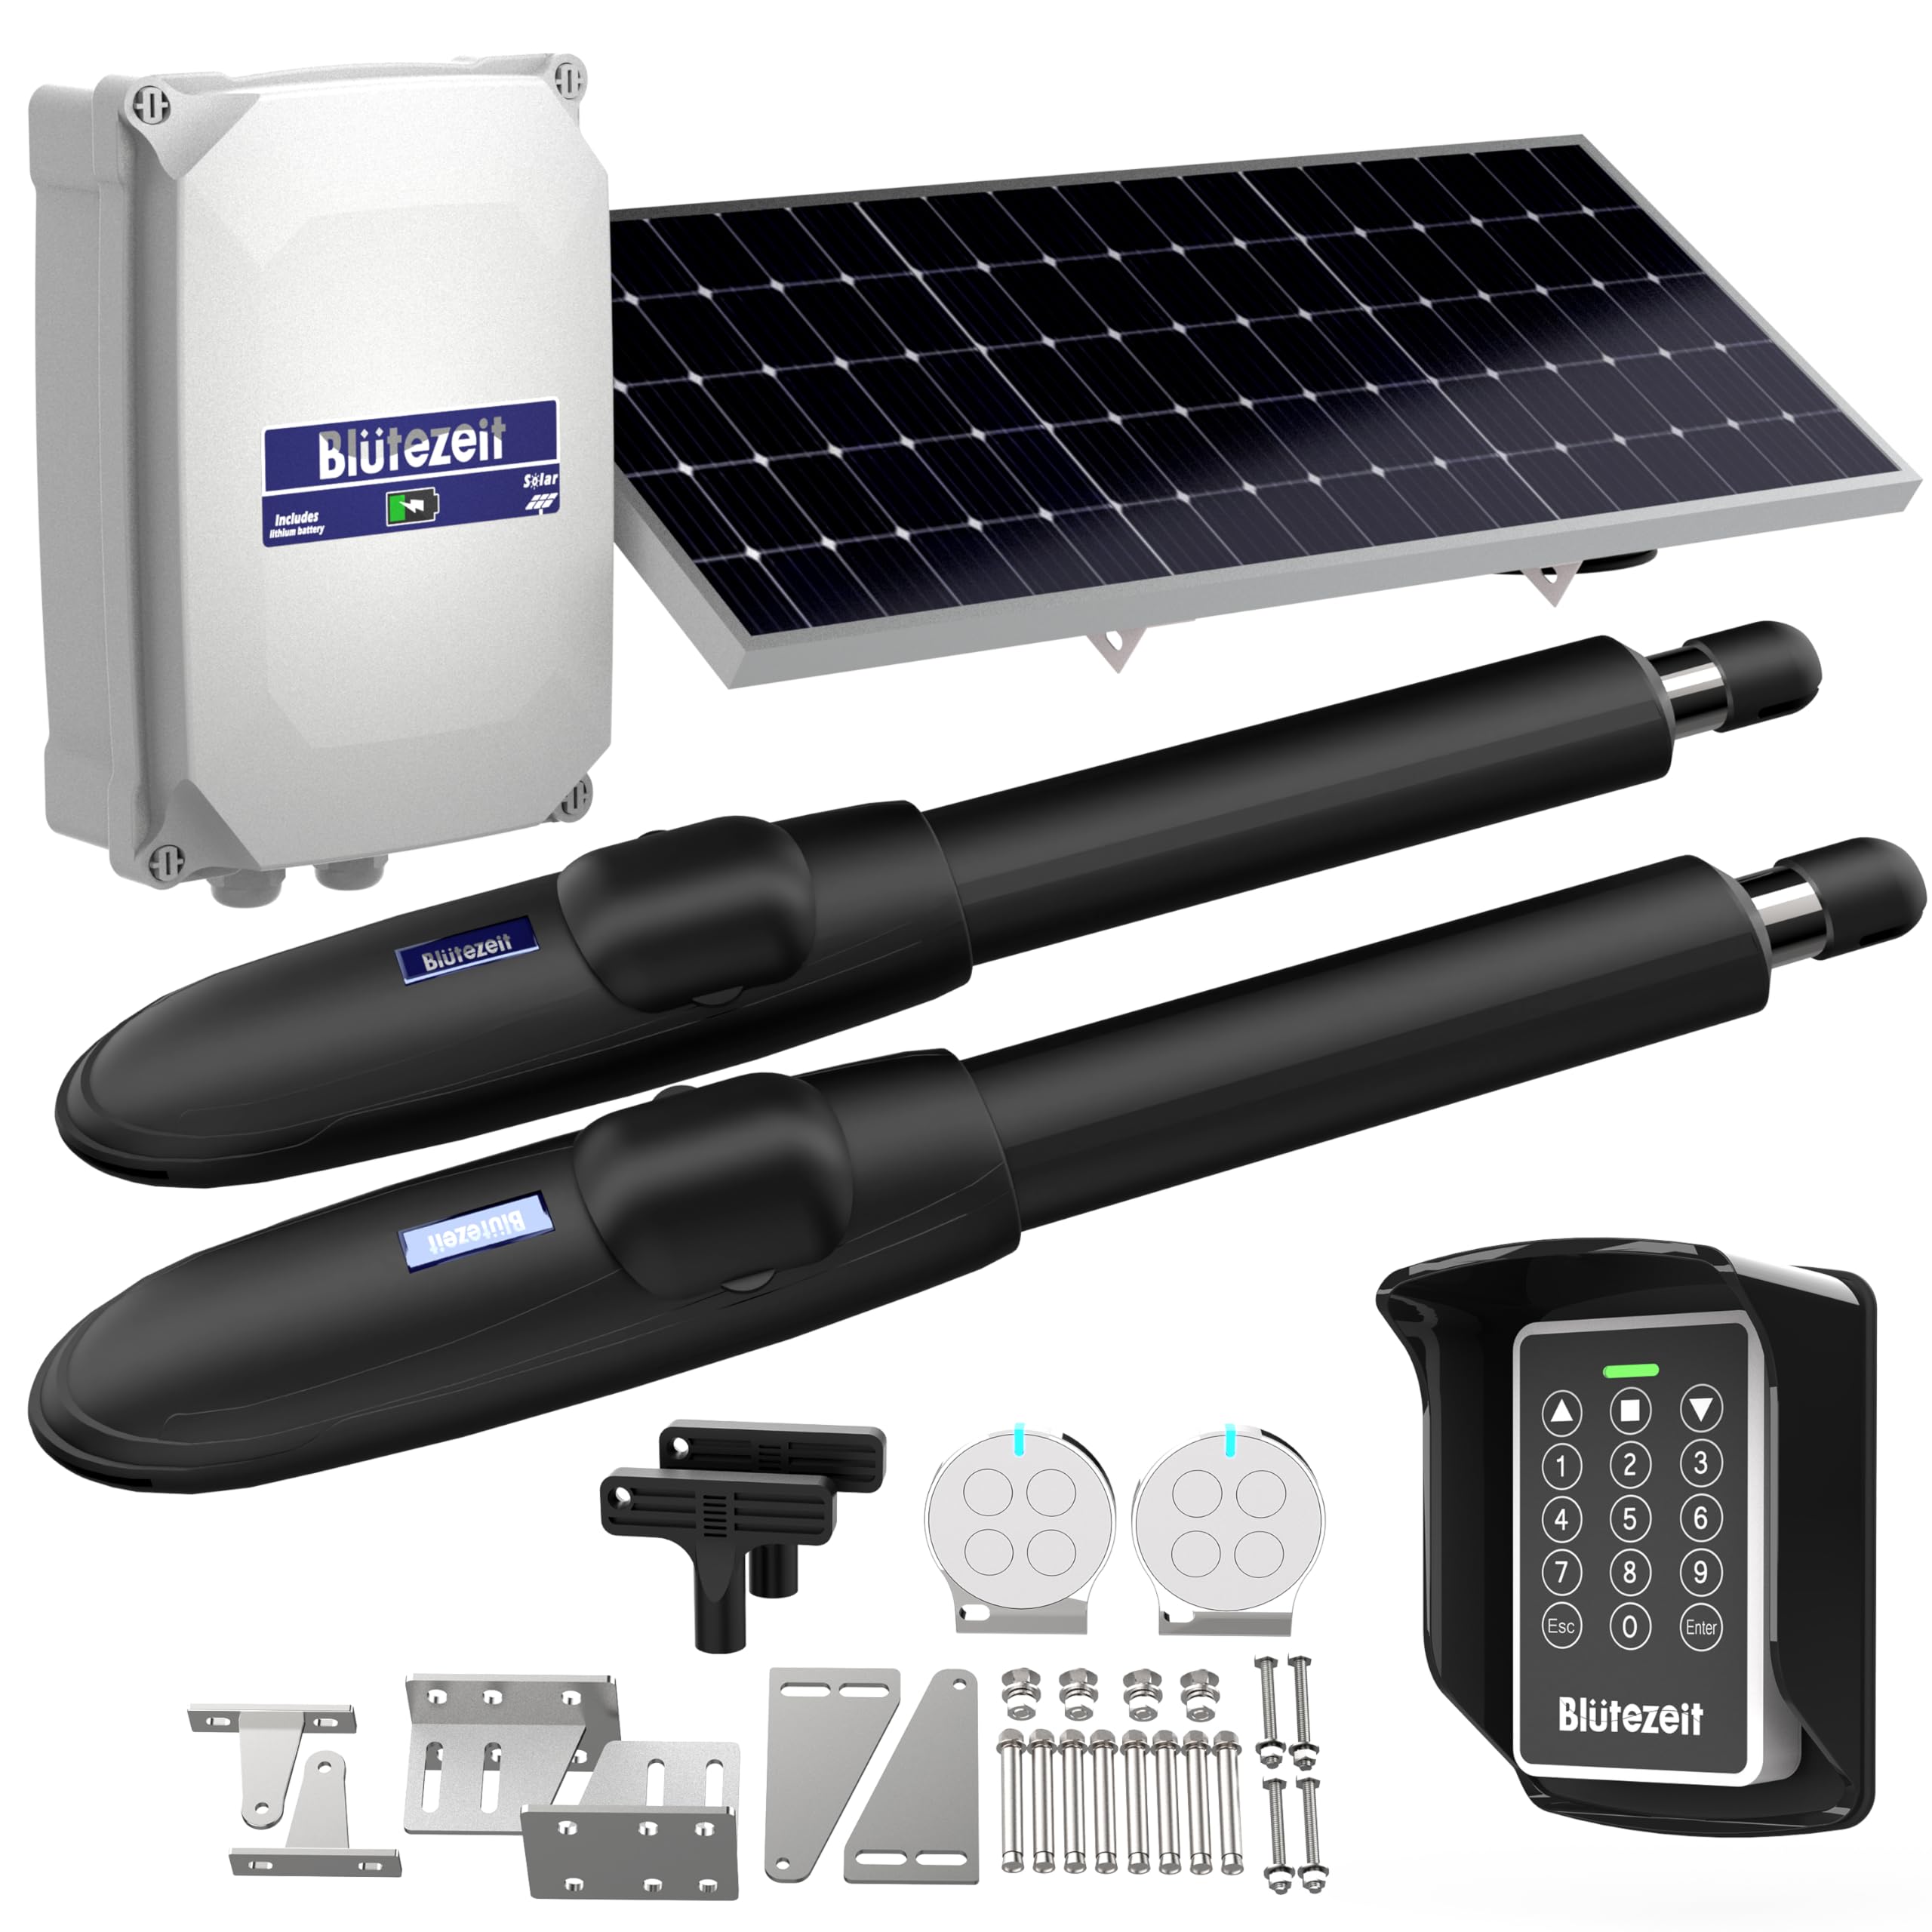
Figure 1: Blütezeit MS650 Solar Swing Gate Opener System Overview
The Blütezeit MS650 system includes a heavy-duty dual-arm gate operator, an integrated control box with a built-in 24V lithium battery, a 25W high-efficiency solar panel, and an IP54-rated wireless PIN keypad for secure entry.
2. Safety Information
Always observe the following safety precautions to prevent injury or damage:
- Read all instructions carefully before installation and use.
- Ensure the gate area is clear of obstructions and personnel before operating.
- Do not allow children to play near the gate or with the gate controls.
- Disconnect power before performing any maintenance or service.
- Only use genuine Blütezeit replacement parts and accessories.
- Consult a qualified technician if you are unsure about any installation steps.
3. Package Contents
Verify that all components are present and undamaged:
- 2 x Gate Opener Actuator Arms
- 1 x Control Box with Built-in 24V Lithium Battery
- 1 x 25W Solar Panel
- 1 x Wireless PIN Keypad (IP54 rated)
- 2 x Remote Controls
- Mounting Brackets and Hardware
- Instruction Manual
4. Specifications
| Feature | Description |
|---|---|
| Model | MS650 |
| Gate Type | Dual Swing Gate |
| Max Gate Weight (Total) | 1760 lb (880 lb per arm) |
| Power Source | 24V DC (Built-in Lithium Battery) |
| Solar Panel | 25W Monocrystalline |
| Keypad Rating | IP54 Weather-Resistant |
| Control Box | Integrated with Smart Power Management |
| Operation | Remote Control, Wireless Keypad |
5. Setup and Installation
5.1 Site Preparation
Ensure the gate operates smoothly manually before installing the opener. Clear any vegetation or obstructions that might interfere with gate movement.
5.2 Mounting the Actuator Arms
Attach the actuator arms to the gate and gate post using the provided mounting brackets and hardware. Ensure the arms are level and allow for full gate travel without binding.

Figure 2: Actuator Arm Precision Structure
5.3 Control Box and Wiring
Mount the control box in a secure, accessible location near the gate. Connect the actuator arms to the control box according to the wiring diagram provided in the separate detailed wiring guide. The control box contains a built-in 24V lithium battery for reliable power.

Figure 3: Control Box with Built-in Battery
5.4 Solar Panel Installation
Install the 25W solar panel in a location that receives maximum direct sunlight throughout the day. Use the adjustable bracket to optimize the tilt angle for efficient charging. Connect the solar panel to the designated input on the control box.

Figure 4: 25W Solar Panel with Adjustable Bracket
5.5 Wireless Keypad Installation
Mount the IP54-rated wireless keypad in a convenient location for access, ensuring it is within range of the gate opener's receiver. The keypad comes with a protective rain cover for enhanced durability.

Figure 5: Wireless Keypad with Protective Rain Cover
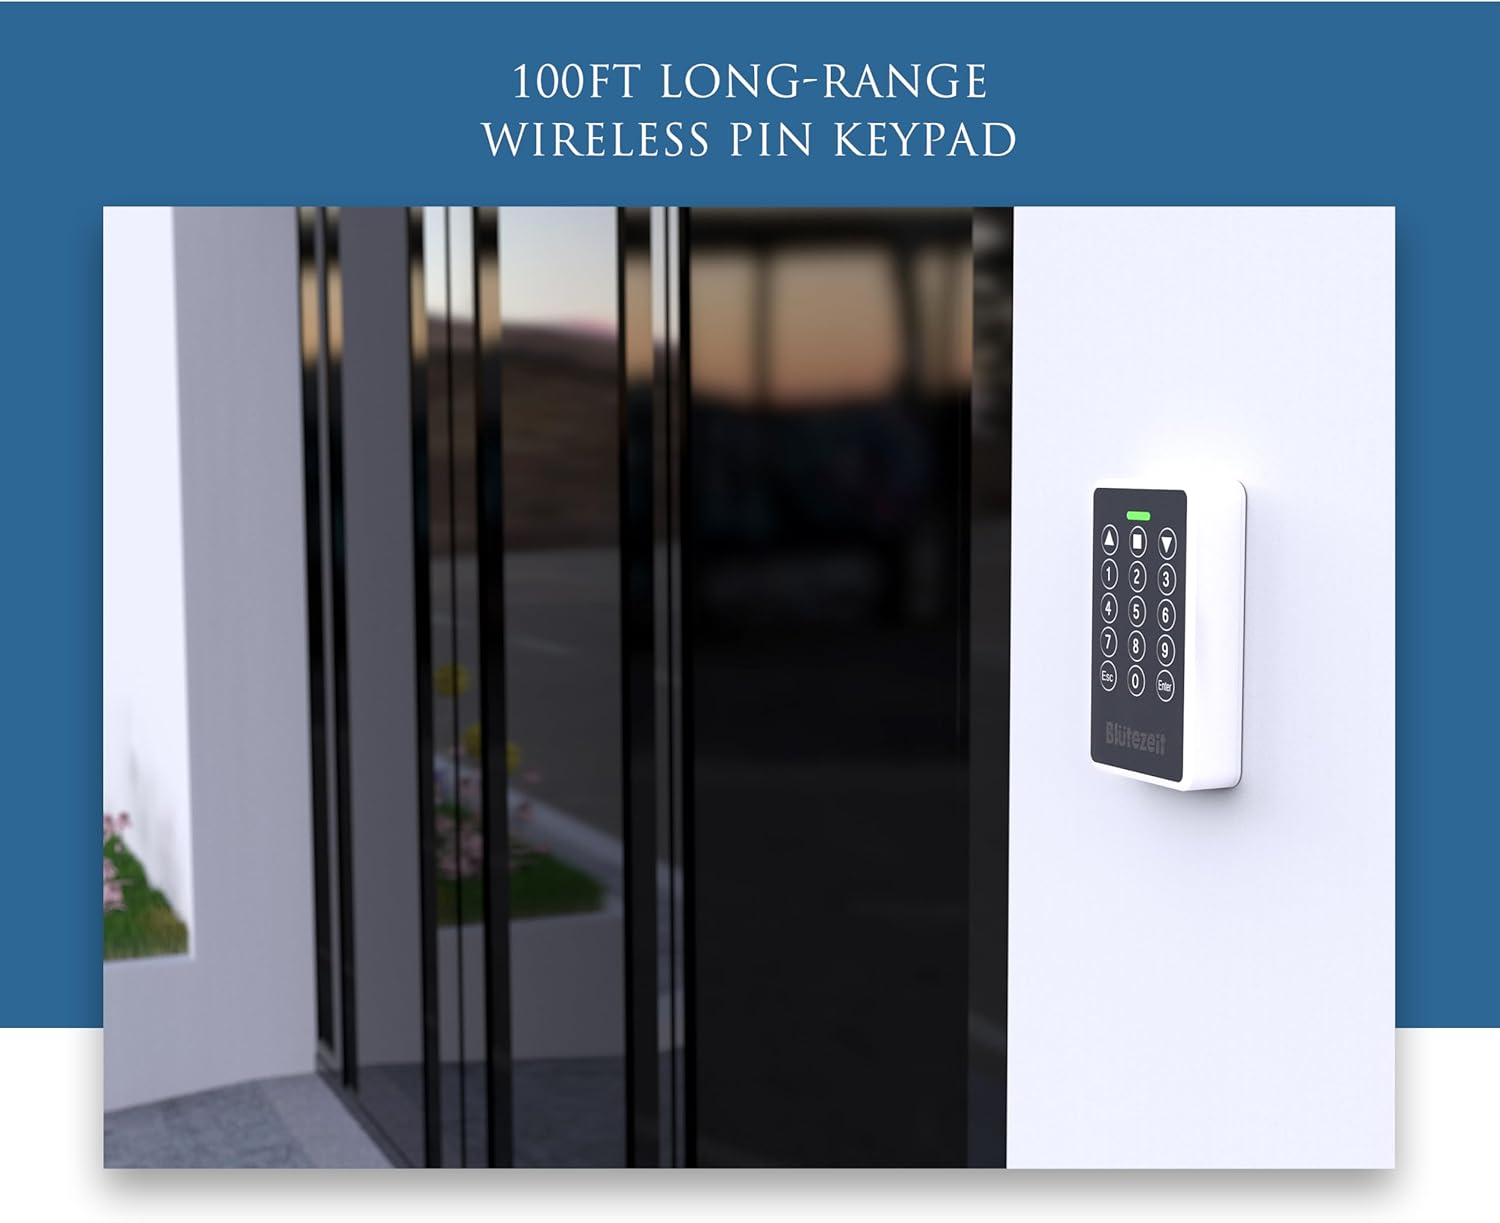
Figure 6: Keypad Mounted for Access
5.6 Initial Power-Up and Limit Setting
After all components are connected, power on the system. The Smart Auto-Set feature simplifies the process of setting travel limits. Follow the instructions in the control box manual to program the open and close positions for your gate.
5.7 Remote Control Programming
Program the included remote controls to operate the gate opener. The wireless keypad also supports 433MHz RF remote copy, allowing for quick setup without complex programming for compatible Blütezeit remotes.
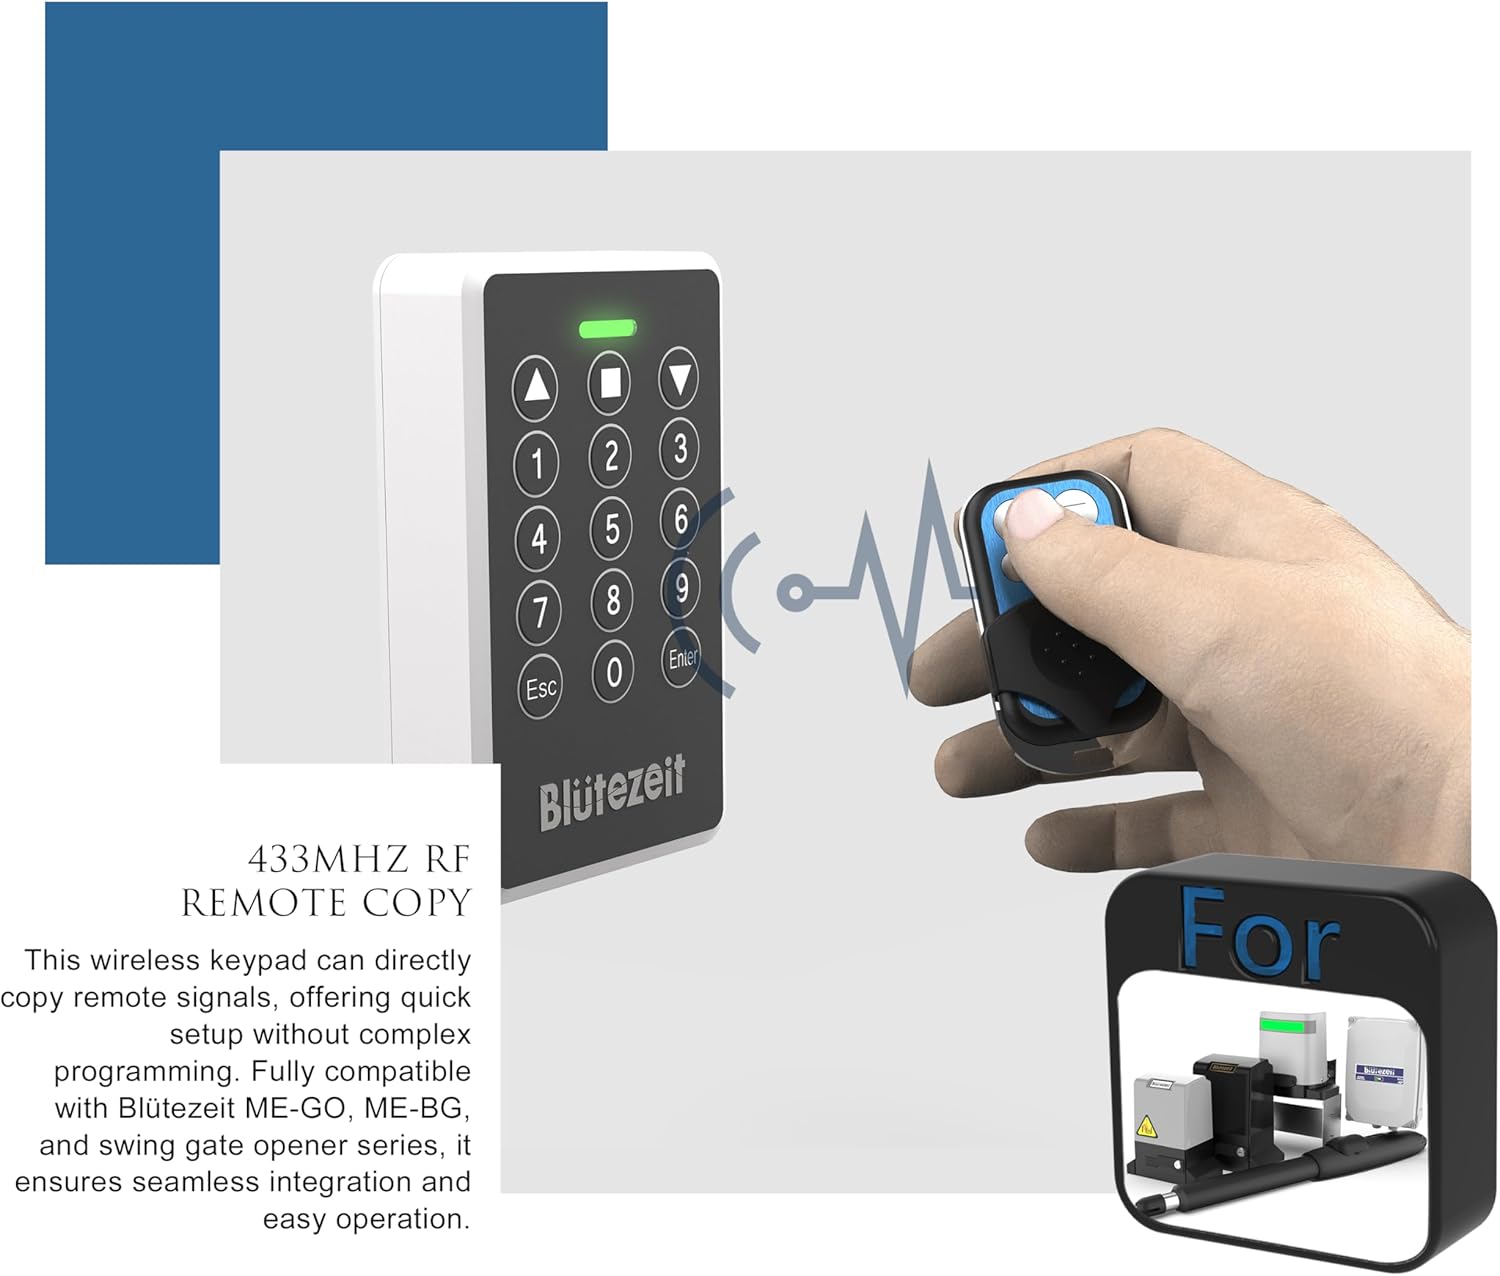
Figure 7: Keypad Remote Copy Function
6. Operating Instructions
6.1 Using Remote Controls
Press the designated button on your remote control to open or close the gate. A single press typically initiates the cycle (open/stop/close).
6.2 Using the Wireless Keypad
Enter your programmed PIN code on the keypad, then press the 'Enter' button. The gate will begin its open or close cycle. Refer to the keypad's specific manual for programming PIN codes.

Figure 8: Wireless Keypad Interface
6.3 Manual Override
In case of power failure or system malfunction, the gate opener arms can be disengaged for manual operation. Locate the manual release mechanism on each actuator arm (usually a key-operated lock) and follow the instructions to unlock and manually move the gate.
7. Maintenance
Regular maintenance ensures the longevity and reliable operation of your gate opener system.
7.1 Monthly Checks
- Inspect all mounting hardware for tightness.
- Check the gate hinges and rollers for smooth operation. Lubricate if necessary.
- Clear any debris from the gate's path.
7.2 Solar Panel Cleaning
Periodically clean the surface of the solar panel with a soft, damp cloth to remove dust, dirt, or leaves that may reduce charging efficiency.
7.3 Battery Care
The built-in lithium battery is designed for long life. Ensure the solar panel is clean and unobstructed to maintain optimal charge. If the system is not used for extended periods, ensure the battery is fully charged before storage.
8. Troubleshooting
This section addresses common issues you might encounter.
| Problem | Possible Cause | Solution |
|---|---|---|
| Gate does not respond to remote/keypad | No power; Remote battery low; Remote/keypad not programmed; Obstruction | Check power supply/battery charge; Replace remote battery; Reprogram remote/keypad; Clear gate path |
| Gate opens partially or stops unexpectedly | Obstruction; Incorrect limit settings; Low battery voltage | Clear obstruction; Re-set travel limits; Check solar panel for proper charging |
| Solar panel not charging battery | Panel dirty or obstructed; Incorrect wiring; Insufficient sunlight | Clean panel surface; Verify wiring connections; Adjust panel angle/location for more sun |
| Keypad not working | Keypad battery low; Out of range; Incorrect PIN | Replace keypad battery; Move closer to receiver; Enter correct PIN |
9. Warranty and Support
Your Blütezeit MS650 Solar Swing Gate Opener System is covered by a manufacturer's warranty. Please refer to the warranty card included in your package for specific terms and conditions. For technical support, replacement parts, or further assistance, please contact Blütezeit customer service through the official website or your purchase platform.